Side Dishes
Christmas Recipes
Over 100 tested and loved Christmas recipes to fit every celebration! Start with Cranberry Brie Bites, then move on to a Baked Ham or Roast Turkey for a big feast, a simple Roast Turkey Breast for a smaller gathering or Bacon Wrapped Filet Mignon for an elegant dinner. We’ve got just what you need to plan the perfect holiday menu!
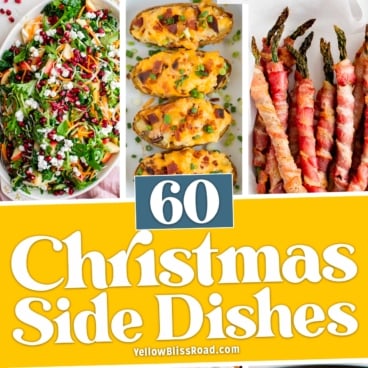
Best Christmas Side Dishes
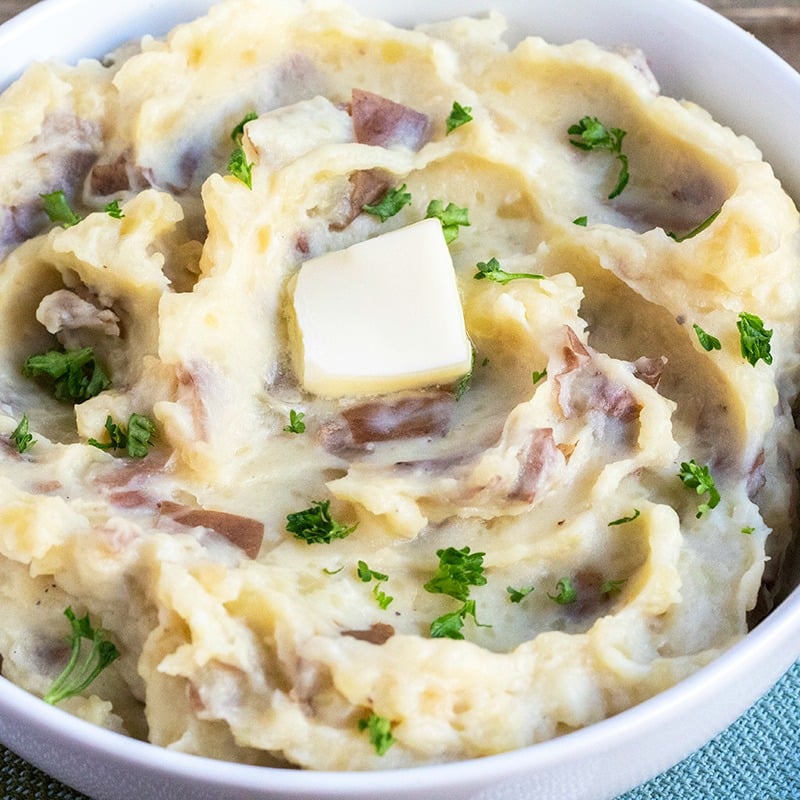
Potato Recipes
Garlic Mashed Potatoes
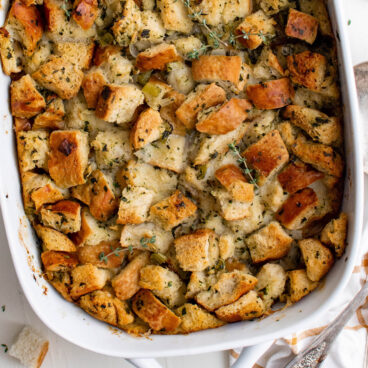
Side Dishes
Homemade Stuffing
Side Dishes
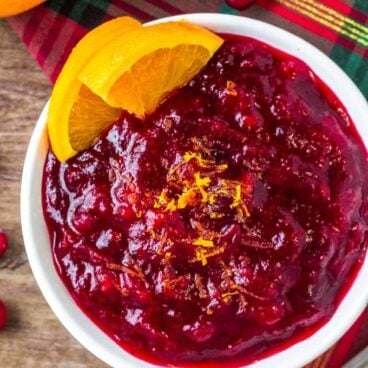
Homemade Cranberry Orange Sauce
Side Dishes
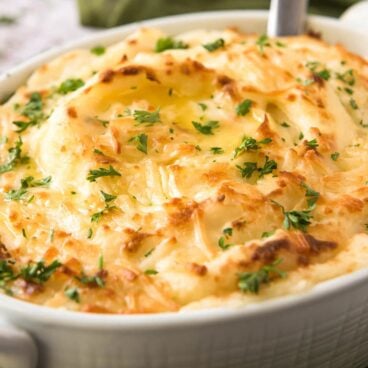
Cheesy Mashed Potatoes
Side Dishes
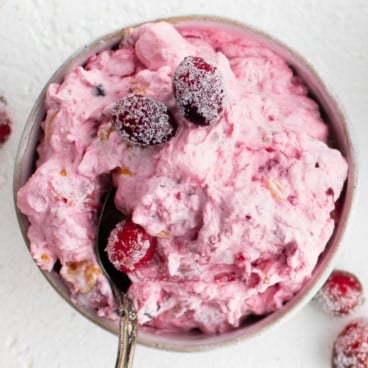
Cranberry Fluff Salad
Salad Recipes
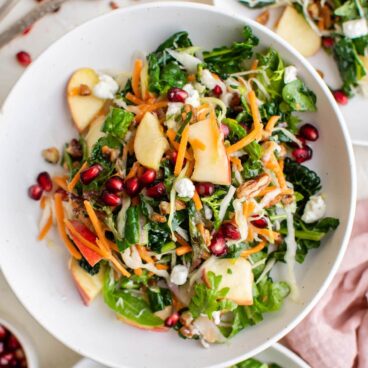
Winter Salad with Tangy Homemade Vinaigrette
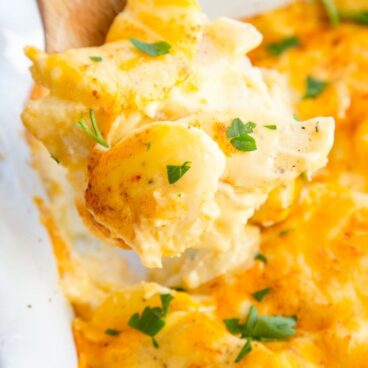
Potato Recipes
Cheesy Scalloped Potatoes (Au Gratin)
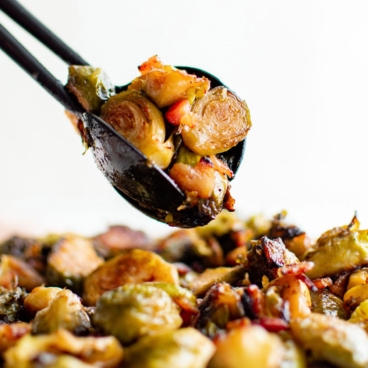
Side Dishes
Roasted Brussels Sprouts
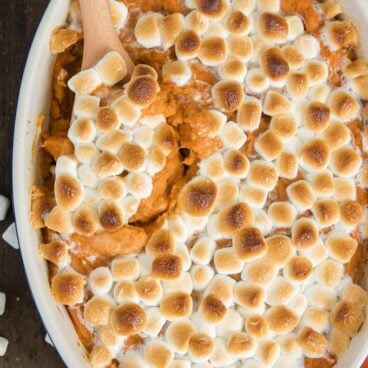
Side Dishes
Sweet Potato Casserole Recipe
Watch & Learn
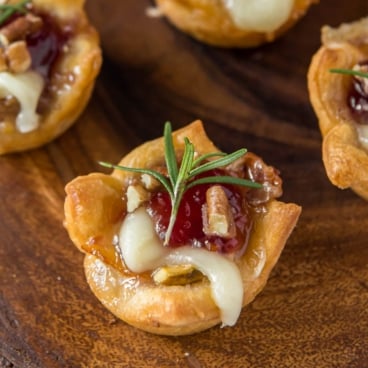
Cranberry Brie Bites
Learn how to make our most popular holiday appetizer!
Christmas Appetizers
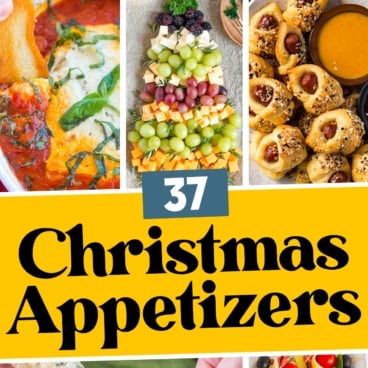
Appetizer Recipes
37 Festive Christmas Appetizers
Appetizer Recipes
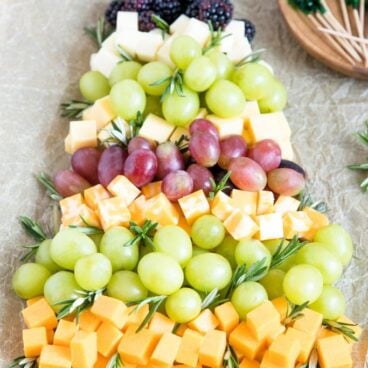
Christmas Tree Fruit and Cheese Platter
Appetizer Recipes
Cranberry Brie Bites
Appetizer Recipes
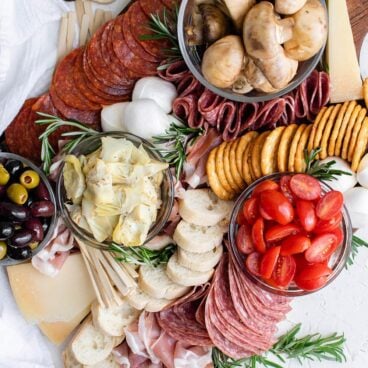
Epic Antipasto Platter
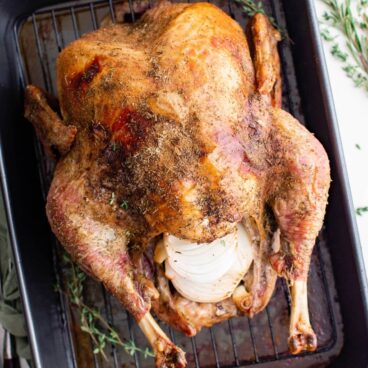
Christmas Main Dish
Dinner Recipes
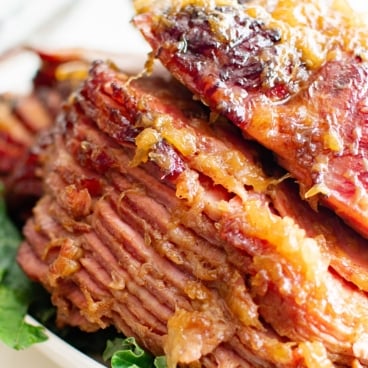
Brown Sugar Pineapple Glazed Ham
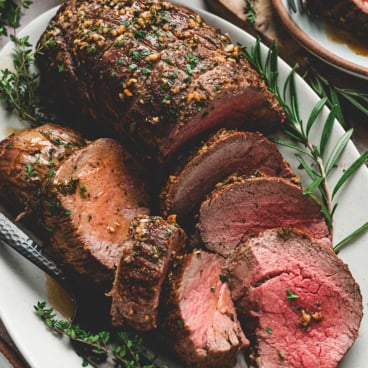
Beef Recipes
Beef Tenderloin Roast
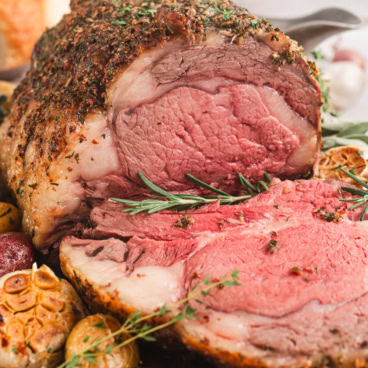
Beef Recipes
Prime Rib
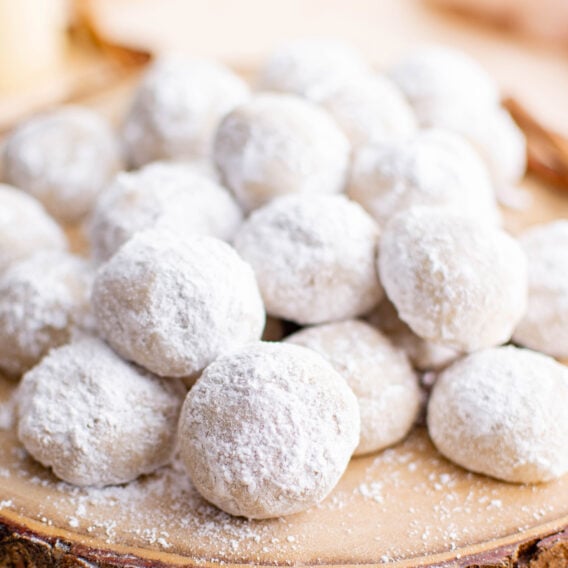
Christmas Cookies

Cookie Recipes
Best Christmas Cookies
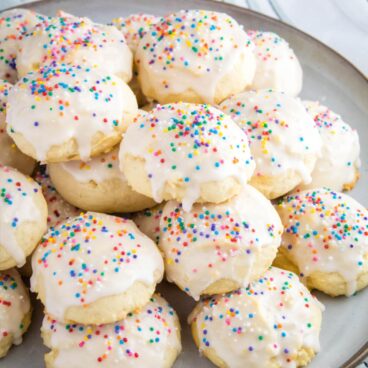
Recipes
Ricotta Cookies
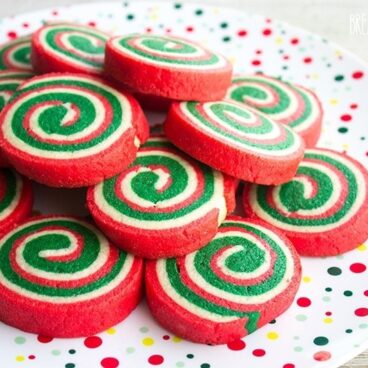
Christmas Cookies
Christmas Pinwheel Cookies

Cookie Recipes
Soft Red Velvet Cookies
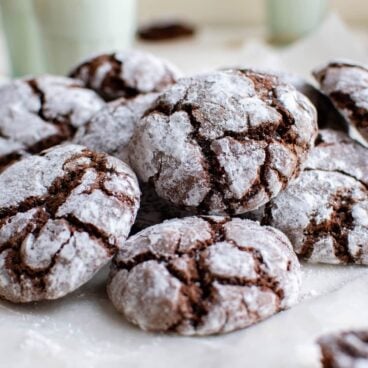
Cookie Recipes
Chocolate Crinkle Cookies
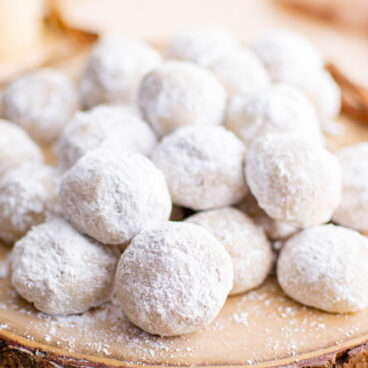
Cookie Recipes
Meltaway Eggnog Cookies
Find the perfect gift!
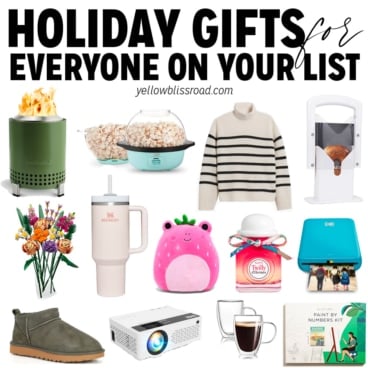
Gift Ideas
NEW for 2024! Holiday Gift Guide
Christmas Recipes
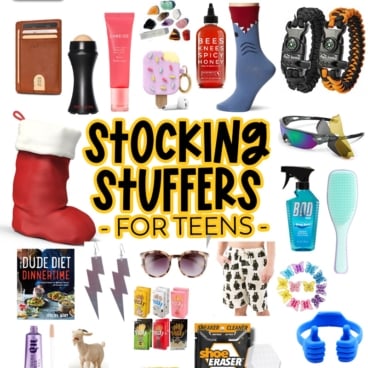
Stocking Stuffers for Teens and College Students

Gift Ideas
Stocking Stuffers for Kids
Newest Christmas Recipes
Mexican Recipes
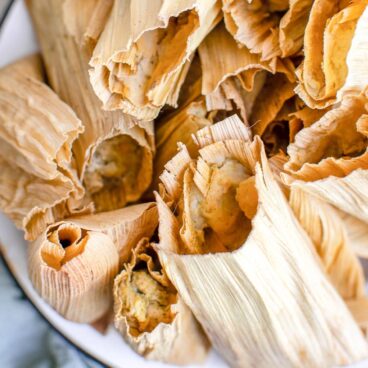
Chicken Tamales

Recipes
Slow Cooker Spiral Ham
Dinner Recipes
Brown Sugar Pineapple Glazed Ham

Christmas Cookies
Easy Christmas Treats
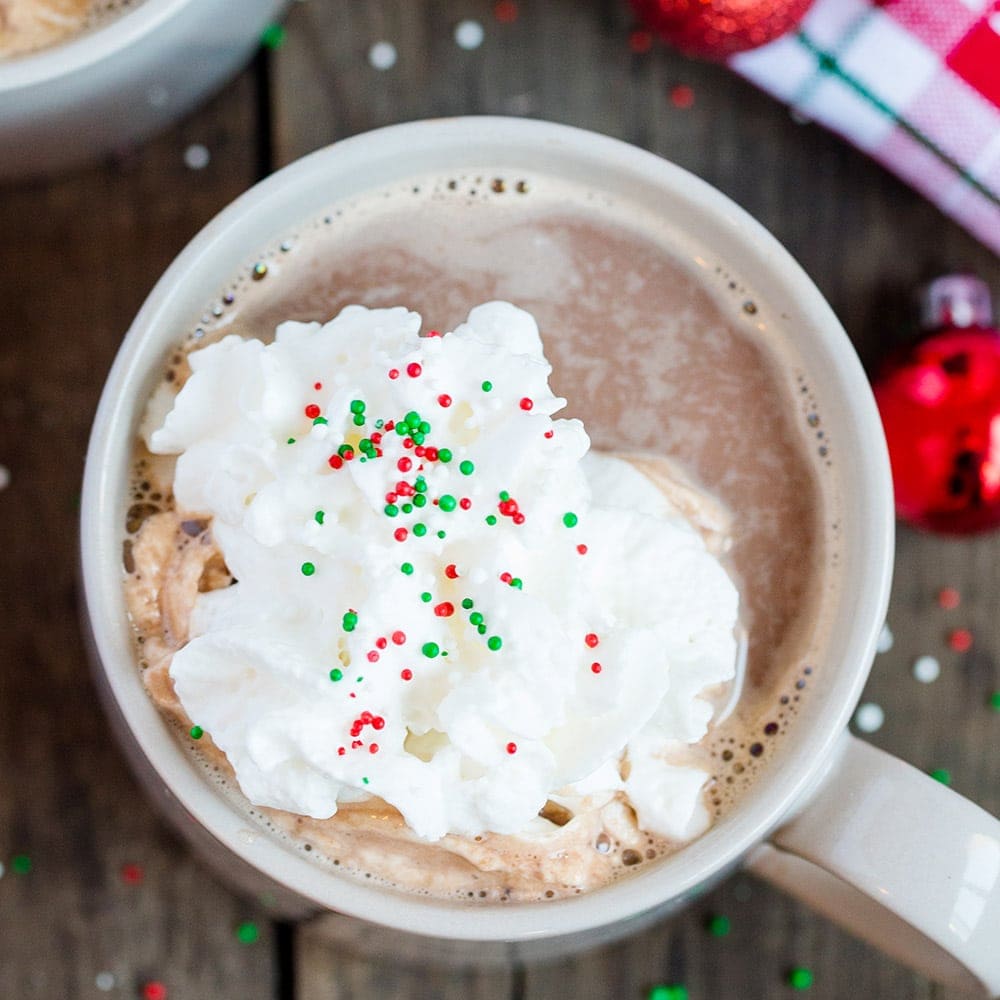
Drink Recipes
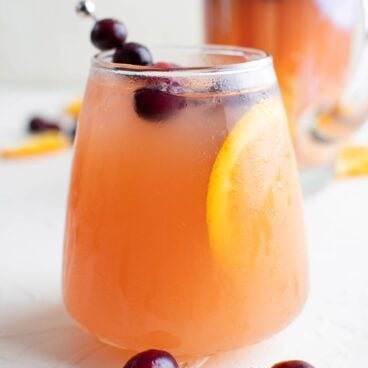
Christmas Punch
Potato Recipes
Cheesy Scalloped Potatoes (Au Gratin)

Sweet Bread Recipes
Cinnamon Star Bread

Potato Recipes
Crispy Garlic Herb Potato Stacks
Recipes
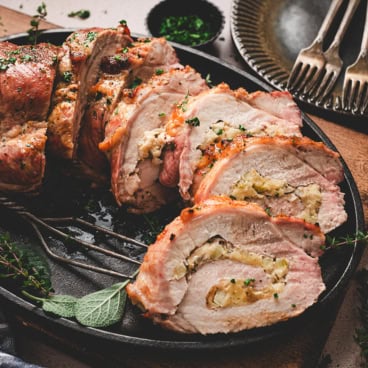
Stuffed Pork Loin
Appetizer Recipes
Christmas Tree Fruit and Cheese Platter
Beef Recipes
Beef Tenderloin Roast
Drink Recipes