Gift Ideas
Home/Crafts/DIY
Tons of fun crafts and DIY projects, plus furniture and room makeovers and other ideas for your home.

Christmas Recipes
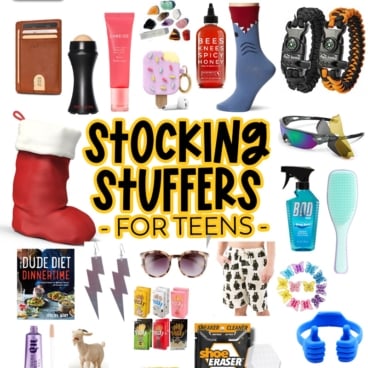
Stocking Stuffers for Teens and College Students
Gift Ideas
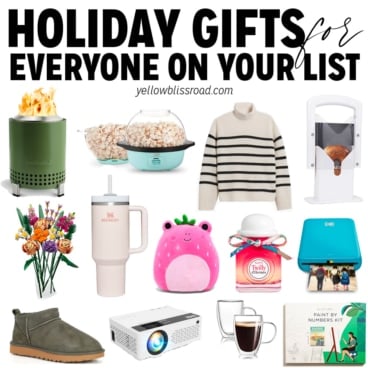
NEW for 2024! Holiday Gift Guide
Christmas Printables
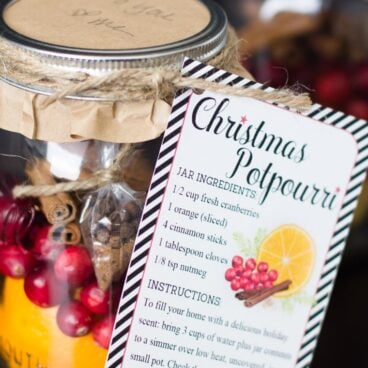
Christmas Potpourri
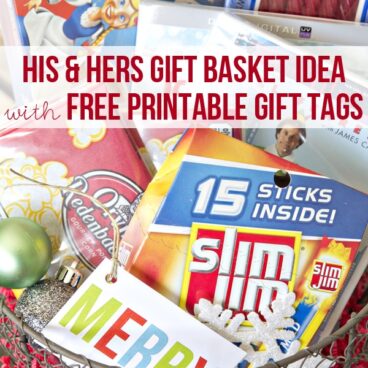
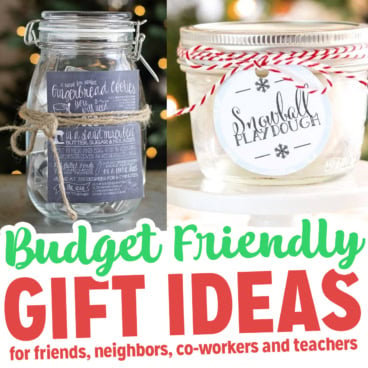
Gift Ideas
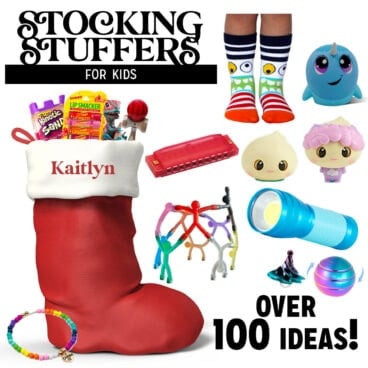
Stocking Stuffers for Kids

Dessert Recipes
Caramel Popcorn
Free Printables
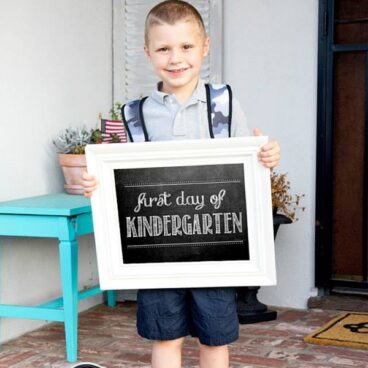
First Day of School Chalkboard Printables

Home/Crafts/DIY
How to Clean Pee Out of a Mattress
Free Printables