
This post may contain affiliate links. Please read our disclosure policy.
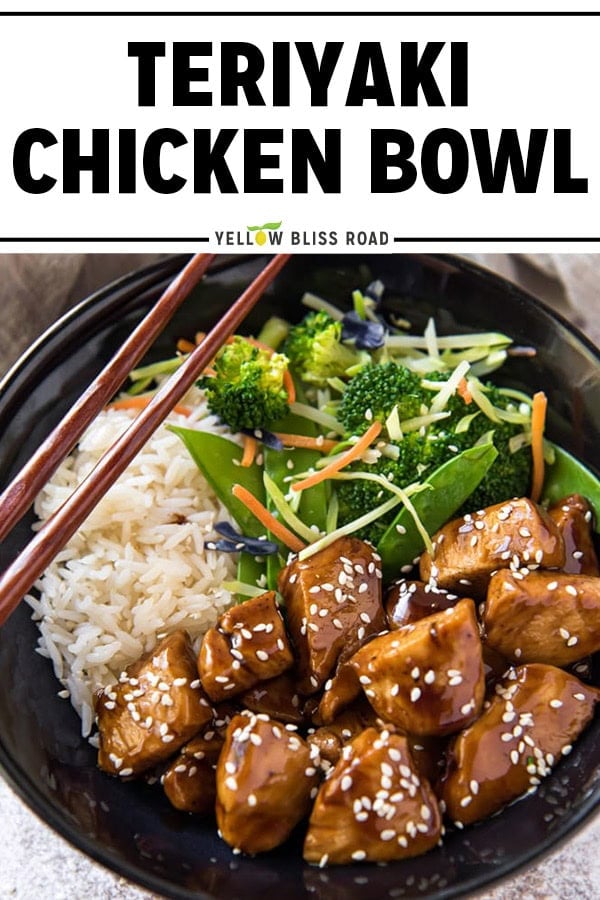
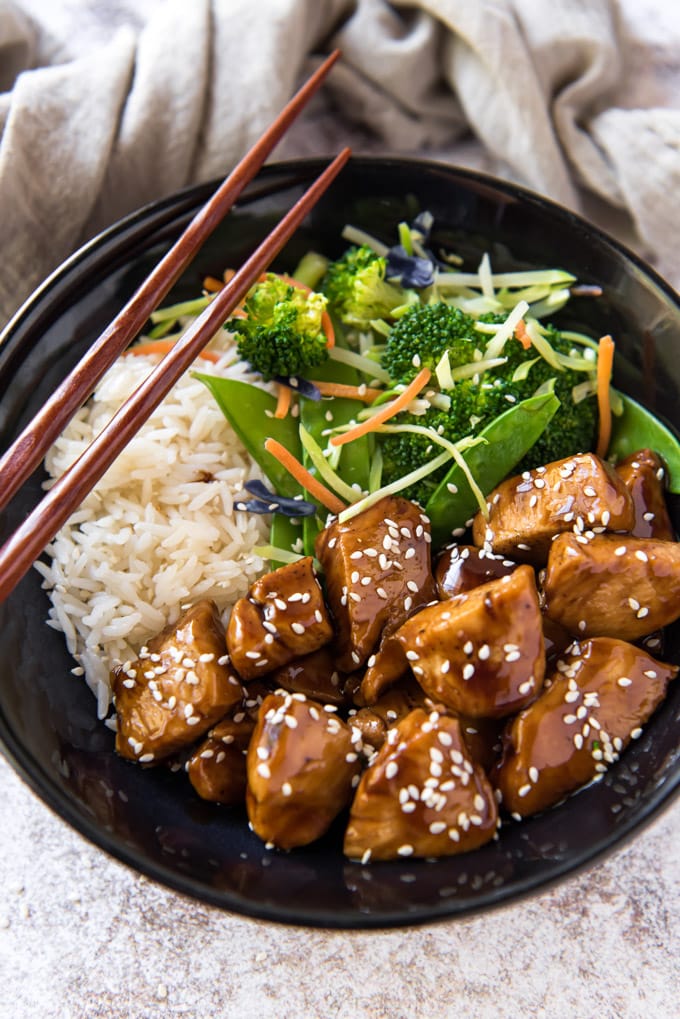
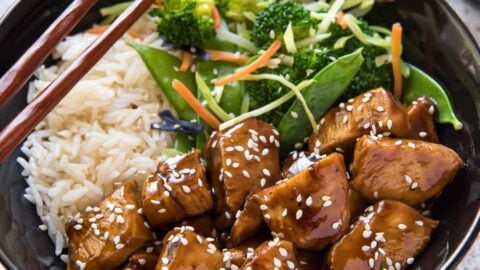
Skip the delivery fees and make this Teriyaki Chicken Bowl at home in under 30 minutes. Bite-sized chicken gets coated in a glossy homemade teriyaki sauce, then piled over rice with whatever veggies you have on hand. Seven pantry ingredients make the sauce, and it beats anything that shows up in a paper bag.
More takeout favorites made at home: Slow Cooker Teriyaki Chicken | Ground Turkey Teriyaki Rice Bowl | Easy Hibachi Chicken and Vegetables
Before You Get Started
This one moves fast once the pan is hot. These three things decide whether the chicken browns properly and the sauce turns glossy instead of gluey.
- Don’t crowd the pan: The chicken pieces shouldn’t touch. They need space around them or they steam instead of brown. Work in batches if you need to.
- Whisk the cornstarch in completely: Any lumps left in the cold sauce turn into gummy spots the second it hits the hot skillet.
- Have the rice and veggies ready first: The sauce thickens in about a minute, so everything else should be done before the chicken goes in.
Getting the Rice Right
Rice is the part of a bowl that gets the least attention and makes the biggest difference. Here’s what actually matters.
Which rice to use: Short or medium grain white rice is the classic choice because the grains hold together enough to scoop up sauce. Long grain white rice and jasmine both work and cook faster. Brown rice is a great swap if you want more fiber, and it holds up especially well in meal-prep containers since it doesn’t soften as much overnight.
Cook it slightly firmer than you would normally. Rice that’s perfect on its own turns mushy under a saucy topping. Pull it a minute or two early and let it steam covered off the heat. You want distinct grains, not a soft bed.
Should you sauce the rice? A small drizzle of extra teriyaki over the rice is great. Tossing the whole batch in it is not, since the rice absorbs the sauce and the bowl goes from glossy to gummy fast. Make a little extra sauce and let people drizzle their own.
- Want a rice with more going on? Egg Fried Rice is a favorite base here and turns this into a full takeout spread. My Coconut Rice is the other direction, a little sweet and creamy against the salty teriyaki.
RECIPE WALK-THROUGH
How to Make Teriyaki Chicken Bowls
See the recipe card below for full, detailed instructions
The whole thing happens in one skillet while the rice cooks. Read through the steps once before you start, because the sauce comes together faster than you’d expect.
Step 1: Prep the chicken and vegetables
Cut the chicken into bite-sized pieces, pat them dry with paper towels, and season with salt and pepper. Drying the surface is what lets the chicken brown instead of steam.
Breasts and thighs both work: Thighs stay a little more forgiving if you overshoot the timing, while breasts cook faster and leaner. Use whichever you have.
Steam your vegetables now so they’re ready when the chicken is done. Broccoli and carrots are the classic pairing with teriyaki, and a steam-in-bag frozen stir fry blend is the honest weeknight shortcut.
Want to swap the protein? My Teriyaki Salmon uses the same flavor profile if you’re in the mood for fish instead.
Step 2: Whisk the teriyaki sauce
In a small bowl, whisk together the soy sauce, chicken broth, vinegar, brown sugar, minced garlic and ground ginger. Then whisk in the cornstarch until you can’t see a single lump.
A few notes here:
- Low sodium soy sauce is worth buying so you control the salt yourself, since the sauce reduces and concentrates.
- Rice vinegar is my first choice, but red wine or apple cider vinegar both work.
- Ground ginger is what I keep on hand, though fresh grated ginger will give you a brighter, sharper flavor if you have it.
Pro Tip: Make a double batch of the sauce. It keeps at least a week in the fridge and it’s the shortcut that makes the next teriyaki dinner take ten minutes.
Step 3: Brown the chicken
Heat a tablespoon of oil in a large nonstick skillet over medium heat. When the oil shimmers, add the chicken in a single layer with space between the pieces.
Cook, turning a few times, until the pieces are golden on all sides and no longer pink in the center, about 6 to 8 minutes total.
Resist the urge to stir constantly. The chicken needs contact time with the pan to develop color.
Step 4: Add the sauce and let it thicken
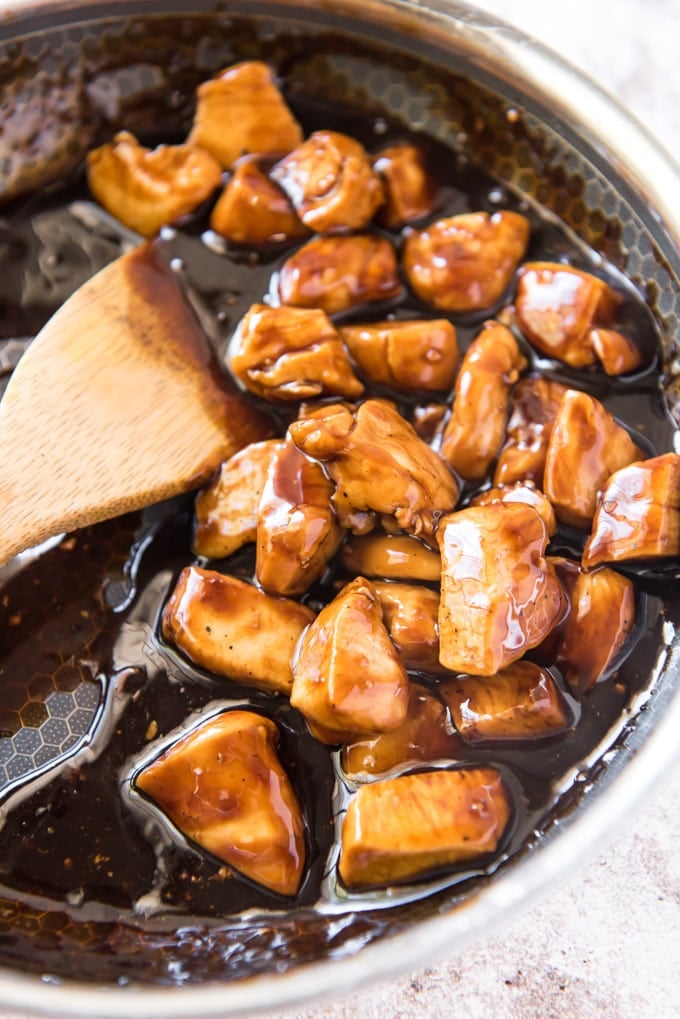
Give the sauce one more quick whisk, since the cornstarch settles, then pour it into the pan with the chicken.
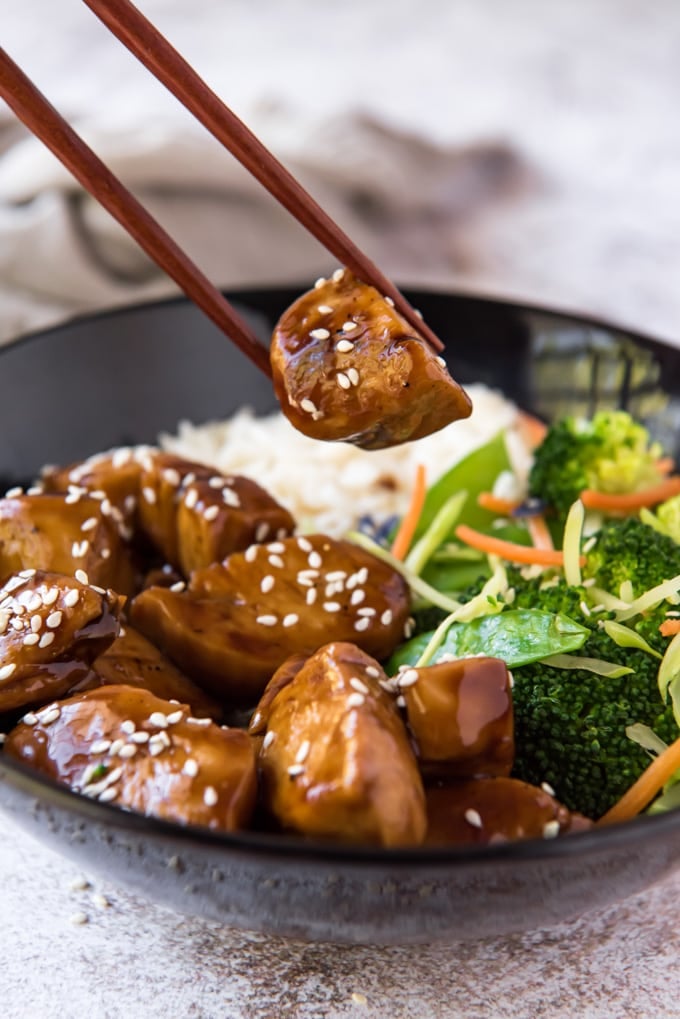
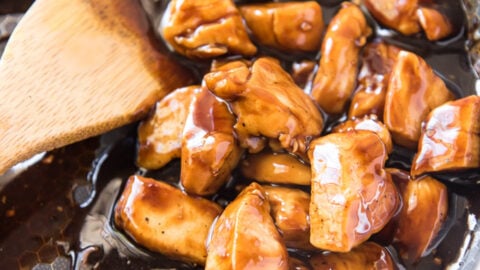
Stir constantly. Within about a minute the sauce will go from thin and cloudy to thick and glossy, coating every piece. As soon as it clings to the chicken, pull the pan off the heat. Cornstarch sauces will break down and thin out again if you keep cooking them.
Step 5: Build the bowls
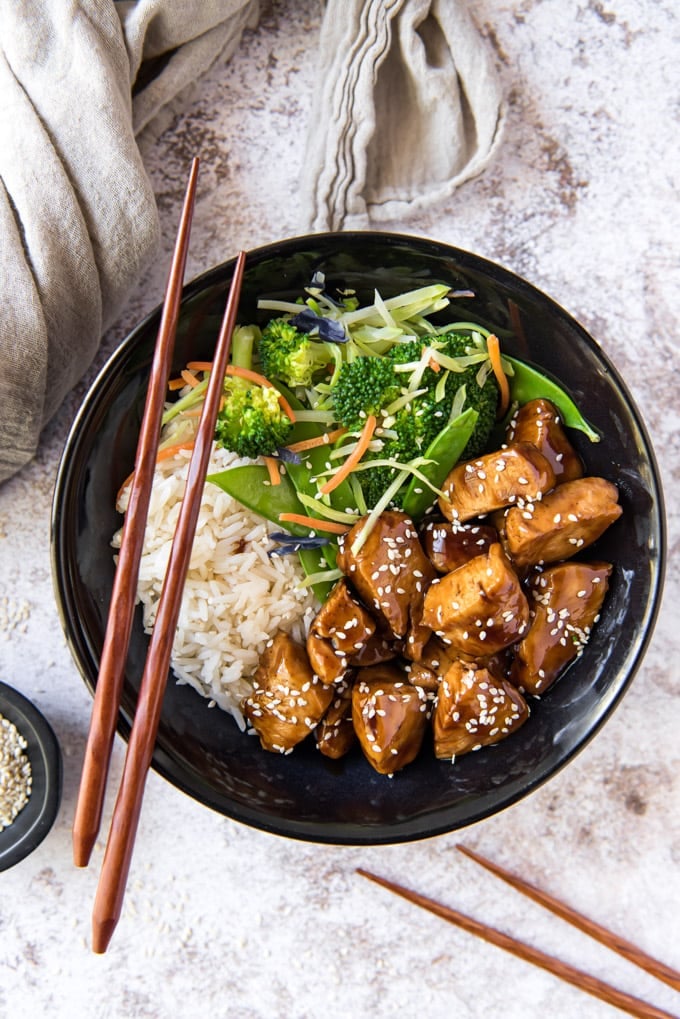
Spoon rice into the bottom of each bowl, add the chicken, and pile the vegetables alongside rather than on top so everything stays visible and easy to eat.
Finish with a sprinkle of sesame seeds and sliced green onions. They seem optional, but the nutty crunch and fresh bite are what keep a sweet-salty bowl from tasting flat.
The bowl is a full meal on its own, but if you’re feeding a crowd or want the whole spread, these are what I add: Crab Rangoon | Egg Drop Soup | Vegetable Egg Rolls | Pan Fried Noodles
Storage Tips
Storing and Reheating
Storage: Keep leftovers in an airtight container in the fridge for up to 4 days. The components can go in together or in separate containers, whichever fits your week better.
Reheating: Microwave for 60 to 90 seconds, stirring halfway through. A teaspoon of water sprinkled over the rice before you start keeps it from drying out at the edges.
Freezing: The chicken and rice both freeze well in airtight containers for up to 3 months. Leave the steamed vegetables out, since they turn watery after thawing, and cook a fresh batch when you reheat.
Meal prep: This is where the recipe really earns its keep. Portion rice, chicken and vegetables into four containers, and keep any extra sauce in a small separate container. Add it when you reheat rather than before, so the rice stays fluffy instead of soaking through by Wednesday.
Once you get in the habit of building dinner in a bowl, it’s hard to stop. These are the other four in our rotation: Pork Stir Fry Rice Bowl | Easy Salmon Bowls | Sushi Bowl | Chicken Fajita Bowl with Rice
Frequently Asked Questions
Why didn’t my teriyaki sauce thicken?
Almost always one of two things. Either the sauce didn’t get hot enough, since cornstarch needs to reach a simmer to activate, or the cornstarch wasn’t fully dissolved before it went in the pan and clumped instead of thickening evenly.
If it’s still thin after a minute of simmering, whisk another half teaspoon of cornstarch into a tablespoon of cold water and stir that in.
Can I use bottled teriyaki sauce instead?
You can, and it’ll get dinner on the table. Just know that most bottled versions are already thickened, so skip the cornstarch and add the sauce at the very end just to warm through.
The homemade version takes about two minutes to whisk together while the chicken browns, and it’s noticeably less sweet and more balanced than what comes out of a bottle.
Can I double this recipe?
Yes, and it scales well for a crowd or a bigger meal prep batch. Cook the chicken in two batches rather than piling it all in at once, or you’ll lose the browning entirely. The sauce can be doubled and made all at once. Add half to each batch, or return all the chicken to the pan at the end and pour the full amount over it.
The sauce is too sweet for us. What should I adjust?
Cut the brown sugar to 3 tablespoons and add an extra splash of vinegar to sharpen it. If you’ve already made it and it’s too sweet in the pan, a little more soy sauce and vinegar will pull it back into balance. Going the other way, an extra tablespoon of brown sugar gets you closer to the glossy, candy-sweet sauce most takeout counters serve.
More Takeout Favorites to Make at Home
- Kung Pao Chicken
- Crispy Sweet and Sour Chicken
- Cashew Chicken
- Chicken Lo Mein
- Slow Cooker Orange Chicken
- Beef and Broccoli
Teriyaki Chicken Rice Bowls

Ingredients
- 1 pound boneless skinless chicken breast or thighs cut into bite size pieces
- Salt and pepper
- 1 tablespoon olive oil
For the sauce:
- 1/2 cup low sodium soy sauce
- 1/4 cup chicken broth or water
- 2 tablespoons red wine or rice vinegar
- ¼ cup brown sugar
- 2 garlic cloves minced
- 1 teaspoon ground ginger
- 1 tablespoon cornstarch
For the bowls:
- 2 cups cooked white or brown rice
- 2 cups steamed stir-fry vegetables or other cooked vegetables of your choosing
- Sesame seeds and sliced green onions for serving
Instructions
- Cook the rice according to package instructions and steam the vegetables to your preferred crispness. Set both aside until ready to serve.
- Pat the chicken dry with paper towels and season with salt and pepper.
- In a small bowl, whisk together the soy sauce, chicken broth, vinegar, brown sugar, garlic and ginger. Whisk in the cornstarch until no lumps remain.
- Heat the olive oil in a large nonstick skillet over medium heat. When the oil shimmers, add the chicken in a single layer with space between the pieces. Cook 6 to 8 minutes, turning a few times, until golden on all sides and no longer pink. Work in batches if the pan is crowded.
- Whisk the sauce once more, then pour it into the pan with the chicken. Stir constantly until it thickens into a glaze that coats the chicken, about 1 minute.

- Remove from heat immediately.
- Divide the rice among bowls, top with the teriyaki chicken and add the vegetables alongside. Finish with sesame seeds and sliced green onions.
Notes
- Don’t crowd the pan: The chicken pieces should not touch. Space around each one is what lets them brown instead of steam. Work in batches if needed.
- Dissolve the cornstarch fully: Lumps in the cold sauce turn gummy in the hot pan.
- Pull the pan off the heat as soon as the sauce thickens. Cornstarch sauces thin back out if you keep cooking them.
- Rice tip: Cook it slightly firmer than you normally would so it doesn’t turn mushy under the sauce.
- Chicken cut: Breasts and thighs both work. Thighs are more forgiving on timing, breasts cook faster.
- Vegetables: Broccoli and carrots are the classic pairing. A steam-in-bag frozen stir fry blend is the fastest option.
- Sauce swaps: Ground ginger keeps this pantry-friendly. Fresh grated ginger gives a brighter, sharper flavor.
- Make extra sauce: It keeps at least a week in the fridge and makes the next teriyaki dinner nearly instant.
- Less sweet: Cut the brown sugar to 3 tablespoons and add an extra splash of vinegar.
- Storage & Freezing: Refrigerate in an airtight container up to 4 days. Reheat in the microwave 60 to 90 seconds with a teaspoon of water sprinkled over the rice. Chicken and rice freeze up to 3 months. Leave out steamed vegetables and cook fresh.
- Meal prep: Portion into four containers with the sauce kept separate, and add it at reheat so the rice stays fluffy.
Nutrition
Nutritional Disclaimer Kristin Maxwell of “Yellow Bliss Road” is not a dietician or nutritionist, and any nutritional information shared is an estimate. For accurate calorie counts and other nutritional values, we recommend running the ingredients through your preferred online nutritional calculator. Calories and other nutritional values can vary depending on which brands were used.

Do you have an easy recipe for fried rice?
I do! Egg Fried Rice
LOVE YOUR RECIPES! THANK YOU!
You are so welcome Lori and Hal! Thanks for stopping by.