This post may contain affiliate links. Please read our disclosure policy.
Taking photos at night is completely different than taking photos during the day! During the day you can usually just snap away, without much forethought or planning. At night, you have to plan in advance to get the right exposure and settings. This has it’s own challenges, but also ends up being very fun because it forces you to be creative and figure out how to make the picture you want.

Keep your shutter speed long, and your camera still.
The simple truth is that your camera needs light to make a picture. To get enough light at night time, you need to have your lens open for longer than you’re used to. The slowest speed most people can handhold a camera is about 1/60 of a second, and you’re going to be at a lot slower shutter speed than that for most night photos, even up to several seconds!
You may be interested in owning a tripod for the most flexibility, but you can also get creative with other options. You can set your camera on a table, stool or bookcase. You can also brace yourself against a wall, fence, or post. It doesn’t really matter what you do, you just need to figure out how to keep your camera perfectly still during the exposure. Even shutter speeds that are fast enough to handhold will benefit from keeping that camera steady and not moving.
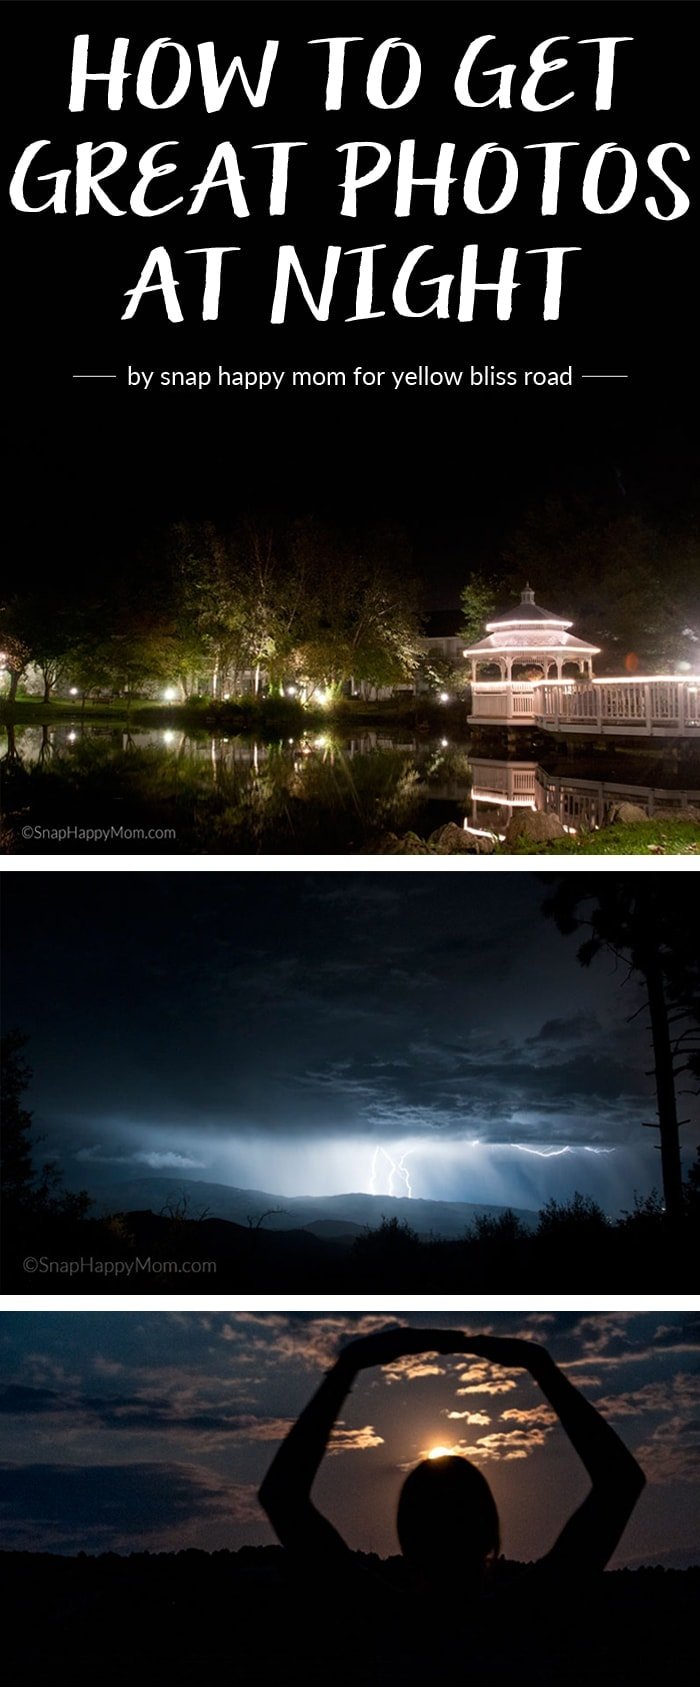
See that that glowing gazebo above?I took that picture at 1:00 AM with the camera braced against a lamp post! And you can too!
You may also want to use the timer-delay function on your camera to minimize camera movement as you press the shutter button. Even the slightest movement as you click the button can show up in night photography, so it’s to your benefit to have the shutter fire on a delay. You can also do this with a wireless remote, but the 2-sec self timer is a quick way to get the shot at night.
If you’re comfortable in shooting and editing in raw, now is the time to use it.
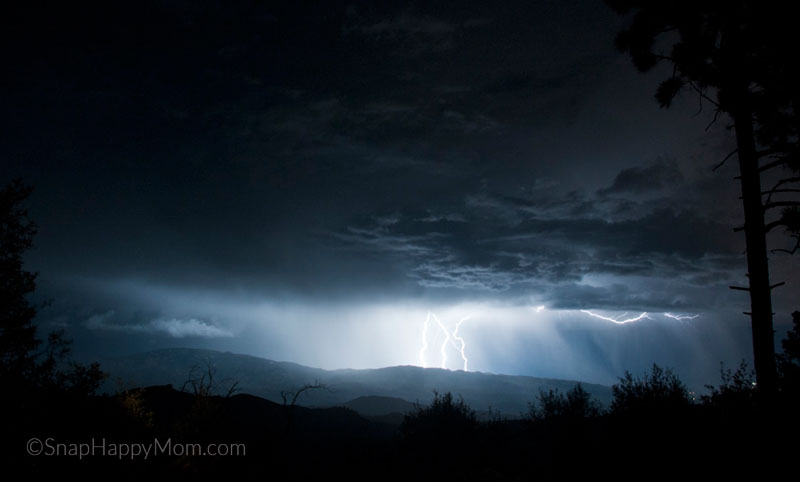
If you have a DSLR and the ability to edit in raw format, night-shooting is a fantastic opportunity to take advantage of all that data your camera records. Pictures that look too dark as JPGs can be selectively edited to bring up the highlights and midtones, and still keep the blacks really dark. I’ve taken many photos in RAW that I never would have been able to pull off if my camera recorded them as jpegs!
For instance, this jpg version of this lightning picture looked totally black except for a white blob in the middle. However, the raw version of the file was able to be edited to really show off the moody atmosphere of the storm and that lightning streak. Cool, huh? Not possible without shooting in raw!
Are there people in the shot? Get creative!
The above tips work for situations where your subject isn’t moving – but what do you do if there are people in the shot?
Well, first, keep your expectations fair. Portraits at night are never going to look like they do during the day. If you need an awesome picture of that Halloween costume then take it early, in the daytime! Instead, night photography of people is about creative, unique perspectives.
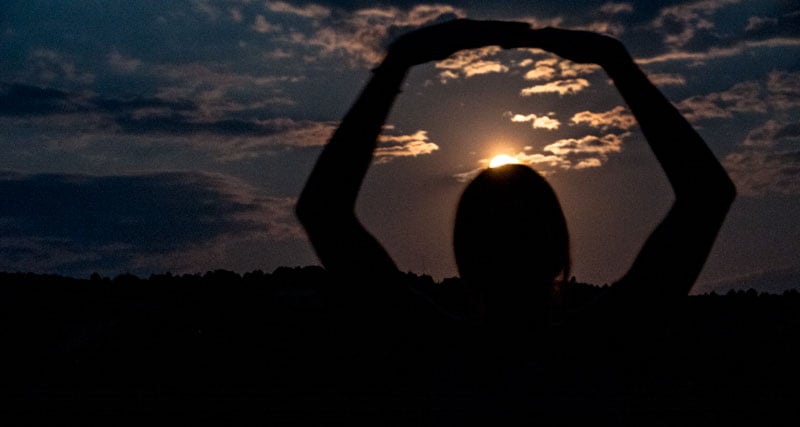
Silhouettes are really fun for backlit situations, like sunsets or beaches, where the light is all behind your subject. Just set your exposure for the light behind the people, and you’ll get dark outlines of the people. Make sure you focus on the people still, because
If you take pictures in the dark with flash, you’ll end up with your subject glowing and everything else really dark. I’m sure you know how awful this looks, so I’m not going to show you an example.
But, if you absolutely must get a picture of people at night, I recommend finding someplace with ambient lighting, and then adding a fill flash. Get as close as you can to ambient lighting at a store, park, or your front porch- and then you can pop up your flash too for some extra light to your subject. If possible, take pictures early in the evening instead of late at night, so it’s not completely dark outside.
Night time pictures are so fun! What pictures do YOU want to take next?


I love your photos!! 🙂 And thank you very much for the tips, I will definitely try them.
I really enjoyed your article. Great advice on taking pictures at night! I will definitely try these ideas.
Thanks, great article clearly written.
The lightning shot is fantastic!
Thanks. I just took a picture with my grandchild at night with the full moon behind her on the beach and it was not clear. I decided I needed to do some research. Your article helped a lot. -Donna Kinlaw