This post may contain affiliate links. Please read our disclosure policy.
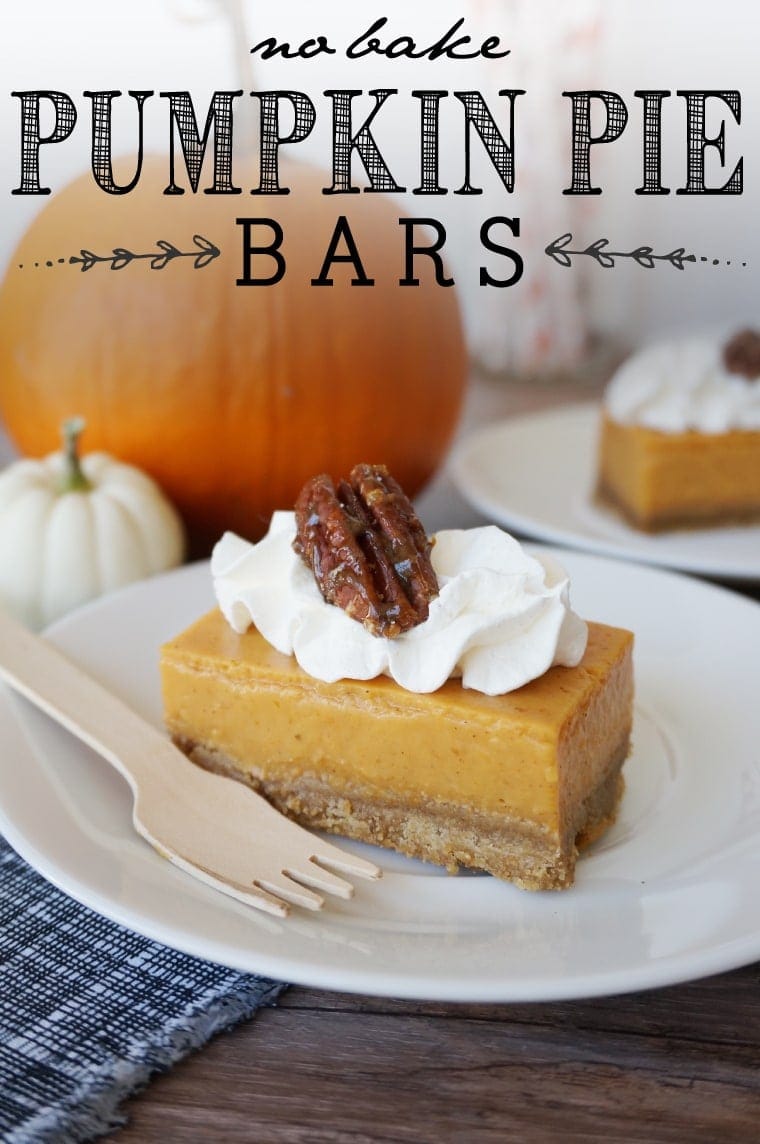
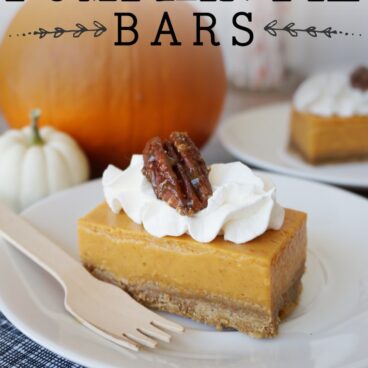
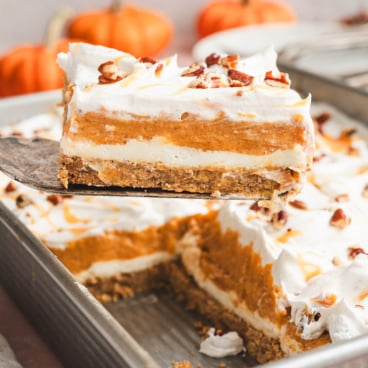
These no-bake, pumpkin pie bars are the perfect first bite of Fall, with a creamy pumpkin filling and a crispy graham cracker crust.
Why I Love This Pumpkin Treat
I love making pumpkin pie, but turning on my oven for an hour, when it’s still in the 90’s outside, just isn’t going to happen.
Fortunately, these no-bake, pumpkin pie bars are nearly identical to pumpkin pie, in both texture and taste. They’re the perfect way to enjoy pumpkin pie while it’s still warm out!
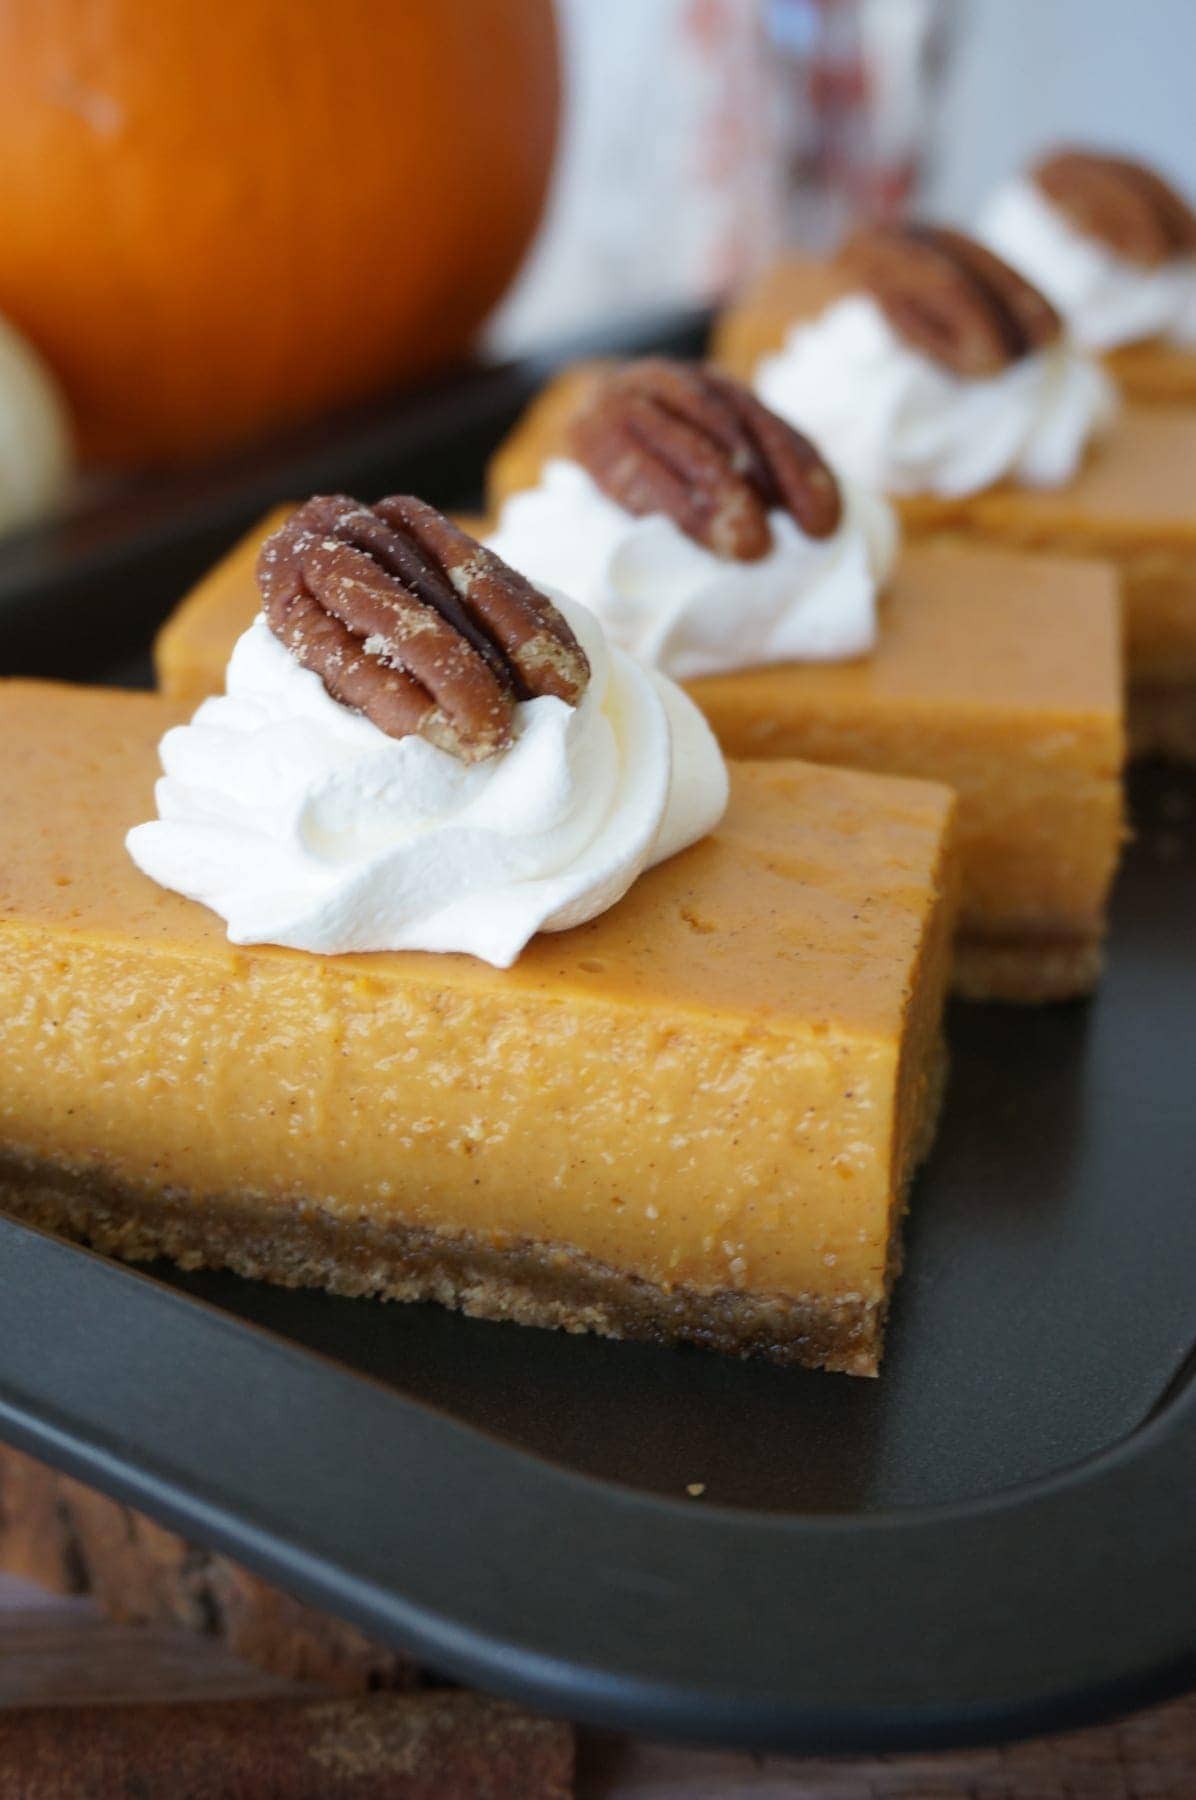
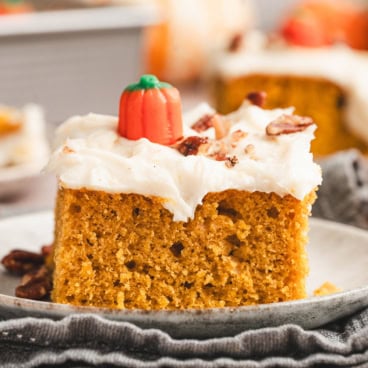
These pumpkin pie bars are served best chilled, with a little whipped cream and a candied pecan on top.
How to Make Pumpkin Pie Bars
- Make the graham cracker crust – crush the graham crackers into fine crumbs with a food processor. Mix with brown sugar and melted butter, then press into an 8×8 baking dish. Chill until the filling is ready.
- Heat milk and add pudding mix, whisk to combine until the mixture thickens and begins to boil.
- Stir in the pumpkin puree until smooth, then add spices (cinnamon, ginger, cloves), and salt.
- Pour the pumpkin filling onto the graham cracker crust and smooth out the top. Chill for 3 hours.
- To serve, cut into bars, Top each slice with a dollop of whipped cream and a candied pecan.
Storage
Store bars in an airtight container for up to 3-4 days. These can easily be made a day ahead of time, but should be enjoyed within a few days of making them.
Try These Fall Treats Next
- Pumpkin Pancakes
- Pumpkin Chocolate Chip Cookies
- Pumpkin Fritters
- Baked Pumpkin Donuts
- Thick and Fluffy Pumpkin Waffles
No-Bake, Pumpkin Pie Bars
Ingredients
Crust
- 10 whole graham crackers
- 6 tablespoon butter melted
- 1/3 Cup brown sugar
Pumpkin Filling
- 2 Cups whole milk
- 4.6 oz package vanilla cook-and-serve pudding (the big package)
- 1 Cup pumpkin purée
- 1/2 teaspoon ground cinnamon
- 1/4 teaspoon salt
- 1/4 teaspoon ground ginger
- Dash of ground cloves You really only need a dash. Even an ⅛ tsp is overpowering in this recipe
Instructions
Crust
- Crush the graham crackers in a food processor, blender, or plastic baggie with your hands, until you get fine crumbs.
- Add the brown sugar and melted butter to the graham cracker crumbs an mix until everything is the consistency of wet sand.
- Press the crumb mixture into your chosen dish (I use an 8×8 baking dish).
- Chill the crust while you make the pumpkin filling.
Pumpkin Filling
- In a medium pot, over medium-high heat, bring milk just to a boil.
- Pour in the pudding mix, and stir with a whisk until the mixture thickens and begins to boil.
- Turn the heat down to low.
- Mix in the pumpkin purée until smooth.
- Mix in the cinnamon, salt, ginger and cloves until they are evenly distributed throughout the mixture.
- Pour the pumpkin filling on top of the graham cracker crust. Smooth out the top by softly tapping the container, on the counter.
- Chill for 3 hours, or until the filling is firm.
- Cut into bars, and serve chilled or room temperature.
- Optional: Top with your favorite whipped topping and candied pecans.
Notes
Nutrition
Nutritional Disclaimer Kristin Maxwell of “Yellow Bliss Road” is not a dietician or nutritionist, and any nutritional information shared is an estimate. For accurate calorie counts and other nutritional values, we recommend running the ingredients through your preferred online nutritional calculator. Calories and other nutritional values can vary depending on which brands were used.
What size can pumpkin puree?
You need 1 cup of puree. It only comes in 15 ounce or larger. Save what you don’t use for another recipe.
I made these the other day and thought they tasted delicious. I do feel that the filling was just a little bit too loose and wonder if adding cream cheese to the batter wouldn’t help to stiffen them up. Thanksgiving is next week so I won’t be making them again right away but do think I’ll try it. Thank you for the recipe.
Do I have to use cook and serve pudding?