This post may contain affiliate links. Please read our disclosure policy.
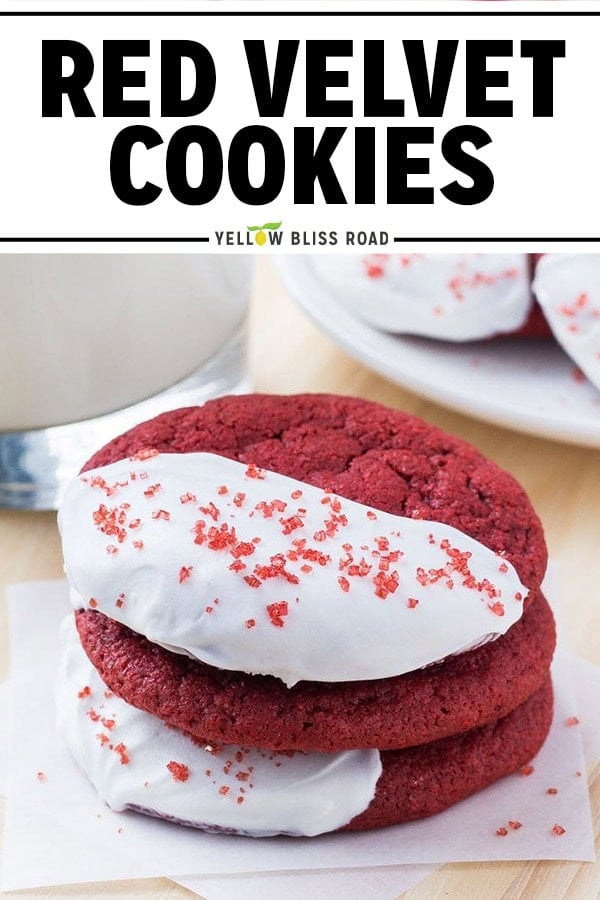
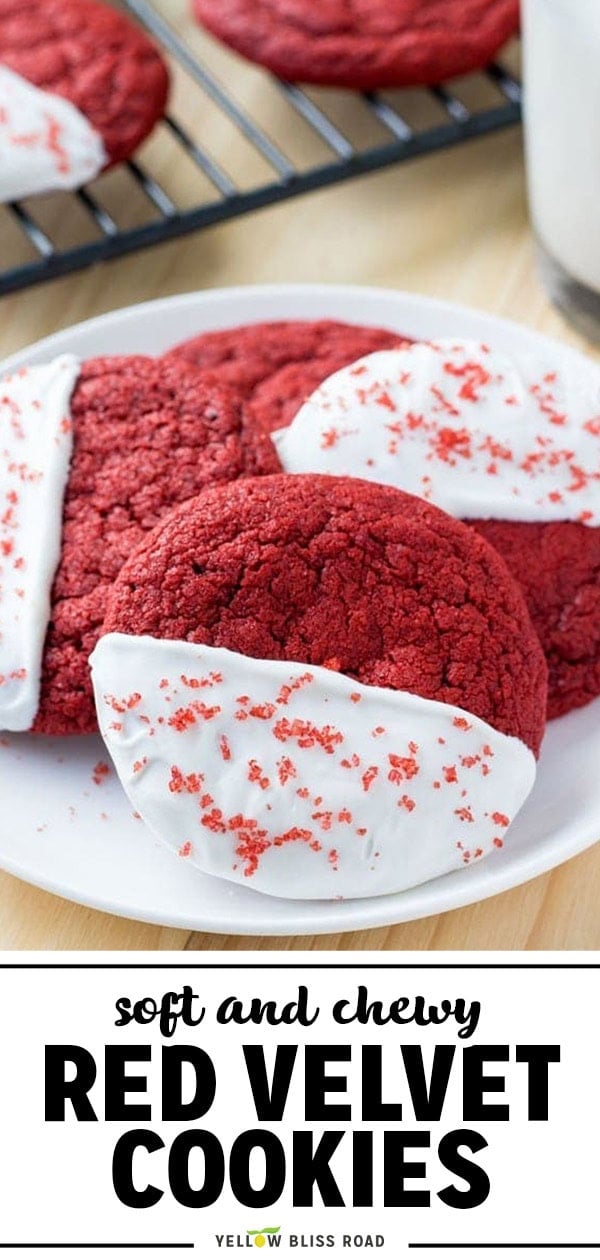
These soft and chewy Red Velvet Cookies have that classic red velvet flavor with a tender bite and beautiful bright red color. Dip them in white chocolate and add festive sprinkles for an easy, show-stopping treat that’s perfect for Christmas, Valentine’s Day, or any celebration.
Love red velvet? Try my Red Velvet Brownies next. For more holiday baking, these Frosted Sugar Cookies are always a hit.

3 Keys To Making Great Red Velvet Cookies
A few quick tips to make sure your cookies turn out perfectly soft and chewy every time:
- Use gel food coloring for the brightest red. Regular liquid food coloring works, but gel gives you that vibrant, eye-catching color without adding extra liquid to the dough. I use 2 to 3 teaspoons depending on how bold I want the color.
- Measure your flour correctly. Spoon the flour into your measuring cup and level it off rather than scooping directly from the container. Too much flour will make your cookies dry and dense instead of soft.
- Don’t overbake. Pull the cookies when the tops look just set, even if they seem slightly underdone. They’ll continue to firm up as they cool, and this is the secret to that perfect chewy center.

RECIPE WALK-THROUGH
How To Make Red Velvet Cookies
See the recipe card below for full, detailed instructions
Making these cookies is simple and the dough comes together quickly. Here’s how to get perfectly soft, chewy results every time.
Step 1: Mix the Butter and Sugars
Beat together the softened butter, white sugar, and brown sugar until light and fluffy. Using a combination of both sugars is key. The brown sugar adds moisture and chewiness, while the white sugar helps with structure and a slight crispness on the edges.
Step 2: Add the Wet Ingredients
Beat in the egg, vanilla extract, vinegar, and red food coloring. The vinegar is a traditional red velvet ingredient that adds a subtle tang and helps activate the baking soda. Don’t worry, you won’t taste it in the finished cookies!
- Note: Depending on how vibrant you want your cookies, use 2 to 3 teaspoons of food coloring. I usually go with 3 for that classic bold red.
Step 3: Combine the Dry Ingredients
In a separate bowl, whisk together the flour, cocoa powder, cornstarch, baking soda, and salt. The cornstarch is my secret for extra soft cookies. It keeps them tender and prevents them from getting tough.
- Pro Tip: Use a high-quality cocoa powder here. Red velvet is actually a chocolate flavor at its core, so good cocoa makes a difference.
Step 4: Bring the Dough Together
With your mixer on low speed, gradually add the dry ingredients to the butter mixture, mixing just until combined. The dough will be thick and slightly sticky. That’s exactly what you want.
Unlike some cookie recipes, you don’t need to chill this dough. The texture holds up well and the cookies won’t spread too much during baking.
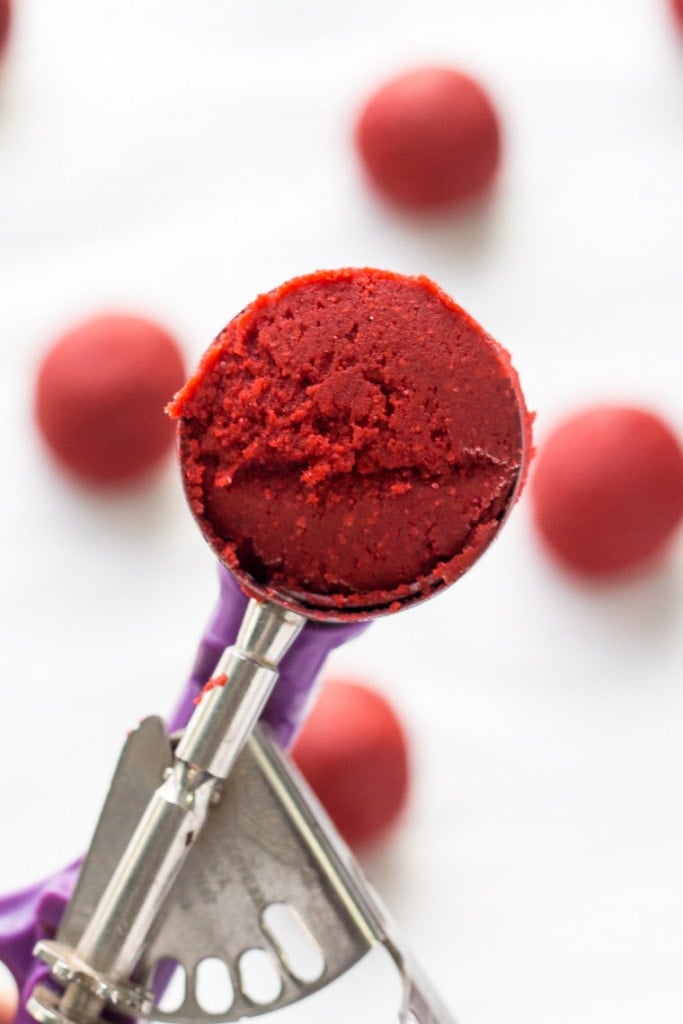
Step 5: Scoop and Bake
Use a medium cookie scoop (about 1 to 1.5 tablespoons) to portion the dough onto lined baking sheets. Space them about 2 inches apart to give them room to spread slightly.
Bake at 350°F for 8 to 10 minutes. The cookies are done when the tops look just set.
They may seem a little soft in the center, but they’ll firm up as they cool. Let them rest on the baking sheet for a few minutes before transferring to a cooling rack.
Decorating Red Velvet Cookies
Once the cookies are completely cool, it’s time for the fun part. The white chocolate dip adds sweetness that pairs beautifully with the subtle cocoa flavor, and sprinkles make them extra festive.
How To Melt the White Chocolate
I recommend using Wilton white candy melts or good quality white chocolate chips. Melt them in the microwave in 30-second bursts, stirring between each, until smooth.
- Pro Tip: If your chocolate starts to seize or get clumpy, add a tiny bit of coconut oil or vegetable shortening (about ½ teaspoon) and stir until smooth again.
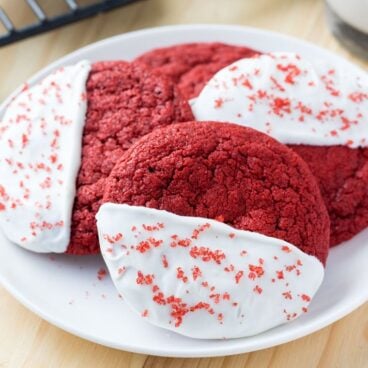
Dipping and Decorating
Dip half of each cookie into the melted chocolate, then set on parchment paper to set. Add sprinkles while the chocolate is still wet so they stick.
- For Christmas, try red and green sprinkles or crushed candy canes.
- For Valentine’s Day, heart-shaped sprinkles or pink and red nonpareils are perfect.
You can also crumble a cookie and sprinkle the crumbs on top for a simple, elegant look that works any time of year.
Storage Tips
Storage and Freezing
Storage: Keep cookies in an airtight container at room temperature for up to 3 to 4 days.
Freezing: Place cookies in a resealable freezer bag or container and freeze for up to 3 months. You can freeze them before or after dipping in chocolate.
Frequently Asked Questions
How do I get soft and chewy red velvet cookies?
The key is using both brown sugar (for moisture) and cornstarch (for tenderness), plus not overbaking. Pull the cookies from the oven when the tops look just set. They’ll firm up as they cool but stay soft in the center.
What kind of white chocolate works best for dipping?
Wilton white candy melts work great because they melt smoothly and set up nicely. White chocolate chips also work, though they may need a touch of coconut oil to thin them out for easy dipping.
Why is there vinegar in red velvet cookies?
Vinegar is a classic red velvet ingredient! It reacts with the baking soda to help the cookies rise and adds a very subtle tang that balances the sweetness. You won’t taste it in the finished cookies.

More Cookie Recipes To Try
Whether you’re building a holiday cookie box or just craving something sweet, these recipes are reader favorites:
- Cheesecake Cookies
- Chocolate No Bake Cookies
- Caramel Stuffed Snickerdoodle Cookies
- Butter Cookies
- Ricotta Cookies
Red Velvet Cookies
Ingredients
- 1/2 cup unsalted butter softened
- 1/2 cup white sugar
- 1/3 cup brown sugar
- 1 large egg
- 2 teaspoons vanilla extract
- 1 teaspoon vinegar
- 2 – 3 teaspoons red food coloring liquid or gel
- 1 2/3 cup all-purpose flour
- 1 1/2 tablespoons cocoa powder
- 2 teaspoons cornstarch
- 3/4 teaspoon baking soda
- 1/4 teaspoon salt
- 8 oz white candy melts or white chocolate
- Sprinkles
Instructions
- Preheat the oven to 350°F and line 2 cookie sheets with parchment paper or silicone baking mats.
- In a large bowl, beat together the butter, white sugar, and brown sugar using an electric mixer until light and fluffy.
- Beat in the egg, vanilla extract, vinegar, and food coloring until well combined.
- In a medium bowl, whisk together the flour, cocoa powder, cornstarch, baking soda, and salt.
- With the mixer on low speed, gradually add the flour mixture to the butter mixture, mixing just until combined. The dough will be thick and slightly sticky.
- Use a medium cookie scoop to form balls about 1 to 1.5 tablespoons in size. Place 2 inches apart on the prepared baking sheets.
- Bake for 8 to 10 minutes, or until the tops are just set. The cookies will look slightly underdone but will firm up as they cool.
- Let cookies cool on the baking sheet for 5 minutes, then transfer to a wire rack to cool completely.
- Melt the candy melts in a microwave-safe bowl in 30-second bursts, stirring between each, until smooth.
- Dip half of each cookie in the melted chocolate, place on parchment paper, and decorate with sprinkles before the chocolate sets.
Notes
- For the brightest red color: Use gel food coloring rather than liquid. It gives more vibrant color without adding extra moisture to the dough.
- Measure flour correctly: Spoon flour into your measuring cup and level off. Scooping directly can pack in too much flour and make cookies dry.
- Don’t overbake: Pull cookies when tops look just set. They’ll continue firming up as they cool.
- Brown sugar matters: The combination of brown and white sugar gives these cookies their chewy texture. Don’t substitute all white sugar.
- Cornstarch = soft cookies: This is the secret ingredient that keeps cookies tender. Don’t skip it!
- If chocolate seizes: Add ½ teaspoon coconut oil or shortening and stir until smooth.
- Storage: Keep in an airtight container at room temperature for 3 to 4 days.
- Freezing: Freeze baked cookies (dipped or undipped) in a freezer bag for up to 3 months.
Nutrition
Nutritional Disclaimer Kristin Maxwell of “Yellow Bliss Road” is not a dietician or nutritionist, and any nutritional information shared is an estimate. For accurate calorie counts and other nutritional values, we recommend running the ingredients through your preferred online nutritional calculator. Calories and other nutritional values can vary depending on which brands were used.


I can’t wait to try this recipe
Hi Lisia, give it a try and let us know here in the comments. Thanks for stopping by.
Thank you for posting this delicious recipe. I just made these today and they are Amazing!! Definitely a keeper, especially around the Holidays!!!
You are so welcome Monica! Thanks for stopping by.
My daughter loves these. Thank you for sharing.
You are so welcome Rebecca! Thanks for stopping by.
Made for a Christmas party and they were all gone by the end! They came out super pillowy and soft but still rich and velvety. Awesome recipe, I only added green and red sprinkles for the season. I tripled the recipe and got around 60 cookies (but I’m a little heavy handed)
Nice Thanks for stopping by Lyah and for sharing your feedback.
What do you mean white sugar
? Granulated or confectioners?
Granulated sugar is often referred to as white sugar. Confectioners sugar is referred to as powdered sugar.
This is the third red velvet cookie recipe I’ve tried for my nephew’s birthday, and the first that came out both red and velvety. Everyone loved them – thanks!
You are so welcome Cinny! Thanks for stopping by.
These came out FANTASTIC. They’re so soft and almost marshmallow-y, and the sweetness is just right, not too much and not too little. I love them.
Love the feedback Taylor! Thanks for stopping by.
why can i print some recipes and not others
Hi Sandra – usually it’s an issue with your browser. I recommend refreshing, trying a different browser, or clearing your cache.
Hi I tried this recipe and it’s absolutely delicious! Super soft. I do have a question though, my cookies didn’t turn out as flat as how you have pictured. After I formed them into a ball they didn’t flatten out as much. What can I do to ensure they flatten how you have them in your pictures?
You can press the dough balls down a little, like with the flat bottom of a glass.
These turned out amazing! Thankyou
You are so welcome Deann! Thanks for stopping by.
Could I use a cookie cutter to provide a tombstone shape for Halloween? Or will the dough not work.
Sure!
Delicious!! My daughter just made these, didn’t change a thing, and we just had some awesome red velvet cookies. Recipe yielded 19 with 1 1/2 TBSP scoop…they are chewy and scrumptious!
That’s awesome Tiners! Thank you for the feedback.
Roughly about how many cookies will this batter bake?
Recipe states that it will yield roughly 18 cookies.
Unsweetened cocoa powder ok to use?
Yes, it’s unsweetened cocoa powder.
Is it ok if I add chocolate chips?
Sure I think that would be delicious!
What are the nutritional facts for these cookies?
Hi Rosa, We are working to update the recipes on this site with nutritional information. It’s a lengthy process that takes some time, but we hope to have it for this recipe soon. In the meantime, I recommend checking out myfitnesspal.com as a great tool.
I know the recipe says no chill time, but could I chill the dough, scoop it into balls, store in an ziplock bag and bake the next day? I’m prepping for holiday baking and it would make it much easier but I find that some recipes that say no chill time don’t turn out the same if I store the dough in the fridge overnight.
Yes you could chill the dough. The cookies may not spread very much so you might want to press them down slightly or let them sit out a bit before baking.
Sweetened or unsweetened cocoa powder?
Unsweetened.
What kind of vinegar?
Just plain white vinegar.
These cookies look beautiful (I love the bright red!) and so delicious. Will definitely try them soon.