This post may contain affiliate links. Please read our disclosure policy.
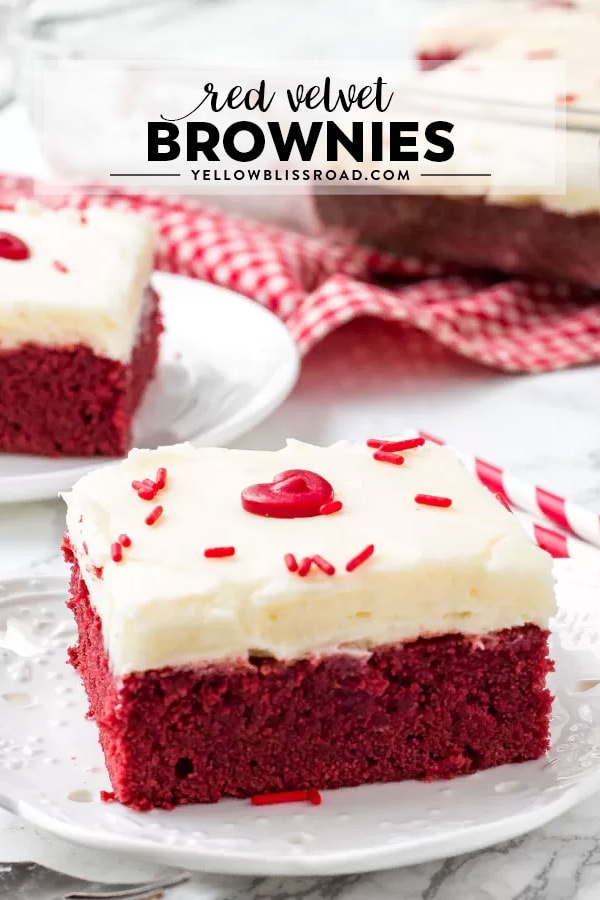
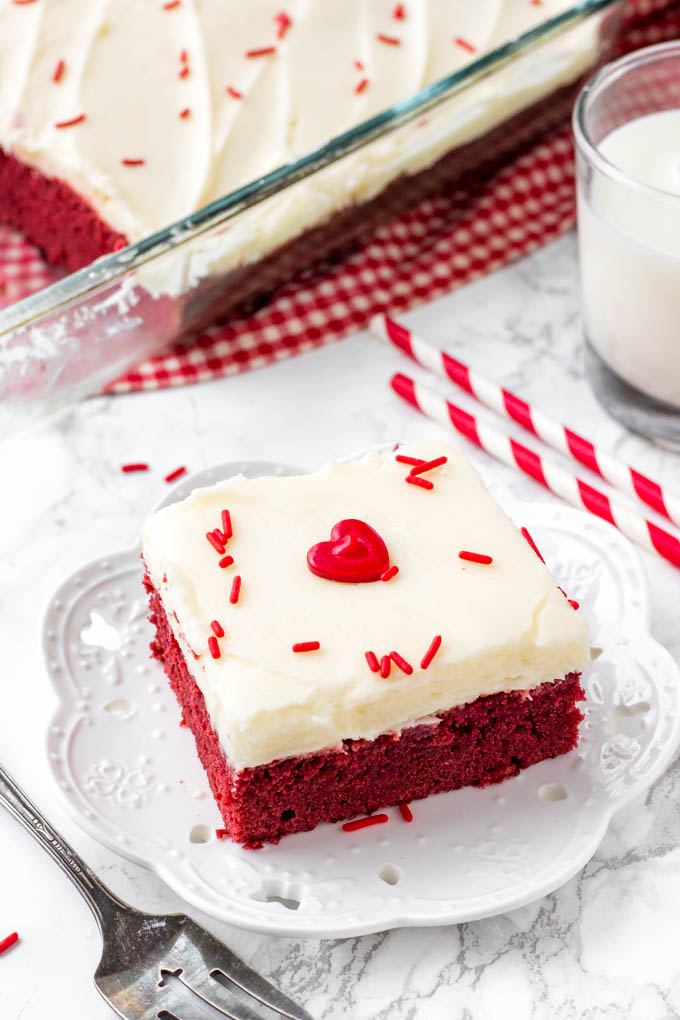
These easy Red Velvet Brownies are extra fudgy with a hint of cocoa and bright red color. Topped with cream cheese frosting – they’re the perfect Red Velvet Brownie recipe.
Valentine’s Day is coming and I’ve been planning our Valentine’s Day dinner menu, which will include some of our more elegant recipes, like Easy Baked Salmon, One Pan Garlic Parmesan Pasta and of course the best Red Velvet Brownies for dessert.
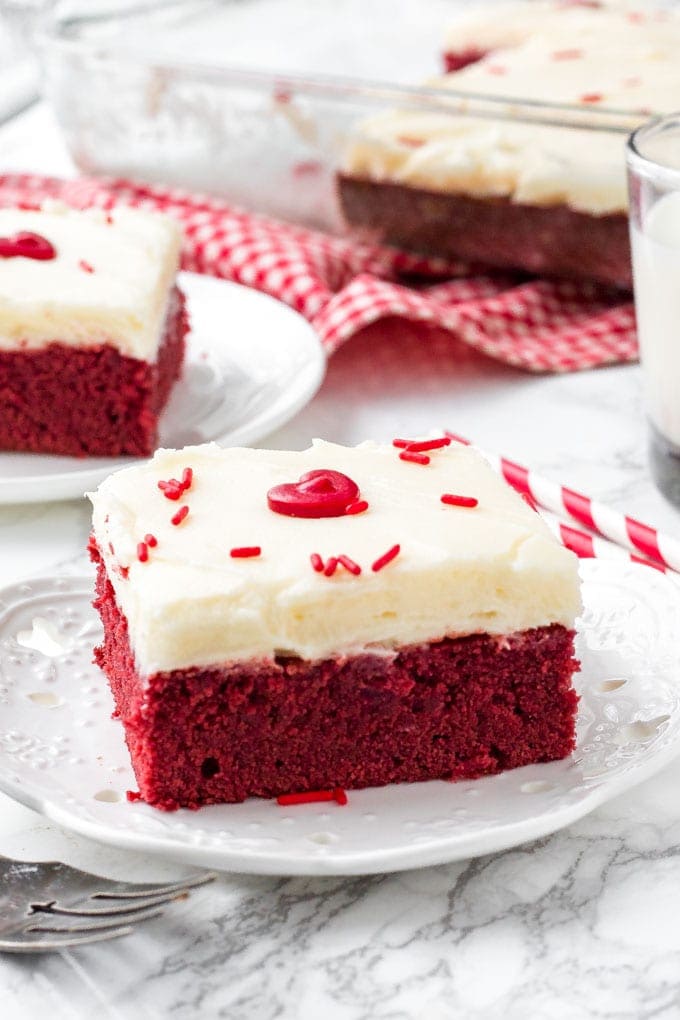
When it comes to these red velvet brownies with cream cheese frosting, you really can’t go wrong. They have a deliciously fudgy, chewy texture with a mild chocolate flavor and beautiful red hue. They have a slight tanginess – and the creamy frosting makes them extra drool-worthy.
You might be used to red velvet cake – but cake can get a little complicated with the layers and all that, so I like making it in bar form. It tasted just like the cake but has a chewier texture and you don’t have to eat it with a form – win/win!
What is Red Velvet?
Red velvet brownies have a very distinct flavor – slightly tangy with a hint of cocoa. Obviously the color though is what sets the cake apart.
In a typical red velvet cake, the deep red color is caused by a reaction between buttermilk, white vinegar, and cocoa powder. Since we are making a chewy brownie instead of a fluffy cake, the ingredients are a little different. Instead of cocoa powder, I use melted chocolate chips to get a rich, chewy texture. The bright red shade comes from food coloring.
How to Make Red Velvet Brownies from Scratch
I experimented with this recipe a lot to get the perfect red velvet flavor and fudgy brownie texture. Here’s the rundown of the recipe:
- First, we melt together the butter and chocolate chips. I found that using chocolate chips instead of cocoa powder gave a fudgier texture.
- Then whisk in the sugar, food coloring and vanilla extract. You can use 1-2 tablespoons of red food coloring. I used 2 tablespoons for the vibrant red color you see pictured. I typically use gel food coloring when I have it available because it packs a bit more punch, but liquid works just as well.
- Allow the mixture to cool a little (so that you don’t scramble the eggs), and then whisk the eggs in one at a time. Be careful not to whisk the eggs too much – otherwise, you get too much air in the texture which leads to cakier brownies.
- Then gently fold in the flour, followed by a little vinegar. Vinegar helps to give red velvet its classic flavor that’s almost a little tangy – so don’t leave it out!
- Bake the brownies for 25-30 minutes at 350 degrees F. When they’re done the top should look set and an inserted toothpick should come out clean or with a few damp crumbs. Ovens vary though. Just be careful not to overbake the brownies, or they can get dry.
- Once they’re cooled, it’s time to get on with the cream cheese frosting. It’s creamy, tangy and the perfect topping for these red velvet brownies.
How to Make Cream Cheese Frosting
You only need 5 ingredients for this recipe: butter, cream cheese, powdered sugar, vanilla extract & a little salt. Make sure to use full-fat brick style cream cheese (not spreadable or lite). Your butter and cream cheese should be warmed up to room temperature before getting started, but not melty.
- First beat the butter until fluffy, then mix in the cream cheese.
- Add in the vanilla extract & salt.
- Then with the mixer on low speed, beat in the powdered sugar about 1 cup at a time until it’s smooth and creamy.
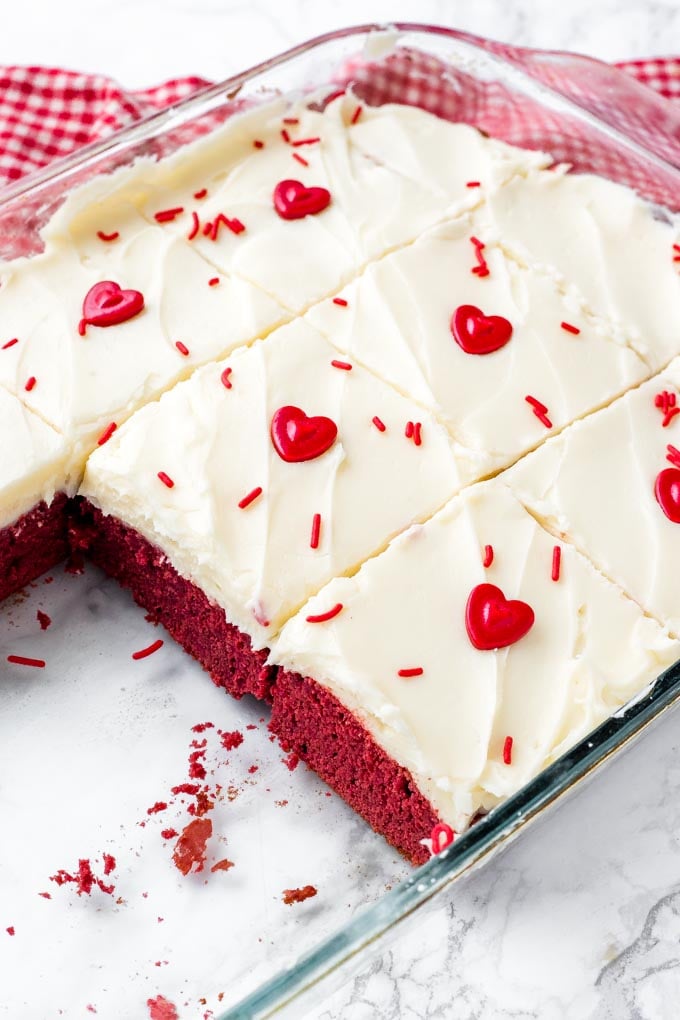
Frost the brownies once they’re fully cooled (you can pop them in the fridge to speed up the process if you need), then optionally add a few sprinkles on top. I often make Red Velvet Brownies for Valentine’s Day or Christmas – so I’ll add some holiday sprinkles to decorate.
If you aren’t a big fan of cream cheese frosting, you can add in 1 cup of white chocolate chips to the red velvet brownie batter instead for a little extra sweetness.
Does Cream Cheese Frosting need to be refrigerated?
Baked goods topped with Cream Cheese Frosting can sit out safely for 2 hours, after which time they need to be refrigerated to prevent spoiling. These Red Velvet Brownies will need to be stored in the fridge.
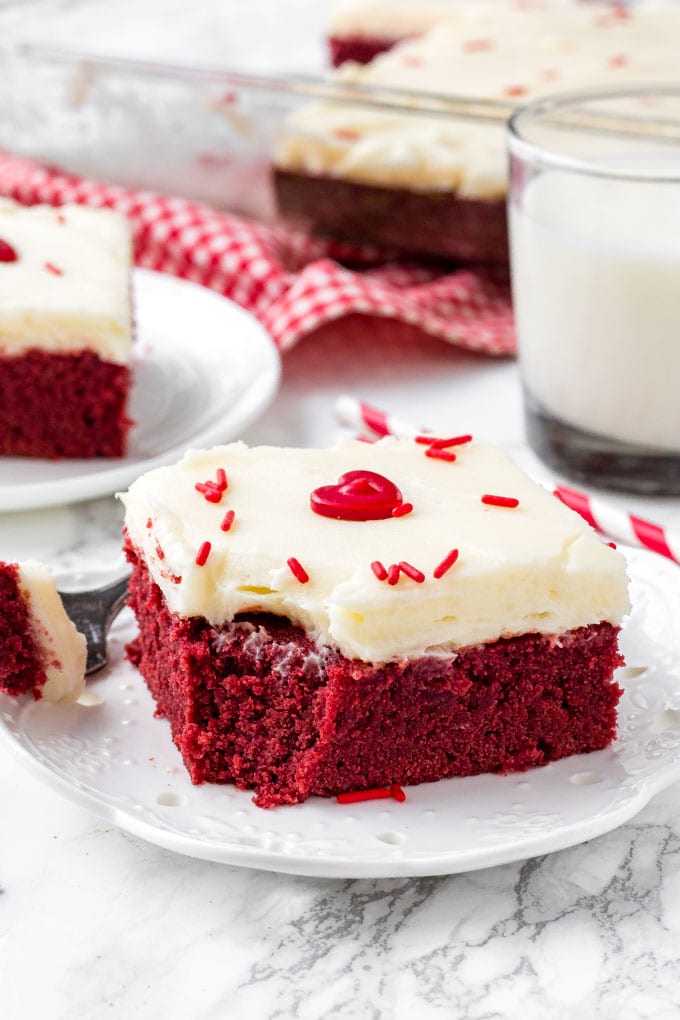
These red velvet brownies with cream cheese frosting are such a decadent treat that are the perfect switch-up for making traditional brownies. Easy, fudgy, pretty red color & tons of cream cheese frosting!
More Red Velvet Recipes To Try
- Red Velvet Chocolate Chip Cookies
- Red Velvet Cake Mix Cookies
- Pink Velvet Cake Roll
- Red Velvet Cake Mix Bars
Red Velvet Brownies
Ingredients
Red Velvet Brownies
- 1 cup unsalted butter
- 3/4 cup semi-sweet chocolate chips ( 4.5 oz)
- 2 cups white sugar
- 1-2 tablespoons red food coloring
- 1 teaspoon vanilla extract
- 4 large eggs
- 1 3/4 cups all-purpose flour
- 1 tablespoon white vinegar
Cream Cheese Frosting
- 1/2 cup unsalted butter softened
- 8 oz cream cheese brick style, full-fat
- 1 teaspoon vanilla extract
- 1/4 teaspoon salt
- 3 cups powdered sugar
Instructions
Red Velvet Brownies
- Preheat the oven to 350F degrees. Lightly grease a 9x13 inch pan.
- Add the butter and chocolate chips to a large heat-proof bowl.
- Microwave on medium power for 1 minute. Remove from the microwave and stir. Repeat the process until they're melted together.
- Whisk in the sugar, vanilla extract & red food coloring.
- Allow the mixture to cool for a few minutes, then whisk in the eggs. Only whisk until just combined.
- Gently fold in the flour with a rubber spatula or wooden spoon. Stir in the vinegar.
- Pour/spoon the batter into the prepared pan. .
- Bake in the preheated oven for 25-30 minutes or until the top looks set and an inserted toothpick comes out clean or with a few damp crumbs. Be careful not to overbake or brownies can get dry
Cream Cheese Frosting
- In a large bowl beat the butter until fluffy (about 2 minutes).
- Mix in the cream cheese until just combined. Then add in the vanilla extract & salt.
- With the mixer on low speed, beat in the powdered sugar about 1 cup at a time until the desired sweetness & thickness is reached.
- Frost the cooled brownies with a flat knife, and optionally decorate with sprinkles.
Notes
Nutrition
Nutritional Disclaimer Kristin Maxwell of "Yellow Bliss Road" is not a dietician or nutritionist, and any nutritional information shared is an estimate. For accurate calorie counts and other nutritional values, we recommend running the ingredients through your preferred online nutritional calculator. Calories and other nutritional values can vary depending on which brands were used.

These sound yummy! I have a pan that has individual heart cavities designed to create individual brownies, so not the shallow type pan intended for heart shaped cookies. How long do you think I should bake them? Or at least start checking them? And would the toothpick checking method work? Thanks!
Hi Lyn, I haven’t used this type of pan before, so I’d probably ere on the side of caution and start checking after 12-15 minutes. Maybe even sooner just to get a good idea of where they are at.
These would be great with an Ermine Buttercream, the classic, and authentic, frosting for a Red Velvet Cake.
Great idea Bunny! Thank you for stopping by!