This post may contain affiliate links. Please read our disclosure policy.
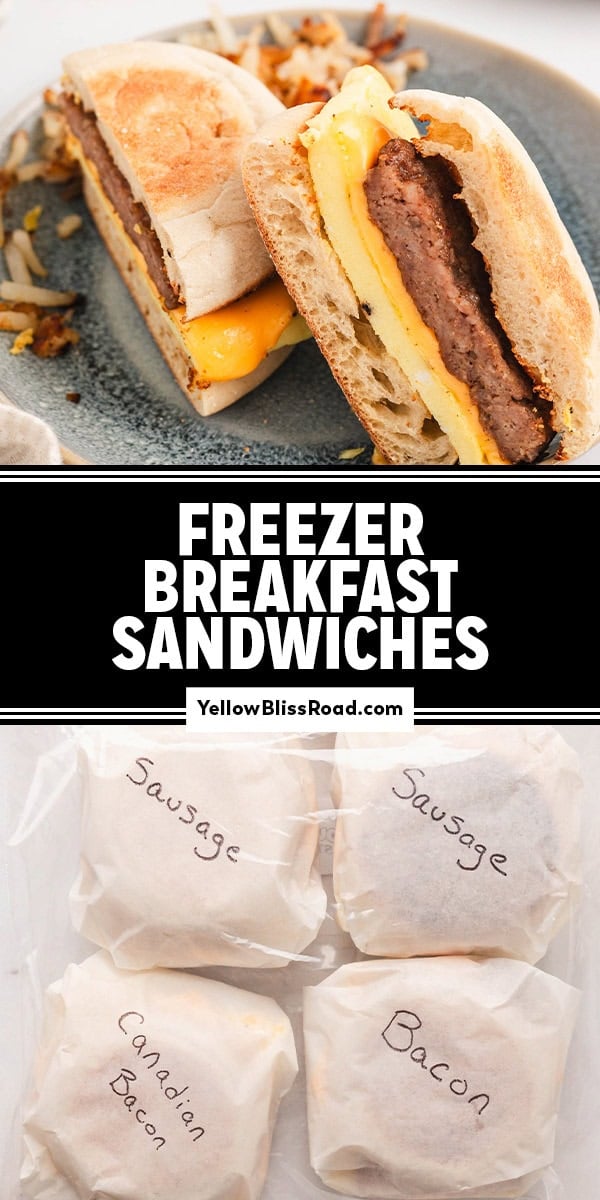
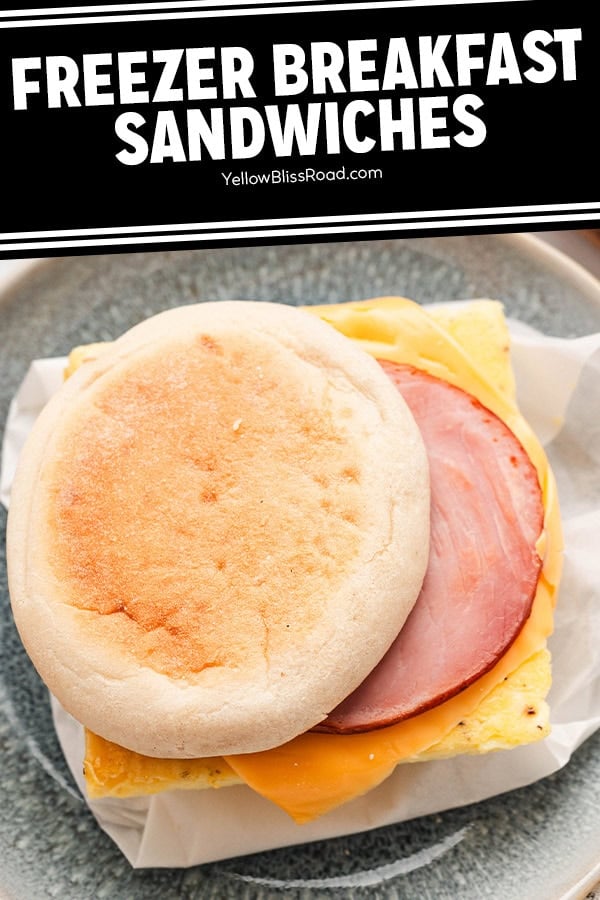
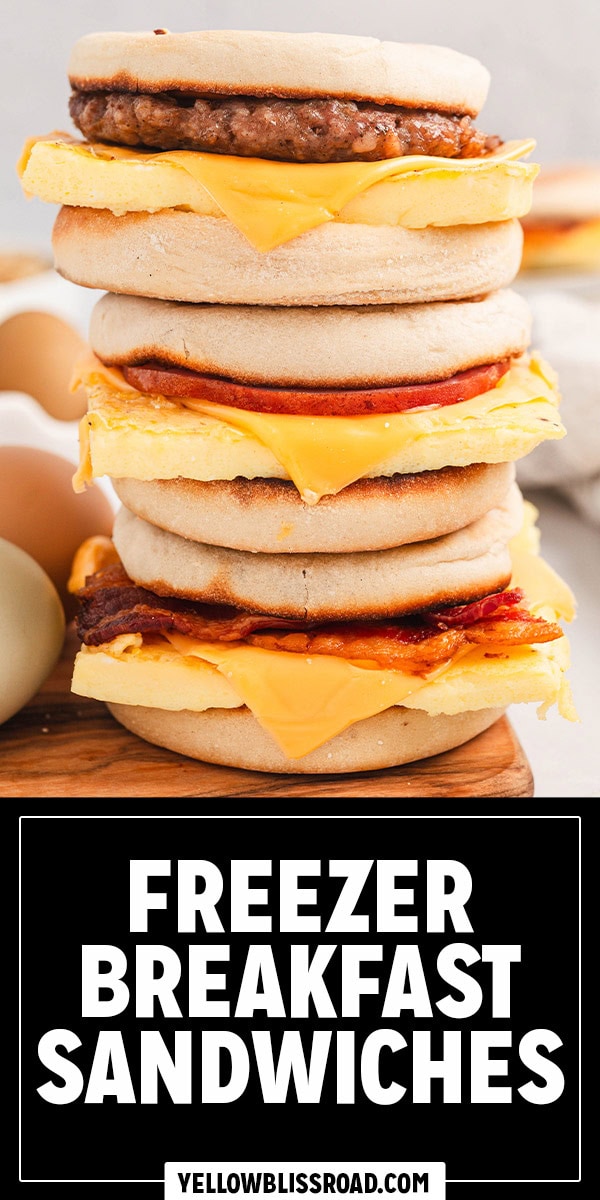
Freezer Breakfast Sandwiches are a game-changer for busy mornings. Stash these premade sandwiches, stuffed with eggs, cheese and assorted breakfast meats, in your freezer so when you’re running late or just need a quick meal, you can pop one in the microwave and have breakfast ready in minutes.
Want more quick and easy breakfasts? Try my Breakfast Quesadillas or Freezer Breakfast Burritos.
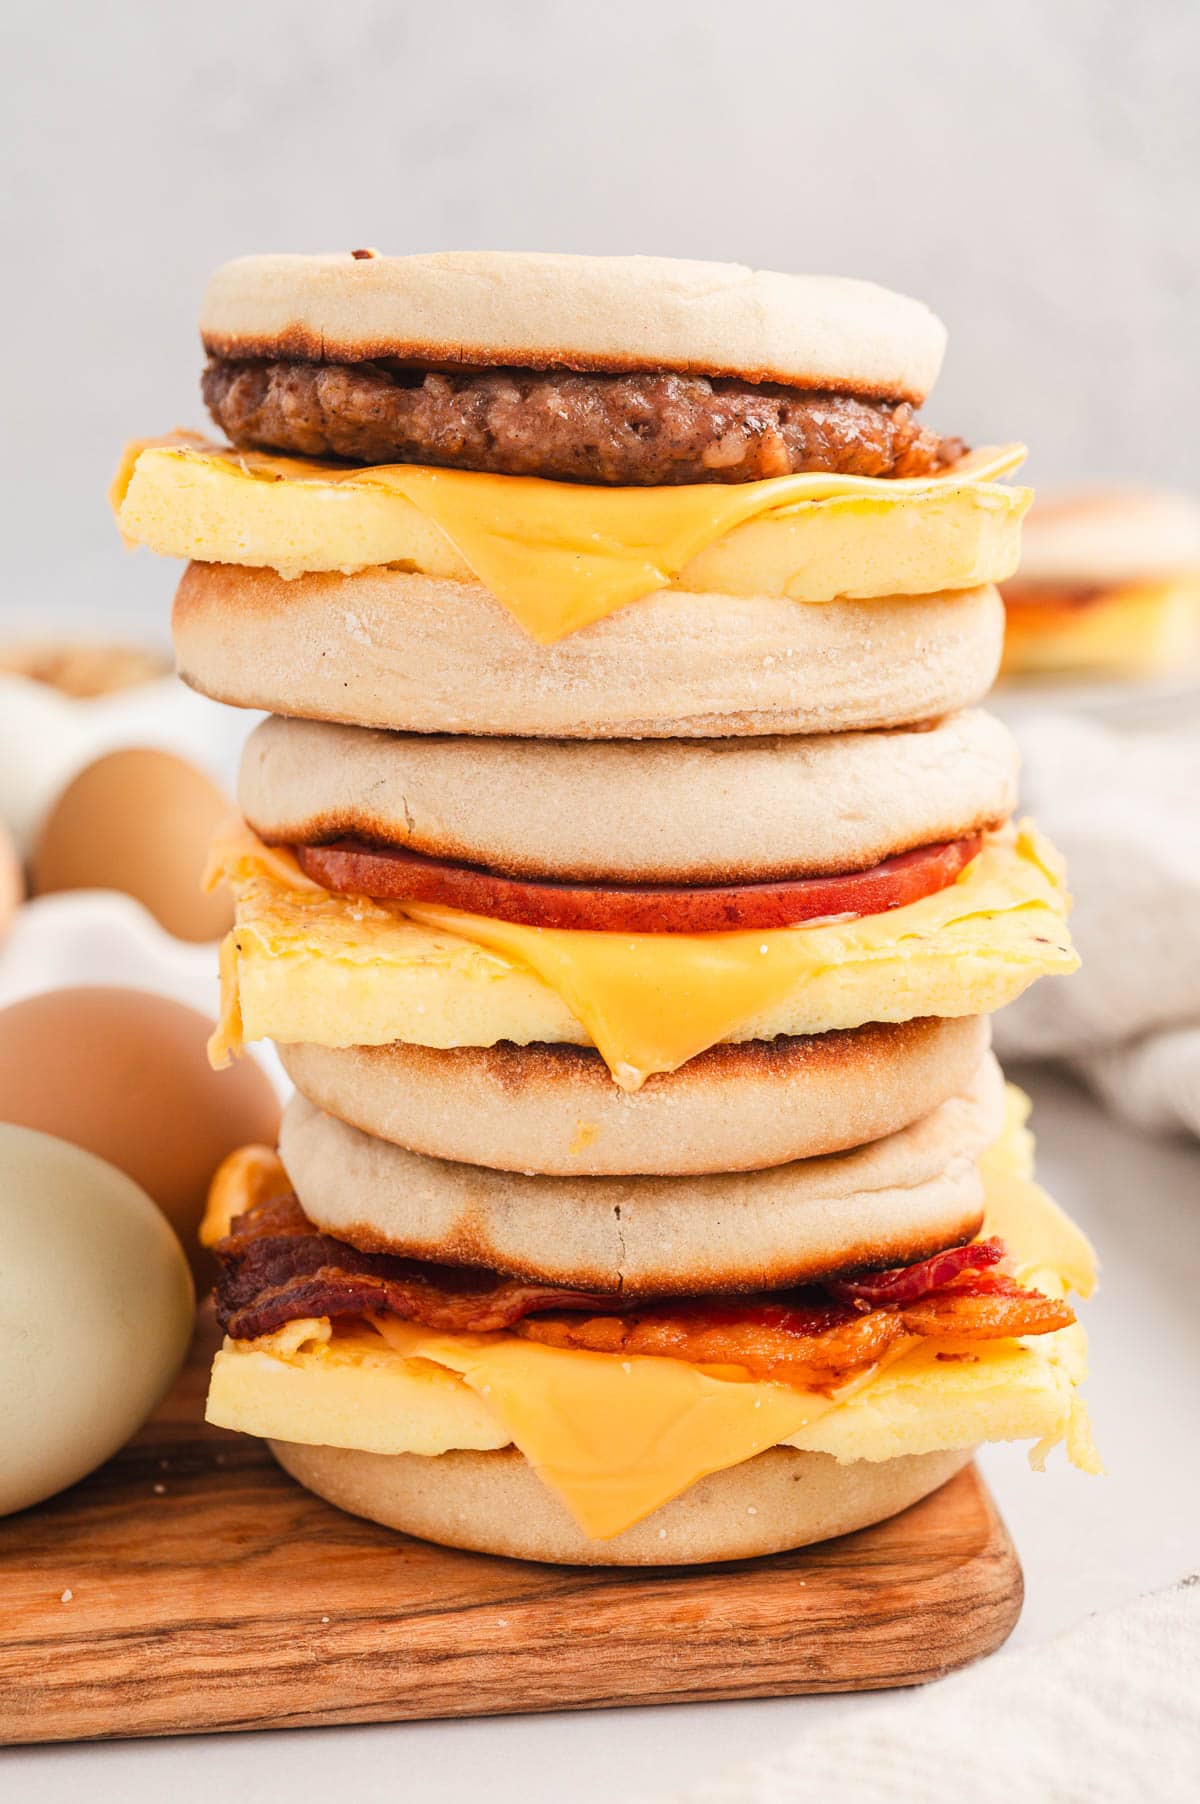
Why We Love This Recipe
- Versatility. You can customize them with your favorite ingredients, like eggs, cheese, and various meats or veggies, to suit your taste.
- Make-ahead friendly. Prep the sandwiches in advance, wrap them in parchment paper (be sure to label them) and then pop them in a freezer bag and into the freezer for up to 3 months. You can also wrap and refrigerate for up to 3 days, or eat them right away.
- The perfect grab-and-go breakfast. My teens love when these are ready to go for them before school. I can pop them in the microwave for them while they’re getting ready, and they can grab them on their way out the door.
RECIPE WALK-THROUGH
How To Make Freezer Breakfast Sandwiches
See the recipe card below for full, detailed instructions
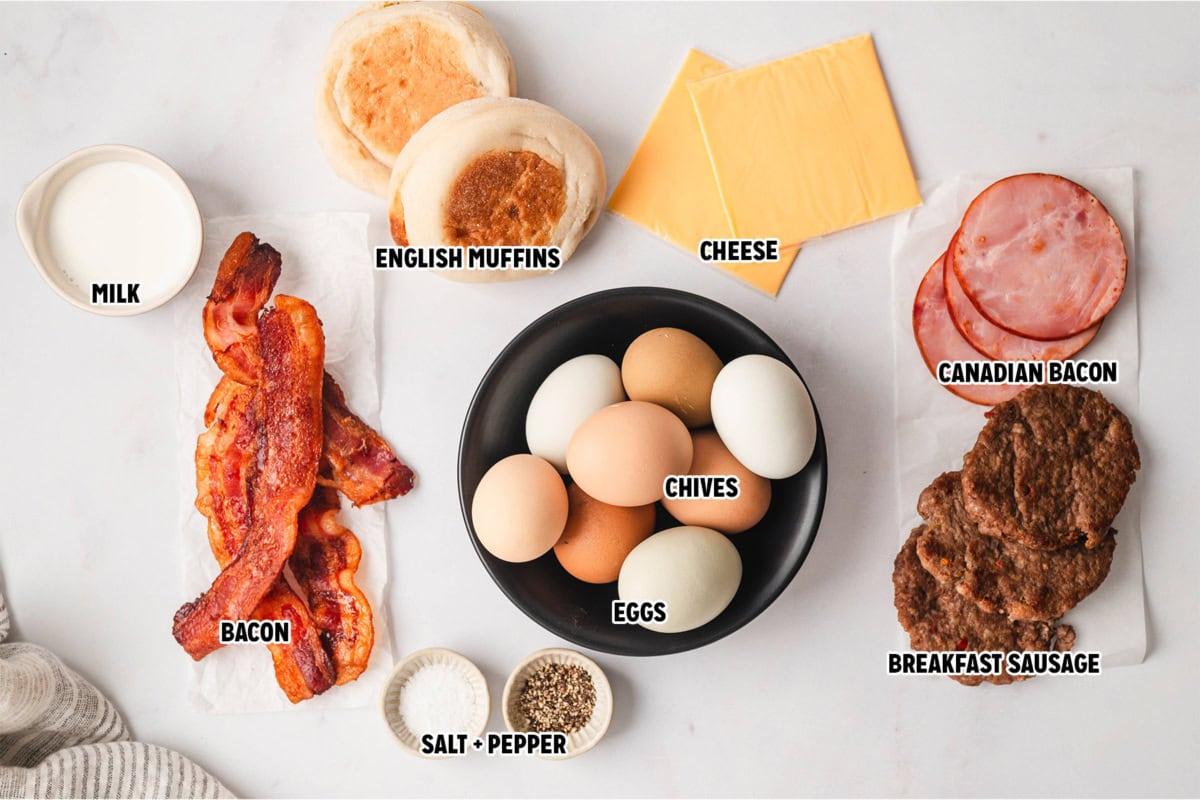
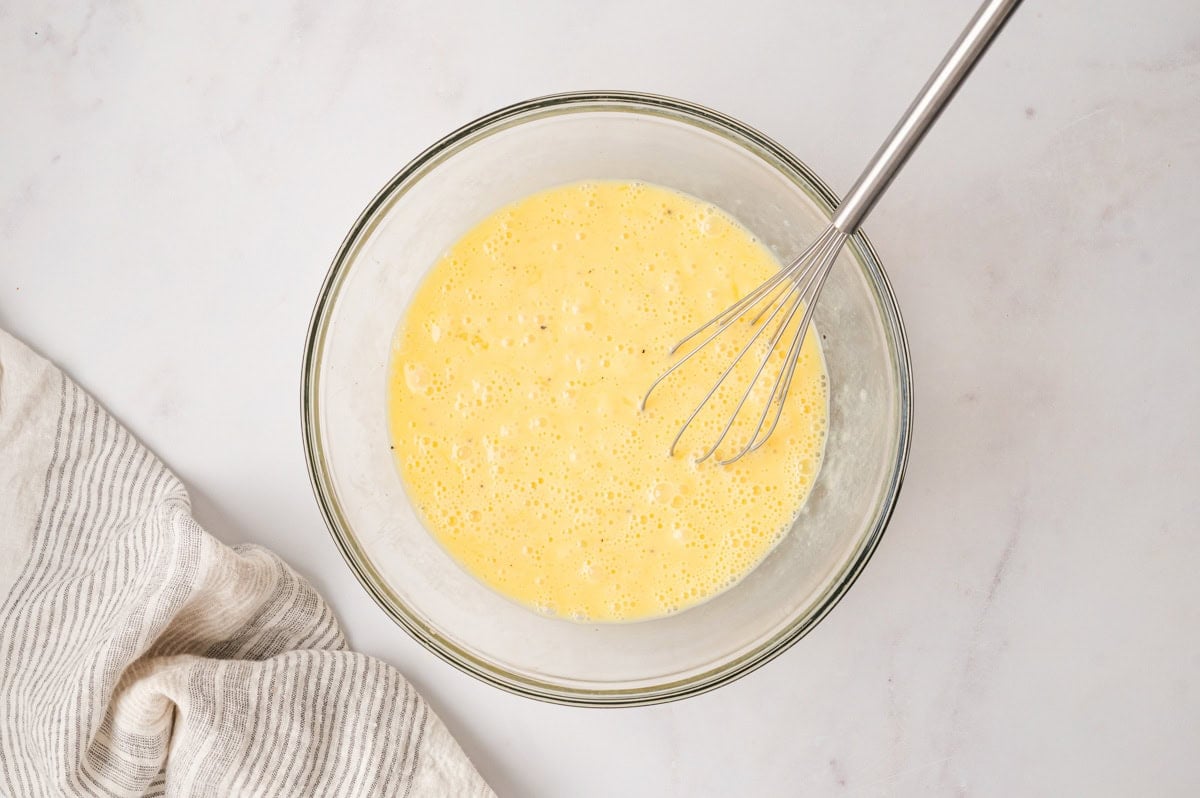
Prep the eggs: Whisk the eggs and seasonings together in a large bowl. Whisk vigorously; the more air you can incorporate, the fluffier your eggs will be.
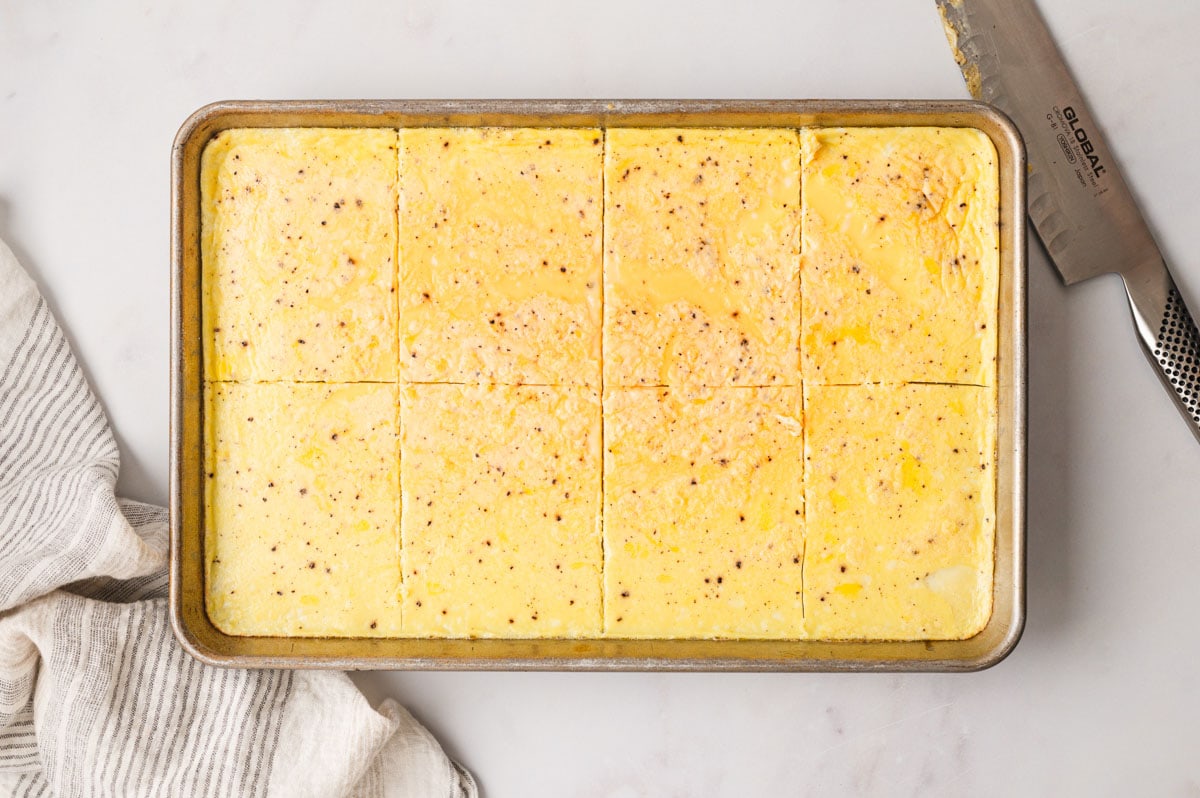
Bake the Eggs: Pour the eggs into a sheet pan and bake at 350℉ for 15 minutes or until the eggs are just barely set. For thicker eggs, you can use an 11×7-inch pan like I do for my breakfast sliders. When eggs are set and slightly cooled, cut eggs into 8 squares. You could also cut into 12 smaller squares to get a little more bang for your buck.
Be careful not to overcook the eggs. You want them to be just barely set, as they will cook more when you reheat the breakfast sandwiches.
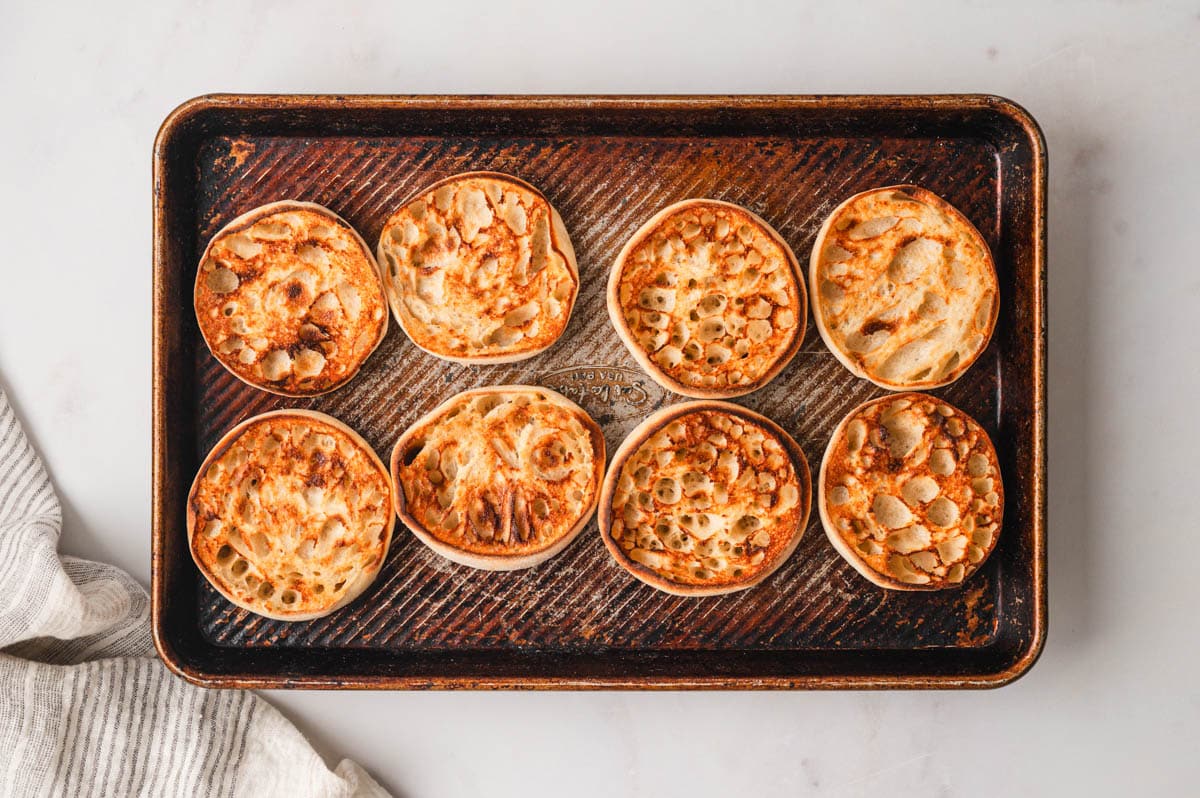
Toast the Muffins: Broil the English muffins cut side up on a sheet pan just until the tops are lightly toasted.
Don’t skip toasting the English muffins. This step helps to keep the inside of the frozen breakfast sandwiches from getting soggy.
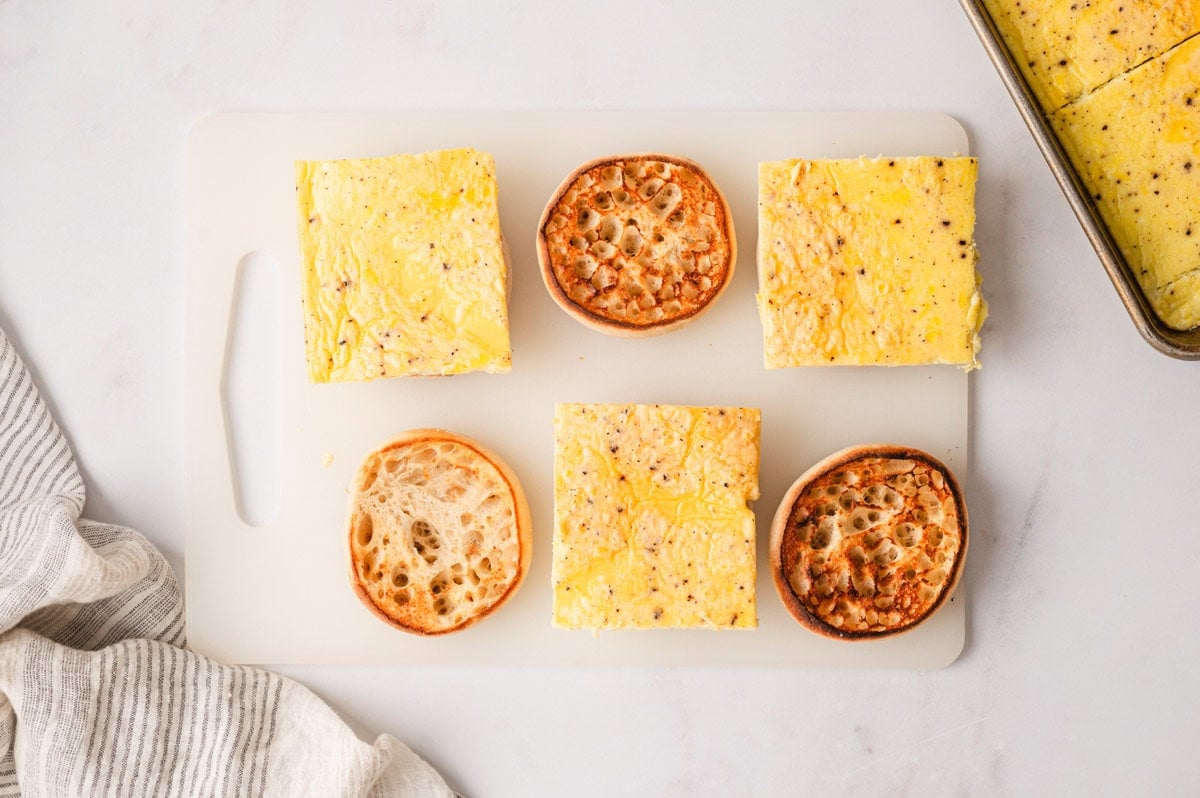
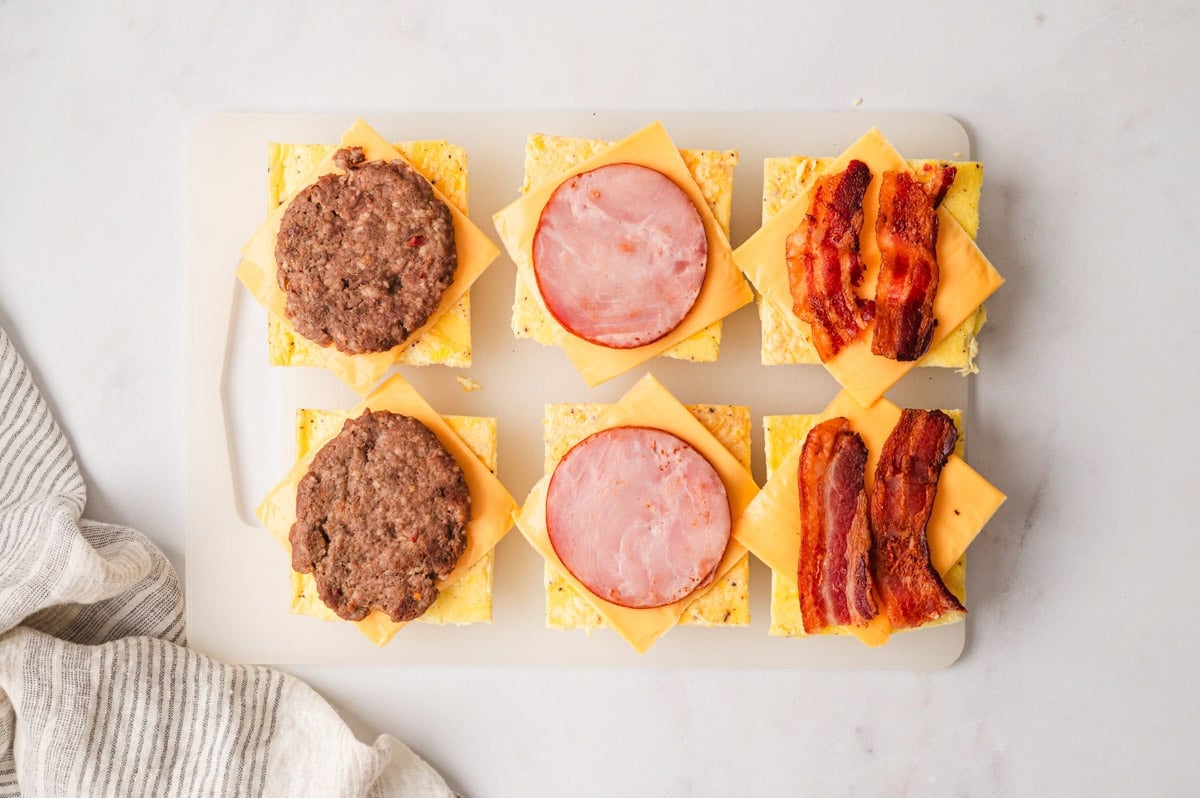
Assemble: Layer eggs, cheese, and breakfast meats on the bottom half of the English muffins, finishing with the top half.
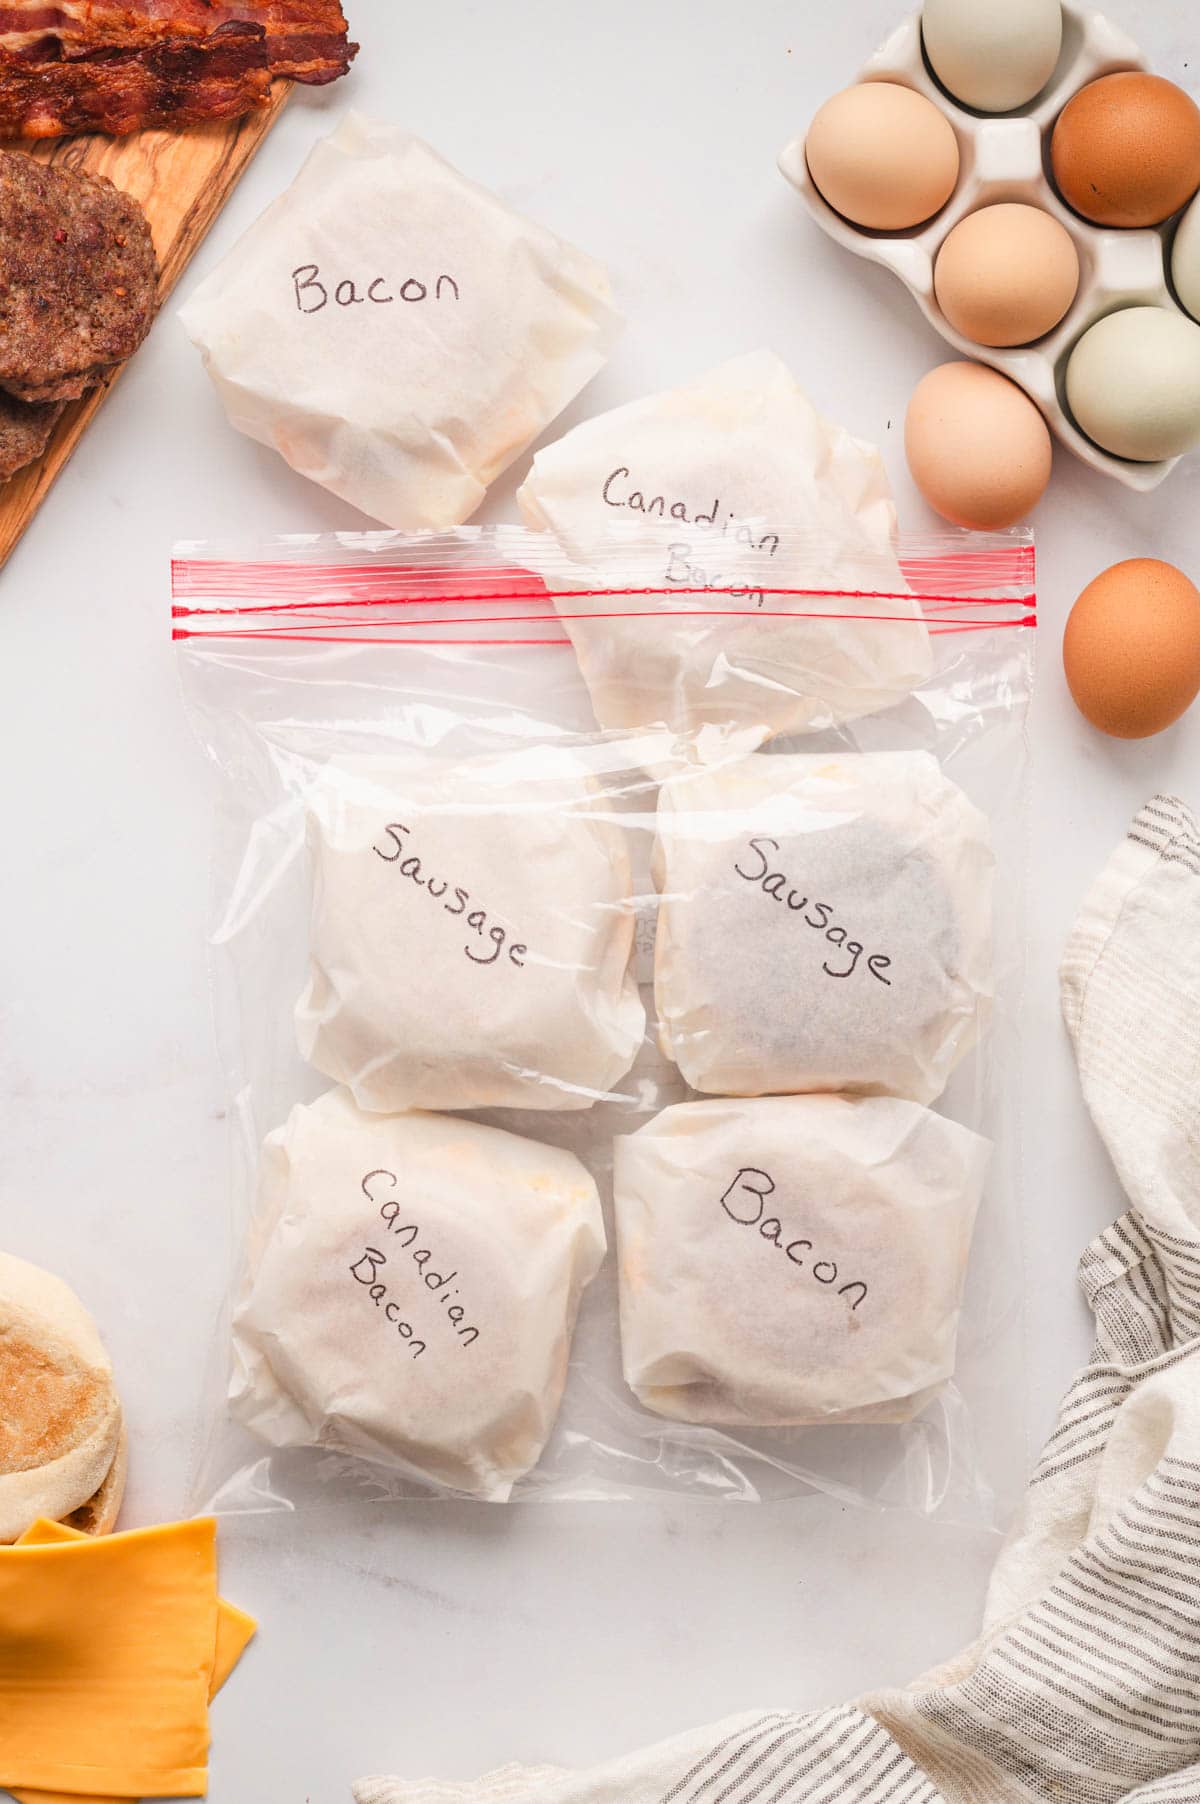
Eat or Freeze: If you’re planning to serve the sandwiches right away, place them on a baking sheet and bake for 5 minutes at 350℉, or just until the cheese melts. You could also microwave them for 1-1 ½ minutes.
Or, wrap the sandwiches individually with parchment paper, plastic wrap or foil and label them for a quick make-ahead breakfast. Place into a freezer bag and pop them into the freezer for up to 3 months.
How to Reheat Frozen Breakfast Sandwiches
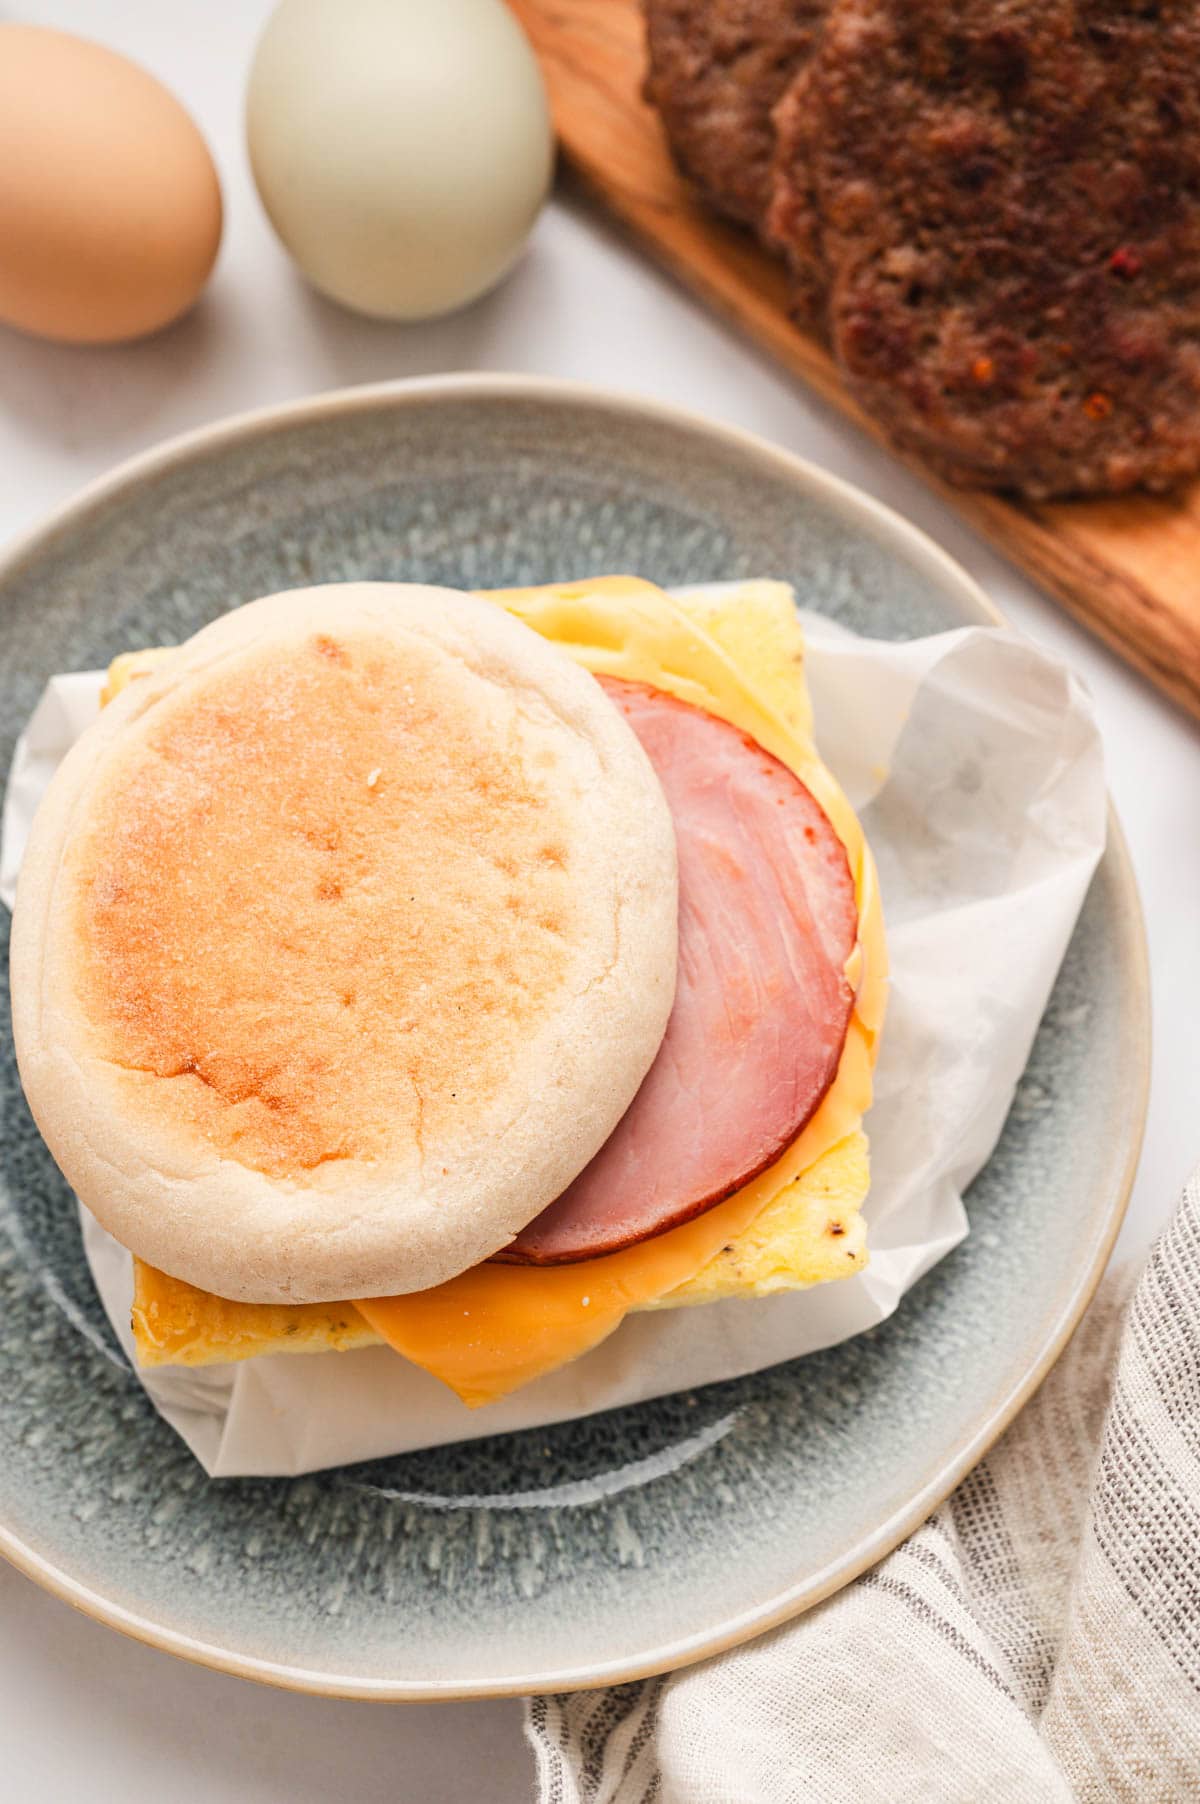
Remove the paper or plastic wrap and wrap the sandwich in a slightly damp paper towel. Microwave on 50% power for 1 minute, flip sandwich over and microwave for another 30 seconds to a minute or until heated through.
You could also opt to reheat in the oven or a toaster oven at 350℉ for 5-10 minutes.
If sandwiches are already thawed, remove the paper or plastic wrap and place in the microwave for 1 minute, flipping once, until heated through.
Variations
There are some easy swaps you could do to make these sandwiches a little healthier or to conform them to your tastes.
- Add Veggies – When baking your eggs, add some sauteed vegetables to them! Some of my favorites are mushroom, spinach, bell peppers, or onions.
- Whole Grain – Swap out the regular English muffin for a whole grain version.
- Different Meat Options – This would be a great to swap in some healthier turkey bacon or turkey sausage, or to use up leftover ham.
- Cheese Swaps – Instead of American cheese, try them with cheddar, havarti, Swiss, or pepper jack.
- Egg Whites – You could easily use just the egg whites for a healthier option.
- Meatless – Use eggs and cheese only!
More Breakfast Recipes
- Breakfast Croissant Sandwiches
- Chilaquiles Rojos
- Sausage and Potato Breakfast Hash
- Easy Skillet Potatoes
- Biscuit Breakfast Casserole
Freezer Breakfast Sandwiches
Ingredients
- 8 English muffins split
- 12 large eggs
- 1/3 cup half and half
- 1 teaspoon salt
- 1/2 teaspoon black pepper
- 8 slices American cheese
- 8 slices cooked bacon, cooked sausage patties, or slices of Canadian bacon
Instructions
- Preheat oven to 350℉. Grease a ¼ sheet tray (9”x13”) liberally with butter or oil.
- In a large bowl whisk together the eggs, half and half, salt and pepper until well combined. Pour into the prepared sheet pan and bake for 15-20 minutes or until the eggs are still slightly jiggly, but set and no longer wet on the surface. Remove from oven and cool for 5 minutes.
- While the eggs are cooling, preheat the broiler to high and place the English muffins cut side up on a large sheet tray. Broil until the tops are lightly toasted, about 2-3 minutes. Remove from the oven.
- Cut the eggs into 8 even squares.
- Assemble the sandwiches by placing an egg slice onto the bottom half of an English muffin. Top with a slice of cheese, followed by a slice of bacon, sausage or Canadian bacon. Top with the top half of the English muffin.
- Enjoy sandwiches right away or cool sandwiches completely and wrap individual sandwiches in parchment paper or plastic wrap, place into a resealable freezer bag and freeze for up to 3 months.
- To reheat: remove parchment or plastic and wrap the sandwich in a slightly damp paper towel. Microwave on 50% power for 1 minute, flip sandwich over and microwave for another 1-2 minutes or until heated through.
Notes
- Sandwiches are made for freezer storage, but could be made ahead and kept in the fridge for up to 3 days. Reheat in the microwave for only 1-1 ½ minutes, flipping once.
- A ¼ sheet pan measures 9×13”. If you don’t have a ¼ sheet pan, you can use a 9×13 casserole dish. It may be harder to remove the slices from the pan.
- You could use whole milk or milk alternatives in place of the half and half if desired.
- You could even chop and saute some veggies and add them to the eggs before baking if desired. Spinach, mushrooms, onions or bell peppers are great add-ins.
Nutrition
Nutritional Disclaimer Kristin Maxwell of “Yellow Bliss Road” is not a dietician or nutritionist, and any nutritional information shared is an estimate. For accurate calorie counts and other nutritional values, we recommend running the ingredients through your preferred online nutritional calculator. Calories and other nutritional values can vary depending on which brands were used.
