This post may contain affiliate links. Please read our disclosure policy.

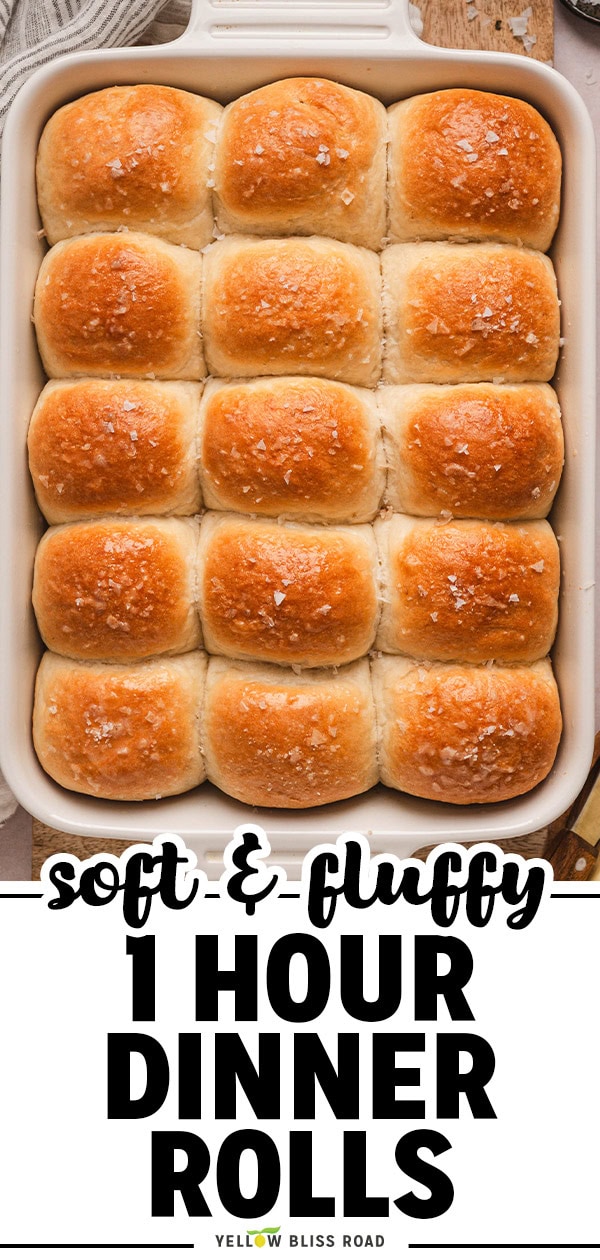
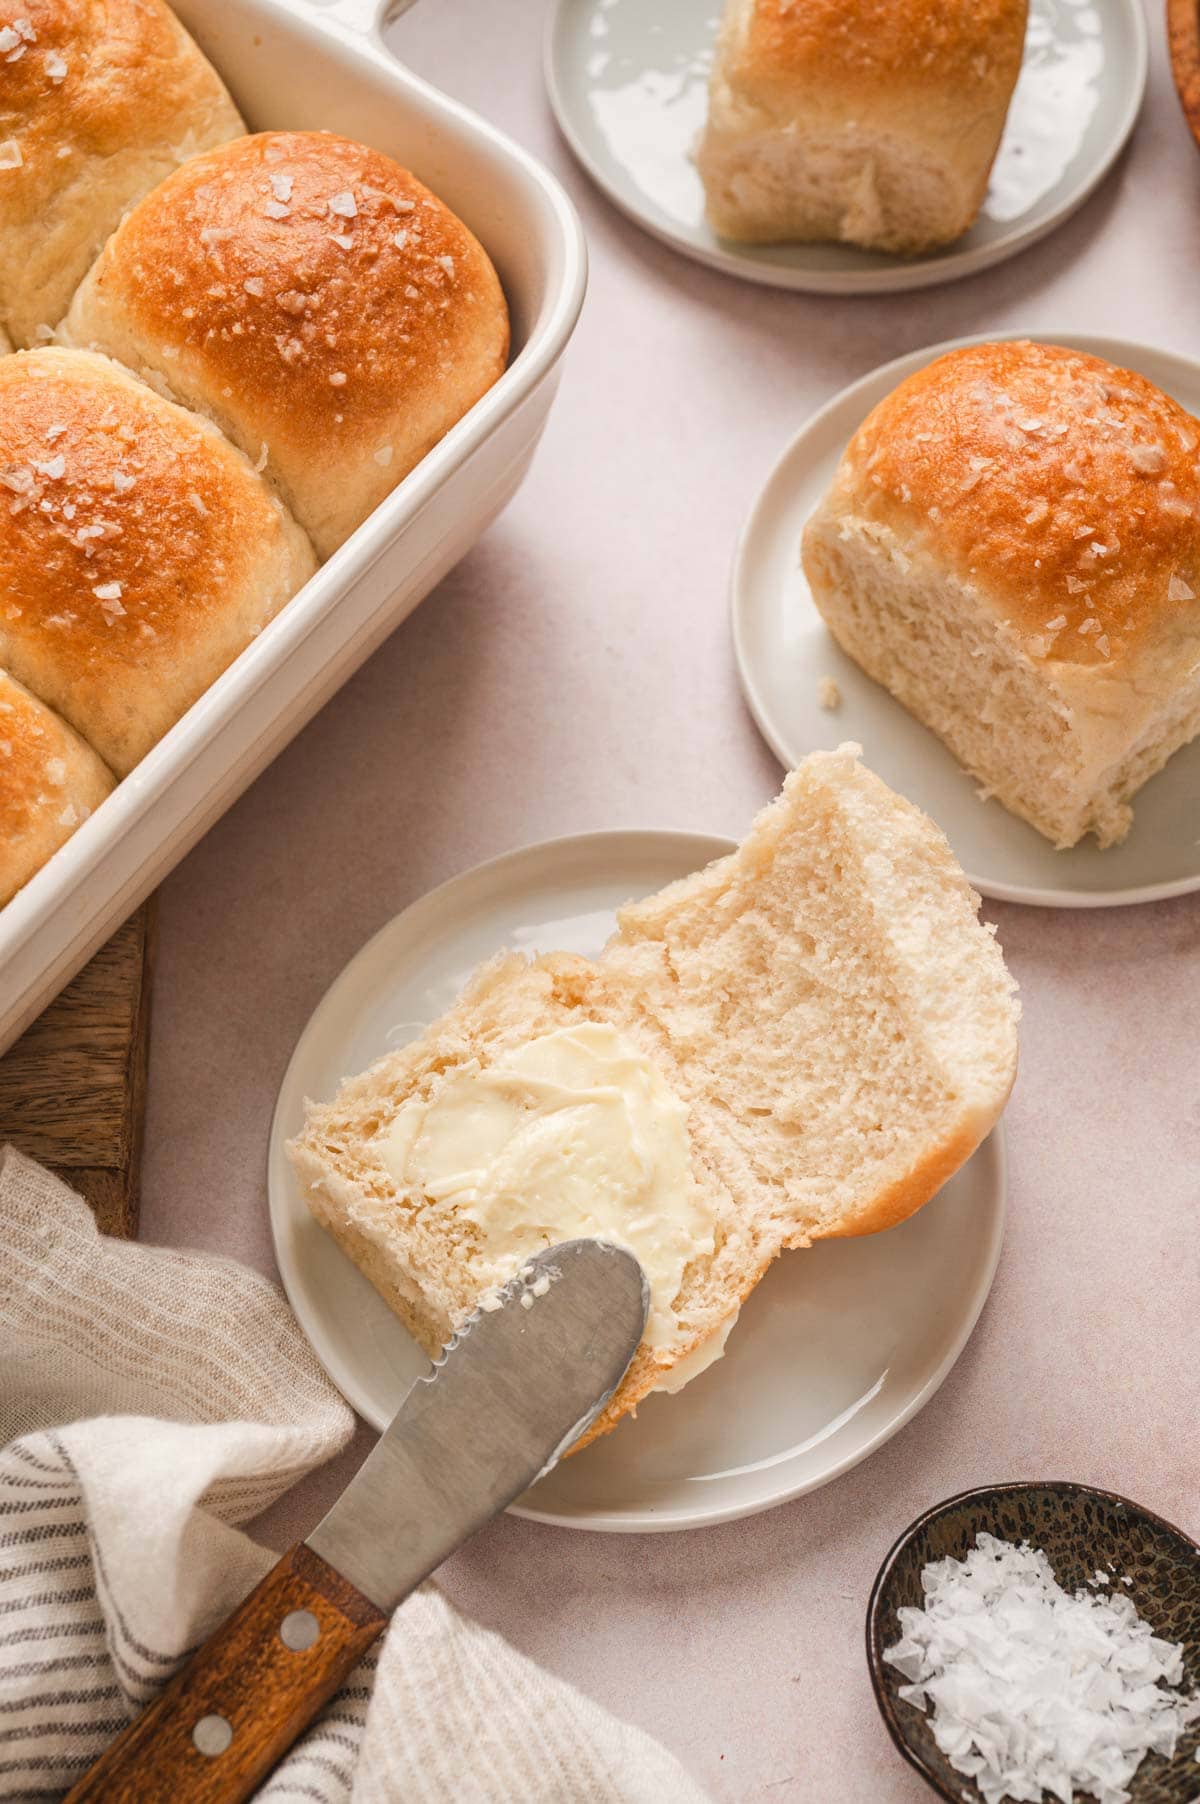
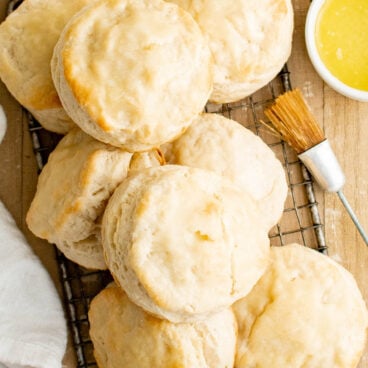
These one hour dinner rolls are soft and fluffy, and really do take only about an hour from start to finish, including rising time. They are the perfect complement to any meal.
Looking for more bread recipes? Try my super soft Onion Rolls.

This one hour dinner roll recipe is easy to follow, and they are so deliciously soft and fluffy. Everyone loves them, and they disappear fast.
If you’ve ever been nervous about working with yeast, this is a great starter recipe!
recipe walk-through
Ingredient Notes
- Warm water – The water should be between 105-110℉ to activate the yeast. Making it too warm will kill the yeast, and in turn the rolls will not rise.
- Active dry yeast – This is what creates the rise for the rolls.
- Salt – A teaspoon of salt might sound like a lot but it is necessary for working with the yeast to help the rolls to rise.
- All-purpose flour – In the recipe, you will see that you may need to increase the amount of flour. The humidity and air temperature (a hot, dry day versus a cold and rainy day) can cause a difference in the absorption of flour and can also drastically affect the dough’s ability to rise.
How To Make One Hour Dinner Rolls
See the recipe card below for full, detailed instructions
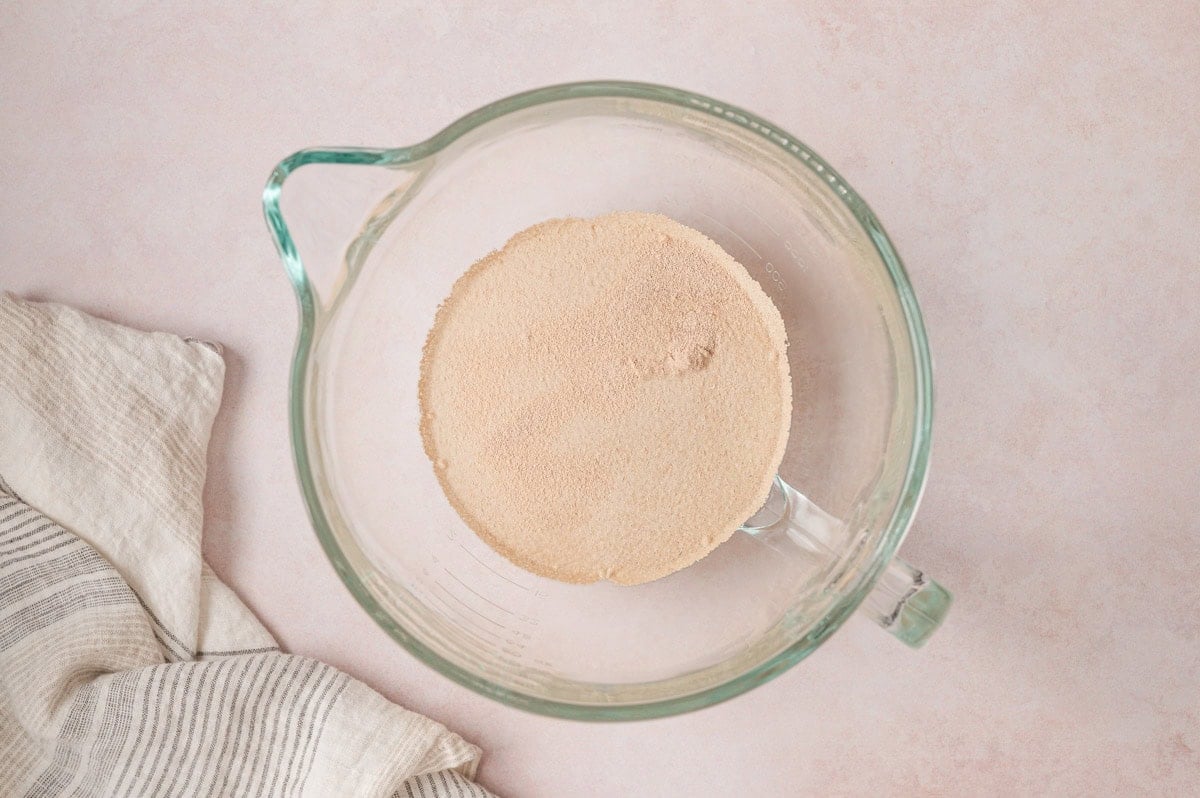
In the bowl of a stand mixer, dissolve the yeast and sugar in warm water. In about 5 minutes it will become foamy.
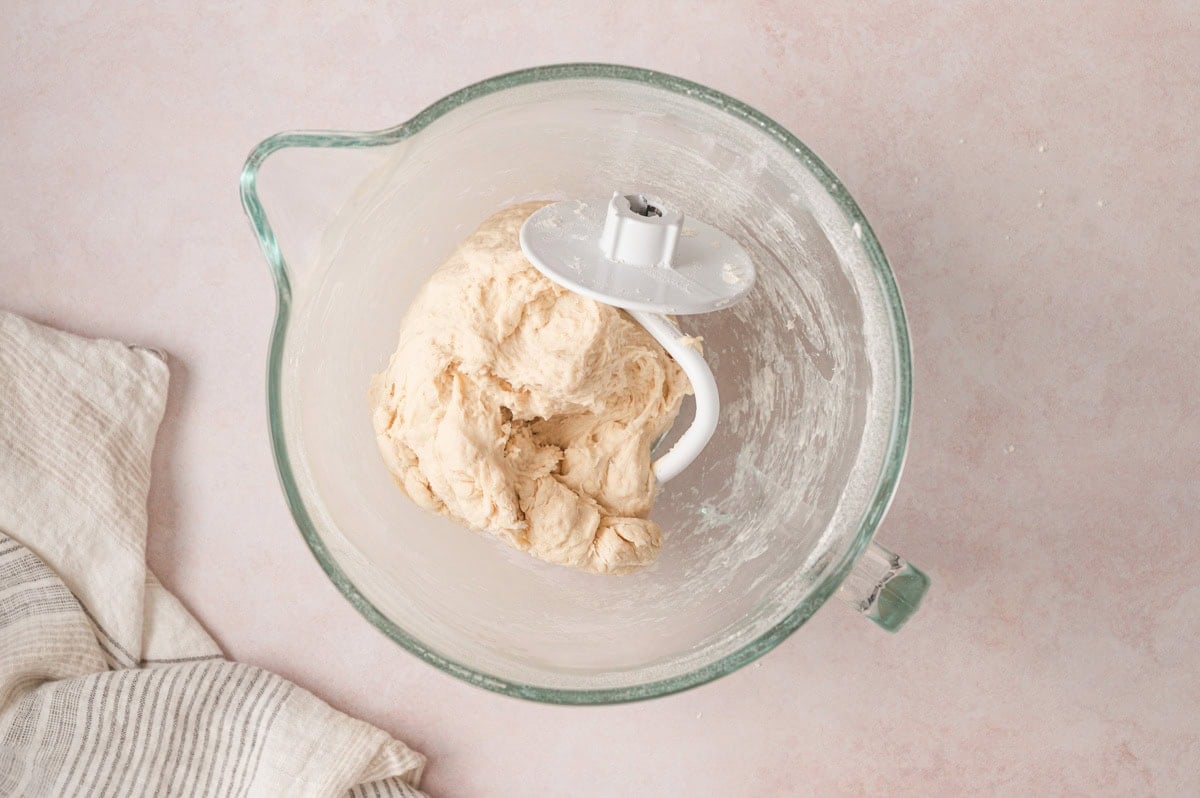
Using the dough hook attachment, mix in the butter, salt and 3 cups of flour just until combined.
Add additional flour, ¼ cup at a time, until the dough pulls away from the sides and is slightly sticky to the touch. Be careful not to add too much flour.
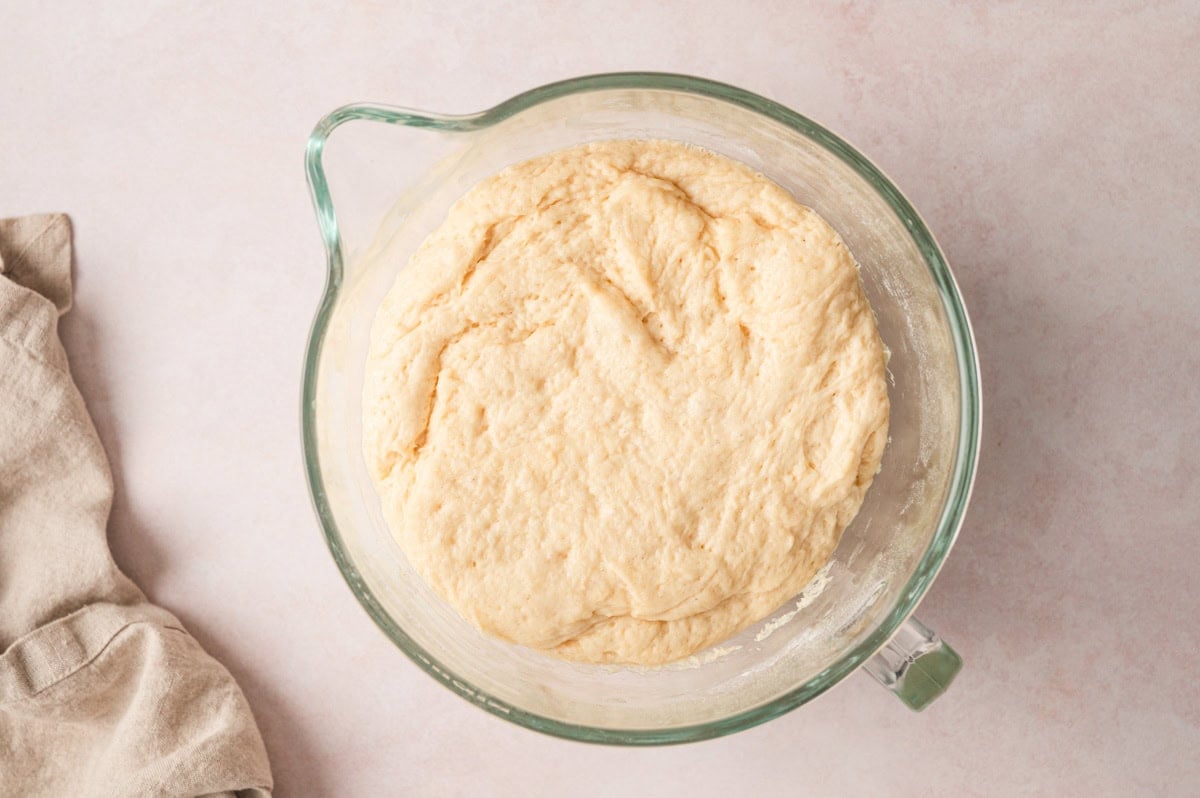
Knead the dough using the dough hook on low speed for 3-5 minutes, until the dough is smooth. Cover the bowl with a clean towel and let it rise for 20 minutes.
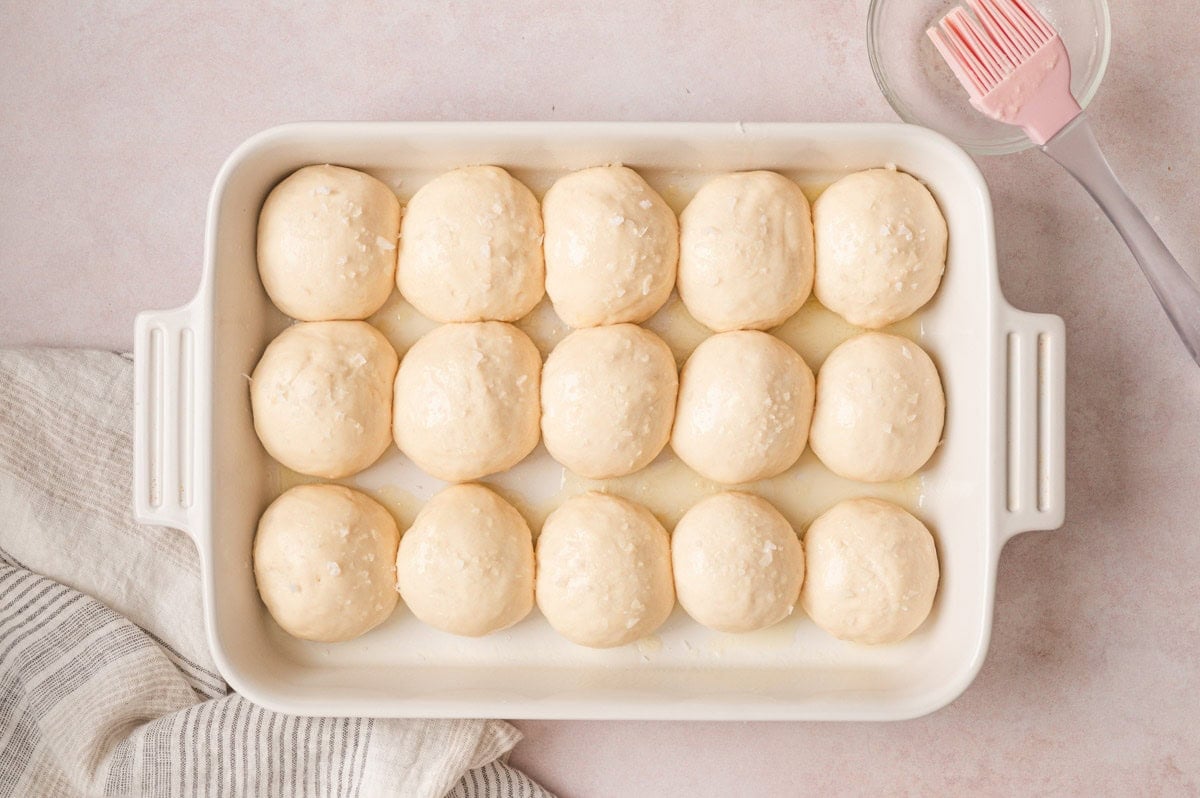
Preheat the oven and prep a 9×13-inch baking pan. Gently punch the dough down and divide into 15 equal pieces, then arrange them in the pan.
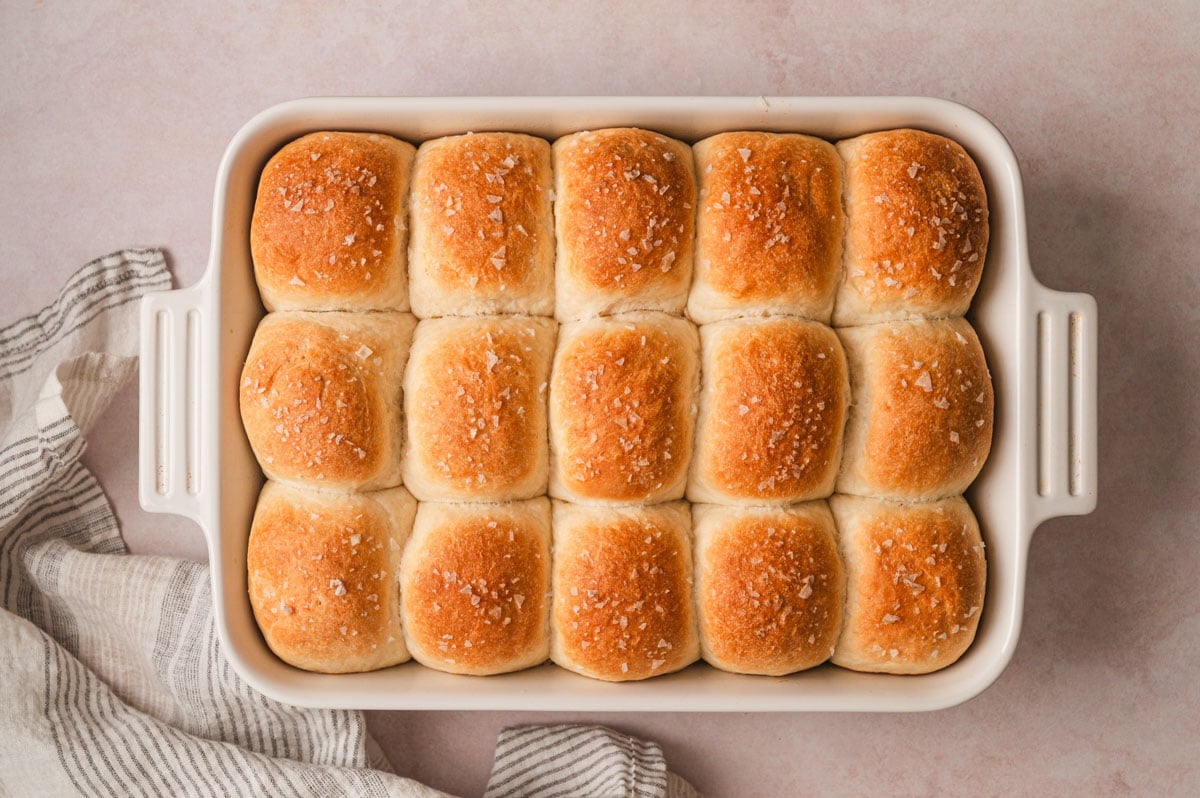
Brush with butter, sprinkle with salt and rise for another 15-20 minutes. Bake for 13 minutes or until golden brown.
Storage Tips
The Best Way to Store Leftovers
- Storing: Store any leftover rolls at room temperature in an airtight container. They will remain fresh for 2-3 days.
- Freezing: Wrap cooled rolls tightly in plastic wrap, then place them in a freezer-safe container. Freeze for up to 4 months.
- Reheating: Place the rolls in a baking dish and cover with foil. Bake at 350℉ for 12-15 minutes. If frozen, thaw completely before reheating.
Recipe Tips
- Make sure your yeast hasn’t expired. Check the expiration date to be sure the yeast is still good. If it doesn’t bubble up in 5 minutes after adding the water, toss it and start over with fresh yeast.
- Check temperatures with a kitchen thermometer. Liquids should be between 100-110℉ to activate the yeast. If they are too hot, they will kill the yeast and your rolls will not rise.
- Make cheesy rolls. Mix ½ cup of shredded cheddar cheese or grated Parmesan into the dough for cheesy rolls.
More Bread Recipes
- Frozen Dinner Rolls
- Cheesy Garlic Bread
- Honey Oat Quick Bread
- Stuffed Garlic Bread
- Focaccia Bread
- Homemade Garlic Breadsticks
One Hour Dinner Rolls
Ingredients
- 1 1/2 cups warm water
- 1 tablespoon active dry yeast
- 2 tablespoons sugar
- 2 tablespoons butter softened
- 1 teaspoon salt
- 4 cups flour more or less as needed
- 3 tablespoons melted butter for brushing on top
- Sea salt, for sprinkling on top
Instructions
- In a large bowl or the bowl of a stand mixer with a dough hook attachment, dissolve the yeast and sugar in the warm water and let stand for five minutes, or until foamy.
- Add butter, salt, and 3 cups of flour. Mix until combined.
- Add additional flour, ¼ cup at a time, until the dough pulls away from the sides of the bowl and is only slightly sticky to the touch (careful not to add too much flour!).
- Knead the dough 3-5 minutes, until smooth. Cover with a towel or plastic wrap and let rise for 20 minutes.
- Preheat the oven to 400 degrees F and line a 9 x 13 pan with parchment paper or spray with nonstick cooking spray. Gently punch the dough down and divide into 15 equal sized pieces. Roll each piece into a ball and space evenly in the prepared pan.
- Brush with melted butter, sprinkle with sea salt, and let rise for an additional 15-20 minutes. Bake 13-15 minutes, or until golden brown. Remove from the oven and brush with more melted butter.
- Let cool for 10 minutes before serving.
Nutrition
Nutritional Disclaimer Kristin Maxwell of “Yellow Bliss Road” is not a dietician or nutritionist, and any nutritional information shared is an estimate. For accurate calorie counts and other nutritional values, we recommend running the ingredients through your preferred online nutritional calculator. Calories and other nutritional values can vary depending on which brands were used.


)
I’ve made these before and loved them but it’s been a couple years – what do you recommend changing if I sub quick rise yeast vs active dry?
Will these rolls rise in a cool house? This is the problem I have been having with the sour dough ones I make. I like the hour time frame. Can’t wait to try them.
They will, but it may take a little longer.
On the one hour dinner yeast rolls do you use Salted or unsalted butter… All purpose flour or a different kind? please and thank you…
Hi Janice, It’s all-purpose flour. I always use salted butter, but you can use either.
What temperature should the water be, not to kill the yeast?
Thank you!
Water temp for yeast is 105 degrees F.
I just made a batch of these, and they were easy to make and fantastic! I did a double proof by accident, but they still ended up great. Thanks for sharing this recipe!
Can you make these the day before? Would you shape them first or just refrigerate the bowl of unformed dough?
You could bake them and reheat them, but because they need the rising time, they couldn’t be prepped beforehand.
You do not say if the flour you used was self rising or not?? The rolls look delicious and I want to try them and not use the wrong flour.
Hi Teresa, Typially if a recipe calls for self rising flour it will be noted in the recipe. This recipe uses all purpose flour.
They look fantastic Kristin! Thanks for sharing my recipe. I definitely need to try them in a cast iron pan!