This post may contain affiliate links. Please read our disclosure policy.
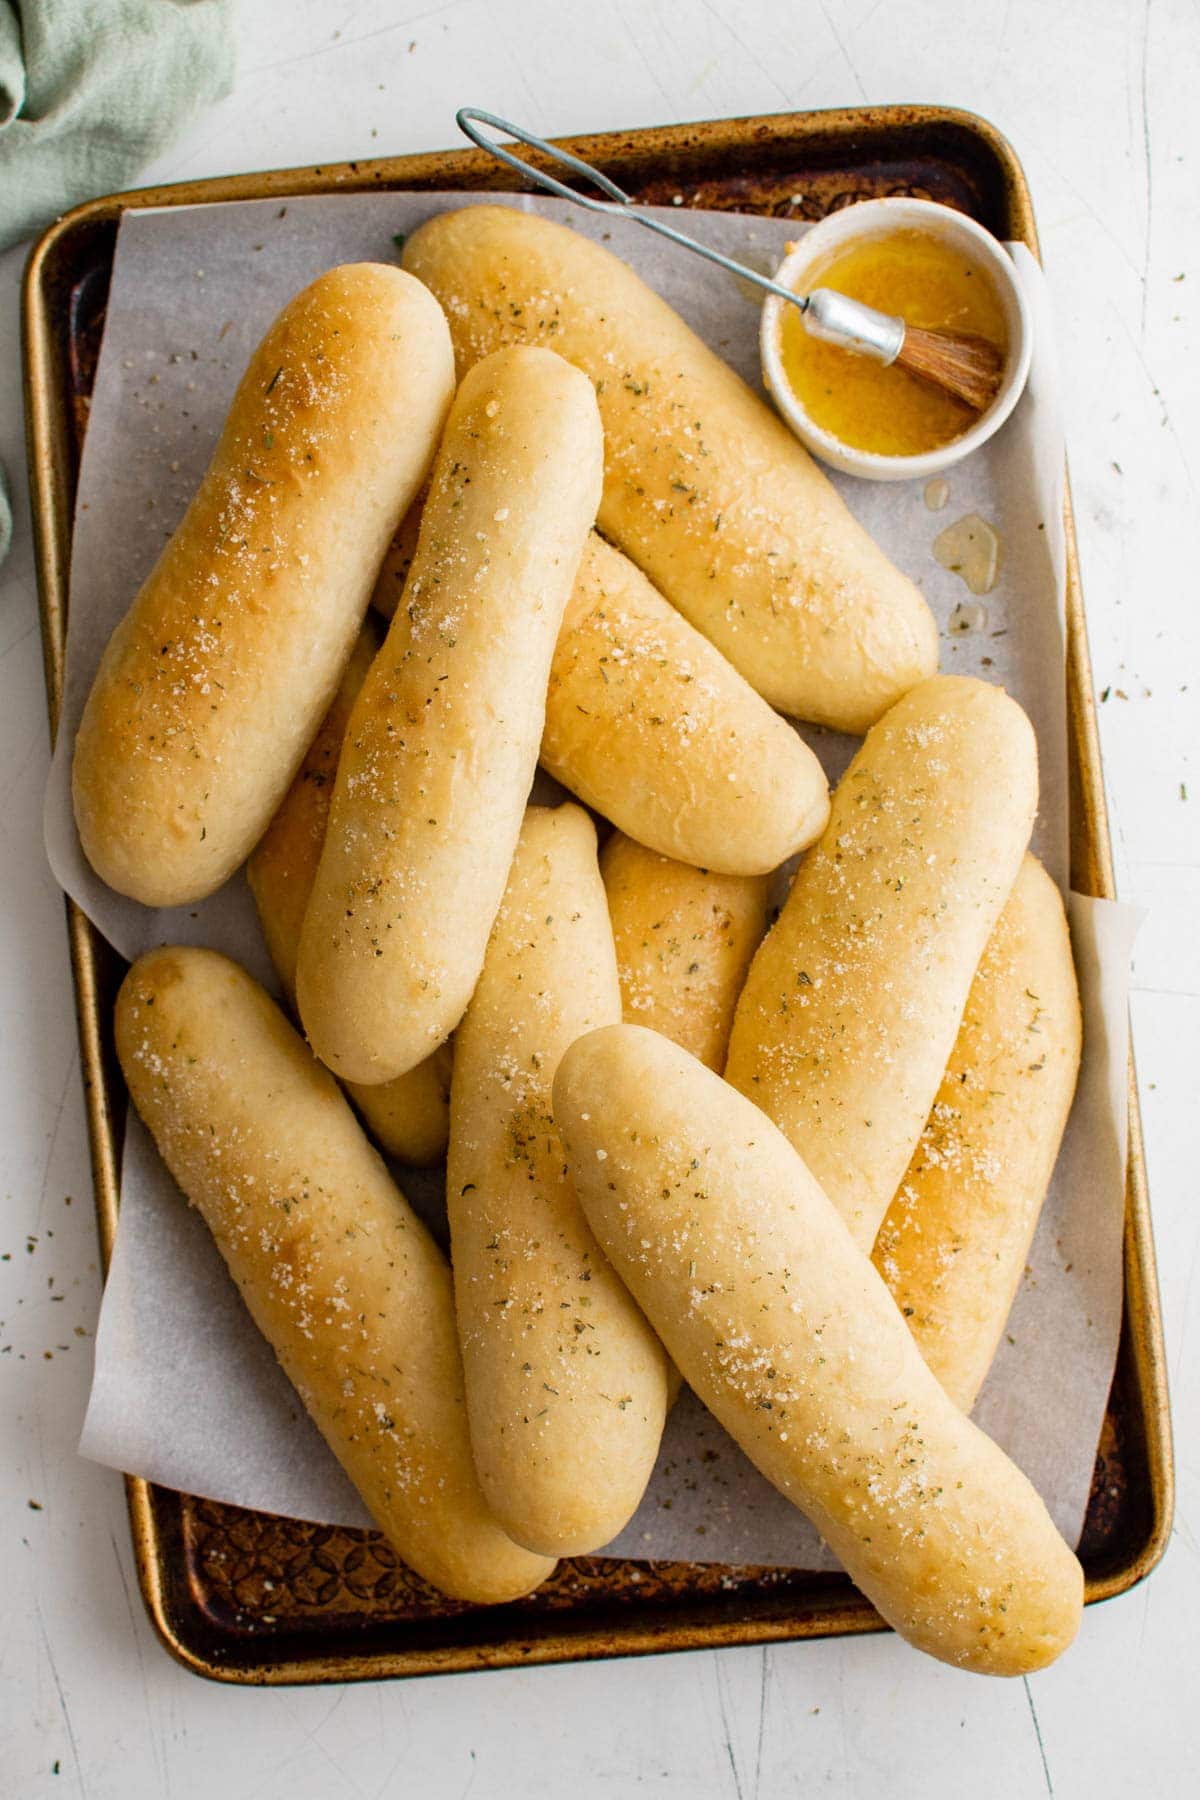
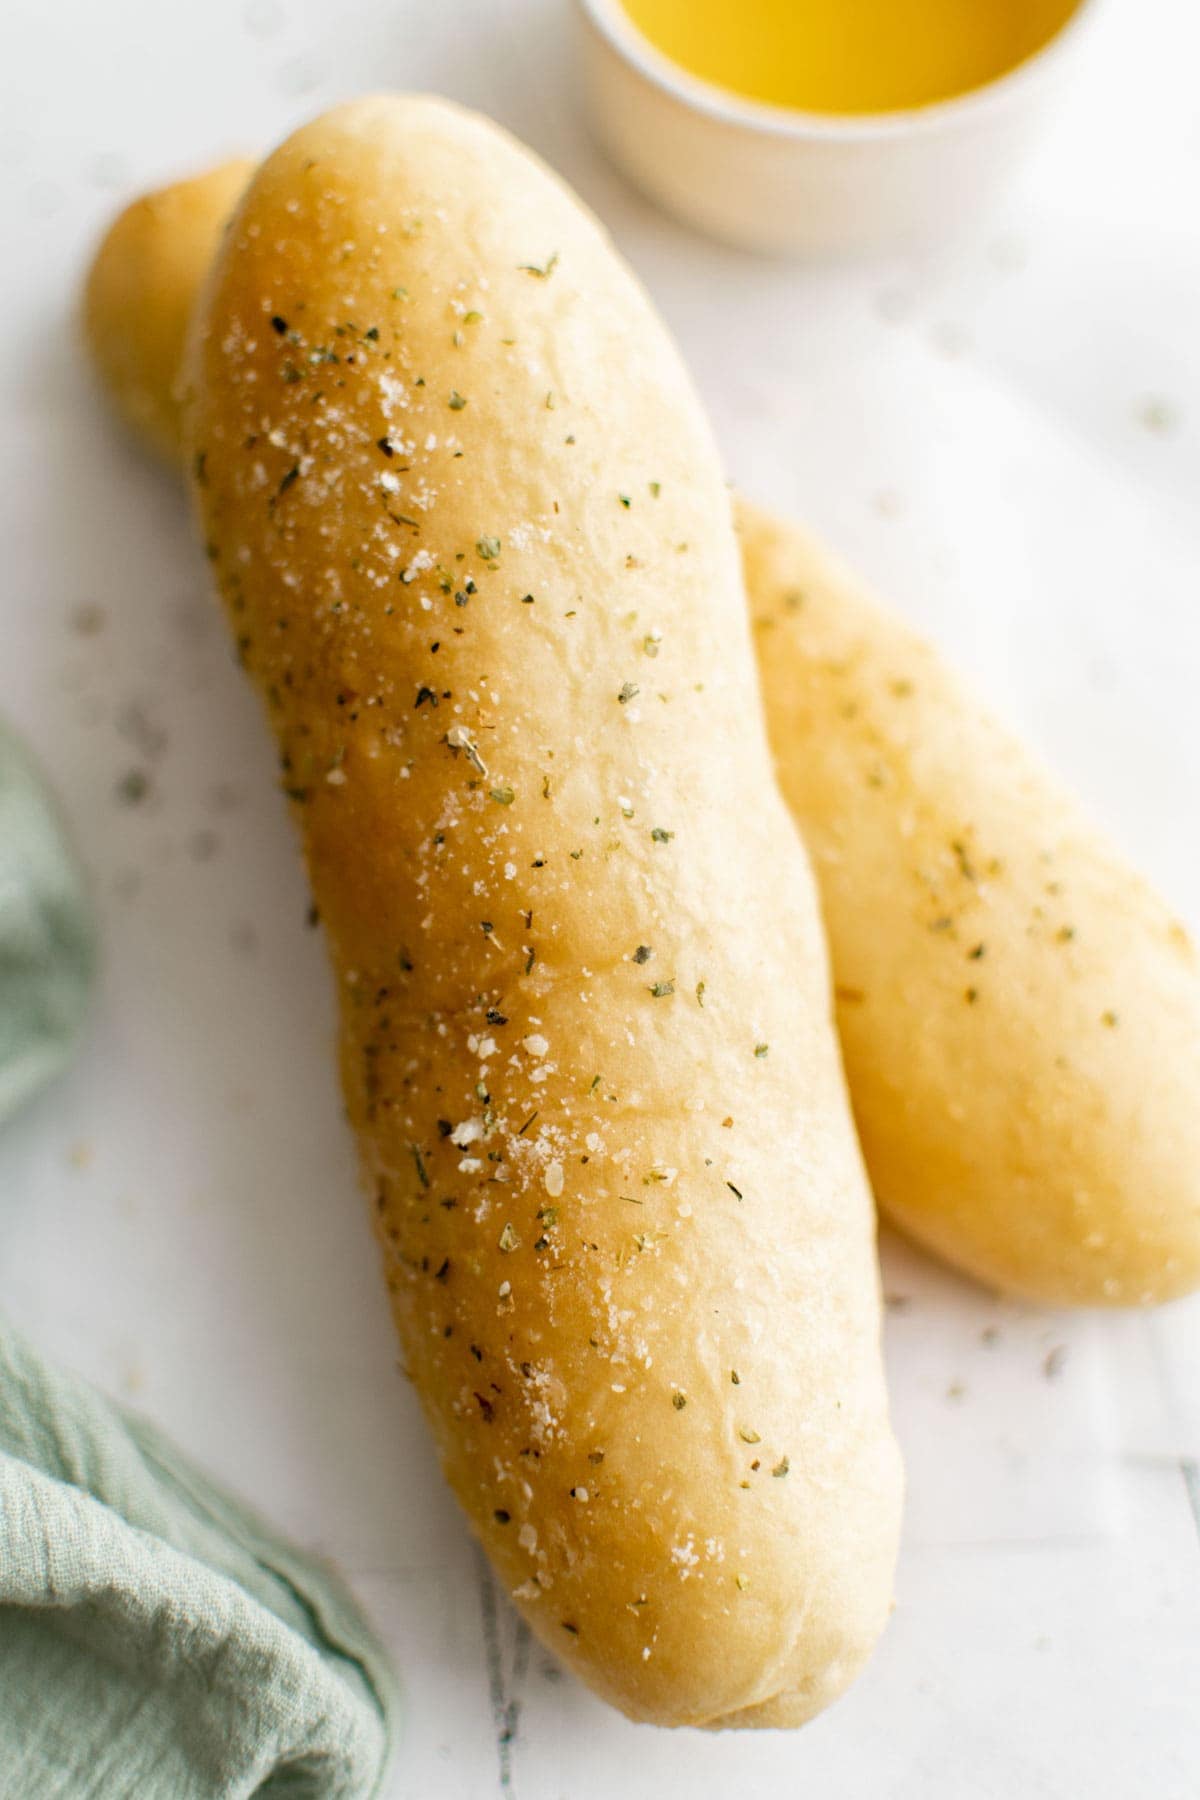
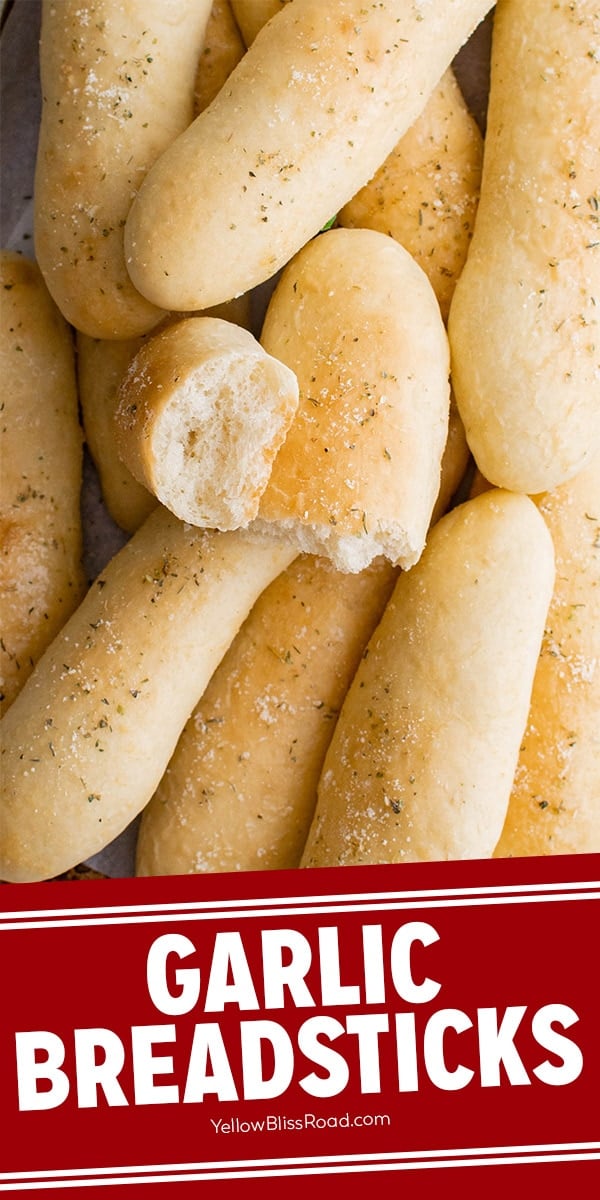
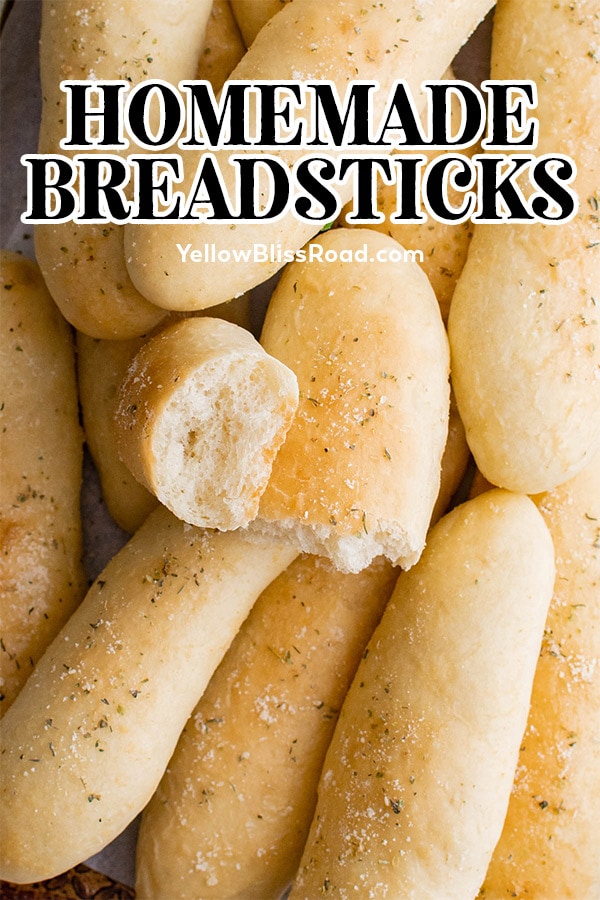
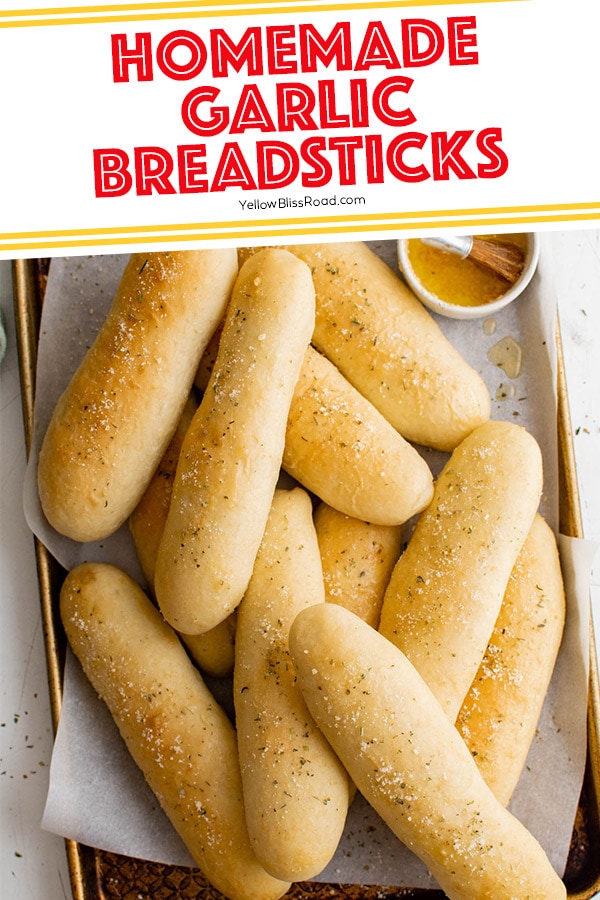
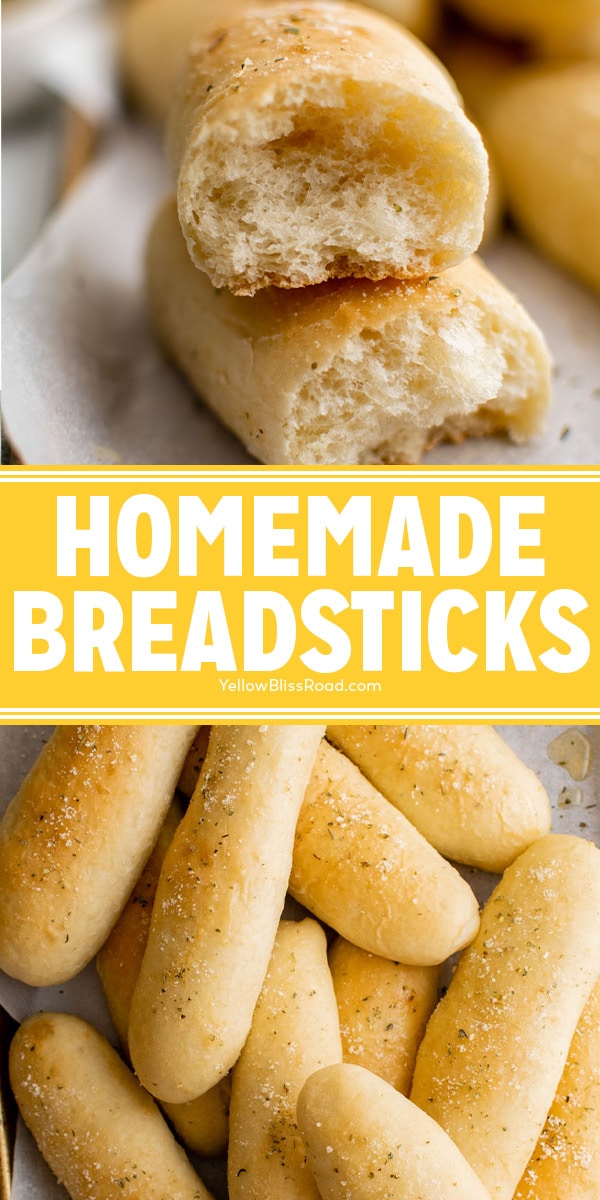
Garlic Breadsticks bake up light, fluffy and golden brown on top. Brushed with a flavorful garlic butter, these are the homemade breadsticks you’ve been waiting for! (They’re even better than Olive Garden)!
Serve these Homemade Garlic Breadsticks with Homemade Spaghetti, Penne Pasta Primavera, Zuppa Toscana or Chicken Alfredo Baked Ziti. Don’t forget about the Copycat Olive Garden Salad. Together they are the perfect sides for any Italian meal
Why I Love This Recipe
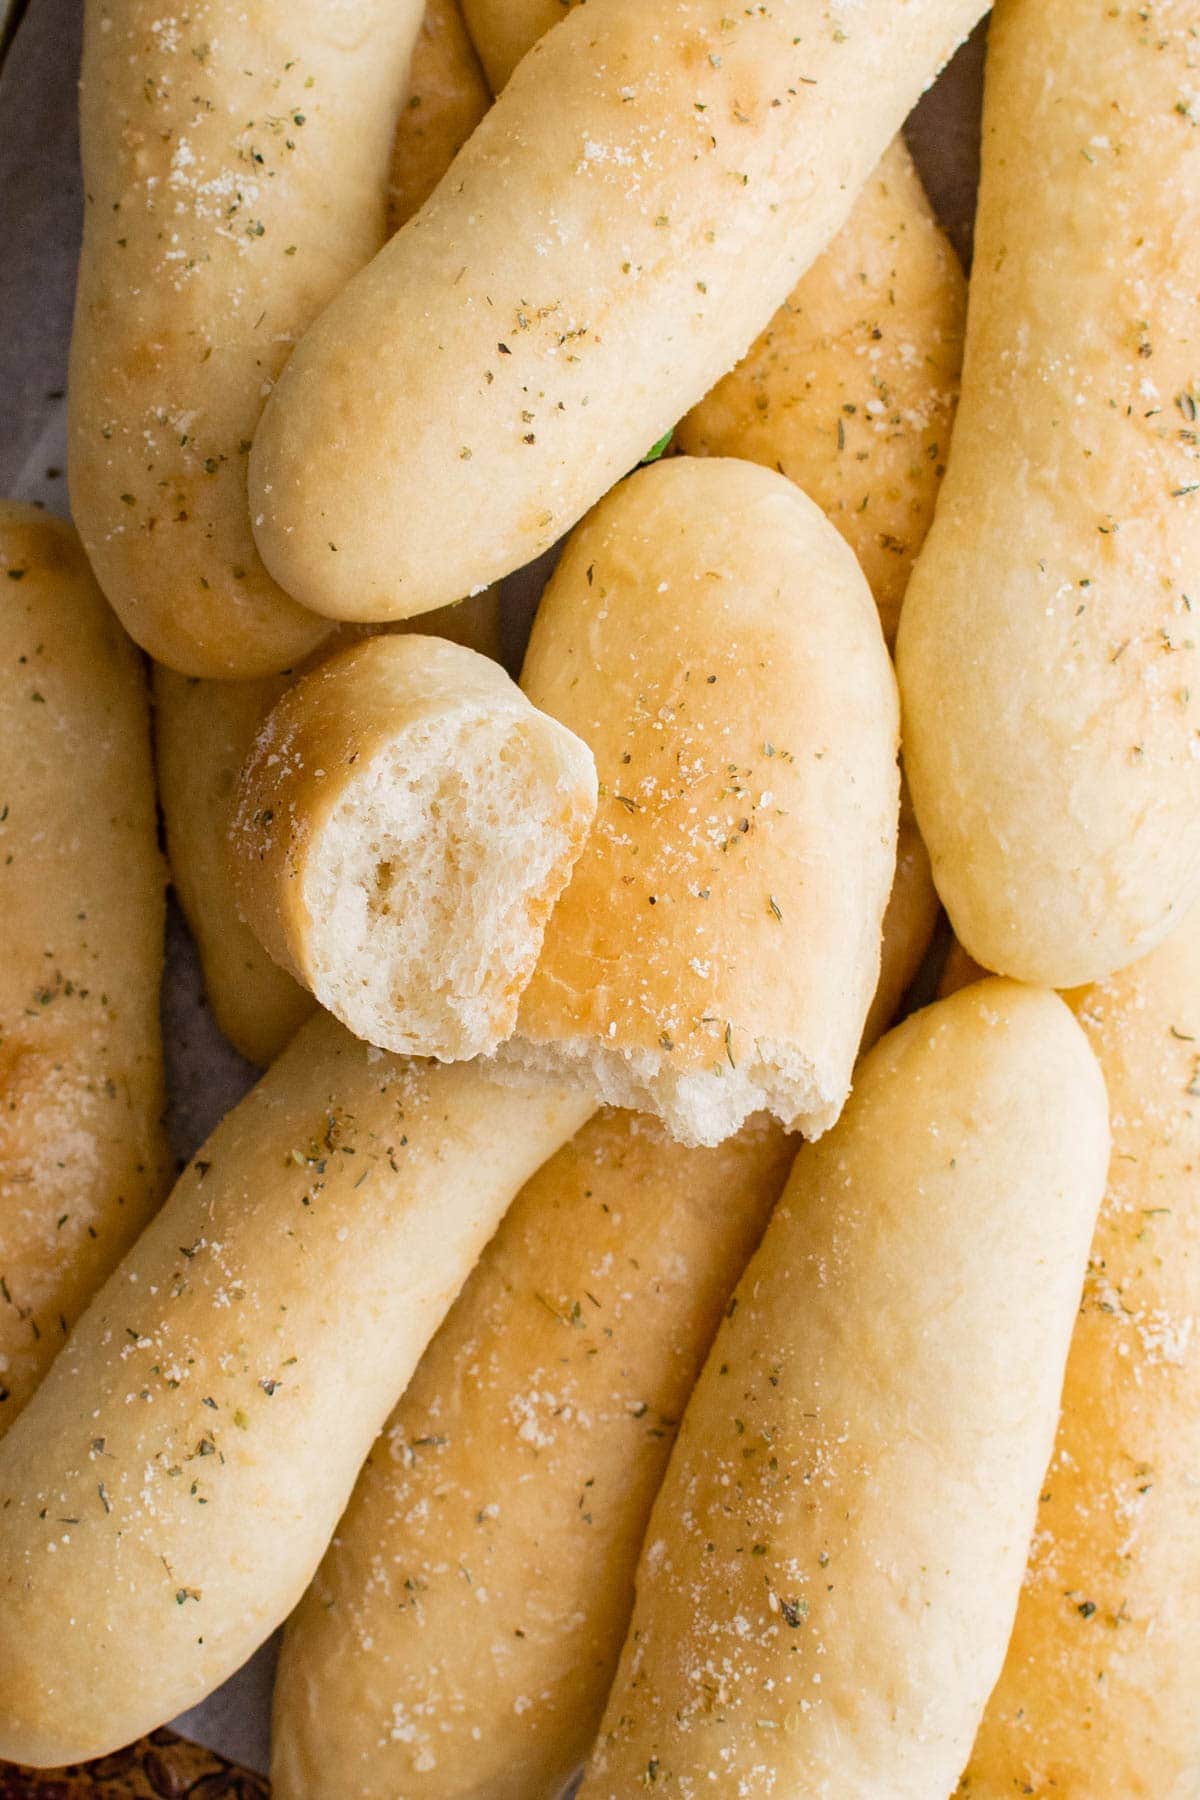
This homemade breadstick recipe is a great one to have in your back pocket. They taste so light and the bread is so fluffy. They are great for sopping up pasta sauce or soup of just enjoying with a salad or any meal. They freeze great too, so you can have homemade garlic breadsticks any time you want.
Making homemade bread, or homemade breadsticks, can seem a daunting task but I promise you that while there are a few more steps, it’s totally easy and totally worth it.
Steps include making, kneading and rising the dough, then dividing the dough and rolling into sticks. One more rise and you can bake. The whole process from start to finish takes about an hour and a half, and most of that time is hands off.
I love dipping garlic breadsticks in homemade Alfredo Sauce for the ultimate indulgence, but they are super delicious just the way they are.
Ingredients for Garlic Breadsticks
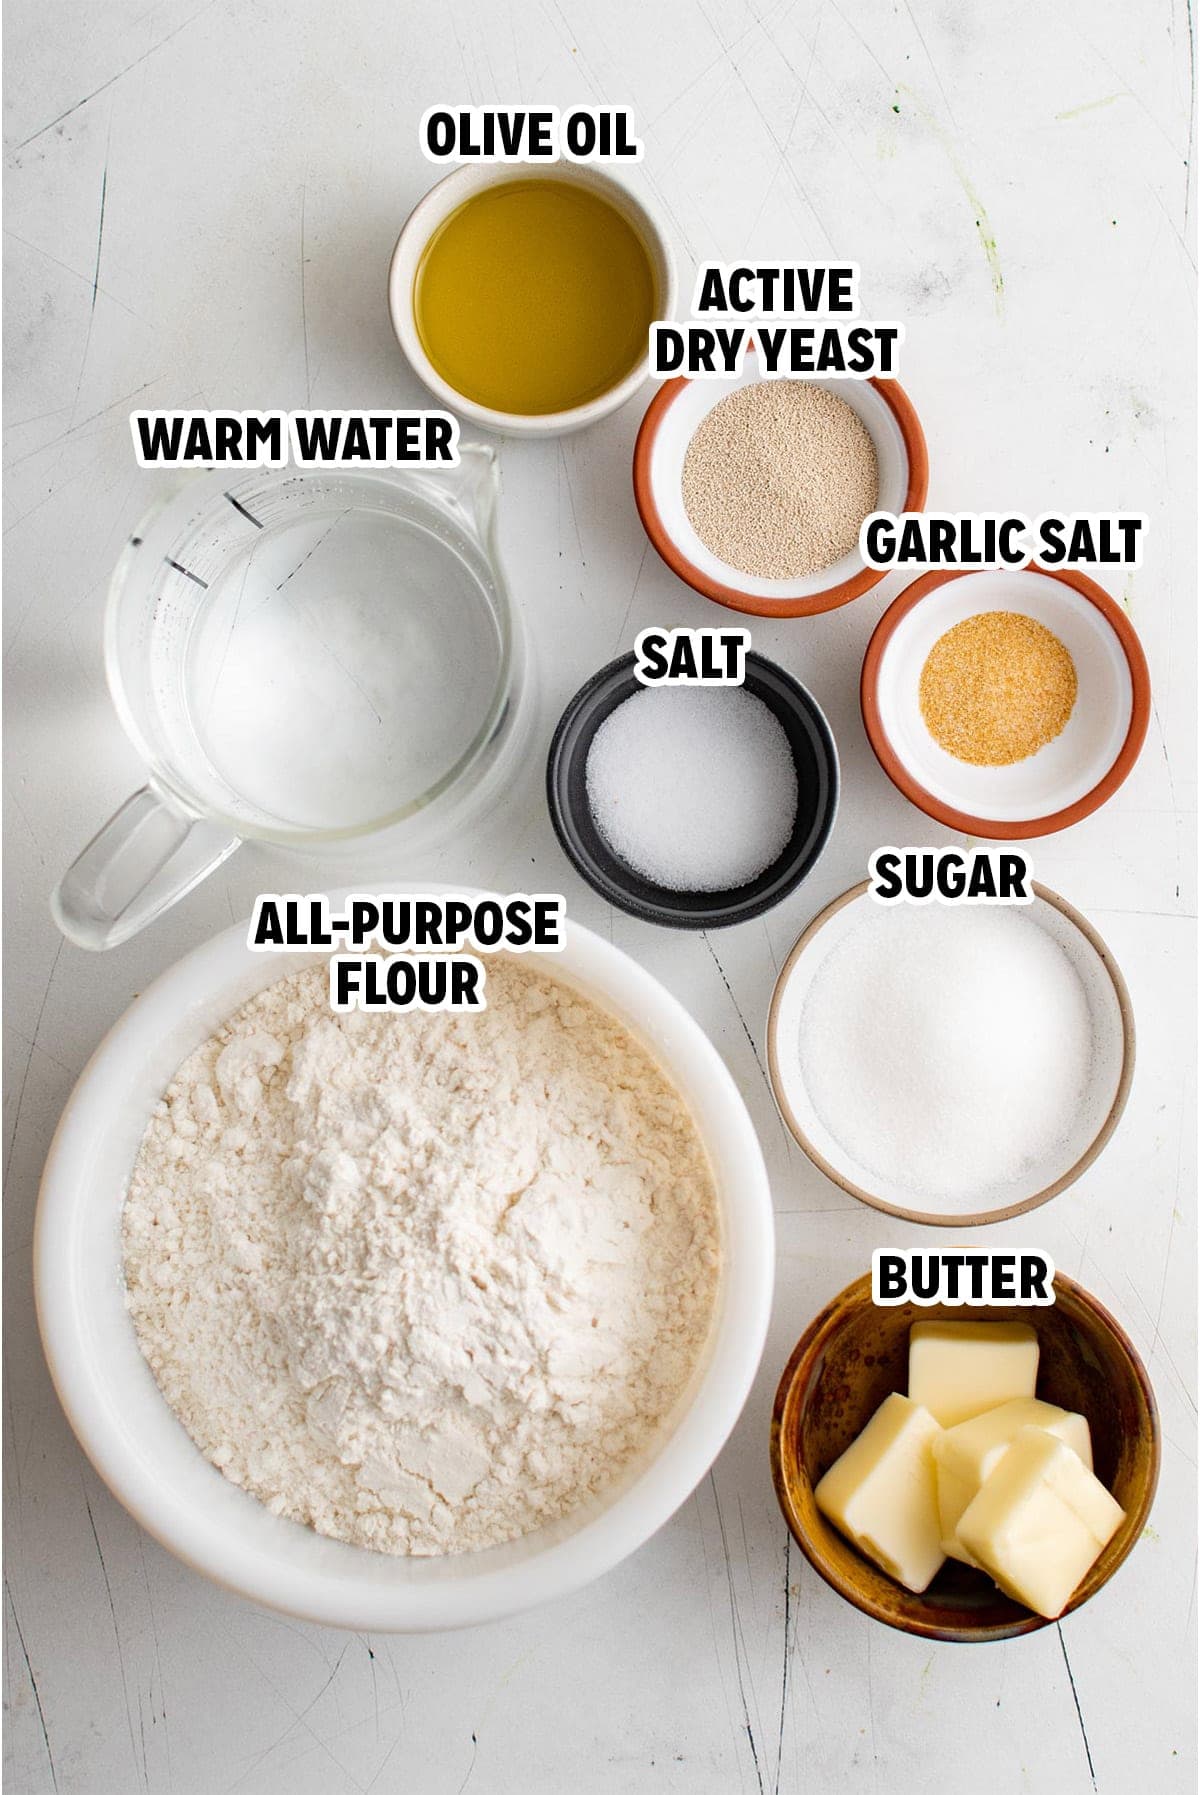
- Water – Normally I don’t include water in an ingredients list, but it plays an important part in activating the yeast for the dough. The water should be very warm, but not boiling. If you have a digital meat thermometer, you can test that it should be between 105 and 115 degrees.
- Granulated sugar – this isn’t to sweeten the breadsticks. The sugar actually “feeds” the yeast, and helps to give the bread a golden crust and moist crumb.
- Active dry yeast – you need a tablespoon of active dry yeast. The packets you can buy at the store only contain 2 ¼ teaspoons. If you plan to make a lot of bread, I recommend purchasing a jar of yeast to store in your pantry. One 4-ounce jar equals 8 packets of yeast, or 6 tablespoons.
- Olive oil – When you add oil to bread dough, it prevents the water from evaporating, creating a softer loaf and a moist crumb.
- Salt – for enhancing the flavor of the bread.
- All-purpose flour – The base for the bread is adding a little at a time so you have just the right amount. The flour needed for the recipe can vary depending on altitude and the moisture in the air.
- Topping – melted butter and garlic salt are brushed on top of the baked breadsticks. I also added a little Parmesan Cheese and dried Italian herbs which are totally optional.
How To Make Homemade Breadsticks
See the recipe card below for full, detailed instructions
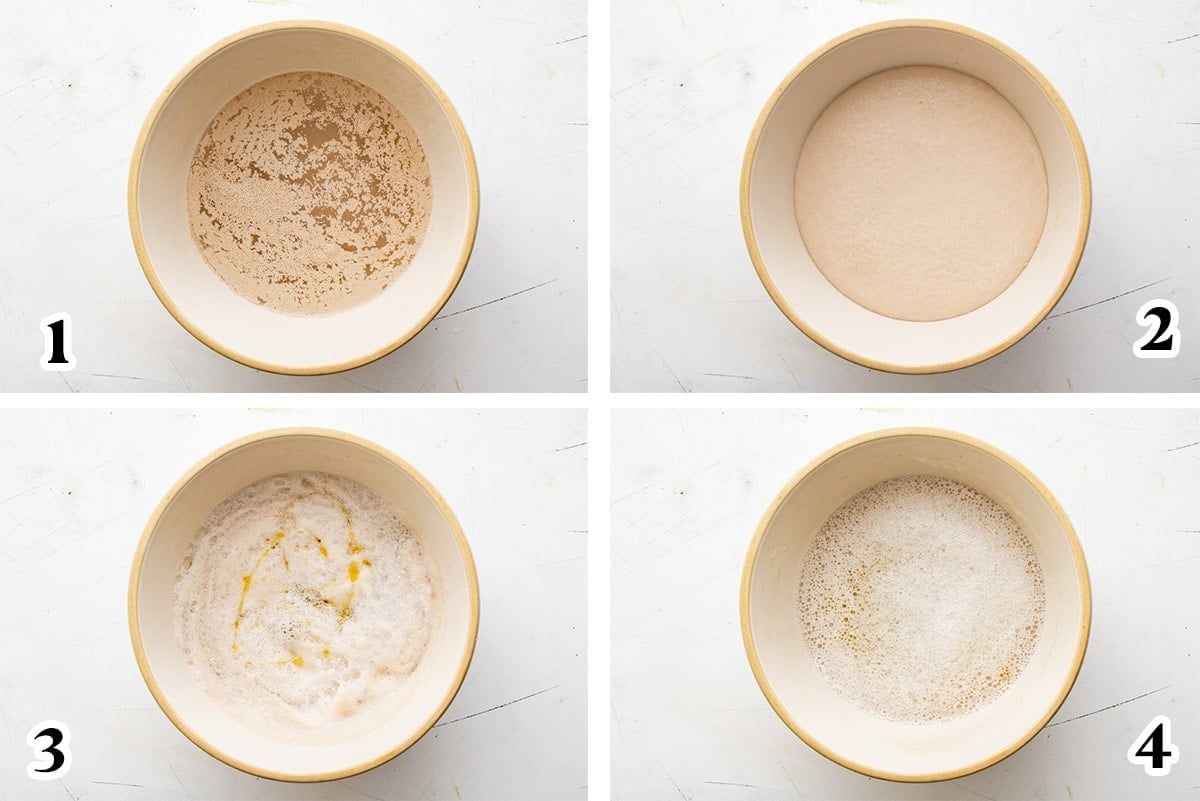
Make the dough. In the large bowl, stir together the water, sugar and yeast. Let it sit for 5 minutes to activate, then stir in the olive oil and salt. Stir in 1 cup of flour. Add up to 3 ½ more cups of flour, stirring between each addition until the dough is formed. *To use your stand mixer, see the tips below.
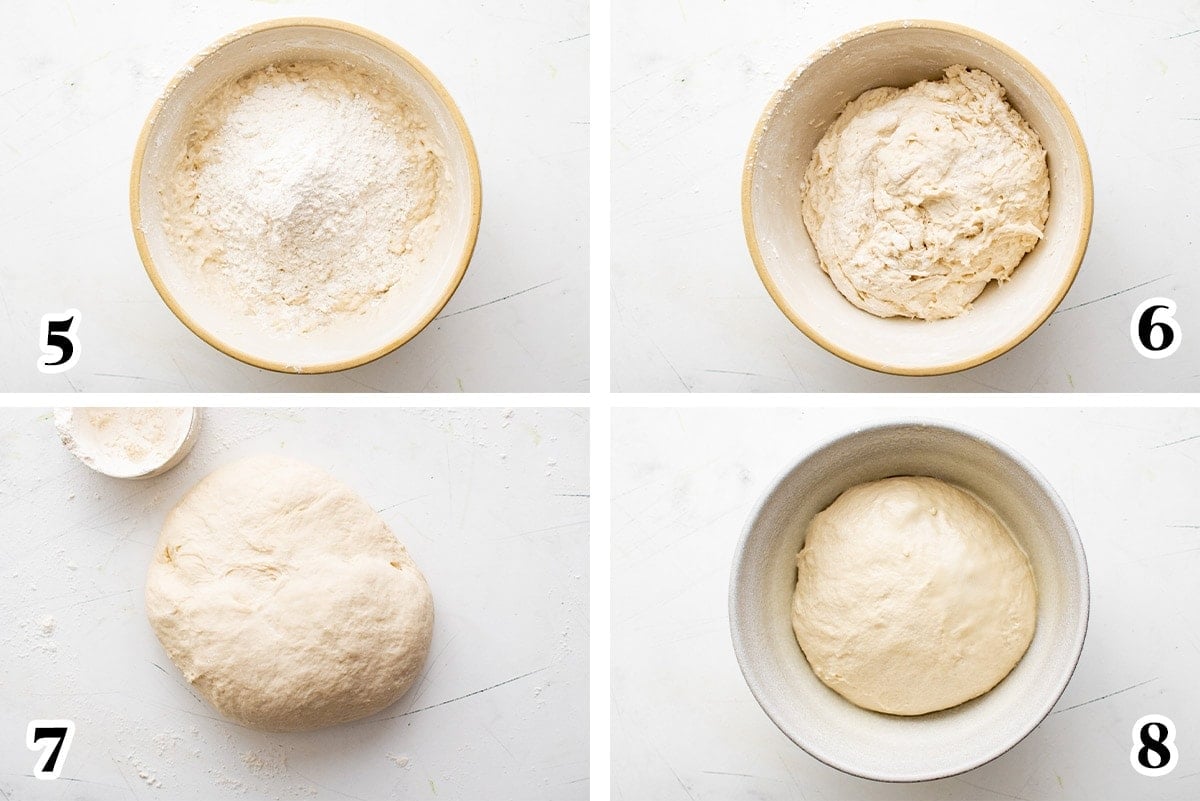
Rise. Spray a large bowl with nonstick cooking spray and place the dough inside. Roll it around the inside of the bowl to coat with the cooking spray. Cover with a clean kitchen towel or plastic wrap and let the dough rise for about 30 minutes, or until it doubles in size.
Knead the dough. Spread a small handful of flour onto a flat surface, like a large cutting board or your kitchen counter. Knead with your hands for 6 minutes, adding just enough flour to keep it from being sticky, then form into a ball.
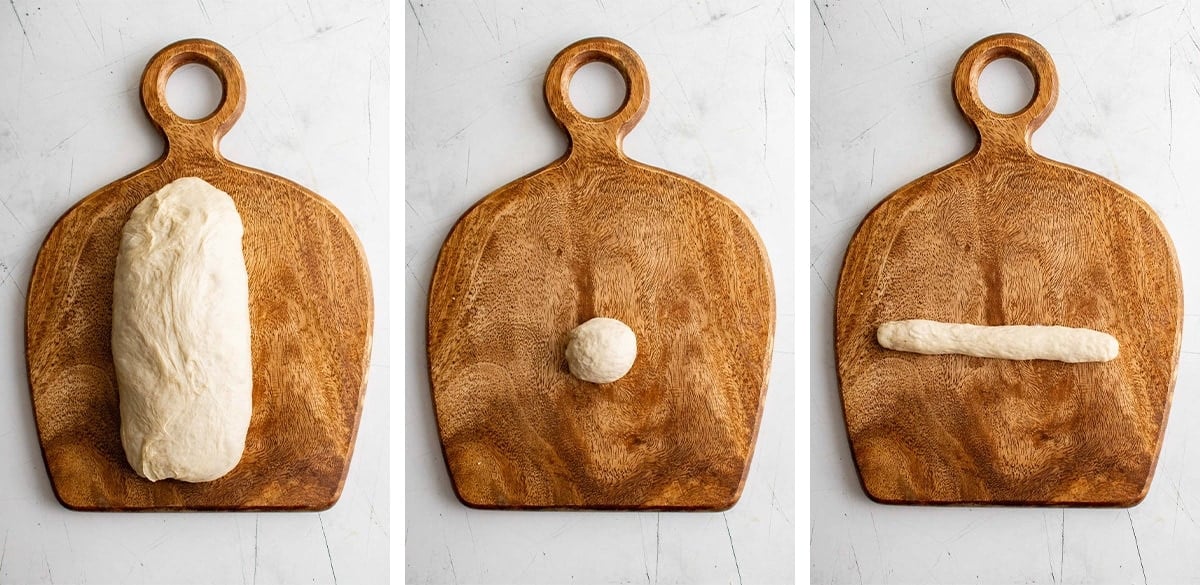
Form the Breadsticks. While still in the bowl, cut the dough in half. Take out one half and place it on a cutting board, then cut it into 7 equal pieces. Take each piece and roll into a ball, then place on the flat surface and gently press down as you roll the dough into an 8-inch long rope. You can make your breadsticks as long or short as you like. Repeat with the rest of the dough.
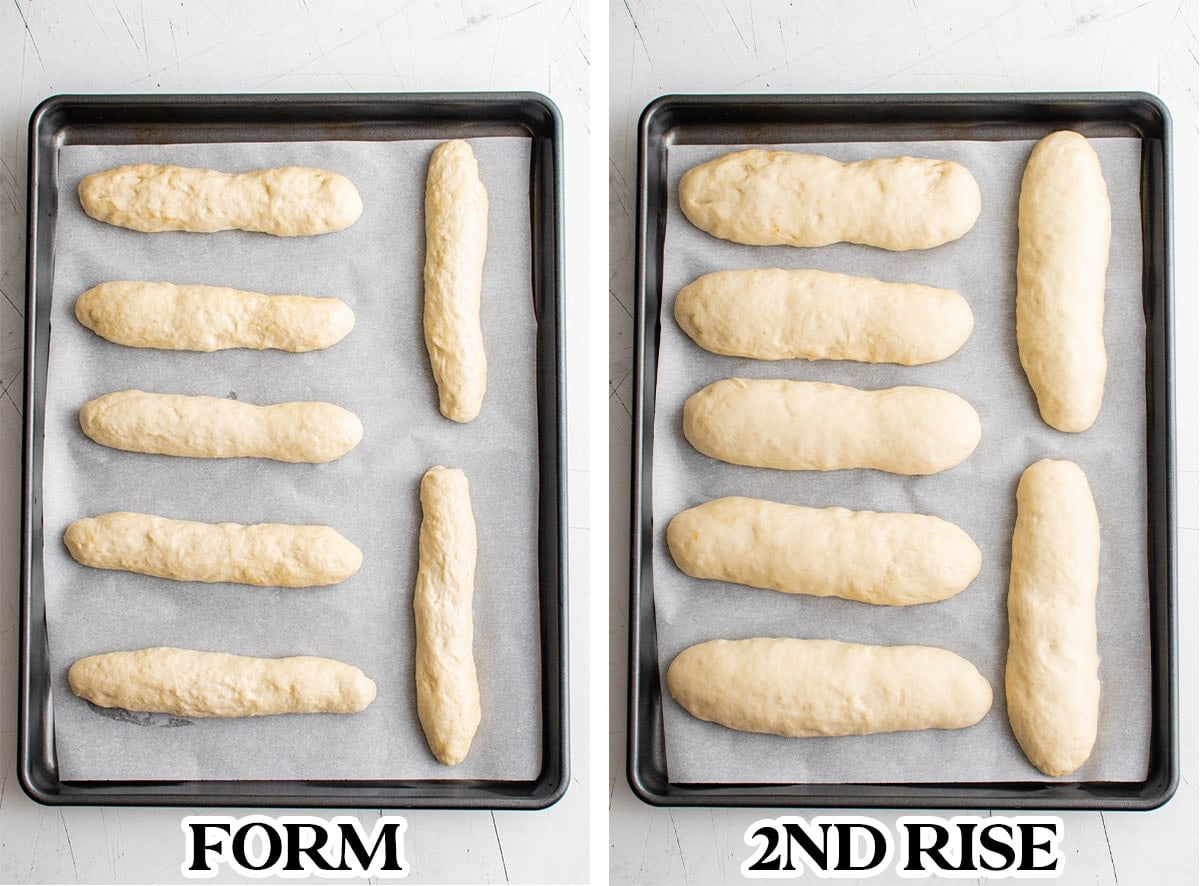
Second rise. Line a couple of baking sheets with parchment paper, then arrange the ropes onto the baking sheets, making sure they are evenly spaced apart with plenty of room to rise. Spray with cooking spray and cover with a clean towel or plastic wrap for about 15 minutes.
Bake. While you’re waiting for them to rise again, Preheat the oven to 400℉. When the oven is fully preheated, bake breadsticks for 10-12 minutes or until the tops turn a light golden color.
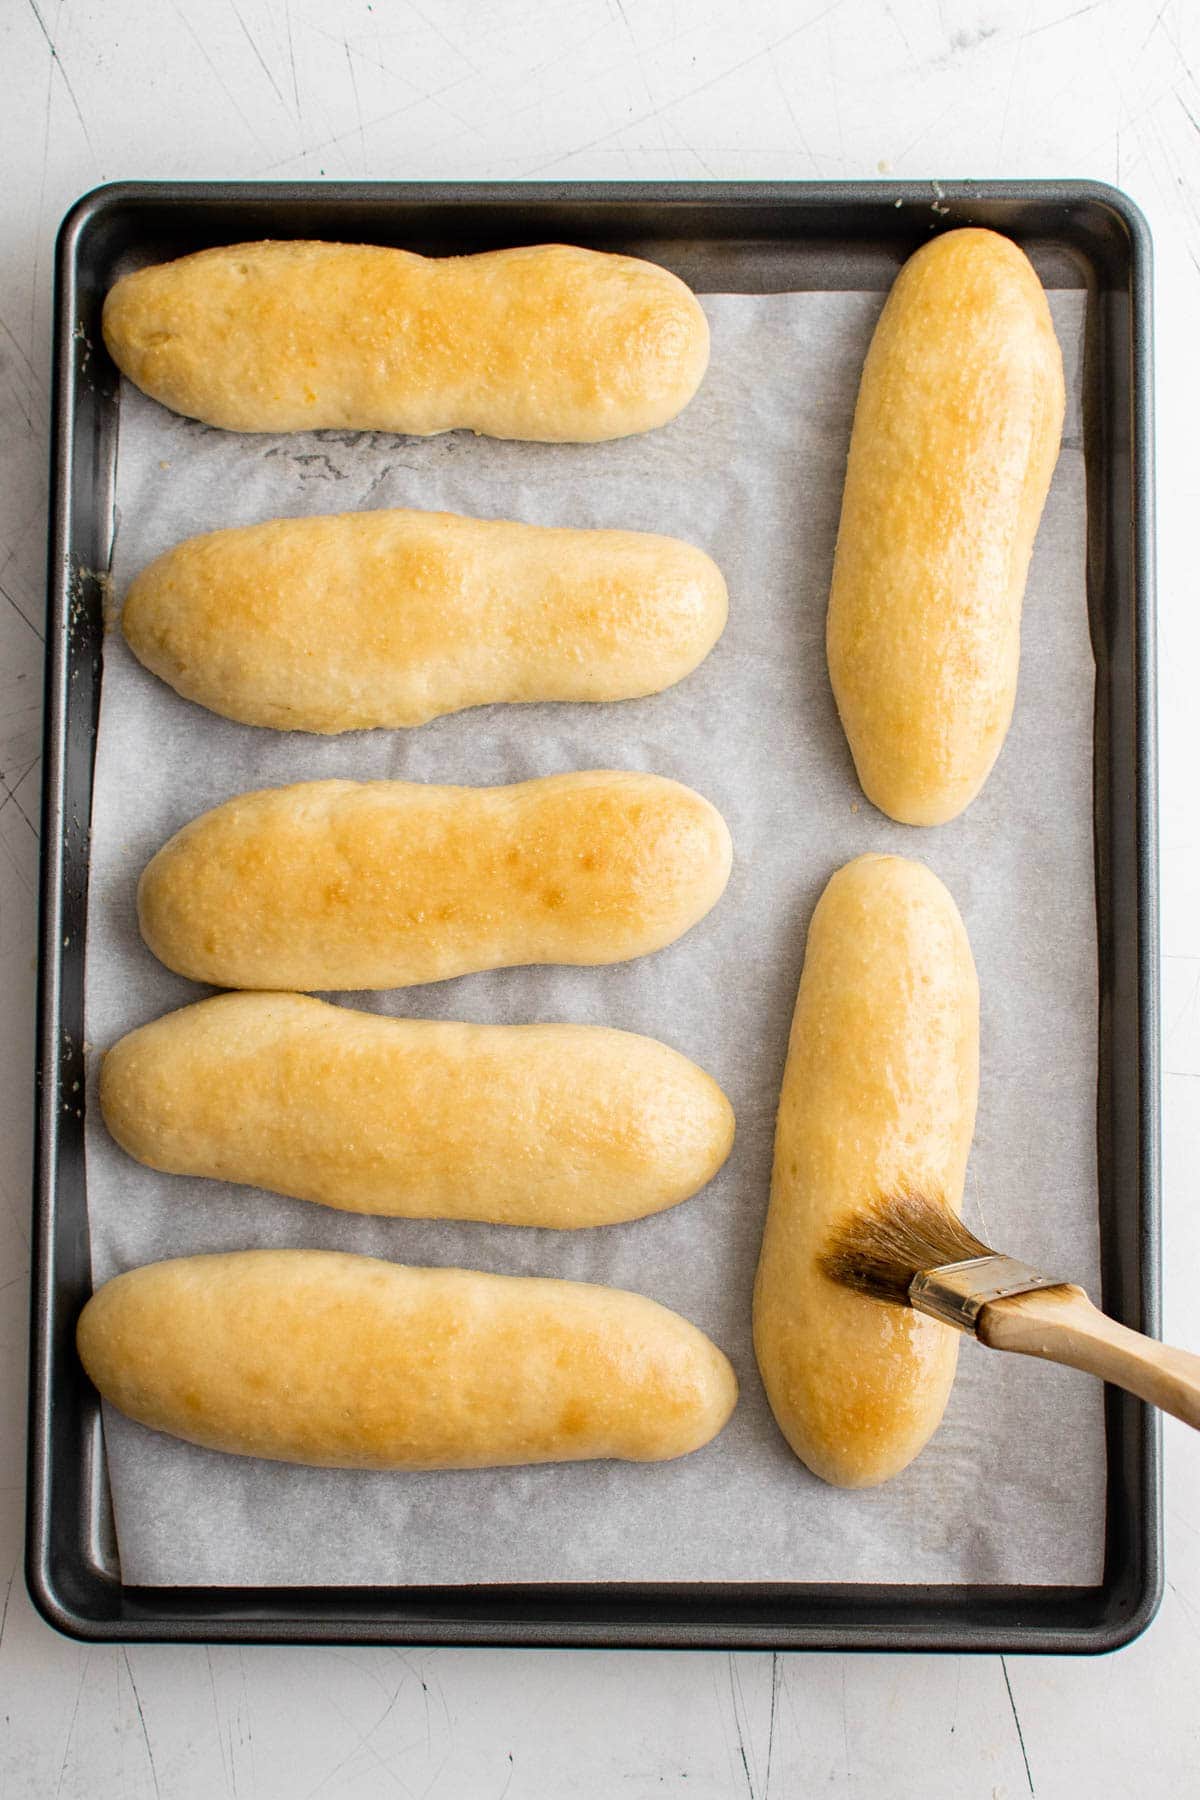
Brush with garlic butter. Melt the butter in the microwave for 30 seconds then stir in the garlic salt. Brush the garlic butter onto the breadsticks while they’re still warm, then sprinkle on the parmesan and Italian herbs (if desired). Serve them immediately – they are the best when they’re fresh.
Frequently Asked Questions
Yes you can freeze fully baked breadsticks. Let them cool completely, then wrap in foil or plastic wrap and place in a freezer bag. Freeze for up to three months.
Yes! I sprinkled a little Parmesan cheese on mine when I brushed on the garlic butter. But to make these into cheesy breadsticks, top with freshly shredded cheese, like provolone, cheddar or fresh Parmesan before baking.
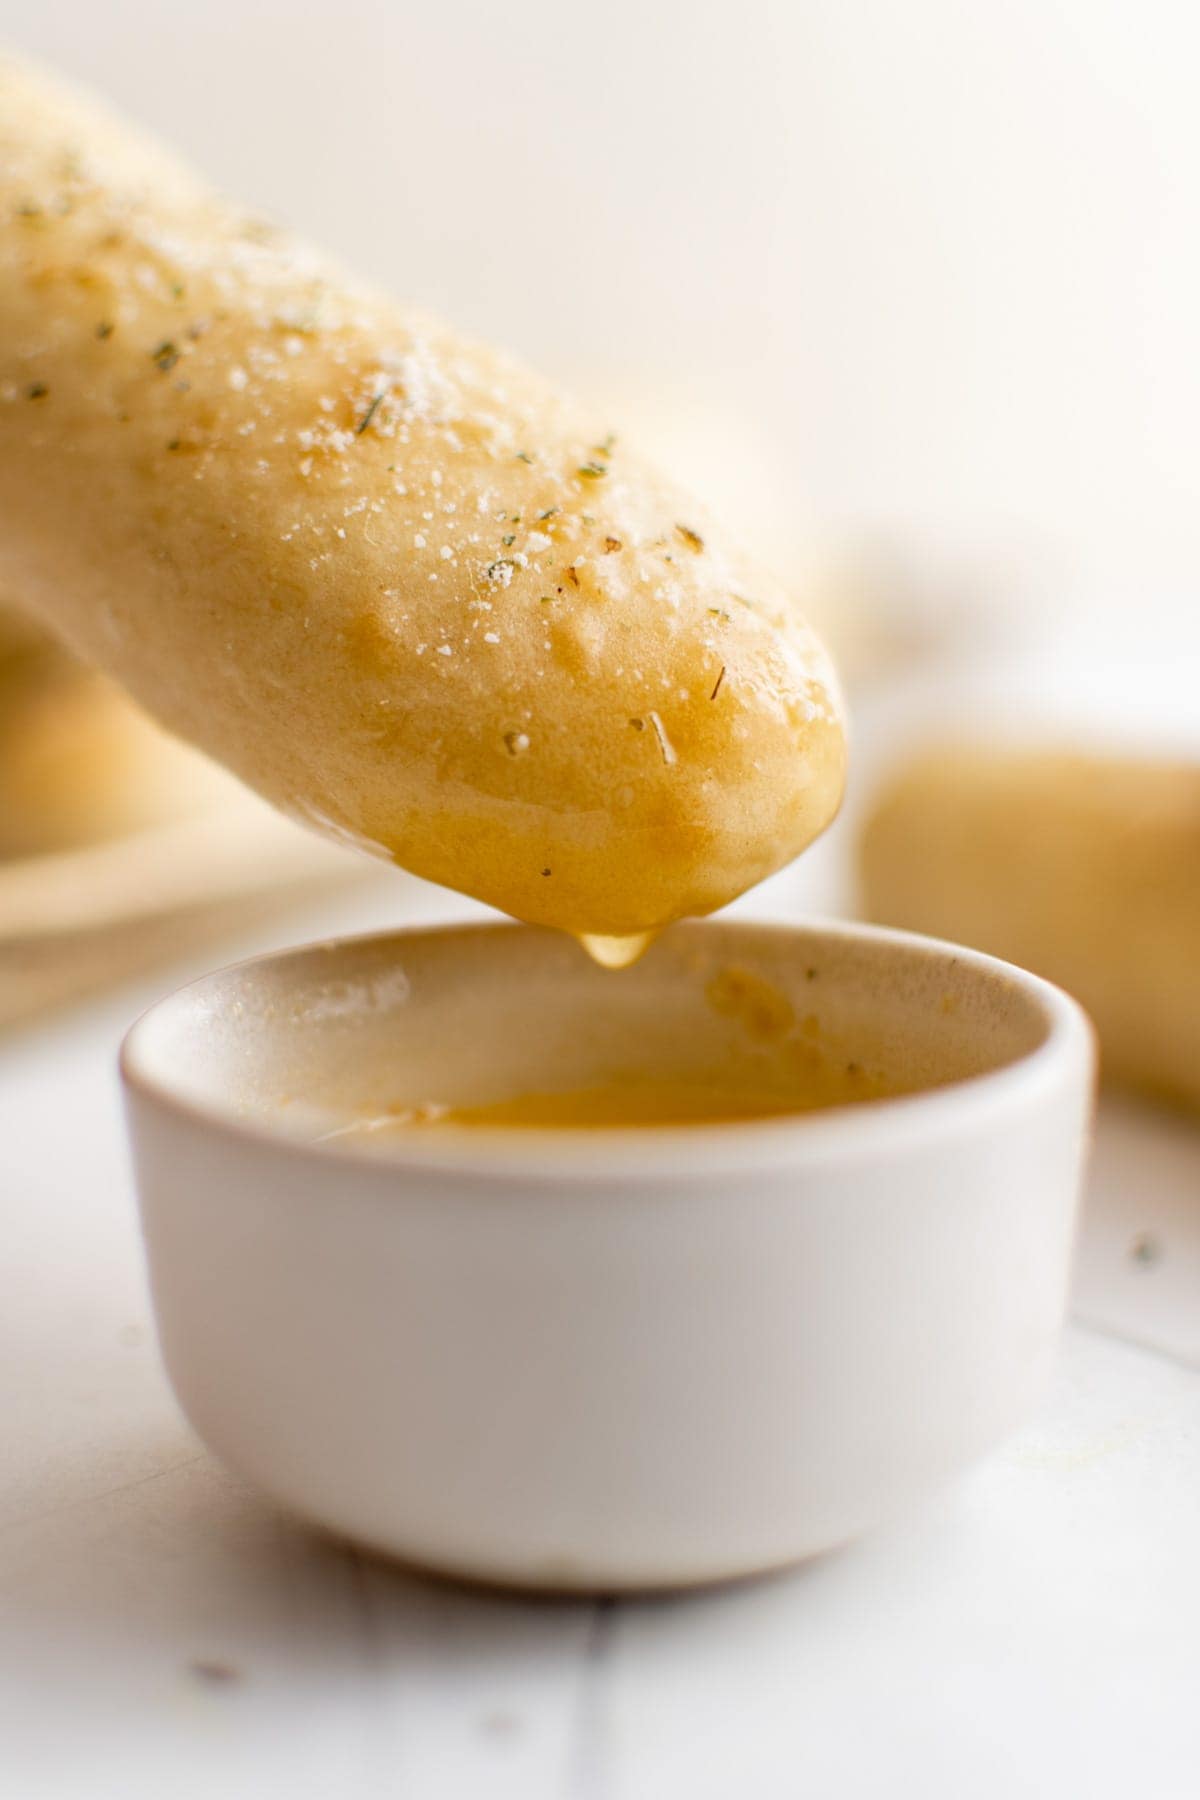
I am a sucker for a good breadstick dipped in Alfredo sauce, but also love Marinara Sauce or just melted Garlic Butter for dipping. My favorite bread dip is my Garlic & Herb Olive Oil Bread Dip that tastes just like California Pizza Kitchen.
Storage and Reheating
Storage: Place cooled breadsticks in an airtight container or resealable plastic bag and store at room temperature for up to three days. Or wrap tightly and freeze for up to 3 months.
Reheating: Leftover breadsticks can be warmed in the microwave for a few seconds or wrapped in foil and baked at 325℉ for 5 minutes. If frozen, you can bake without thawing. Place the breadsticks on a baking sheet and bake at 325℉ until warmed through. Brush with melted garlic butter and serve immediately.
Expert Tips
- If your yeast doesn’t get foamy after 5-10 minutes, it means it’s dead and won’t work for your dough. Toss it out and start again with a new batch pf yeast.
- If you have a stand mixer, I highly recommend using it. Use the regular flat beater attachment to stir the dough and the dough hook to knead. You’ll know it’s done kneading when it pulls away from the sides and forms a ball.
- Depending on the humidity and altitude of your kitchen, you may not need the full amount of flour listed.
- If you’re not sure how to know when you are done kneading, pinch off a piece of the dough with your fingers and stretch it. If you can stretch it a few inches without it breaking, it’s done.
- With either method you can sprinkle in a little more flour as needed, but be careful not to use too much or your breadsticks will be tough.
More Bread Recipes You’ll Love
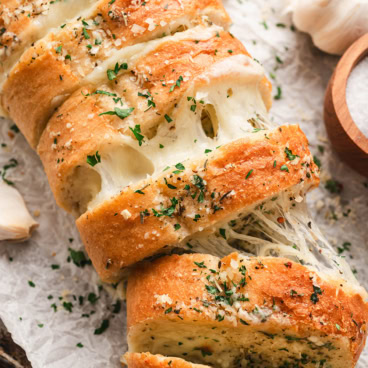
- Cheesy Garlic Bread
- Easy Sourdough Bread with Instant Yeast
- Homemade Bread Bowls
- Beer Bread
- Fluffy Homemade Naan
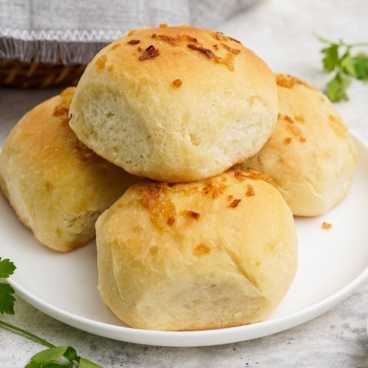
- Soft Onion Rolls
- Stuffed Garlic Bread
Homemade Garlic Breadsticks
Ingredients
- 1 ¾ cup Water very warm but not boiling
- 2 tablespoons Granulated sugar
- 1 tablespoon Active dry yeast
- 2 tablespoons Olive oil
- 1 teaspoon Salt
- 3 1/2 cups All-purpose flour plus up to 1 cup more as needed
- 4 tablespoons Butter
- 1 teaspoon Garlic salt
- Optional topping: grated parmesan cheese and dried Italian herbs
Instructions
- Stir the water, sugar and yeast together in a large mixing bowl and let it activate for 5 minutes before stirring in the olive oil and salt.
- Add the flour 1 cup at a time, stirring between each addition until you can no longer stir then turn it out onto a well-floured surface.
- Knead the dough for 6 minutes adding just enough flour to keep it from sticking then form it into a ball. (Don’t add too much flour or the breadsticks will be tough.)
- Spray a large bowl with non-stick spray and place the dough inside and roll it around to coat.
- Cover and let it rise for 30 minutes or until it doubles in size.
- Preheat the oven to 400 degrees Fahrenheit and line 2 large baking pans with parchment paper.
- Cut the dough into 14 equal pieces then roll each piece into a ball and gently press as you roll the balls into 7-8-inch-long ropes.
- Place the ropes onto the prepared baking pans evenly spaced then spray the tops with olive oil spray and cover with a towel.
- Let them rise again for 15 minutes then bake for 10-12 minutes or until the tops turn a light golden color.
- Melt the butter in the microwave for 30 seconds then stir in the garlic salt.
- Brush the garlic butter onto the breadsticks then sprinkle on the parmesan and Italian herbs if desired and serve hot.
Notes
Nutrition
Nutritional Disclaimer Kristin Maxwell of “Yellow Bliss Road” is not a dietician or nutritionist, and any nutritional information shared is an estimate. For accurate calorie counts and other nutritional values, we recommend running the ingredients through your preferred online nutritional calculator. Calories and other nutritional values can vary depending on which brands were used.
Thank you for such thorough instructions. Your instructions and pictures made this so fun to make and they taste delicious. THANKS!! Can’t wait to try your other recipes.
You are so welcome Evelyn! Love the feedback, thanks for stopping by.