This post may contain affiliate links. Please read our disclosure policy.
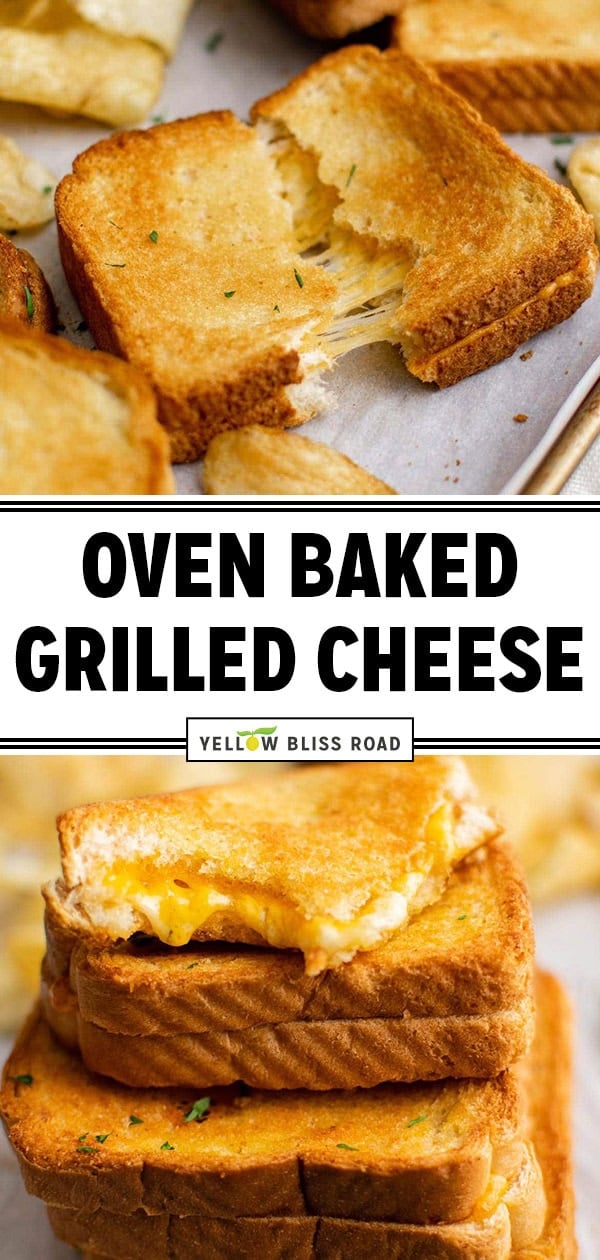
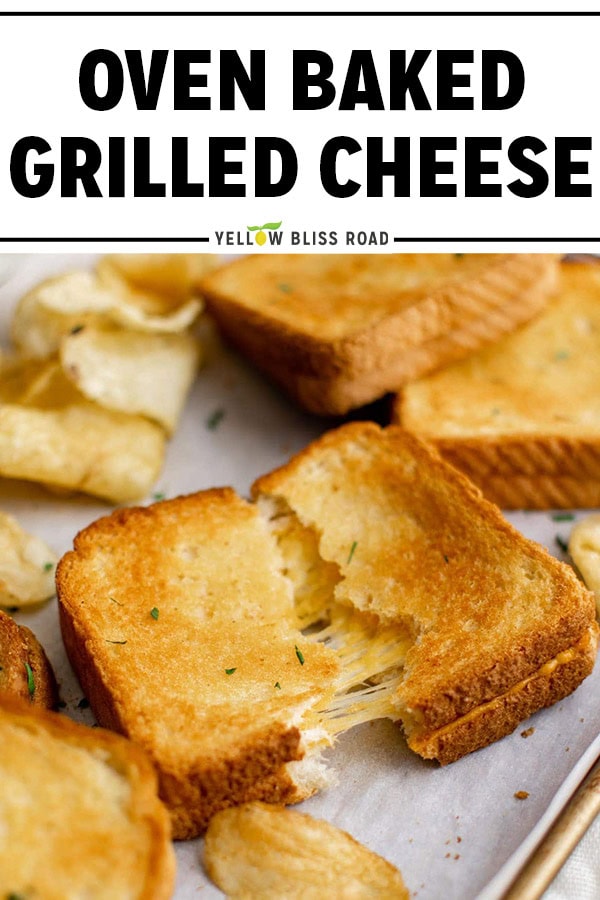
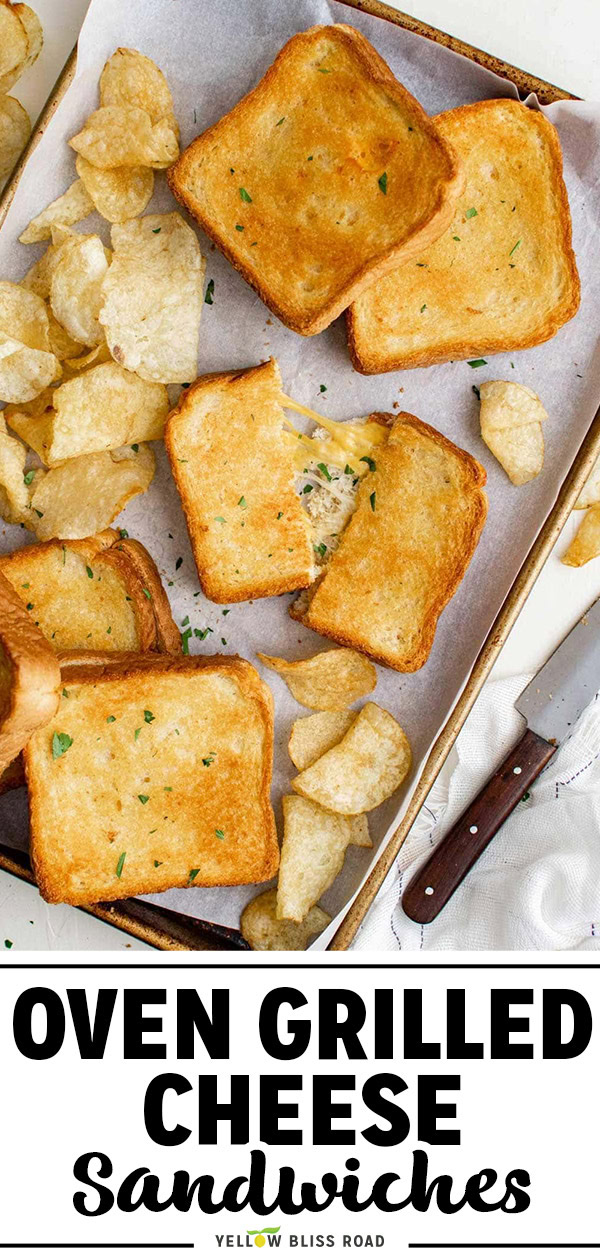
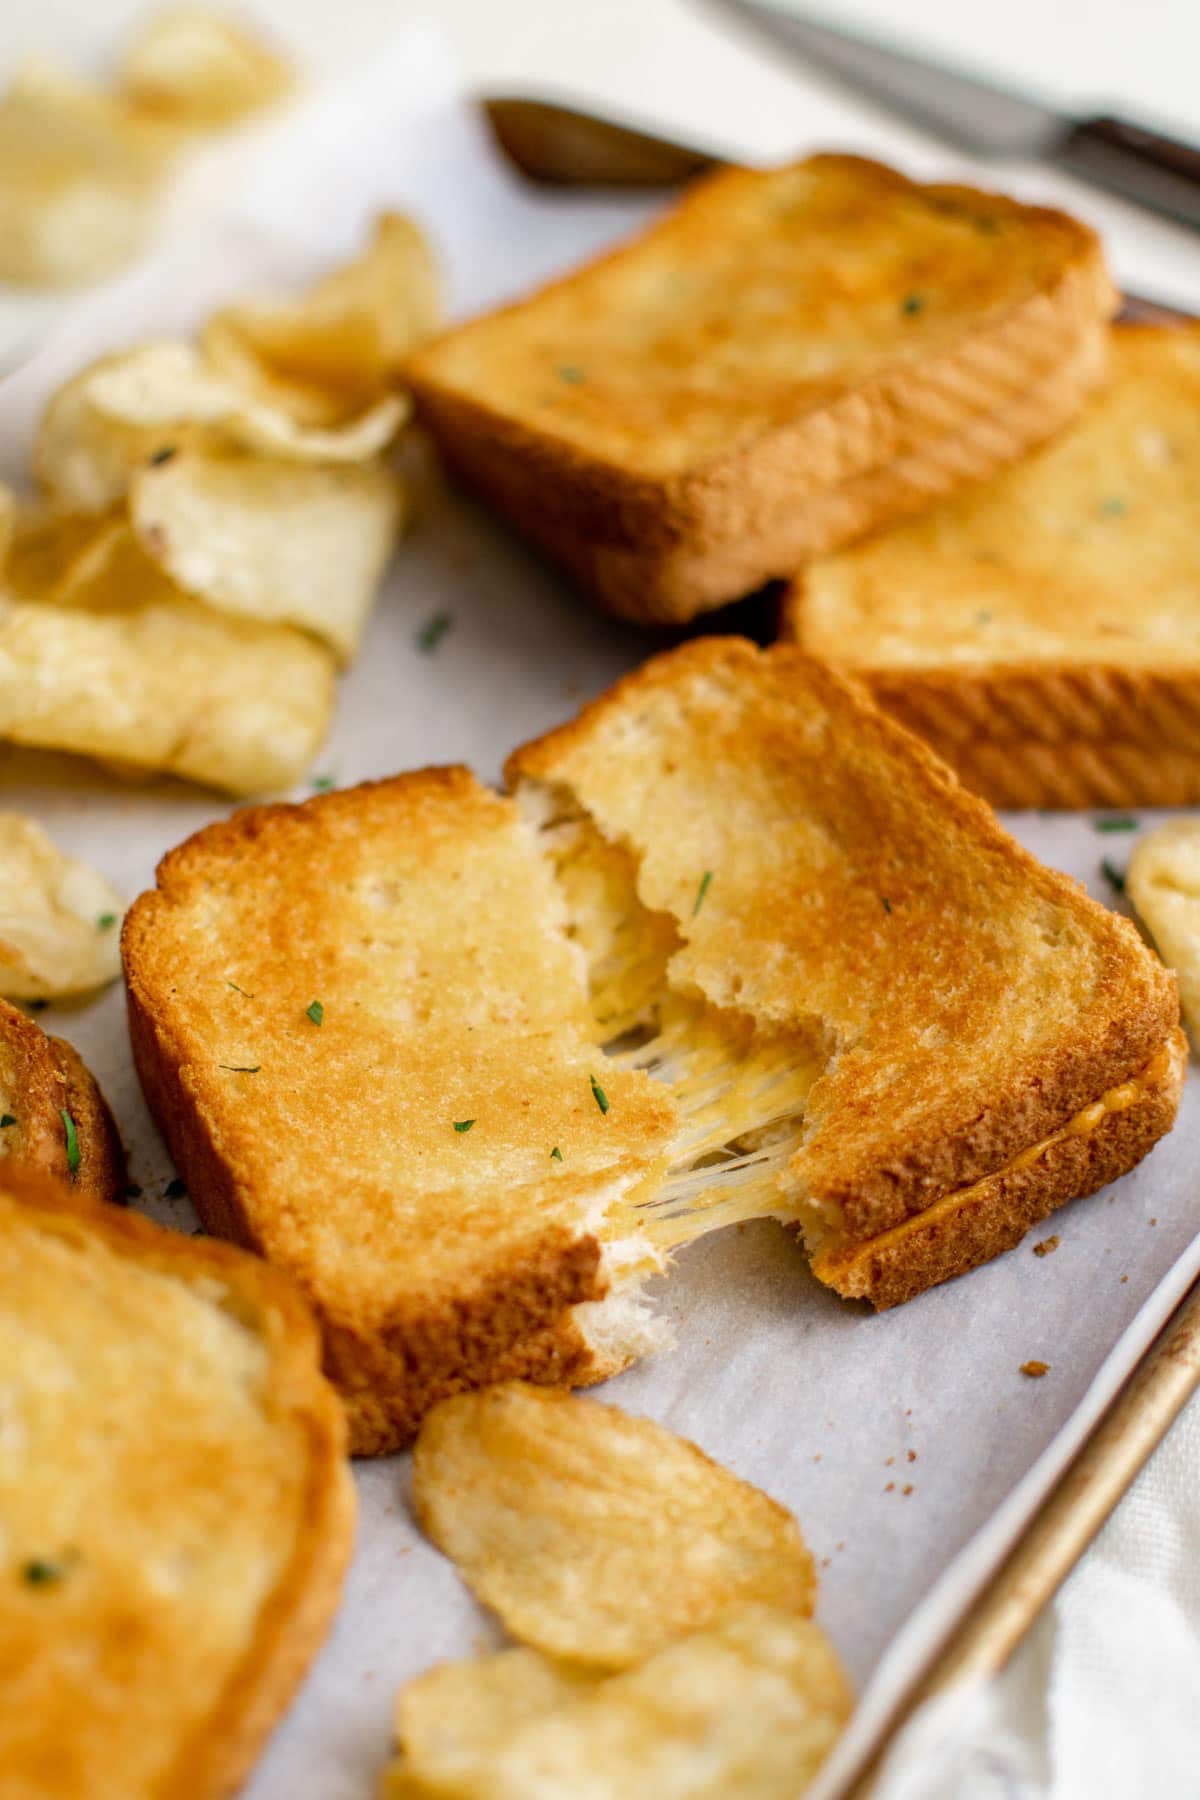
Oven Grilled Cheese is the easiest way to make this comfort food classic. Pop a whole batch on a sheet pan and let the oven do the work. You’ll get sandwiches that are golden and crispy on the outside, perfectly melty on the inside, with almost no effort. Once you try this method, you might never go back to the stovetop.
If you love simple, satisfying lunch ideas, try Air Fryer Grilled Cheese for a quick single serving or a classic Tuna Melt Sandwich. You’ll also find more simple meal ideas in this collection of Easy Dinner Ideas for Kids.
Tips for Perfect Oven Grilled Cheese
A few small details make the difference between a good grilled cheese and a great one. Keep these in mind before you start:
- Spread butter edge to edge. This is the secret to even browning and maximum crunch. Every bit of bread should be coated, from crust to crust.
- Use foil on the baking sheet. I’ve tried parchment and it works, but foil gives you noticeably better crispiness on the bottom of the bread.
- Choose thick-sliced bread. Thin sandwich bread can get too soft or soggy. A heartier slice holds up better to the melted butter and keeps its structure.
- Let the sandwiches rest before slicing. Give them about 5 minutes on the baking sheet after they come out of the oven. This lets the cheese set so it doesn’t ooze out everywhere when you cut.
Best Cheese for Grilled Cheese
The best cheese for grilled cheese is one that melts smoothly and has good flavor. Cheddar and American cheese are classic choices that work beautifully. Cheddar gives you a sharper, more traditional taste, while American melts incredibly creamy and smooth.
Monterey Jack and Mozzarella are also great options if you want a milder, stretchier melt. Pepper Jack adds a little heat if you like some kick.
For the best results, try combining two cheeses. A slice of American cheese for meltiness, plus a slice of cheddar for flavor, is a winning combination.
- Note: Pre-sliced cheese works best for even melting. If you’re using block cheese, slice it thin so it melts all the way through before the bread over-browns.
RECIPE WALK-THROUGH
How to Make Grilled Cheese in the Oven
See the recipe card below for full, detailed instructions
This hands-off method gives you evenly toasted sandwiches with perfectly melted cheese. Here’s how to do it:
Step 1: Prep the Bread
Preheat your oven to 400°F and line a large baking sheet with foil.
Spread softened butter on one side of each slice of bread. Make sure to go all the way to the edges for even browning. If you like a little extra flavor, sprinkle garlic salt or garlic powder on top of the butter.
- Room temperature butter spreads much easier than cold. If yours is too firm, let it sit out for 10 to 15 minutes before you start.
Step 2: Assemble the Sandwiches
Place 6 slices of bread butter-side down on the prepared baking sheet. Top each one with 1 to 2 slices of cheese, depending on thickness. Place another slice of bread on top, butter-side up.
If you’re using garlic salt, sprinkle a little on the top of each sandwich too.
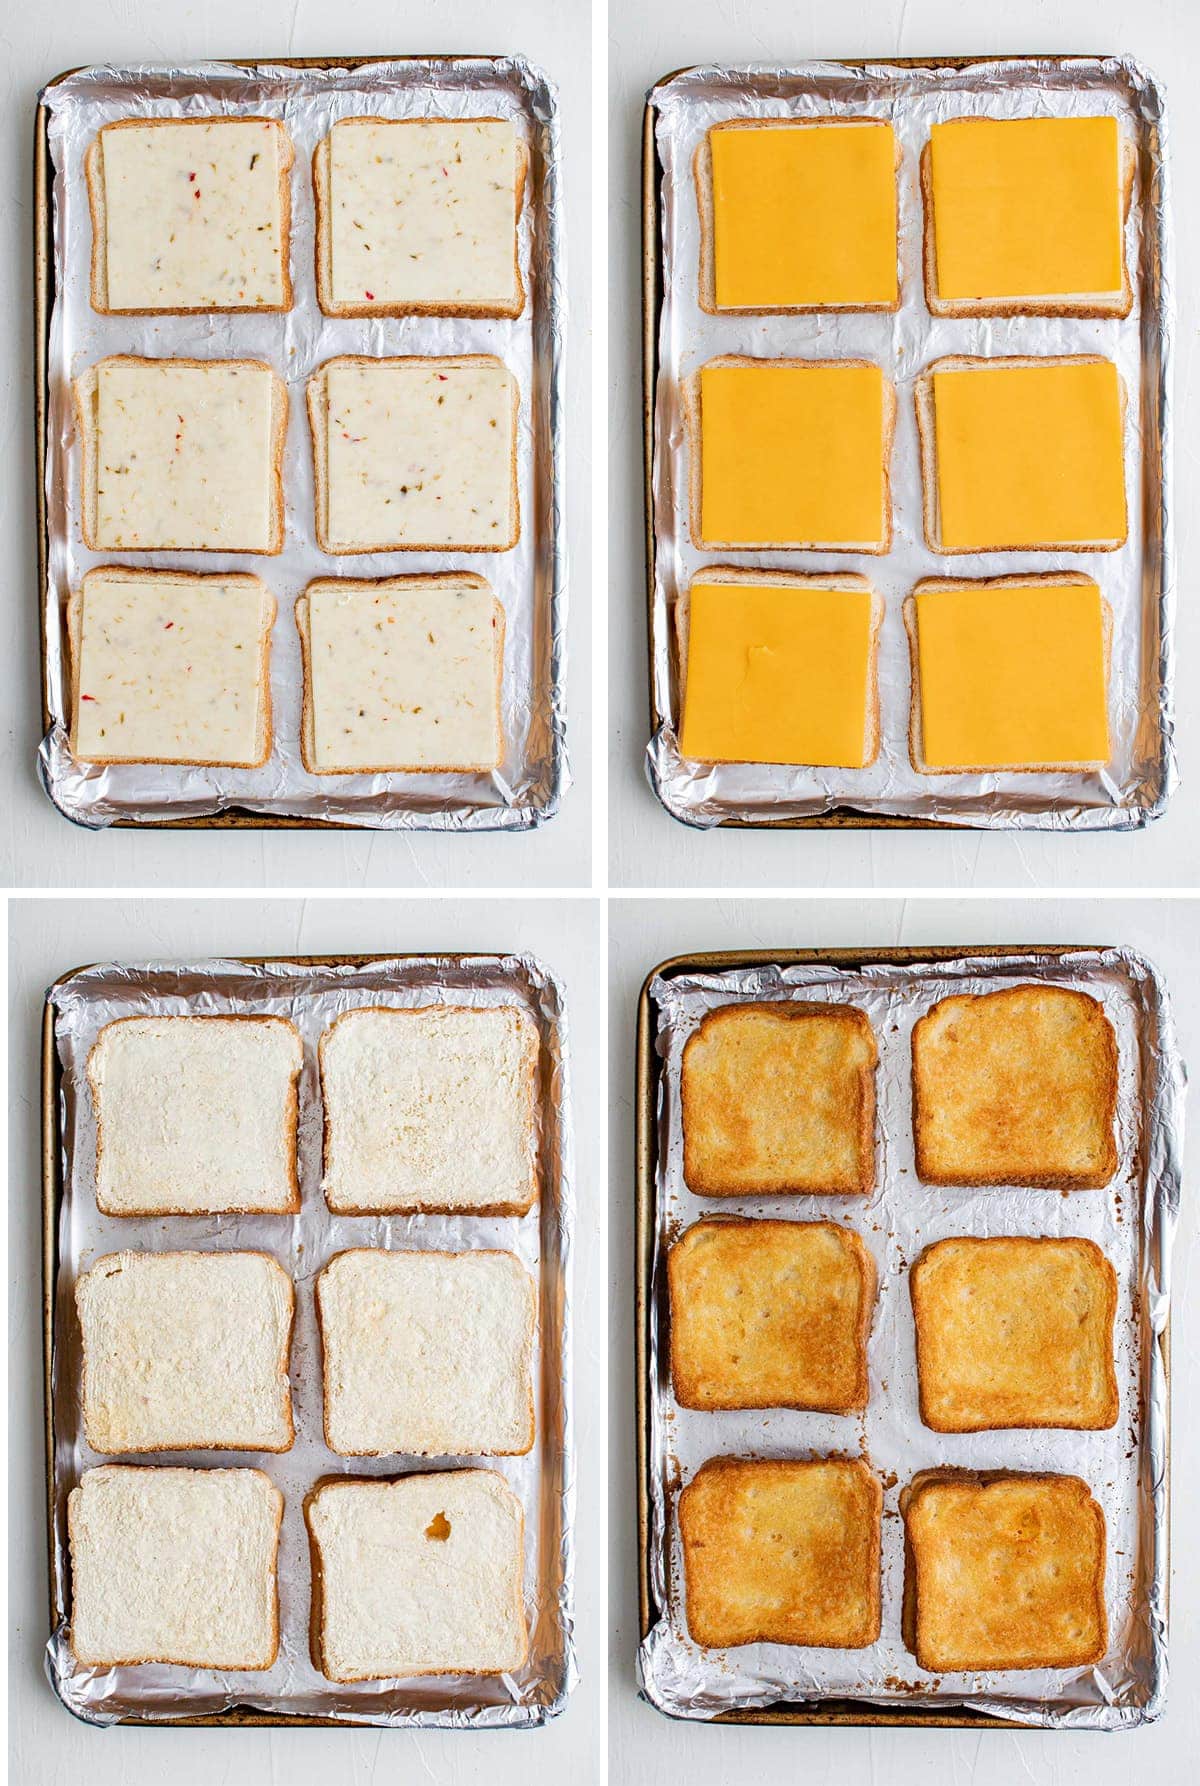
Step 3: Bake and Flip
Bake for 5 to 7 minutes, then carefully flip each sandwich using a spatula. Bake for another 5 to 7 minutes, or until both sides are golden brown and the cheese is fully melted.
The exact timing depends on your oven and the thickness of your bread. Look for deep golden color on the bread and cheese that’s starting to bubble at the edges.
- Uneven Cooking Note: If one side is browning faster than the other, rotate the pan halfway through baking.
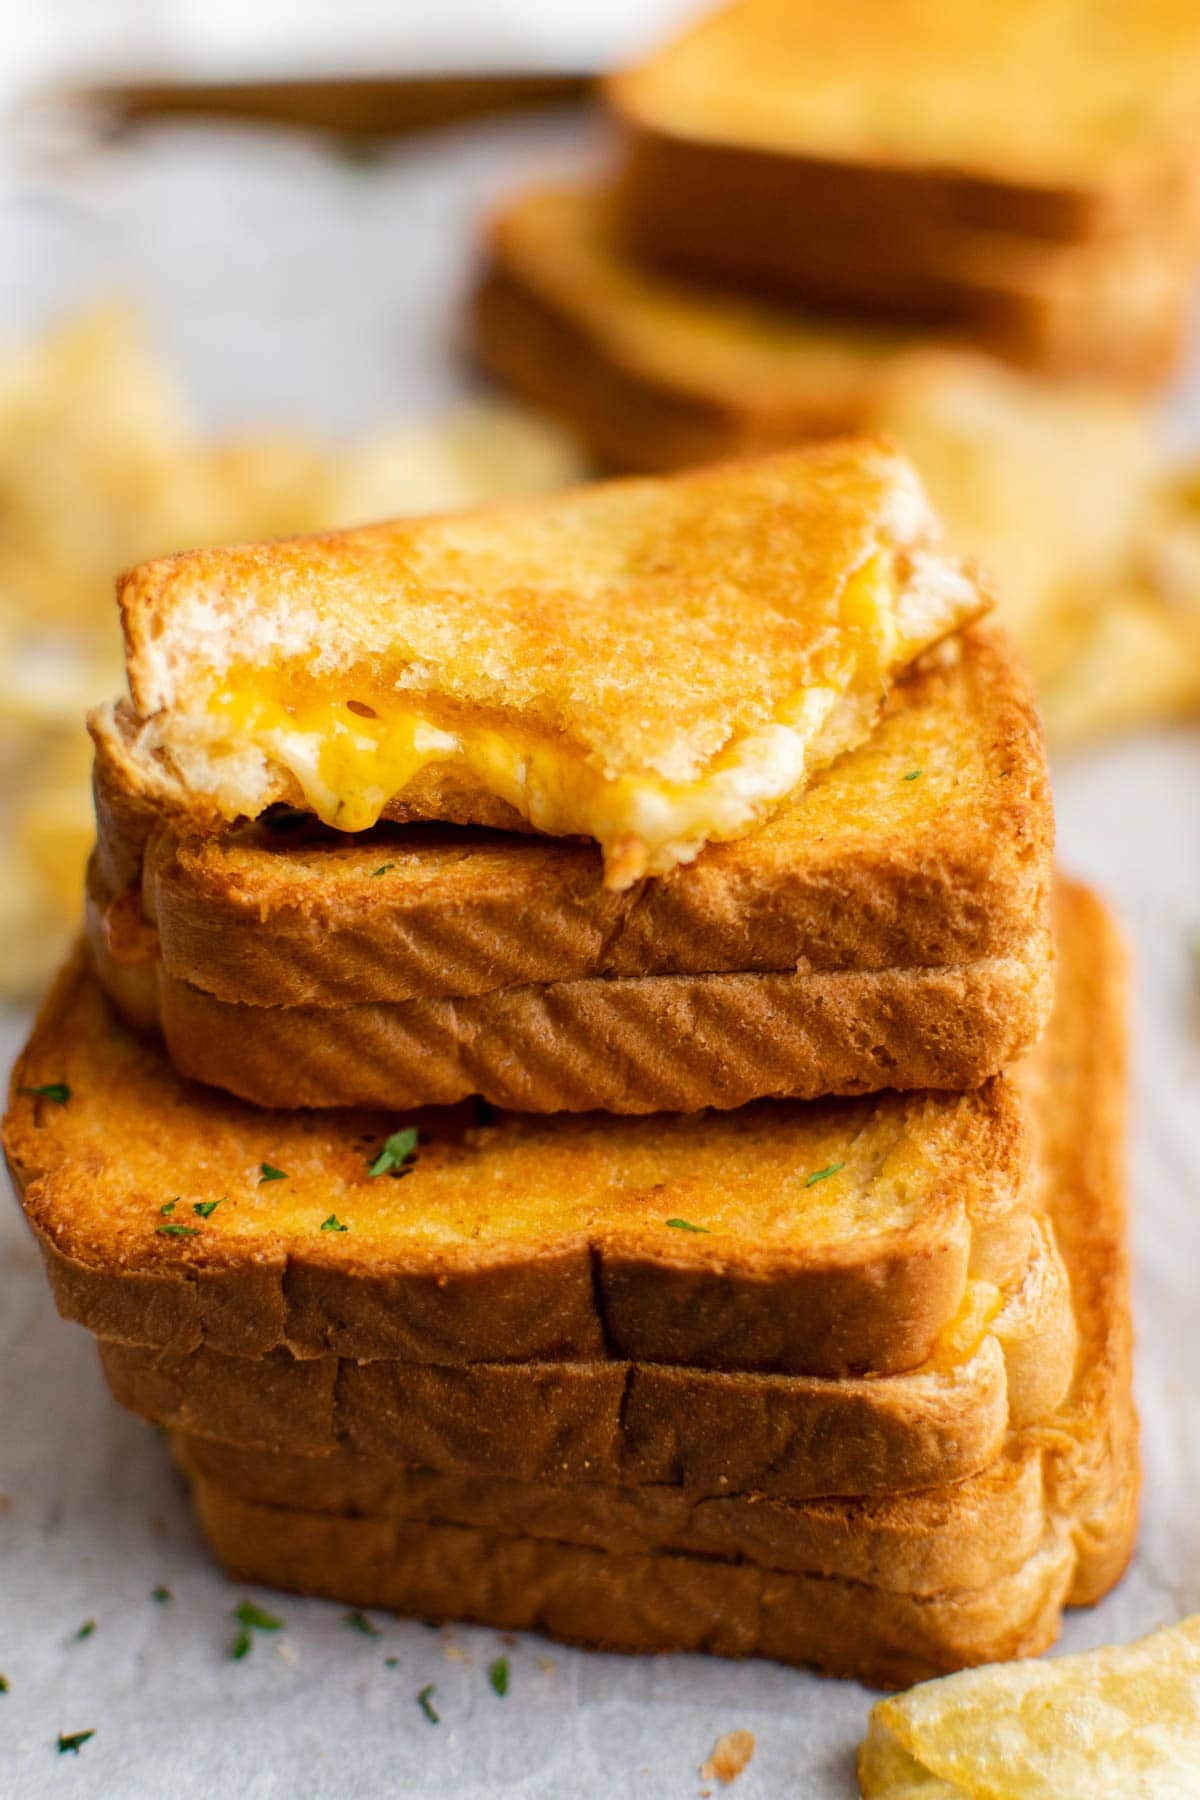
Rest Before Slicing
Let the sandwiches sit on the baking sheet for about 5 minutes before cutting. This gives the cheese time to set slightly so it stays in the sandwich instead of running all over your cutting board.
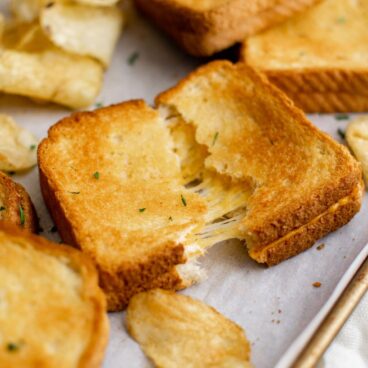
Slice in half and serve warm.
Oven Grilled Cheese Variations
The classic version is hard to beat, but these easy add-ins take it up a notch:
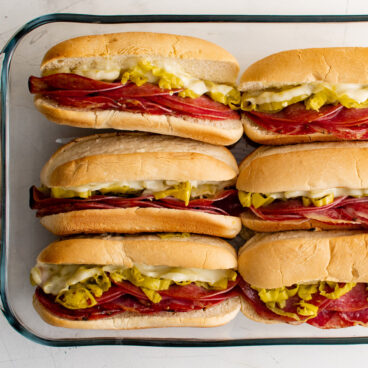
- Italian: Layer ham, salami, and mozzarella between the bread. Serve with pepperoncini on the side.
- Bacon and Blue Cheese: Add crispy bacon and crumbled blue cheese between slices of mozzarella or Monterey Jack.
- Brie, Apple, and Jam: For a sweeter twist, use sliced brie, thinly sliced apples, and a smear of fig jam. Great with a peppery arugula salad.
- Sun-Dried Tomato and Basil: Tuck in fresh basil leaves and chopped sun-dried tomatoes with provolone or mozzarella for a fresh, flavorful spin.
What to Serve with Grilled Cheese
A crispy grilled cheese pairs perfectly with all kinds of sides. Here are some favorites:
- Tomato soup is the classic pairing. Try Instant Pot Tomato Soup for dipping.
- Macaroni salad adds a creamy, tangy side. Classic Macaroni Salad or Hawaiian Macaroni Salad are both great options.
- Fresh salads keep things lighter. Fresh Corn Salad is a simple choice, especially in summer.
- Crispy sides like Beer Battered Onion Rings or potato chips add crunch.
- Pickle spears on the side give a classic diner feel.
Storage Tips
Storage and Freezing
Refrigerator: Let sandwiches cool to room temperature, then wrap in foil or place in an airtight container. They’ll keep in the fridge for up to 3 days.
Reheating: Reheat in the oven or toaster oven at 350°F until the bread crisps up again, about 10 minutes. The microwave works too, but the bread will be softer.
Freezing Unbaked Sandwiches: Assemble the sandwiches but don’t bake them. Wrap each one tightly in plastic wrap, then foil, and freeze for up to 2 months. When ready to eat, bake from frozen at 425°F and add a few extra minutes to the baking time.
Freezing Baked Sandwiches: Wrap cooled sandwiches individually in plastic wrap or foil and store in a freezer bag for up to 3 months. Reheat straight from frozen at 375°F until warmed through and crisp.
Frequently Asked Questions
How long do you bake grilled cheese at 400 degrees?
At 400°F, baked grilled cheese takes about 10 to 14 minutes total. Bake for 5 to 7 minutes on the first side, flip, then bake another 5 to 7 minutes until both sides are golden and the cheese is melted.
Do you have to flip baked grilled cheese?
Yes, flipping is important for even browning. Without it, one side will be golden and crispy while the other stays soft. Use a spatula to flip each sandwich about halfway through baking.
How do you keep baked grilled cheese from getting soggy?
A few things help: use foil instead of parchment on your baking sheet, spread butter all the way to the edges, choose a thicker bread that holds up better, and let the sandwiches rest for a few minutes after baking so the cheese sets.
More Sandwich Recipes To Try
- Monte Cristo Sliders
- Reuben Sliders
- Buffalo Chicken Sandwich
- Crispy Dill Chicken Sandwich
- Garlic Butter Ham and Cheese Sliders
Oven Grilled Cheese
Ingredients
- 12 slices of sandwich bread
- Butter softened and spreadable
- 12 slices cheese (Cheddar, Mozzarella, Pepper Jack, or American)
- Garlic powder or garlic salt optional
Instructions
- Preheat oven to 400°F. Line a large baking sheet with nonstick foil.
- Spread butter thinly on one side of each slice of bread, going all the way to the edges. Sprinkle a little garlic salt on each piece if desired.
- Place 6 slices of bread butter-side down on the baking sheet. Top with sliced cheese, then with another slice of bread, butter-side up. Sprinkle with a little more garlic salt if using.
- Bake in the preheated oven for 5 to 7 minutes, then flip each sandwich over to brown the other side. Bake another 5 to 7 minutes until both sides are golden.
- Let cool on the baking sheet for about 5 minutes before slicing and serving.
Notes
- Butter: You can use salted or unsalted butter. Pair unsalted butter with garlic salt, or salted butter with garlic powder.
- Cheese: Cheddar, American, Monterey Jack, and mozzarella all work well. Combining two cheeses gives the best balance of meltiness and flavor.
- Foil vs. parchment: Use foil on the baking sheet for the crispiest results. Parchment works but won’t give the same golden crunch on the bottom.
- Flipping: Flip the sandwiches halfway through baking for even browning on both sides.
- Resting: Let the sandwiches rest on the baking sheet for about 5 minutes before slicing. This helps the cheese set so it doesn’t ooze out.
- Batch size: The bake time stays the same whether you’re making 2 sandwiches or 6.
- Lower temperature option: For slower, more controlled browning, bake at 375°F and add a few minutes to the total time.
- Storage: Wrap cooled sandwiches in foil or place in an airtight container. Store in the fridge for up to 3 days.
- Reheating: Reheat in the oven or toaster oven at 350°F until crisp, about 10 minutes.
Nutrition
Nutritional Disclaimer Kristin Maxwell of “Yellow Bliss Road” is not a dietician or nutritionist, and any nutritional information shared is an estimate. For accurate calorie counts and other nutritional values, we recommend running the ingredients through your preferred online nutritional calculator. Calories and other nutritional values can vary depending on which brands were used.

These take me back to Junior/Senior Highschool
That’s how the lunch ladies made grilled cheese for lunch 😋 . Nice and soft in the center and the crispy edges were great for dipping into the tomato soup
Awesome feedback Jim! Thanks for stopping by.
This was SO good! I’d had some leftover garlic and herb compound butter I’d made for another meal earlier this week, and was trying to figure out what else I might use it for. I came across this recipe and it was like fate had happened! I used my flavored butter, omitting the need for the salt/powder. I used the cheeses I had on hand – Swiss and Pepper Jack, and it was the best grilled cheese I’ve probably ever tasted! I agree with everyone else that I will probably never cook this stovetop again.
Fantastic feedback Marie! Thank you so much for stopping by to share.
This was excellent. They were the perfect sandwiches for dunking in tomato soup. The added garlic really made these yummy.
Love the feedback Kimberly! Thanks for stopping by.
Absolutely delicious! I used American and Cojack cheeses which made it flavorful. The garlic salt was a brilliant addition! Yum! Yum! Yum! I ate one. Our teenage son ate the other five sandwiches! Thank you for sharing your recipe.
That sounds delicious! I have a growing teenage son just like that! LOL
Looks fantastic.. would love to try the Italian variations..
Just wondering if I can use the frozen Texas toast ??
Good question! I have made sandwiched with the toast before, but not a grilled cheese. I think it would be tasty.
This looks good but I would like to do it for 2 people. How long do I put it in the oven for?
The bake time will be the same no matter how many you make.
It’s a 5 Star for sure. I will be making my grill cheese sandwiches this way from now on. So easy. I omitted the garlic salt & it was still DELICIOUS
Love the feedback Denise! Thank you so much for stopping by.
Got your email today so made these for lunch. Oh my gosh delicious! The crunch from the oven was amazing. Probably the best grilled cheese ever! My husband loved it. Thanks so much!❤️
Yes!! I love hearing that! We make these all the time and they’re so easy and so good.
Such a cool idea especially for a group! Do you use salt or powder? PIcture shows powder..
They are great for a crowd! I have used both, and you can too. I meant to add that option to the recipe card.