This post may contain affiliate links. Please read our disclosure policy.
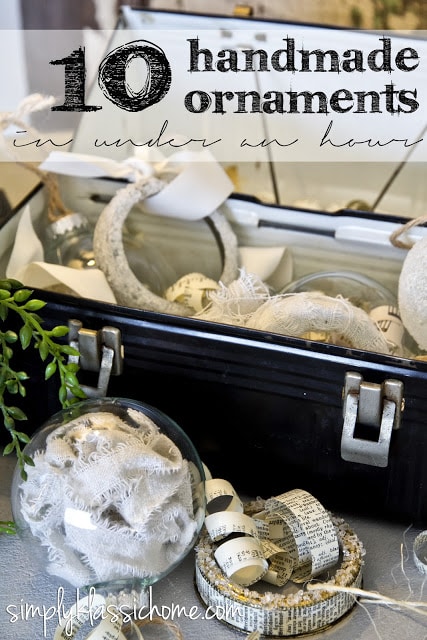
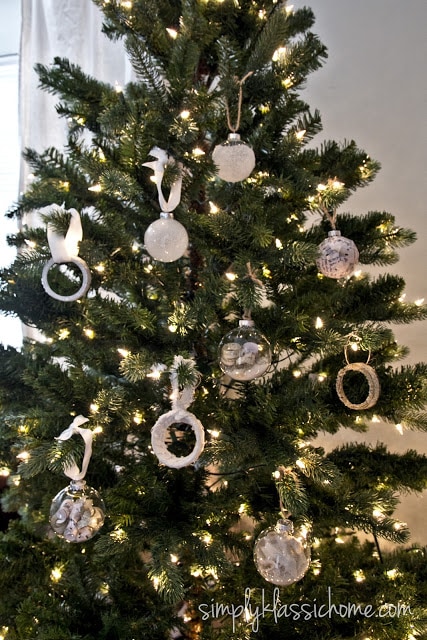
Looking for some ideas for clear glass ornaments? You’ve come to the right place! I’ve got seven great and simple ideas for filling those, plus some great ways to use canning jar rings on your tree! I don’t know about you, but my time is very limited. Even more so around the holidays. So if I can make ten Christmas ornaments while watching Grey’s Anatomy, I’m a happy girl.
So you know how Taco Bell has like six ingredients in their store, but they keep coming up with new menu items? Well that’s what I’ve done here.
Here are the six materials I had available:
Modpodge
Dropcloth scraps
Ball Jar canning rings (duh)
Epsom Salt
Vintage book pages and music sheets, cut into thin strips
(if you don’t have vintage, you can make them look that way by using Kristen’s tutorial at Ella Claire)
Clear glass ornaments (I found mine at Michaels)
Ok here we go…
Ornament #1
Curl some of your vintage book pages or music sheets with scissors (just like you would ribbon) and place the curls into the glass ball.
Yeah, that’s it.
Ornament #2
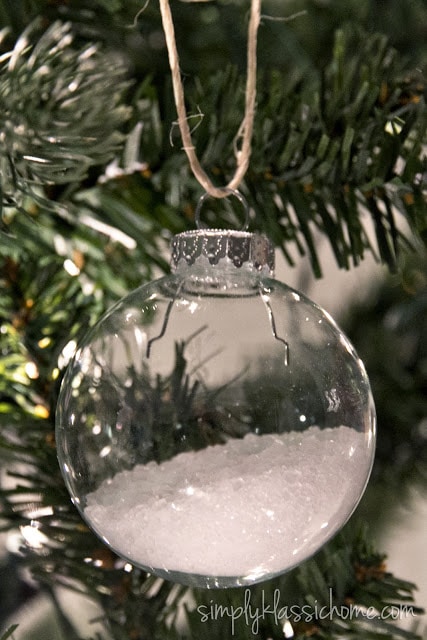
Take another clear glass ball and fill it with Epsom Salt.
Yup. Smack-yourself-on-the-forehead simple.
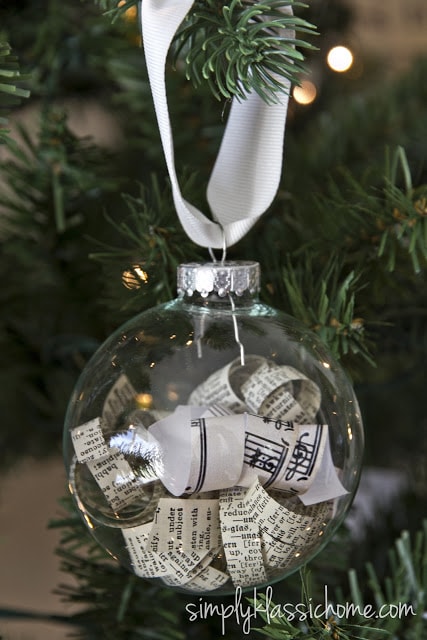
Ornament #3
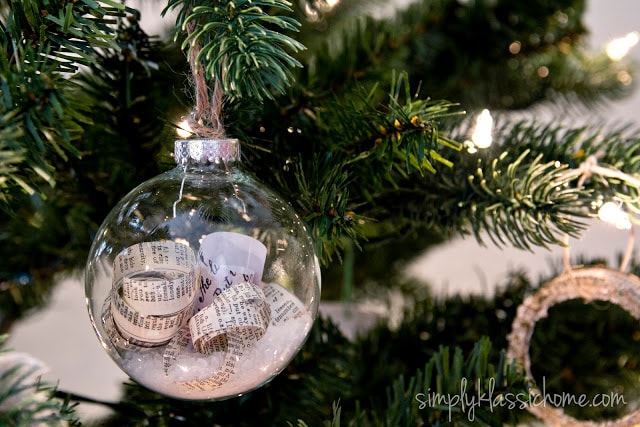
You know that clear glass ball you filled with epsom salt? Do another one, only this time, toss in some of those curled up book pages too.
By now it’s probably time for a commercial break, so go grab yourself a snack, and send the child who has dragged his pillow and blanket and is sleeping in the middle of the hallway back to bed. (Not that that happens at my house…)
Ornament #4
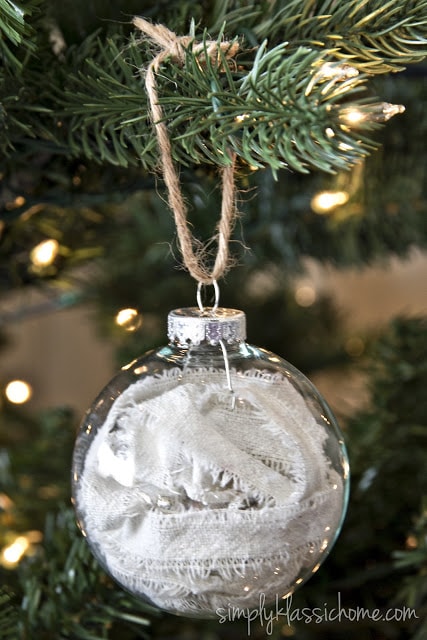
Take a clear glass ball (am I sensing a theme here?) and fill it with dropcloth (or any other fabric, really) scraps.
Dropcloth is super easy to rip into straight lines. Just snip a little bit in and then tear. Perfectly straight, shabby-edged strips of fabric.
Take a bunch of those little strips and fill the clear glass ball with them.
Ornament #5
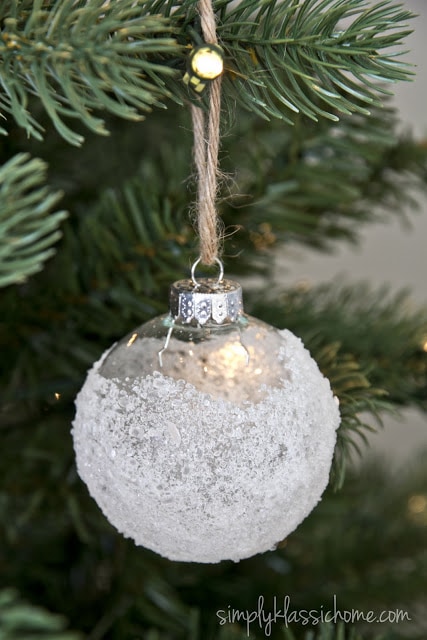
Ok, here’s where it starts to get a little more complicated. Time to break out the Mod Podge.
Pour your mod-podge in a small bowl and use a sponge brush to coat a clear glass ball. If you’re brave, coat the whole thing, but if you’re like me, you don’t like sticky messes so just coat the bottom half, or as much of it as you want.
Roll the ball in epsom salt.
inspired by Kristin of My Uncommon Slice of Suburbia
Ornament #6

Add a little water to the bowl of Mod-Podge. Just enough to thin it out a little bit. Pour a little into the clear glass ornament and swirl it around real good to coat the inside. Let the excess drip out (you can shake it a little bit).
Pour a little epsom salt into the ornament (I used a funnel for this step) and shake it up to coat the inside with the salt.
Is it time for another commercial? Take a break, and go place the other child, who decided to curl up on the bathroom floor after getting up from a dead sleep to go to the bathroom, back into bed.
Ornament #7
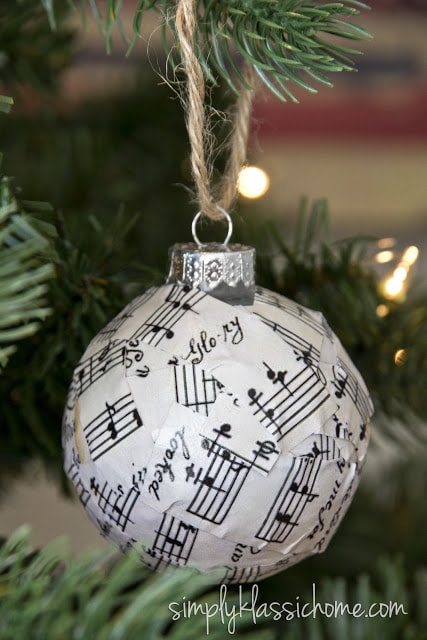
Grab some more strips of the music sheets, and spread some mod-podge onto a clear glass ball. It’s easier if you do this in sections. Lay the strips over the mod podge and press down lightly. Once every bit is covered, slather with mod podge again.
I just kind of slapped ’em on with no real rhyme or reason.
(I should tell you that I actually downloaded music sheets from here. I am not exactly please with how the printed version looks and I think actual vintage music sheets, which would be much thinner, wold work better).
inspired by Melissa of The Inspired Room
Ornament #8
Were you wondering when the canning jar rings were going to come into play?
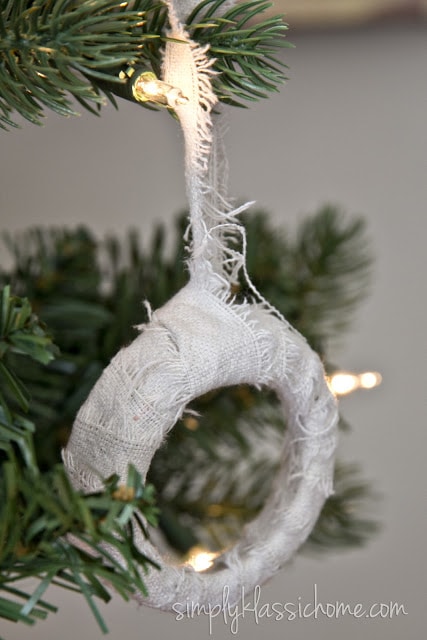
Take a canning jar ring and another strip of dropcloth. Thread the dropcloth around the ring and loop at the top.
You can leave the center empty or add a photo to it. (which I forgot to take a picture of so you’ll just have to imagine how adorable it was).
Probably time for another commercial break, so go grab yourself a cup of hot chocolate ~ you’re almost finished!
Ornament #9
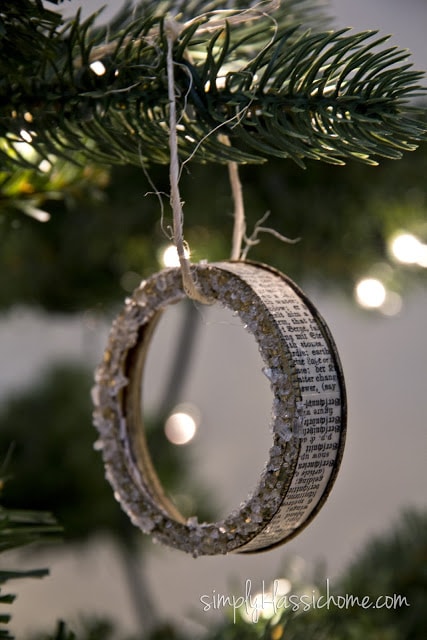
Take another canning jar ring and mod podge a strip of the shredded book pages around the outer edge. Touch a little mod podge to the front of the ring and dip it in epsom salt.
Then say “ooohhh…aaahhh…”
Ornament #10
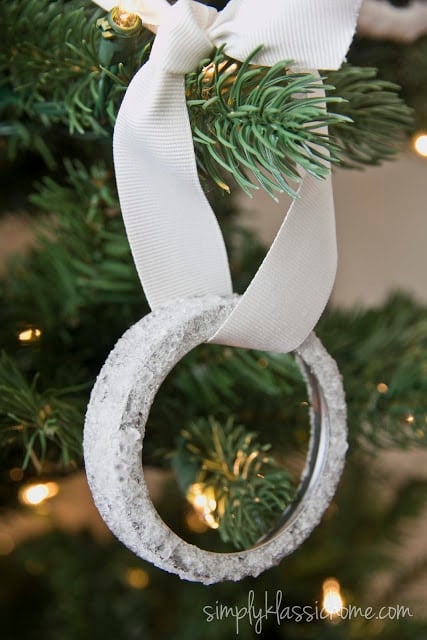
Coat a canning jar ring in mod podge and dip it into epsom salt to coat completely. This looks really pretty with a brand new silver ring.
Hopefully it goes without saying, but let each ornament dry completely before replacing the top and adding your ribbon or twine. Or don’t. Whatever floats your boat.
A few of these ornaments were inspired by other bloggers.
The ones I can remember are listed below the ornament.
Have you started your Christmas crafts yet?


You had me at #6!! I did a few snow globes in jars a few years ago and they turned out pretty well, so I think I can do this. Just bought some plastic ornaments. So once these dry, I want to paint designs on the outside with acrylic paint. The epsom salt is a great alternative to glitter. I don’t like working with glitter, because it gets everywhere. Not sure if that is the case with glitter acrylic paint. Thank you Kristin!!
You are so welcome Janet! Thank you for taking the time to share.
Love your lovely crafts
Thank you Michelle! Thanks for stopping by.
Love your directions. It hit me as though I was writing it. Bless those little children
Thank you Trish!
i love them , but my favorite is the Ornament #6 😉 Thanks for these ideas 😉
Love the ideas, especially the curled page strips 😀
For ornament #6 do you have to use epsom salt or would table salt work. I love these ornaments but only have the salt on hand!
Epsom salt is different from table salt. It’s denser and holds up better.
You could add one of the tiniest (1″) trees from the craft store to the glass orn., in the Epsom salts/snow ~ or a teensy, tiny piece of a twig, to look like a “leafless” tree in snow! There are so MANY possibilities w/glass orns.! Love all your fast & easy ideas: thanks for sharing them!
Very clever ornaments! I love upcycling/recycling too, and this is my DIY cork ornament: https://www.etsy.com/listing/175080184/craft-kit-make-your-own-custom-eco
Love the way you write. You’re hilarious and creative too!
I love all your ideas, The jar ring i would put a picture of a love one! This would be a great gift for someone you love!
Kristin sooo cute! Please tell me the 2-3 font names you used in the head photo saying 10 Handmade Ornaments in under an hour?
Very good look.
This is such a fantastic ideas to create our festive more memorable in our life.I would like to say thank to post this types decoration to implement in ornaments. Commercial Christmas decorations
Love all of these ideas! Could you please post a picture of your wreath made from canning jar lids?
I cant even pick a fav – I love them all!
Really cute stuff! Are the clear ornaments glass or plastic? Just curious.
Um, I LOVE them all! Very creative! I haven’t tried using epsom salt yet, but I really like how your’s turned out! My favorite is the one with the epsom salt inside the ball. Thank you so much for linking up at Putting Down Roots!
Your ornaments turned out adorable!!! I can’t even pick which one is my favorite because they are all beautiful!
Awesome girl…I love every.single.one!
You keep impressing me over and over. I feel like in your blog you keep giving me the gift of inspiration, motivation, joy, goals, laughter, gratitude, and information. I feel like I should be giving you something….. Other then commitment to your blog and my silly comments I don’t know what else I could offer you.
Kristin – Great ornaments. You had a very productive hour. Thanks for sharing.
Judy
Kristin, you are amazing! I got so many ideas from this post. I especially love the canning jar rim ideas because I do a lot of canning! Falala!
Oh my gosh…these are so stinkin cute! I have a big book of sheet music that is begging to be used! Thanks so much!
XO,
Jane
Love these ideas, I need to go get some clear ornaments – so many possibilities! Thanks for sharing!
I love your ornaments! You did a wonderfully creative job with each one. Personal things like this are the best.
The girls and I have been crafting all week and having a blast. I have to share one thing Faith did similar to one of yours. She took the clear glass ball, filled it about half way with glitter, wrote a Bible verse on a tiny piece of paper and put a ribbon around it like a scroll and then put that into the ornament onto the “pile” of glitter. It was such a great idea she had and looked so neat with the little scroll in there.
Keep having fun!
Super cute ornaments! The ones with the music script are my favs! 🙂
Hi Kristin,
Your blog is so cute and I love all of your creative ideas for tree ornaments. I’m going to definitely borrow a few.
hugs
Sissie