This post may contain affiliate links. Please read our disclosure policy.
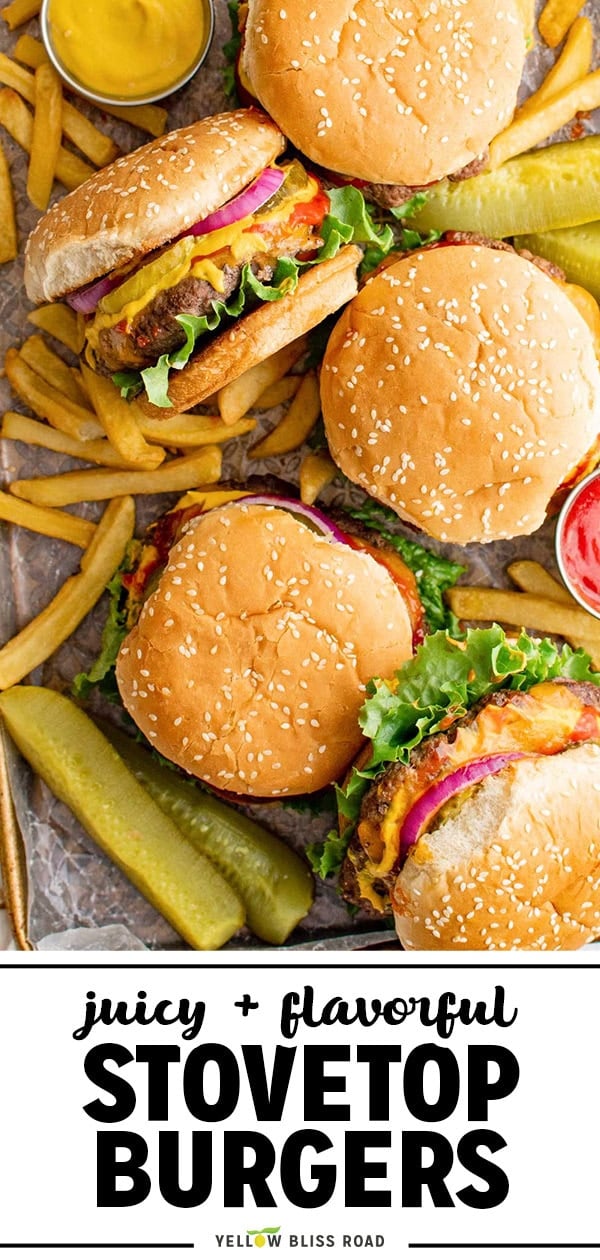
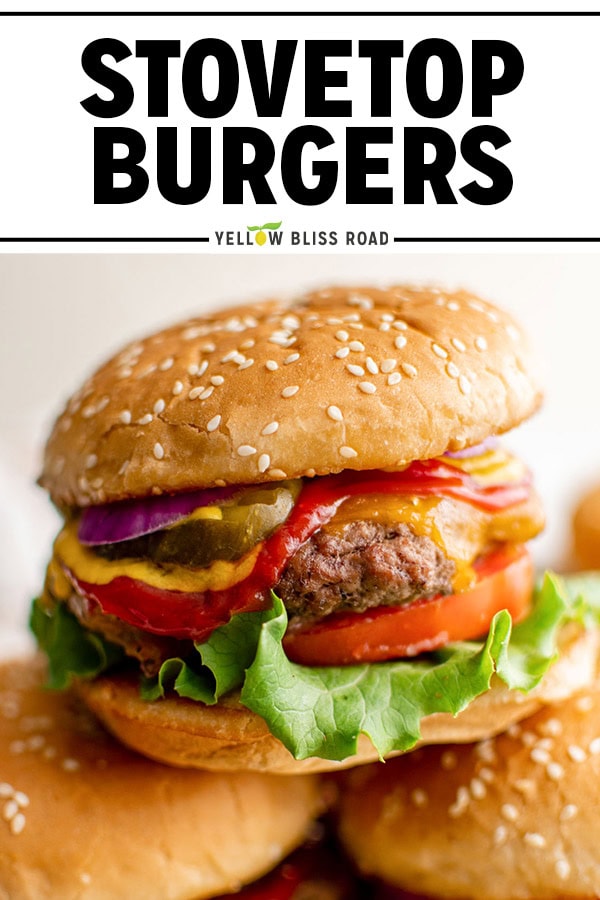
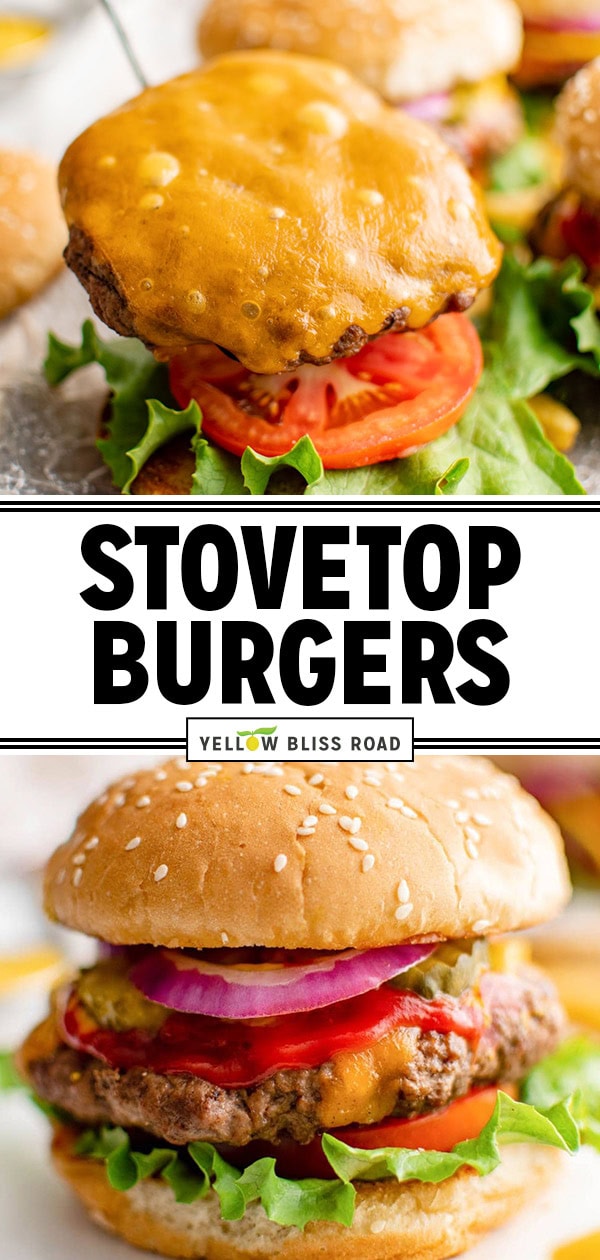
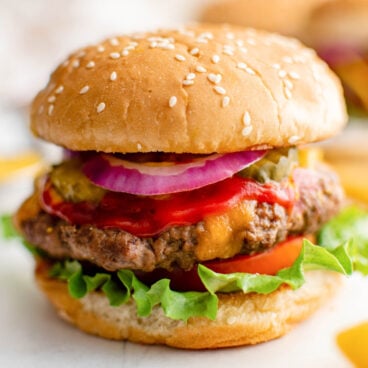
Juicy, flavorful, and ready in about 20 minutes, these Stovetop Burgers are the perfect solution when you’re craving a homemade burger without firing up the grill. Made with just a handful of ingredients, they stay tender and juicy thanks to a few simple techniques.
More burger recipes: Grilled Hamburgers | Cheeseburger Sliders | Air Fryer Hamburgers
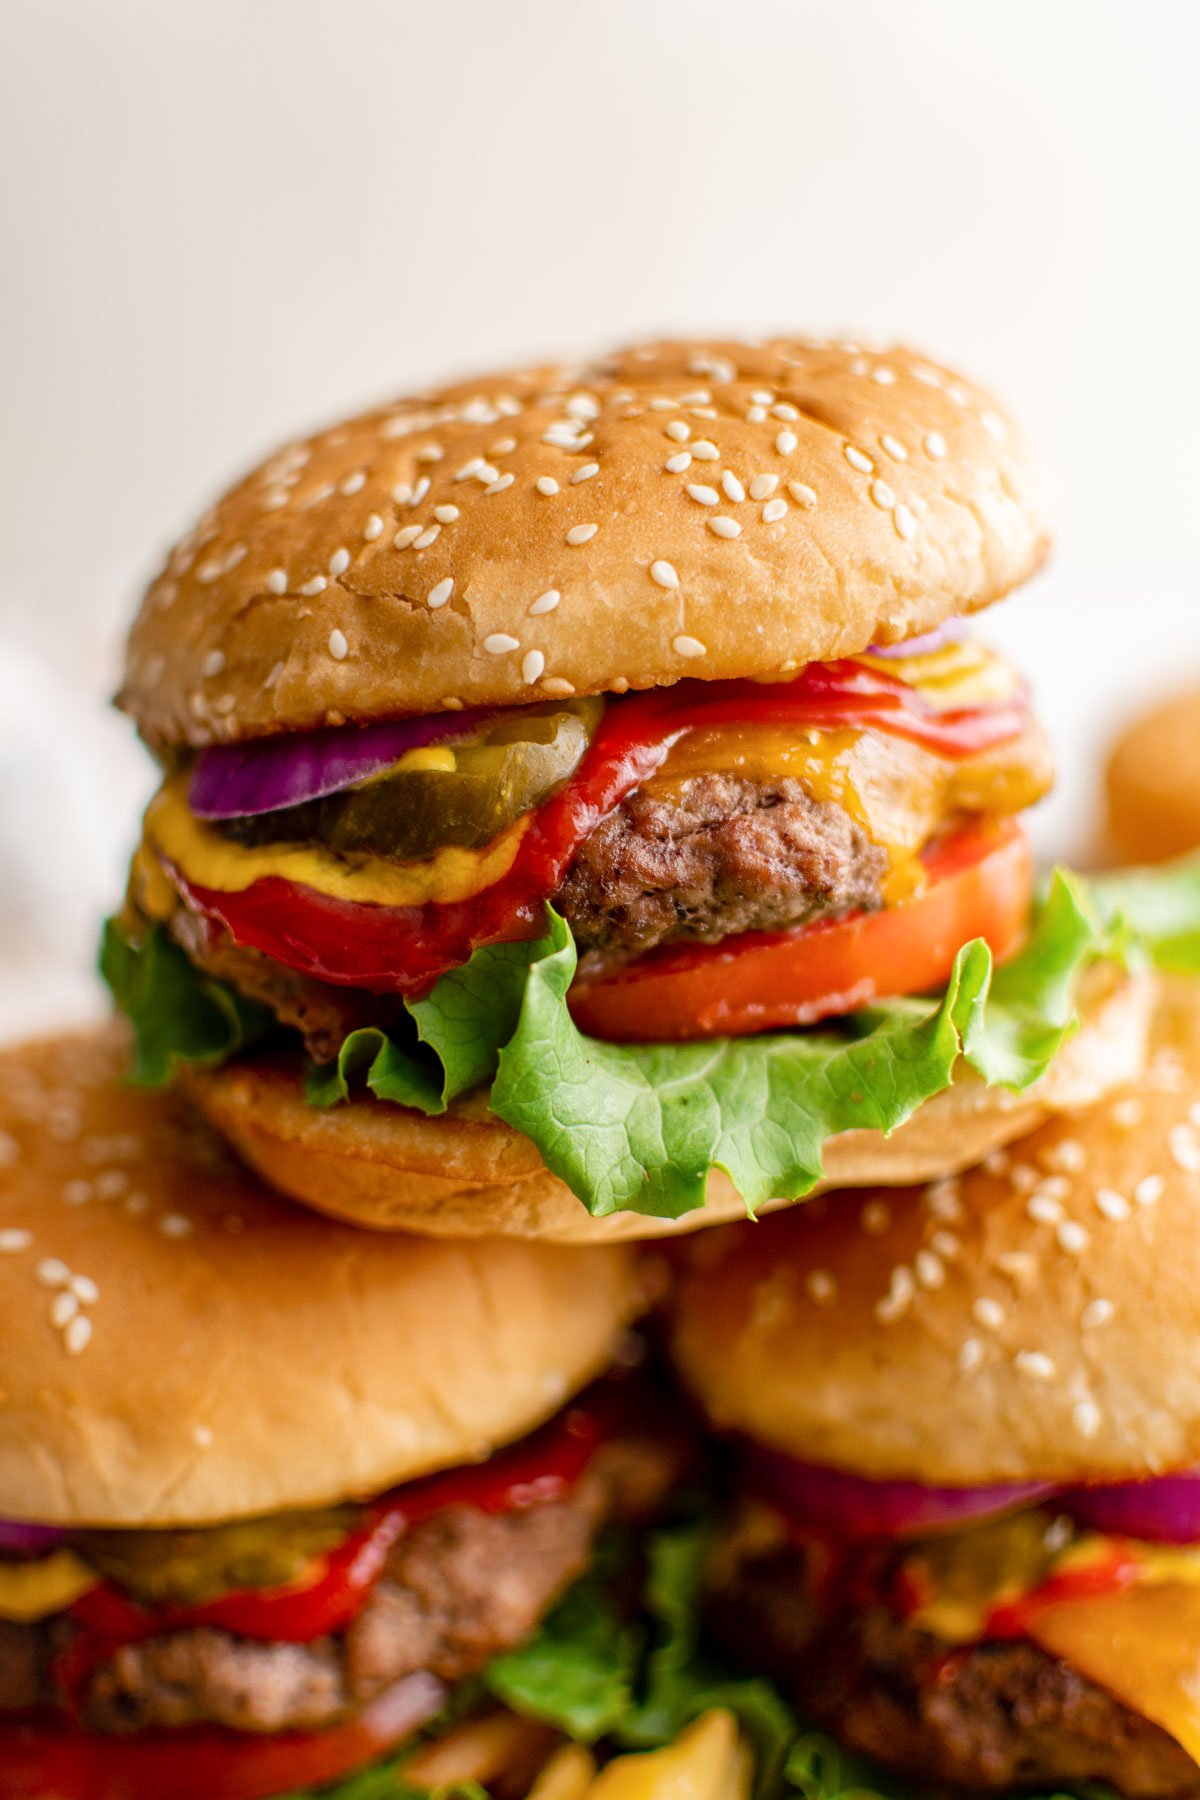
Before You Get Started
A great stovetop burger comes down to a few simple things. Keep these in mind before you start and you’ll get juicy, tender burgers every time.
- Start with 80/20 ground chuck. The extra fat is what keeps these burgers juicy and full of flavor without turning greasy.
- Don’t press down while they cook. Pressing on the patties with your spatula squeezes out the juices you’re working to keep in.
- Shape gently and add a thumbprint. Mix and form the meat with a light hand so the burgers stay tender, then press a dimple into the center of each so they cook flat instead of puffing up.
RECIPE WALK-THROUGH
How To Make Stovetop Burgers
See the recipe card below for full, detailed instructions
These come together in about 20 minutes from bowl to bun. Here’s how to get a deep sear and a juicy center right on the stovetop.
Step 1: Season and mix the beef
Add the ground chuck to a large bowl and sprinkle the salt and pepper over the top. Mix gently with clean hands just until combined.
Seasoning the outside rather than working it all through the meat keeps the texture tender.
Want a little more flavor? A pinch of garlic powder, onion powder, or a splash of Worcestershire mixes in nicely.
Step 2: Form the patties
Divide the beef into 6 equal portions and shape each into a patty about 4 inches wide and a little under an inch thick. They shrink as they cook, so make them slightly wider than your buns.
Press a thumbprint into the center of each so they cook flat instead of doming up.
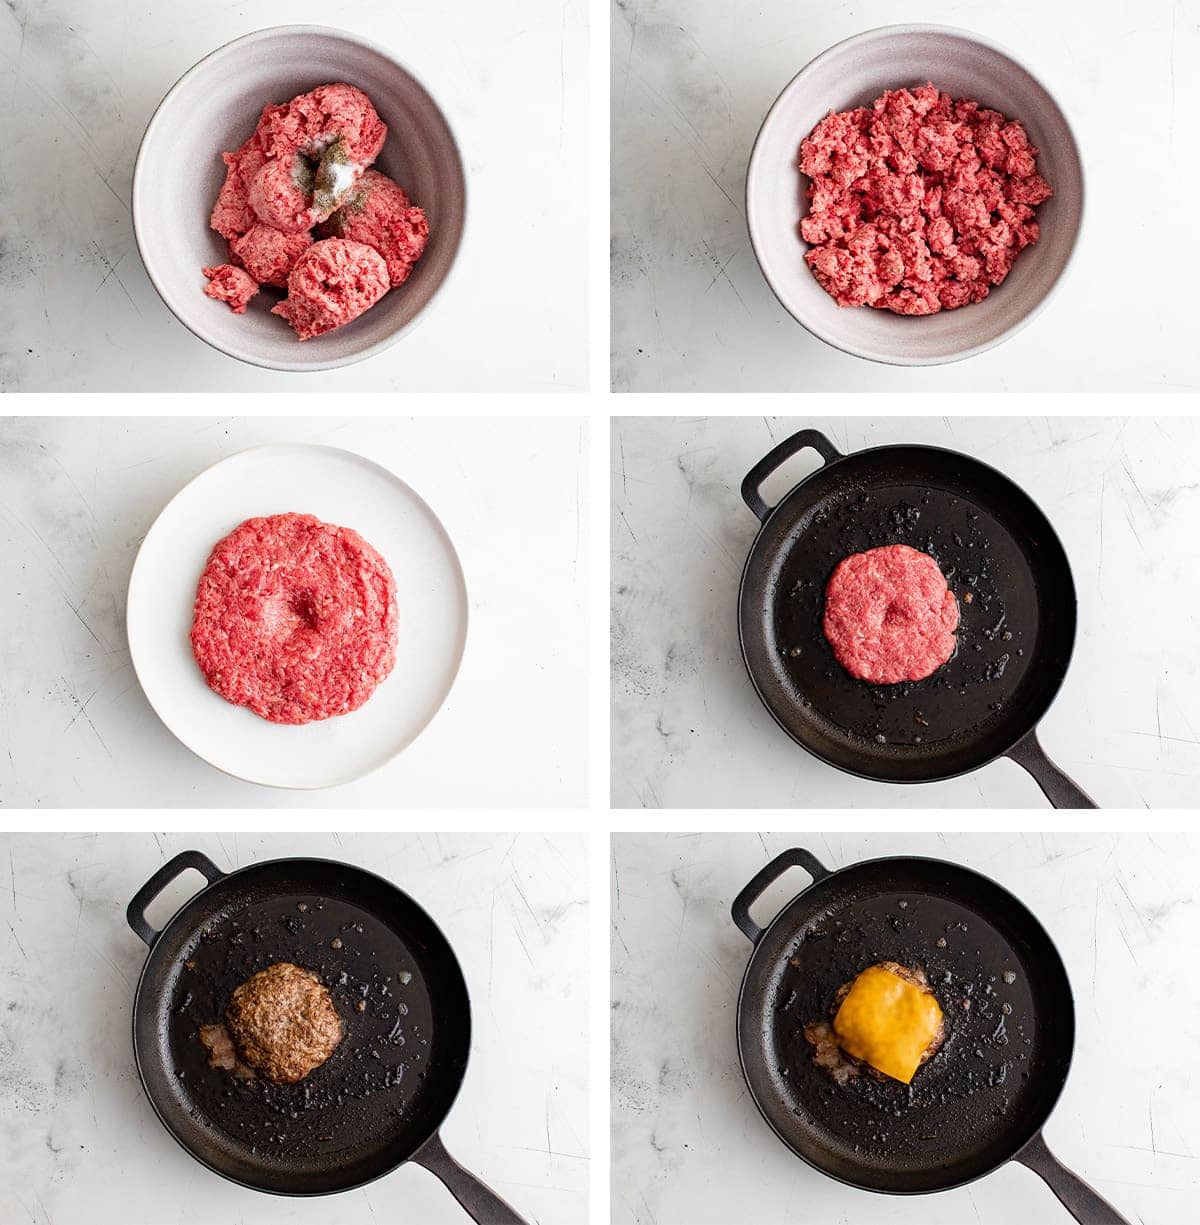
Step 3: Heat the pan and toast the buns
Set a large skillet or griddle over medium heat and add a tablespoon of butter or olive oil. Butter gives the richest flavor, while oil handles higher heat without browning as fast, so use whichever you like or a mix of both.
For toasted buns, place them cut side down in the pan until lightly golden, then set aside under foil to keep warm.
Step 4: Cook the burgers
Turn the heat up to medium-high and add the patties, working in batches so the pan isn’t crowded. Crowding lowers the temperature and causes more splatter, so give each burger room.
Cook for 3 to 5 minutes per side without pressing or moving them, which is how you build that golden sear. They’re done at 160°F, or when the center is no longer pink.
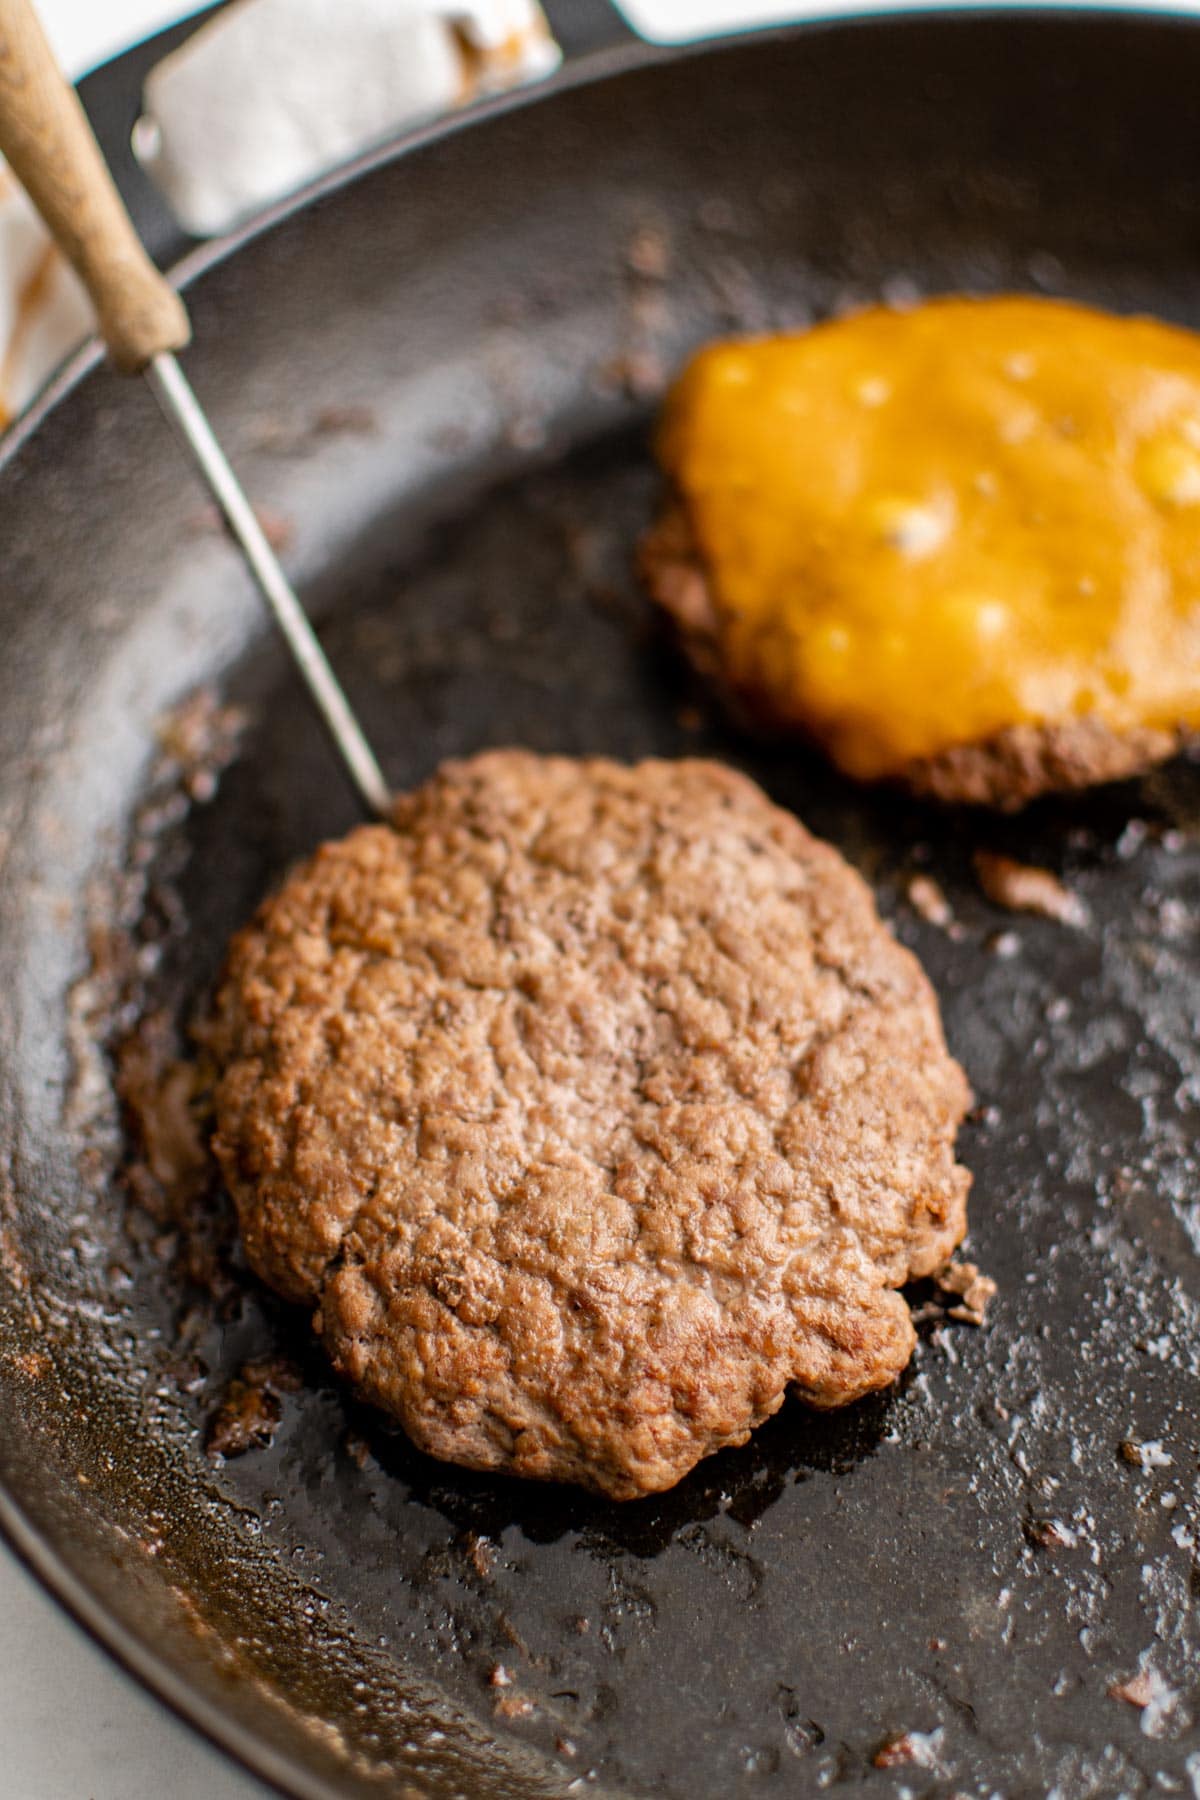
Step 5: Add cheese and assemble
If you’re adding cheese, lay a slice on each patty right after you flip it. For extra-melty cheese, add a splash of water to the pan and cover it for the last minute.
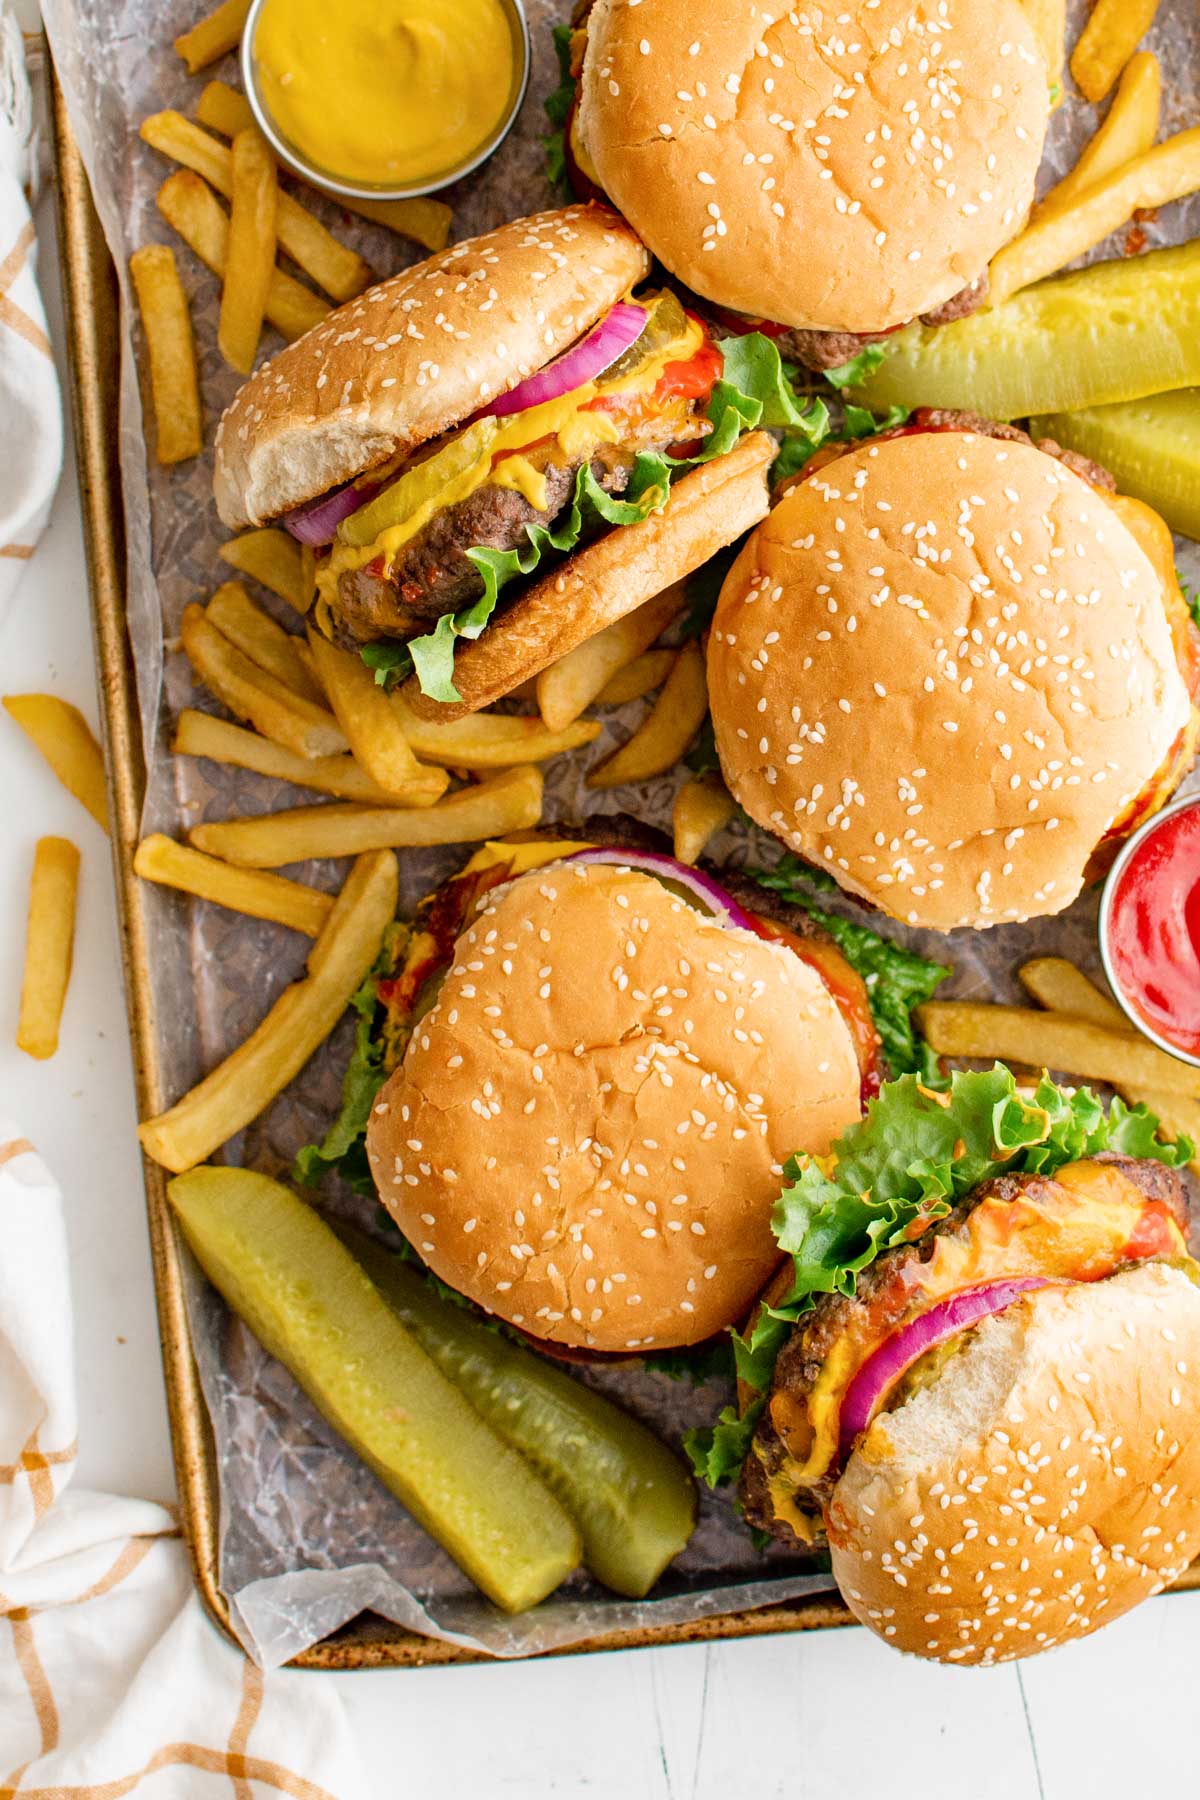
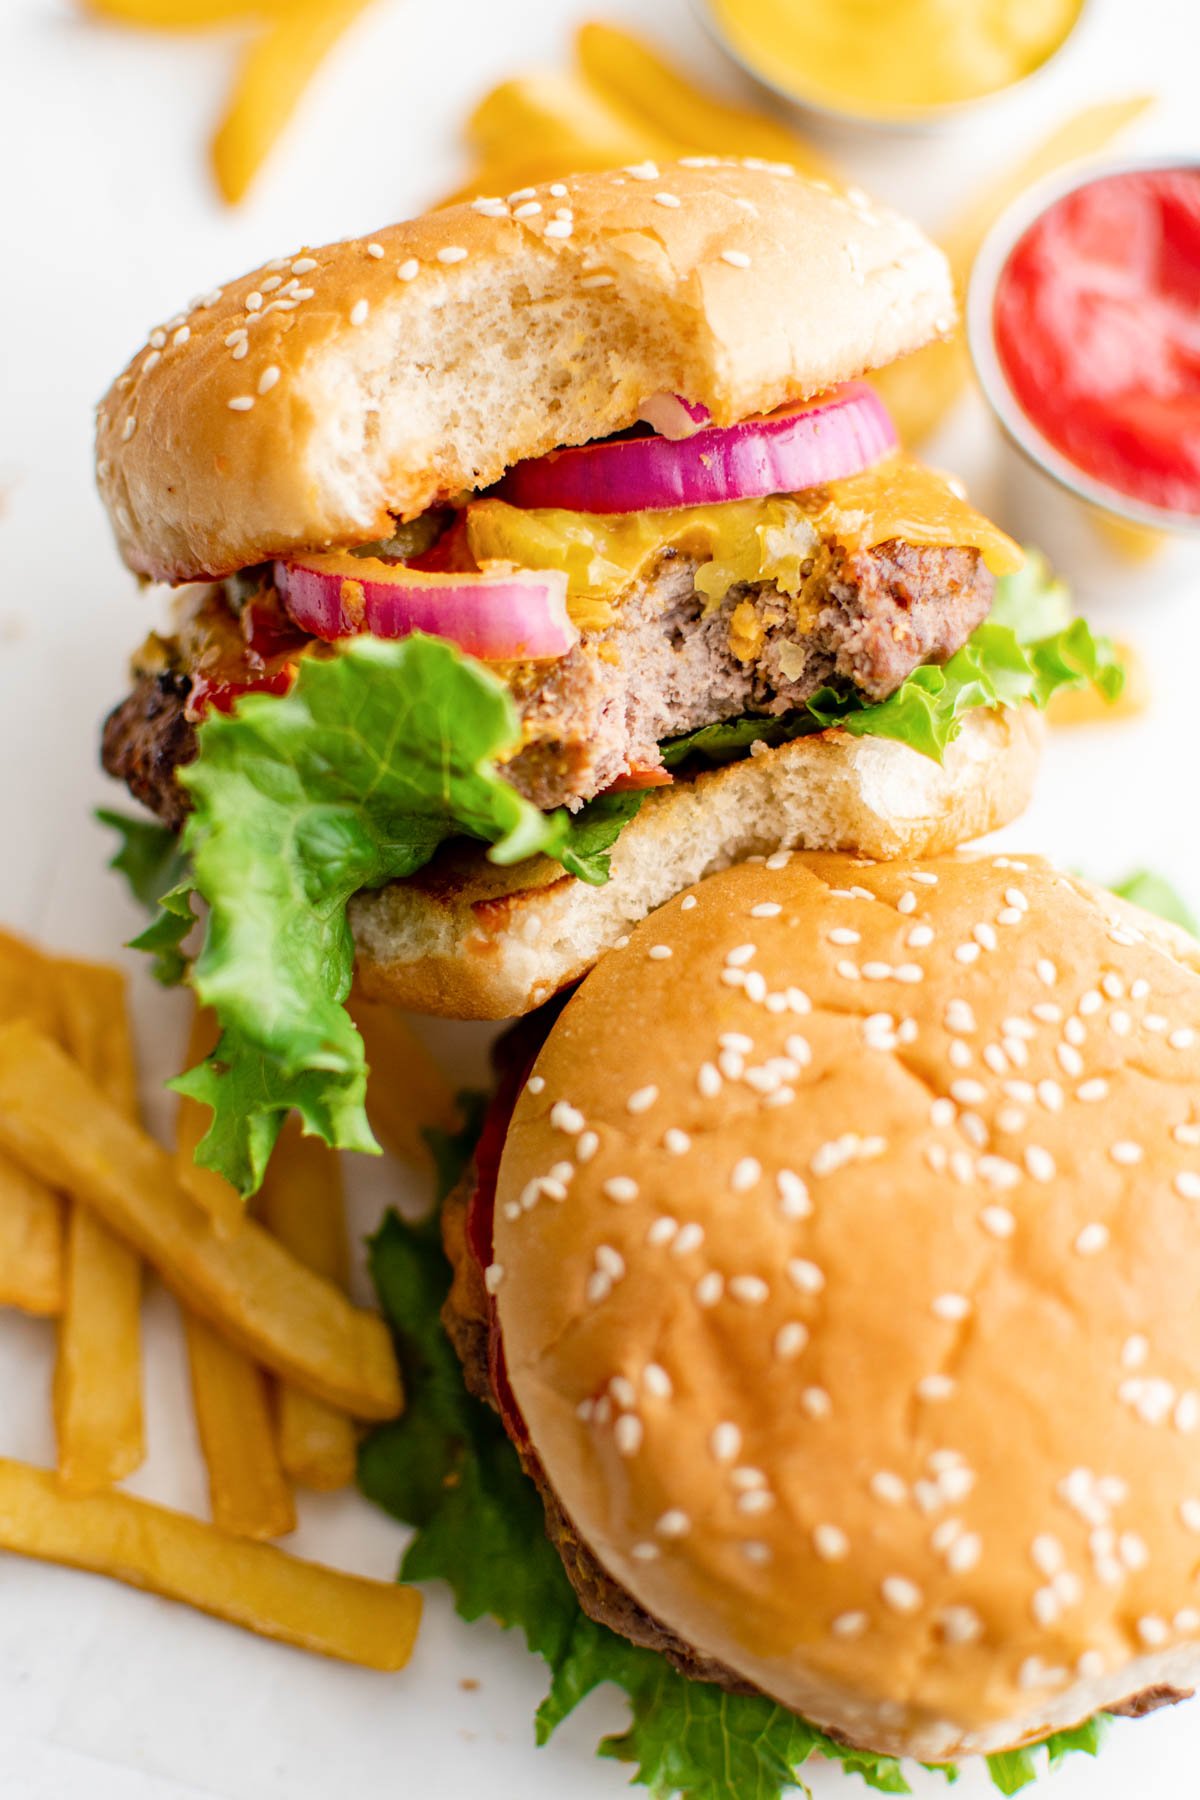
Build your burgers on the toasted buns with your favorite toppings. A swipe of my Big Mac Sauce is an easy shortcut to that classic drive-thru flavor.
- Make it your own: Swap in ground turkey or chicken for a lighter burger; just cook them through to 165°F. You can also press a slice of cheese inside two thin patties for a stuffed, juicy-center burger.
Serving Suggestions
Burgers practically beg for something crispy and cool on the side. A batch of homemade fries is the classic move, but a scoop of potato salad or a crunchy slaw rounds out the plate just as well. A few favorites to serve alongside:
- Baked French Fries
- Baked Potato Wedges
- Southern Potato Salad
- Classic Macaroni Salad
- Broccoli Slaw
- Spinach Salad
Round out the plate with my whole lineup of easy cookout sides: 82 Cookout Side Dishes for Summer
Storage Tips
Leftovers and Make Ahead
Storing leftovers: Let the burgers cool, then wrap them in an airtight container in the fridge. They’ll stay fresh for 3 to 4 days.
Reheating: Warm them in the microwave or in a skillet with a little butter or oil.
Freezing cooked burgers: Let them cool, wrap tightly, and place in a freezer bag for up to 4 months.
Make ahead: Form the patties up to a day in advance and keep them covered in the fridge. You can also freeze raw patties with parchment between them for up to 3 months, then thaw in the fridge before cooking.
Frequently Asked Questions
What kind of pan works best for stovetop burgers?
A heavy skillet like cast iron or stainless steel gives you the best sear and holds heat evenly. A nonstick pan works too if that’s what you have; just make sure it’s fully heated before the patties go in.
How do you keep the burgers from falling apart?
Good news: you don’t need egg or breadcrumbs. Handle the meat gently, avoid over-mixing, and don’t flip until a crust has formed, usually around the 3-minute mark. If your patties feel loose, chill them for 15 minutes before cooking.
Can you cook frozen burger patties on the stove?
Yes. Cook them straight from frozen over medium heat so the centers cook through before the outsides burn, adding a few extra minutes per side. Season once the surface thaws enough to hold it.
More Burgers and Handhelds
Stovetop Burgers

Ingredients
- 1.5 pounds ground chuck
- 1/2 teaspoon kosher salt
- 1/2 teaspoon black pepper
- Butter or olive oil for the pan
- 6 hamburger buns
- Optional hamburger toppings: lettuce, sliced tomato, sliced red onions, sliced American or cheddar cheese, pickles, mayonnaise, ketchup, mustard
Instructions
- Place the ground beef in a large bowl and sprinkle on the salt and pepper. Mix gently with clean hands just until combined.
- Form 6 equal patties, about 4 inches across and a little under an inch thick. They shrink as they cook, so make them slightly wider than your buns. Press a thumbprint into the center of each.
- Heat a large skillet or griddle over medium heat and add a tablespoon of butter or olive oil.
- Toast the buns (optional). Place them cut side down in the skillet until lightly golden, then transfer to a plate and tent loosely with foil to keep warm.
- Turn the heat to medium-high. Add the patties, working in batches so the pan isn't crowded. Cook for 3 to 5 minutes per side, flipping once, until the internal temperature reaches 160°F. Add cheese right after flipping if using. Resist pressing down or moving the patties so they get a deep sear.
- Transfer the burgers to the toasted buns, add your toppings, and serve right away.
Notes
- Best beef: 80/20 ground chuck keeps the burgers juicy without being greasy.
- Don’t press down: Pressing squeezes out the juices; leave the patties alone for the best sear.
- Cooking times (over medium-high): Medium (pink center) 7 to 8 minutes, Medium-Well (slightly pink) 9 minutes, Well Done (no pink) 10 minutes. Food-safe temp is 160°F.
- Extra-melty cheese: Add a splash of water and cover the pan for the last minute.
- Make ahead: Form patties up to a day ahead and chill, or freeze raw patties up to 3 months.
- Storing leftovers: Cool, then refrigerate in an airtight container for 3 to 4 days.
- Reheating: Warm in the microwave or in a skillet with a little butter or oil.
- Freezing cooked burgers: Wrap tightly and freeze for up to 4 months.
Nutrition
Nutritional Disclaimer Kristin Maxwell of “Yellow Bliss Road” is not a dietician or nutritionist, and any nutritional information shared is an estimate. For accurate calorie counts and other nutritional values, we recommend running the ingredients through your preferred online nutritional calculator. Calories and other nutritional values can vary depending on which brands were used.