This post may contain affiliate links. Please read our disclosure policy.
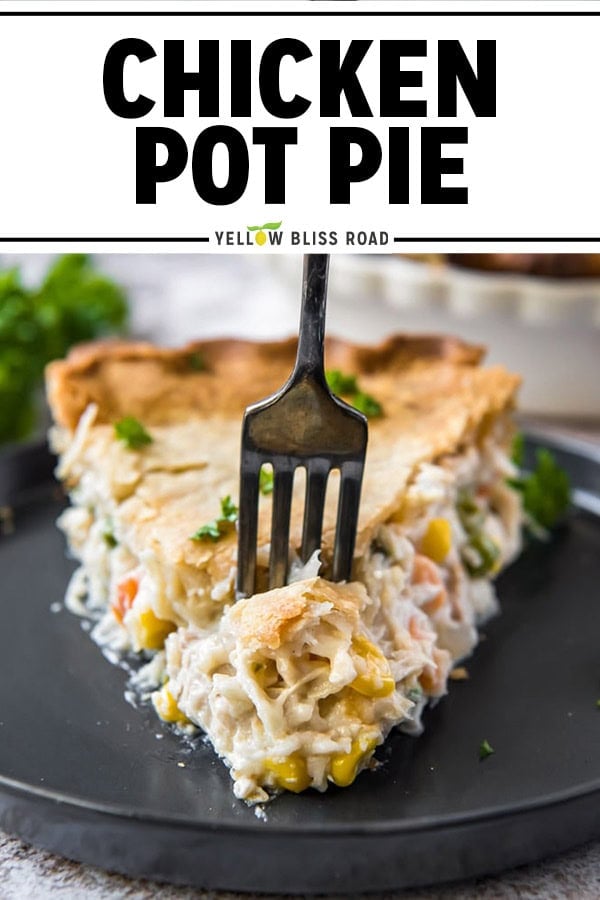
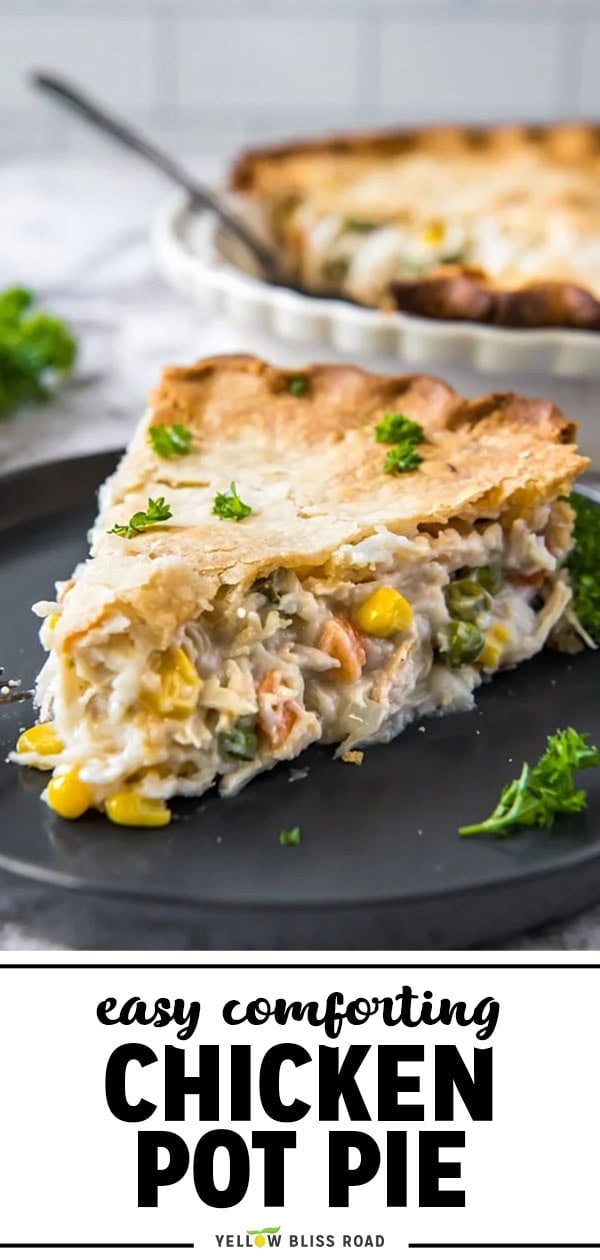
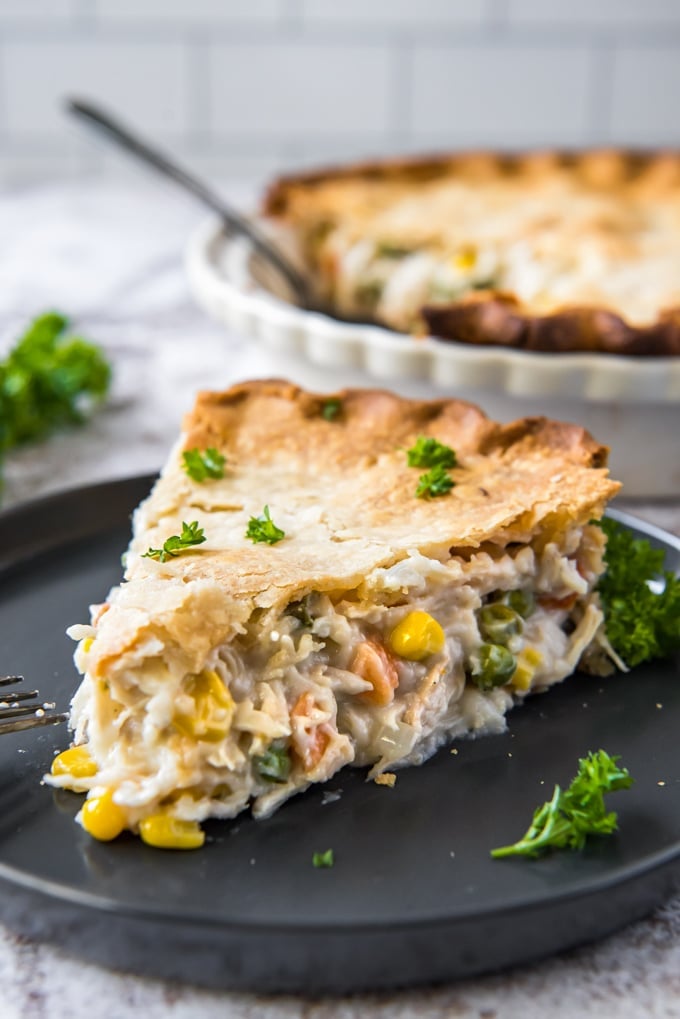
This easy chicken pot pie has a creamy homemade filling loaded with tender chicken and vegetables, all wrapped in a golden, flaky crust. Using store-bought pie crust and a simple from-scratch sauce, you get all the comfort of a classic pot pie in about an hour.
Love creamy chicken dinners? Try my Creamy Baked Chicken for another easy favorite, or use my Slow Cooker Shredded Chicken to meal prep chicken for recipes like this one all week long.
4 Tips That Make or Break This Recipe
A few simple tips will help you get the best results with this recipe.
- Use cooked chicken. Rotisserie chicken, leftover baked chicken, or poached chicken breasts all work great. You’ll need 2 to 3 cups total. The chicken won’t cook further in the oven, so it needs to be fully cooked before assembling.
- Thaw your pie crust properly. Refrigerated crusts need about 15 minutes at room temperature to soften. If the crust is too cold, it will crack when you try to shape it.
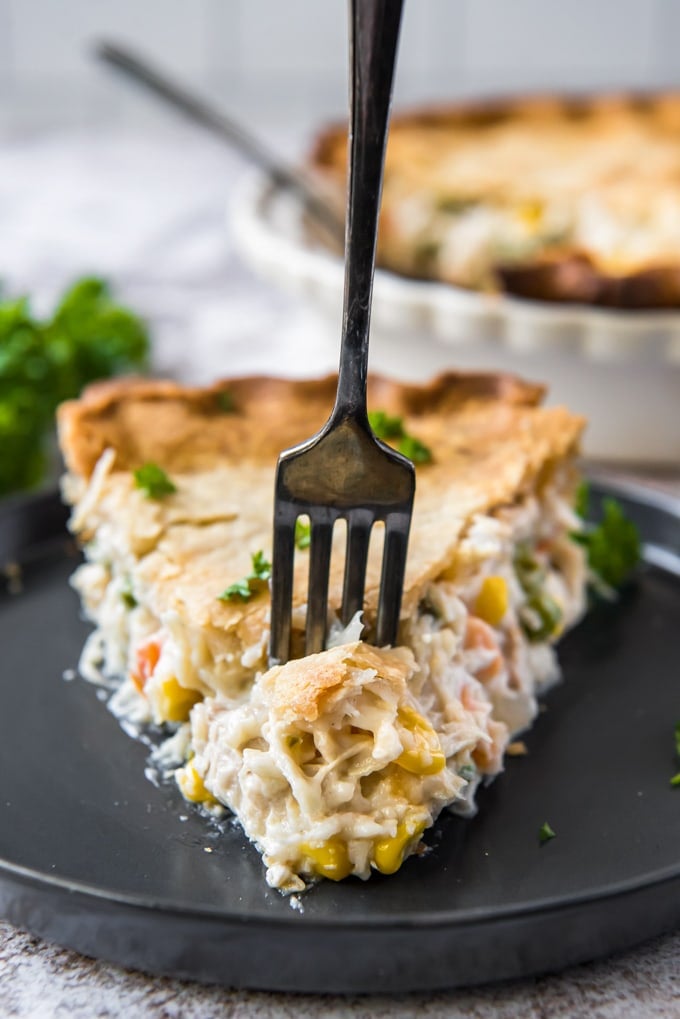
- Make the sauce thick enough. The filling should coat a spoon thickly before you add it to the pie. A runny sauce leads to a watery pot pie and soggy crust.
- Let it rest before slicing. Give the pie 5 to 10 minutes after baking. This helps the filling set so it doesn’t run everywhere when you cut into it.
RECIPE WALK-THROUGH
How to Make Chicken Pot Pie
This pot pie comes together in four simple steps. The sauce is made from scratch using a basic roux, which gives you a rich, creamy filling without any canned soup.
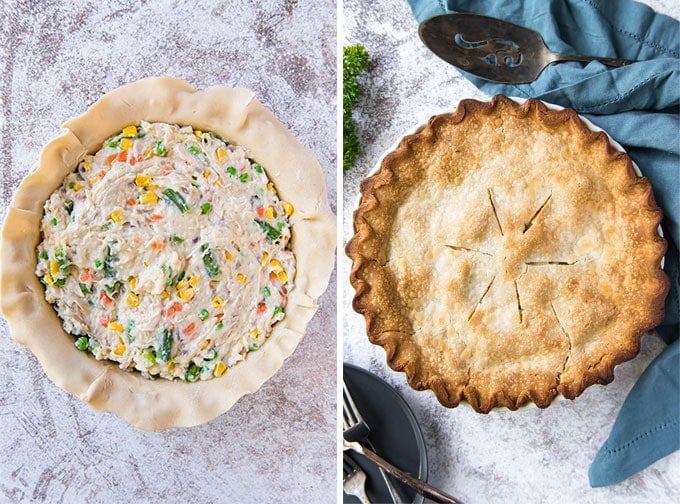
Step 1: Prep the Crust
Let your refrigerated pie crust sit at room temperature for about 15 minutes to soften. Press one crust into the bottom and up the sides of a 9-inch pie plate. It doesn’t need to be perfect since chicken pot pie has a rustic, homey look.
For a crispier bottom crust. If you’ve had trouble with soggy bottoms in the past, you can blind bake the crust first. Line the crust with parchment, fill with pie weights or dried beans, and bake at 425°F for about 15 minutes. Remove the weights and let cool slightly before filling.
Step 2: Make the Sauce
Melt the butter in a large saucepan over medium heat. Add the diced onion and cook until softened, about 2 to 3 minutes. Stir in the garlic and cook for another minute until fragrant.
Whisk in the flour and cook for 2 to 3 minutes until the mixture turns golden. This is your roux, and cooking it removes the raw flour taste.
Slowly whisk in the chicken broth, then the half and half. Bring to a boil, then reduce heat and simmer, stirring frequently, until the sauce thickens enough to coat a spoon, about 5 to 6 minutes.
Want a shortcut? You can substitute one can of cream of chicken soup plus ½ cup chicken broth for the homemade sauce. It won’t taste quite as fresh, but it works in a pinch.
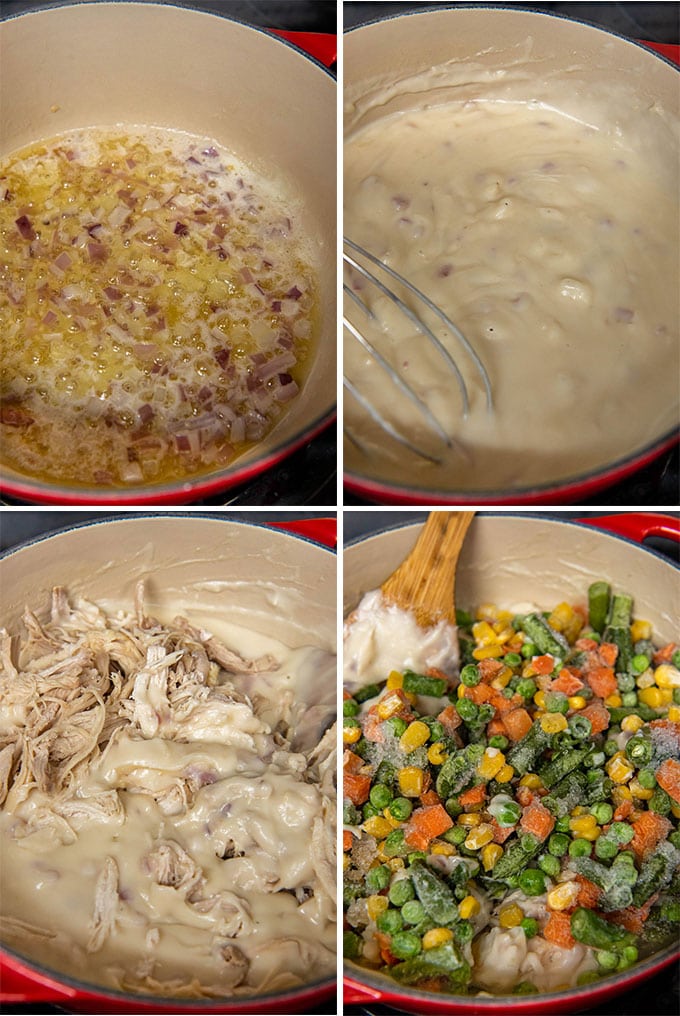
Step 3: Add the Filling
Remove the sauce from heat. Stir in the salt, pepper, cooked chicken, and thawed vegetables. Taste and adjust seasoning as needed. The filling should be well-seasoned since the crust won’t add much flavor.
Pour the filling into the prepared pie crust and spread it evenly.
Step 4: Top and Bake
Place the second pie crust over the filling. Pinch the edges together to seal, and cut several slits in the top to let steam escape.
For a golden, shiny crust. Brush the top with an egg wash (1 egg whisked with 1 tablespoon water) before baking.
Bake at 425°F for 30 to 40 minutes until the crust is golden brown and you can see the filling bubbling through the slits.
Protect the edges. If the crust edges start browning too quickly, tent them with foil halfway through baking.
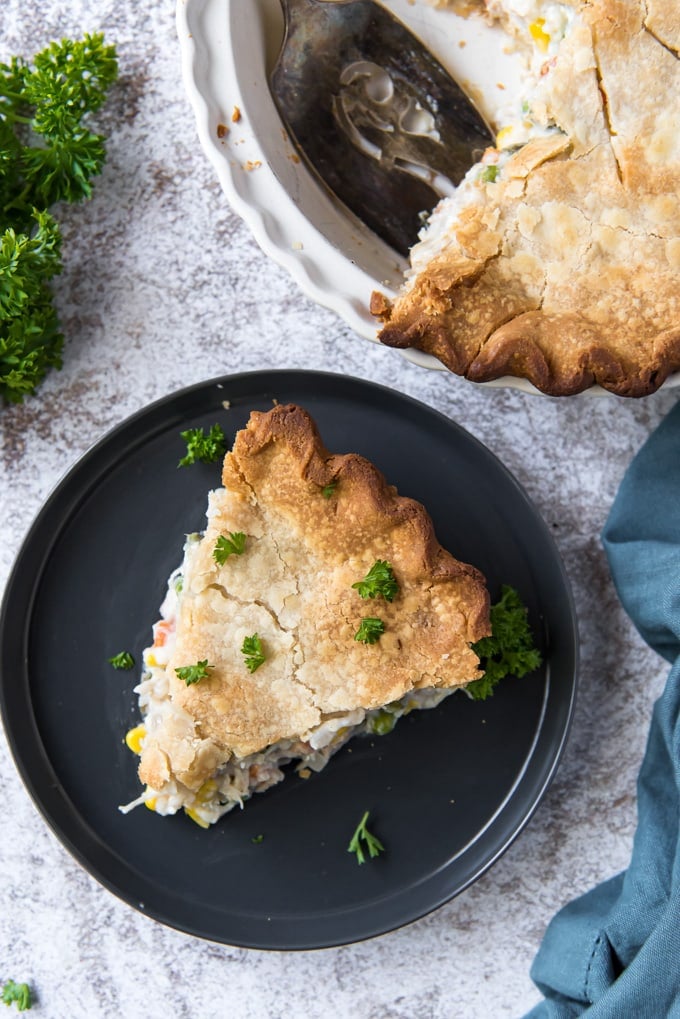
Let the pie rest for 5 to 10 minutes before slicing and serving.
Top Crust Only Option
If you want to skip the bottom crust entirely, this pot pie works beautifully with just a top crust. It’s a little faster to assemble, and you won’t have to worry about a soggy bottom.
Pour the hot filling directly into a greased 9-inch deep dish pie plate or a 2-quart baking dish. Place the pie crust over the top, tucking the edges down inside the dish or crimping them against the rim. Cut slits to vent, brush with egg wash if you like, and bake as directed.
The filling will bubble up around the edges, and you’ll spoon servings out rather than cutting neat slices. It’s a more rustic presentation, but just as delicious.
What to Serve With Chicken Pot Pie
The great thing about chicken pot pie is that it’s a complete meal on its own. The filling has protein, vegetables, and plenty of creamy sauce, so you really don’t need much else.
If you want to round things out, a simple green salad is perfect. Try a classic Wedge Salad or this copycat Olive Garden Salad.
For company, add some fresh bread on the side:
Variations and Customizations
Vegetable swaps: The frozen mixed vegetables work great, but you can customize based on what you have. Mushrooms (sautéed with the onions), broccoli, or asparagus all work well. Just make sure fresh vegetables are at least partially cooked before adding, either blanched or steamed.
Turkey pot pie: Swap the chicken for leftover turkey, especially after the holidays. The filling and sauce work exactly the same way.
Cheddar topping: For a twist, skip the top crust and sprinkle shredded cheddar over the filling for the last 10 minutes of baking.
Storage Tips
Storage, Freezing, & Make Ahead
To store: Let leftover pot pie cool completely, then cover tightly with plastic wrap or transfer individual slices to airtight containers. Refrigerate for up to 4 to 5 days.
To reheat: For the best crust texture, reheat slices in a 350°F oven for 15 to 20 minutes until warmed through. The microwave works for a quick fix, but the crust will be softer. Use 50% power for 2 to 3 minutes.
To freeze: Wrap the cooled pie tightly in plastic wrap, then foil. Freeze for up to 3 months. Thaw overnight in the refrigerator before reheating in the oven.
Make-ahead tip: You can prepare the filling up to 2 days ahead and refrigerate it. Assemble and bake when ready to serve. Don’t assemble the full pie ahead of time, as the crust will get soggy from sitting with the wet filling.
Frequently Asked Questions
Do I need to cook the chicken before adding it to the pot pie?
Yes. The chicken should be fully cooked before you assemble the pie. The baking time is only enough to cook the crust and heat the filling through, not to cook raw chicken safely. Rotisserie chicken, poached chicken, or any leftover cooked chicken works perfectly.
Why is my chicken pot pie filling runny?
The sauce wasn’t thick enough before you added it to the pie. Make sure to simmer the sauce until it coats a spoon thickly. Also, drain your thawed frozen vegetables well since extra liquid will thin the filling.
How do I keep the bottom crust from getting soggy?
A few things help: make sure your filling is thick (not watery), don’t let the assembled pie sit before baking, and consider blind baking the bottom crust for 15 minutes before adding the filling. Placing the pie plate on a preheated baking sheet can also help crisp the bottom.
Can I use puff pastry instead of pie crust?
Yes, puff pastry makes a wonderfully flaky, buttery top crust. Use it as a top crust only (skip the bottom crust) since puff pastry doesn’t hold up well on the bottom with a wet filling. Thaw the puff pastry according to package directions, drape it over the filling, and bake until puffed and golden, about 25 to 30 minutes.
Can I use store-bought pie crust?
Absolutely. Refrigerated pie crusts (like Pillsbury) work great and save a lot of time. You can also use frozen deep-dish pie shells, though you’ll only get a bottom crust that way.
Can I make mini chicken pot pies?
Absolutely. Divide the filling among greased muffin tin cups or individual ramekins. Cut small circles of pie crust (about 3 to 4 inches) and place one on top of each. Cut a small slit in each, then bake at 425°F for 18 to 22 minutes until the crust is golden and the filling is bubbly. You’ll get about 10 to 12 mini pot pies from this recipe.
More Comfort Food Favorites
- Slow Cooker Shredded Chicken
- One Pot Creamy Chicken and Noodles
- Creamy Chicken Casserole
- Chicken and Rice Bake
- Slow Cooker Creamy Italian Chicken with Pasta
Easy Chicken Pot Pie
Ingredients
- 1 package refrigerated pie crust (2 crusts)
- 1/3 cup butter
- 1/2 cup diced onion
- 2 garlic cloves minced
- 1/2 cup all-purpose flour
- 1 1/2 cups chicken broth
- 3/4 cup half and half (or milk)
- 1/2 teaspoon salt
- 1/4 teaspoon black pepper
- 2 1/2 cups cooked chicken diced or shredded
- 1 1/2 cups frozen mixed vegetables thawed and drained
Instructions
- Heat oven to 425°F. Let pie crusts soften at room temperature for about 15 minutes. Press one crust into the bottom and up the sides of a 9-inch pie plate.
- Melt butter in a large saucepan over medium heat. Add onion and cook until softened, 2 to 3 minutes. Add garlic and cook 1 minute more.
- Whisk in flour and cook until golden, about 2 to 3 minutes.
- Slowly whisk in chicken broth, then half and half. Bring to a boil, then reduce heat and simmer, stirring frequently, until thickened, about 5 to 6 minutes.
- Remove from heat. Stir in salt, pepper, chicken, and vegetables. Taste and adjust seasoning as needed.
- Pour filling into prepared crust. Top with second crust and pinch edges to seal. Cut several slits in the top to vent steam.
- Bake 30 to 40 minutes until crust is golden brown and filling is bubbly. If edges brown too quickly, cover with foil.
- Let rest 5 to 10 minutes before slicing.
Notes
- Chicken: Use rotisserie chicken, poached chicken, or any cooked leftover chicken. The chicken must be fully cooked before assembling.
- Vegetables: Thaw and drain frozen vegetables well to prevent a watery filling. You can substitute fresh vegetables that have been blanched or steamed, or use mushrooms sautéed with the onions.
- For a golden crust: Brush the top with egg wash (1 egg whisked with 1 tablespoon water) before baking.
- Soggy crust prevention: Make sure filling is thick before adding. Consider blind baking the bottom crust for 15 minutes with pie weights, or place the pie plate on a preheated baking sheet.
- Shortcut option: Substitute 1 can cream of chicken soup plus ½ cup chicken broth for the homemade sauce.
- Puff pastry option: Use thawed puff pastry as a top crust only. Bake until puffed and golden, about 25 to 30 minutes.
- Mini pot pies: Divide filling among muffin tin cups, top with small crust circles, and bake 18 to 22 minutes. Makes 10 to 12 minis.
- Top crust only: Skip the bottom crust and pour filling into a greased baking dish. Top with crust and bake as directed.
- Storage: Refrigerate leftovers for 4 to 5 days. Reheat in a 350°F oven for best crust texture.
- Freezing: Wrap cooled pie tightly in plastic wrap and foil. Freeze up to 3 months. Thaw in refrigerator overnight before reheating.
Nutrition
Nutritional Disclaimer Kristin Maxwell of “Yellow Bliss Road” is not a dietician or nutritionist, and any nutritional information shared is an estimate. For accurate calorie counts and other nutritional values, we recommend running the ingredients through your preferred online nutritional calculator. Calories and other nutritional values can vary depending on which brands were used.
Excellent insight! 馃檪 I enjoyed the casual tone 鈥?made it easy to read. 馃檪
How far ahead of time can I make this, will a couple hours make the bottom crust too soggy?
It really should be baked after assembling, but you could always make the filling ahead of time and assemble when you’re ready to bake it.
Hello – wondering if I could make this with the top crust only? Would it change the cooking time greatly?
It wouldn’t really alter the time and yes you can use just the top crust. You won’t be able to cut slices though.
This is delicious! I doubled it and I’m so glad I did! For others who may wonder, you can omit the milk! I just used an equal amount of broth in place of the milk. This one went into my file, thanks for sharing it, it is really delicious. I’m off to explore your site…
Thank you Juliee! Awesome feedback, thanks for stopping by.
My bottom crust usually turns out softer than I like. Could I pre bake the bottom crust before adding the filling?
You can do a blind bake of the crust where you add weights like dry beans and bake for 20 minutes or so first.
Thank you for the great dinner recipes!!
You are so welcome Diane! Thanks for stopping by.
Delicious! I put cheddar on the top instead of another pie shell. I also used a gluten free pie crust and gluten free flour and it turned out really well.
Awesome feedback Anita! Thanks for stopping by.
Hi,
Is this recipe cooked in a 9″ deep dish plate?
Thanks, Annie
Yes, a deep dish will work best.