This post may contain affiliate links. Please read our disclosure policy.
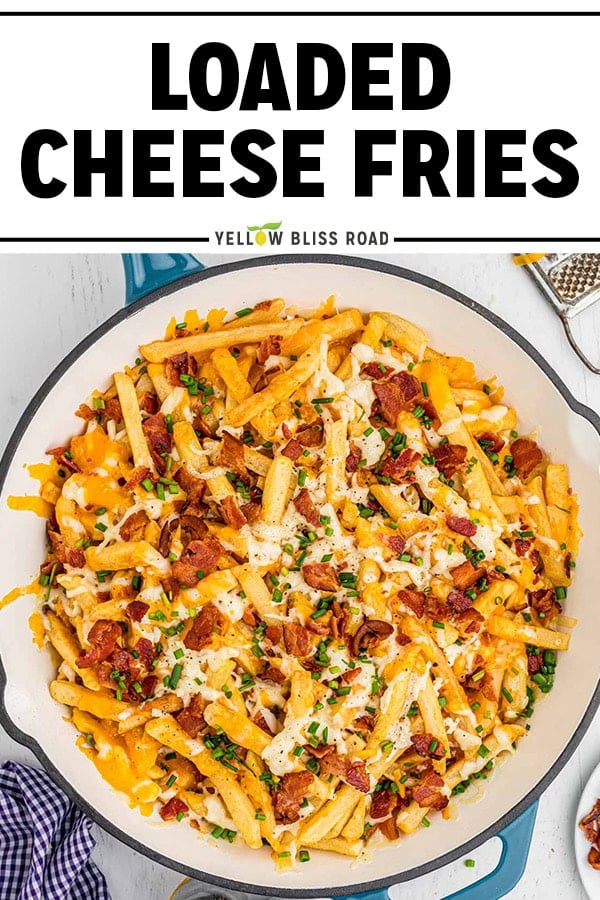
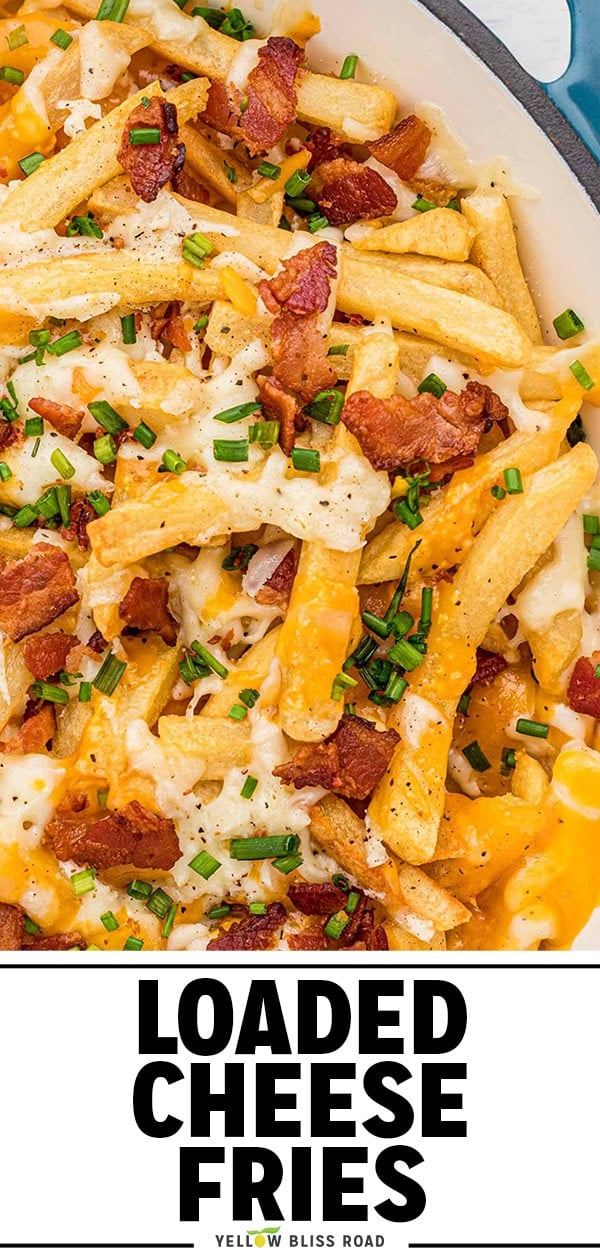
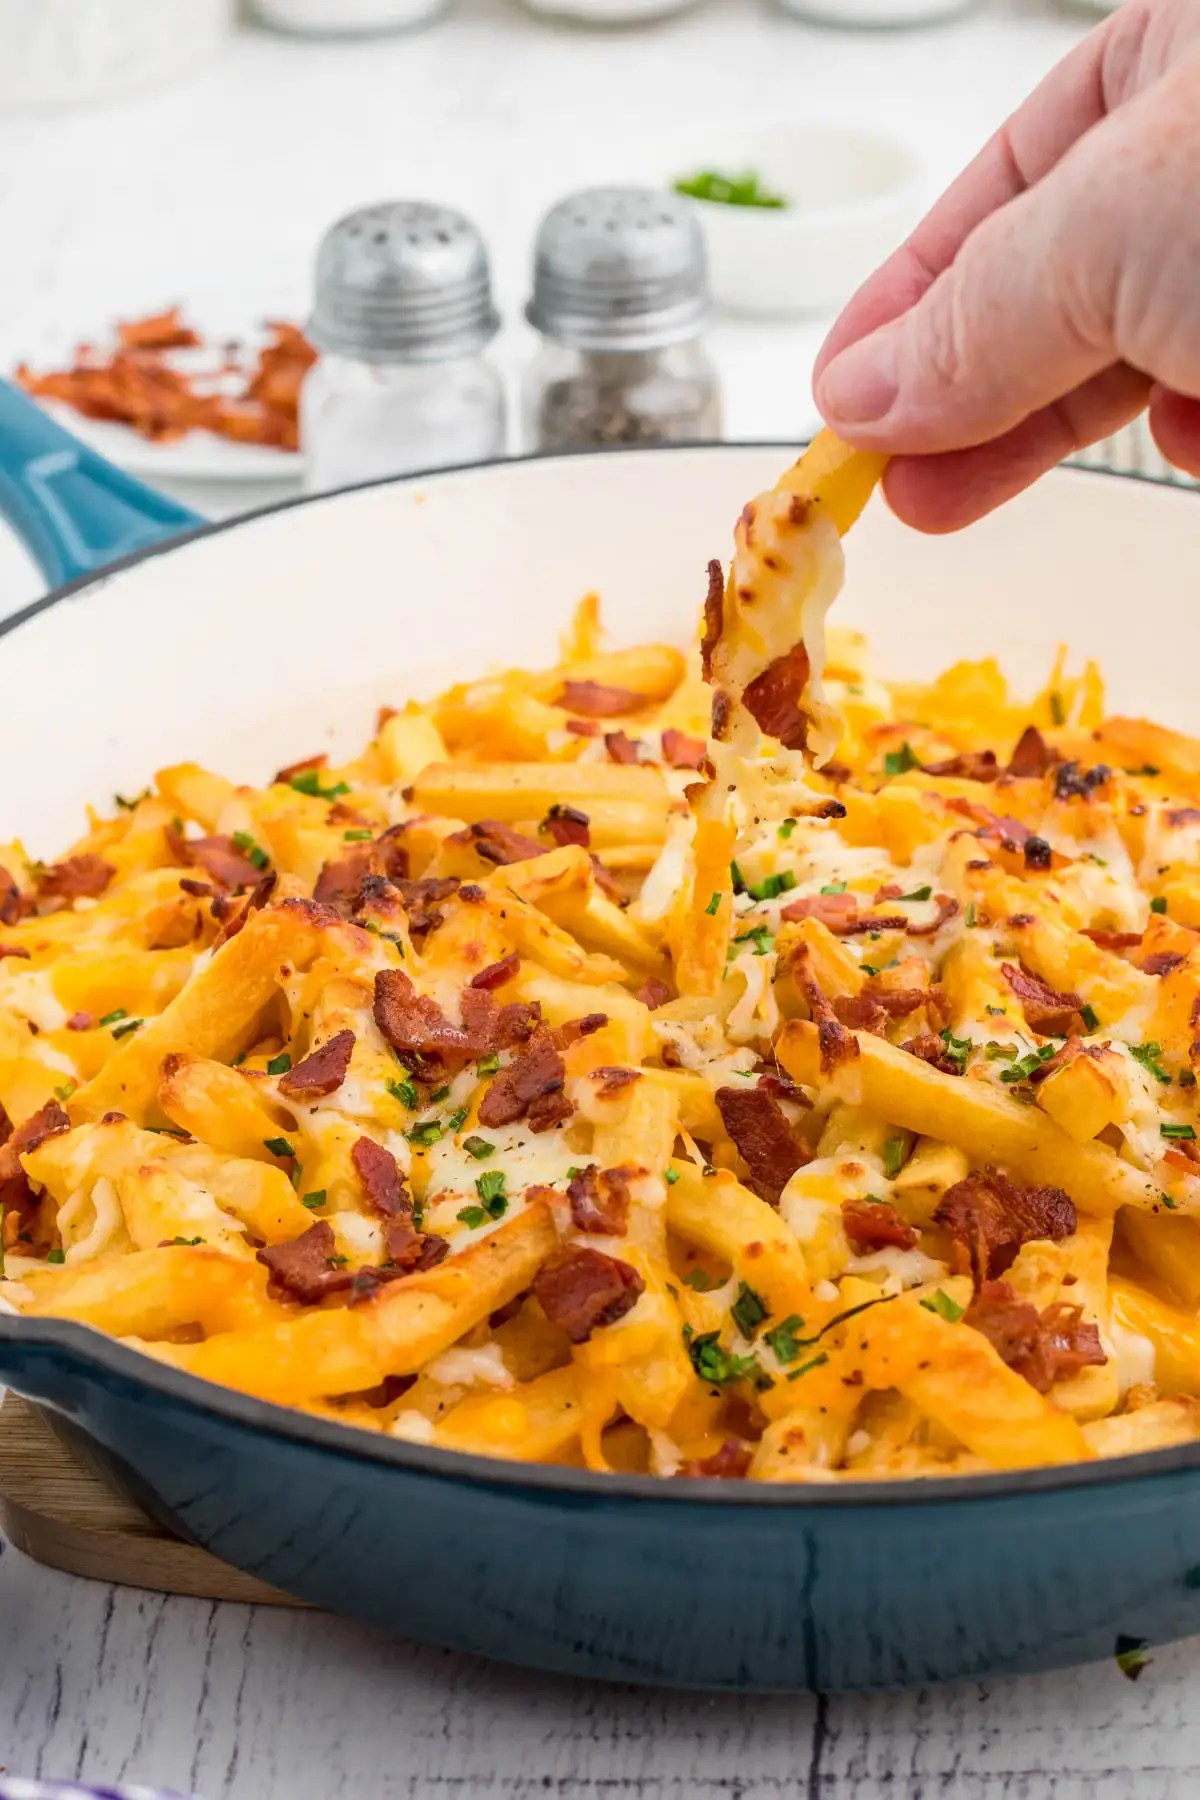
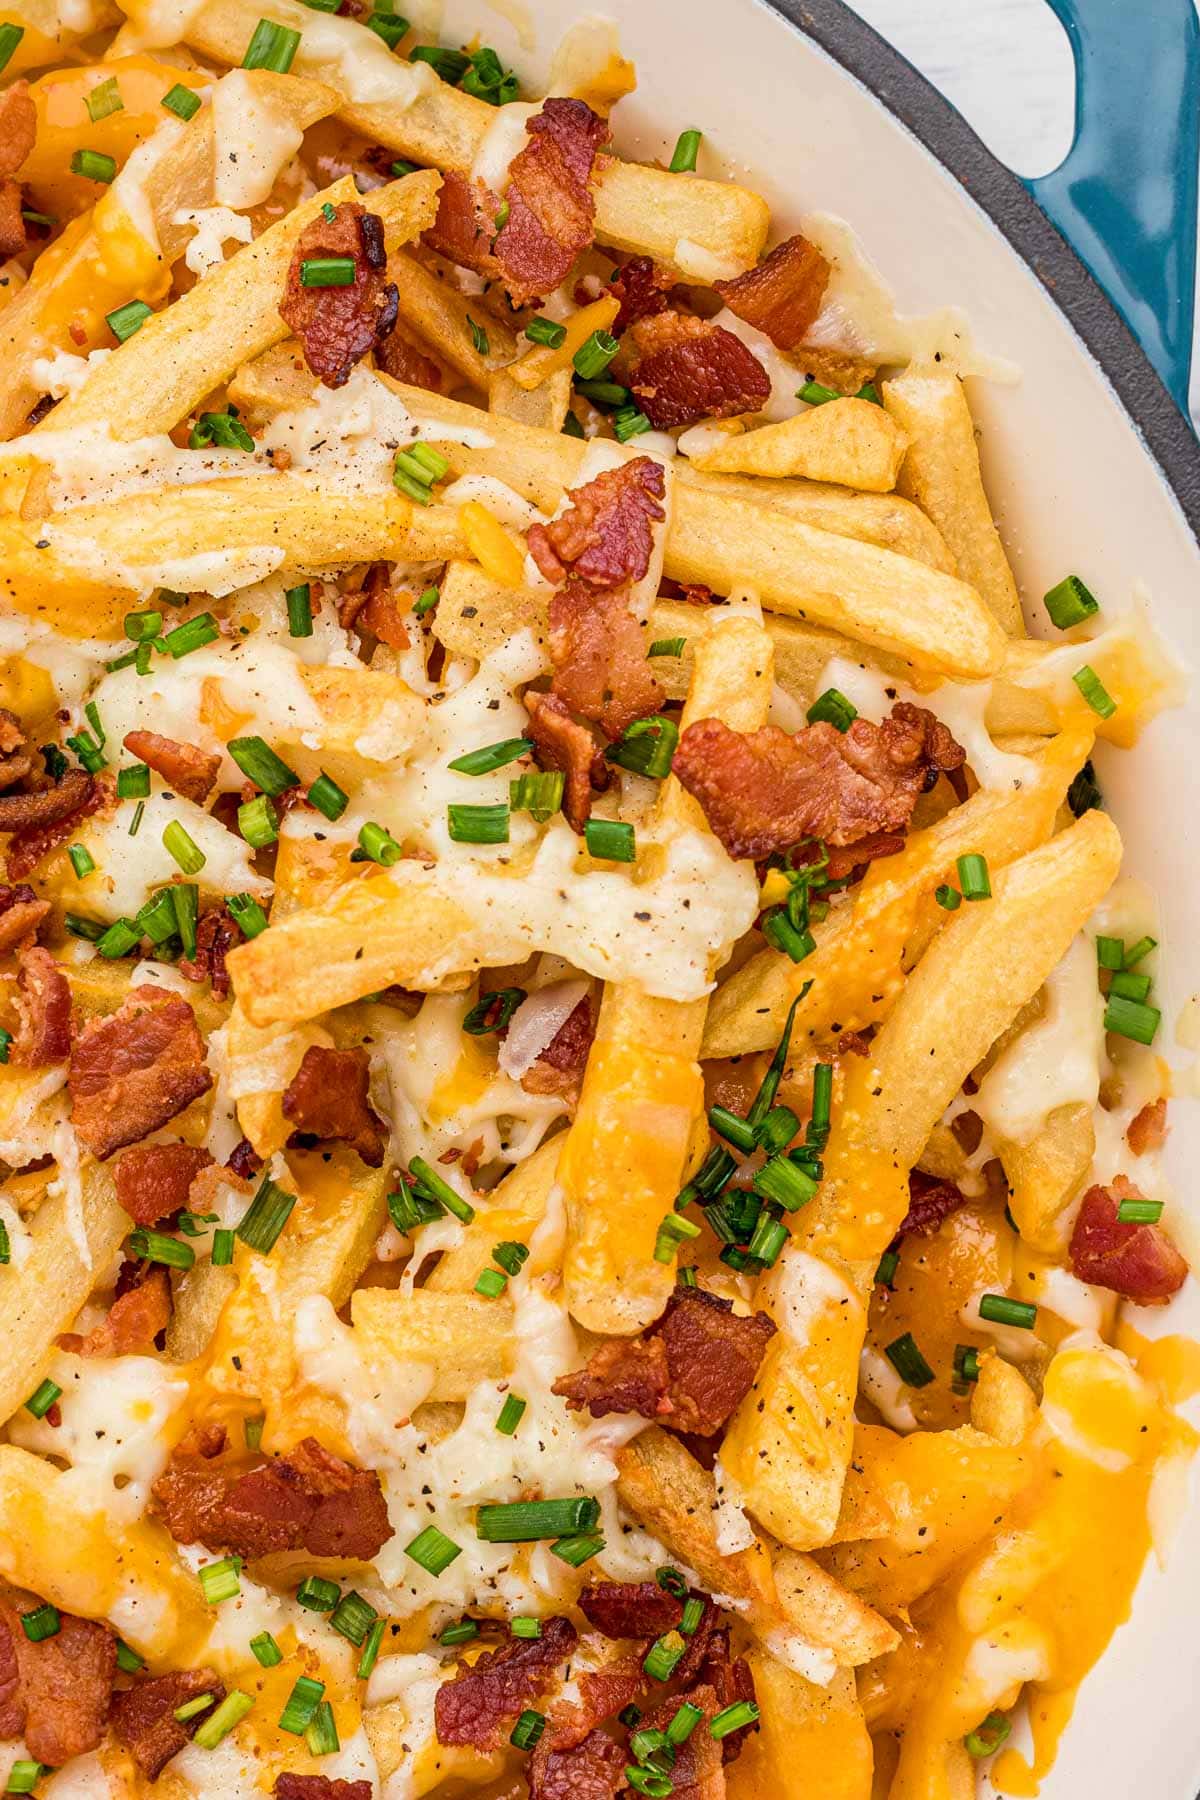
Loaded cheese fries are the easiest crowd-pleaser to put together for game day, a movie night, or whenever you need a snack that disappears in minutes. Crispy baked fries get piled with melty cheddar and mozzarella, crispy bacon, and fresh chives, then served straight from the pan. Add your favorite toppings and you’ve got a fully loaded appetizer in about 35 minutes.
For more crispy potato favorites, try my Homemade French Fries or these Loaded Chili Cheese Fries. My Loaded Potato Skins are another easy game day pick.
Before You Get Started
- Grate your own cheese. Pre-shredded cheese is coated with anti-caking agents that keep it from melting smoothly. Grate cheddar and mozzarella fresh from the block and you’ll get that gooey, restaurant-style melt every time.
- Bake the fries a little longer than the package says. The cheese-melting step softens the fries underneath, so you want them extra crispy going in. An extra 3-5 minutes past package directions makes the difference between sturdy loaded fries and a soggy pile.
- Use a cast iron or oven-safe skillet for the final bake. Transferring the baked fries to a cast iron before adding the cheese makes for a beautiful serve-from-the-pan presentation, and the skillet holds heat so the cheese stays melty longer.
RECIPE WALK-THROUGH
How To Make Loaded Cheese Fries
See the recipe card below for full, detailed instructions
This recipe comes together in three quick stages: bake the fries, cook the bacon, then load it all up and pop it back in the oven just long enough to melt the cheese.
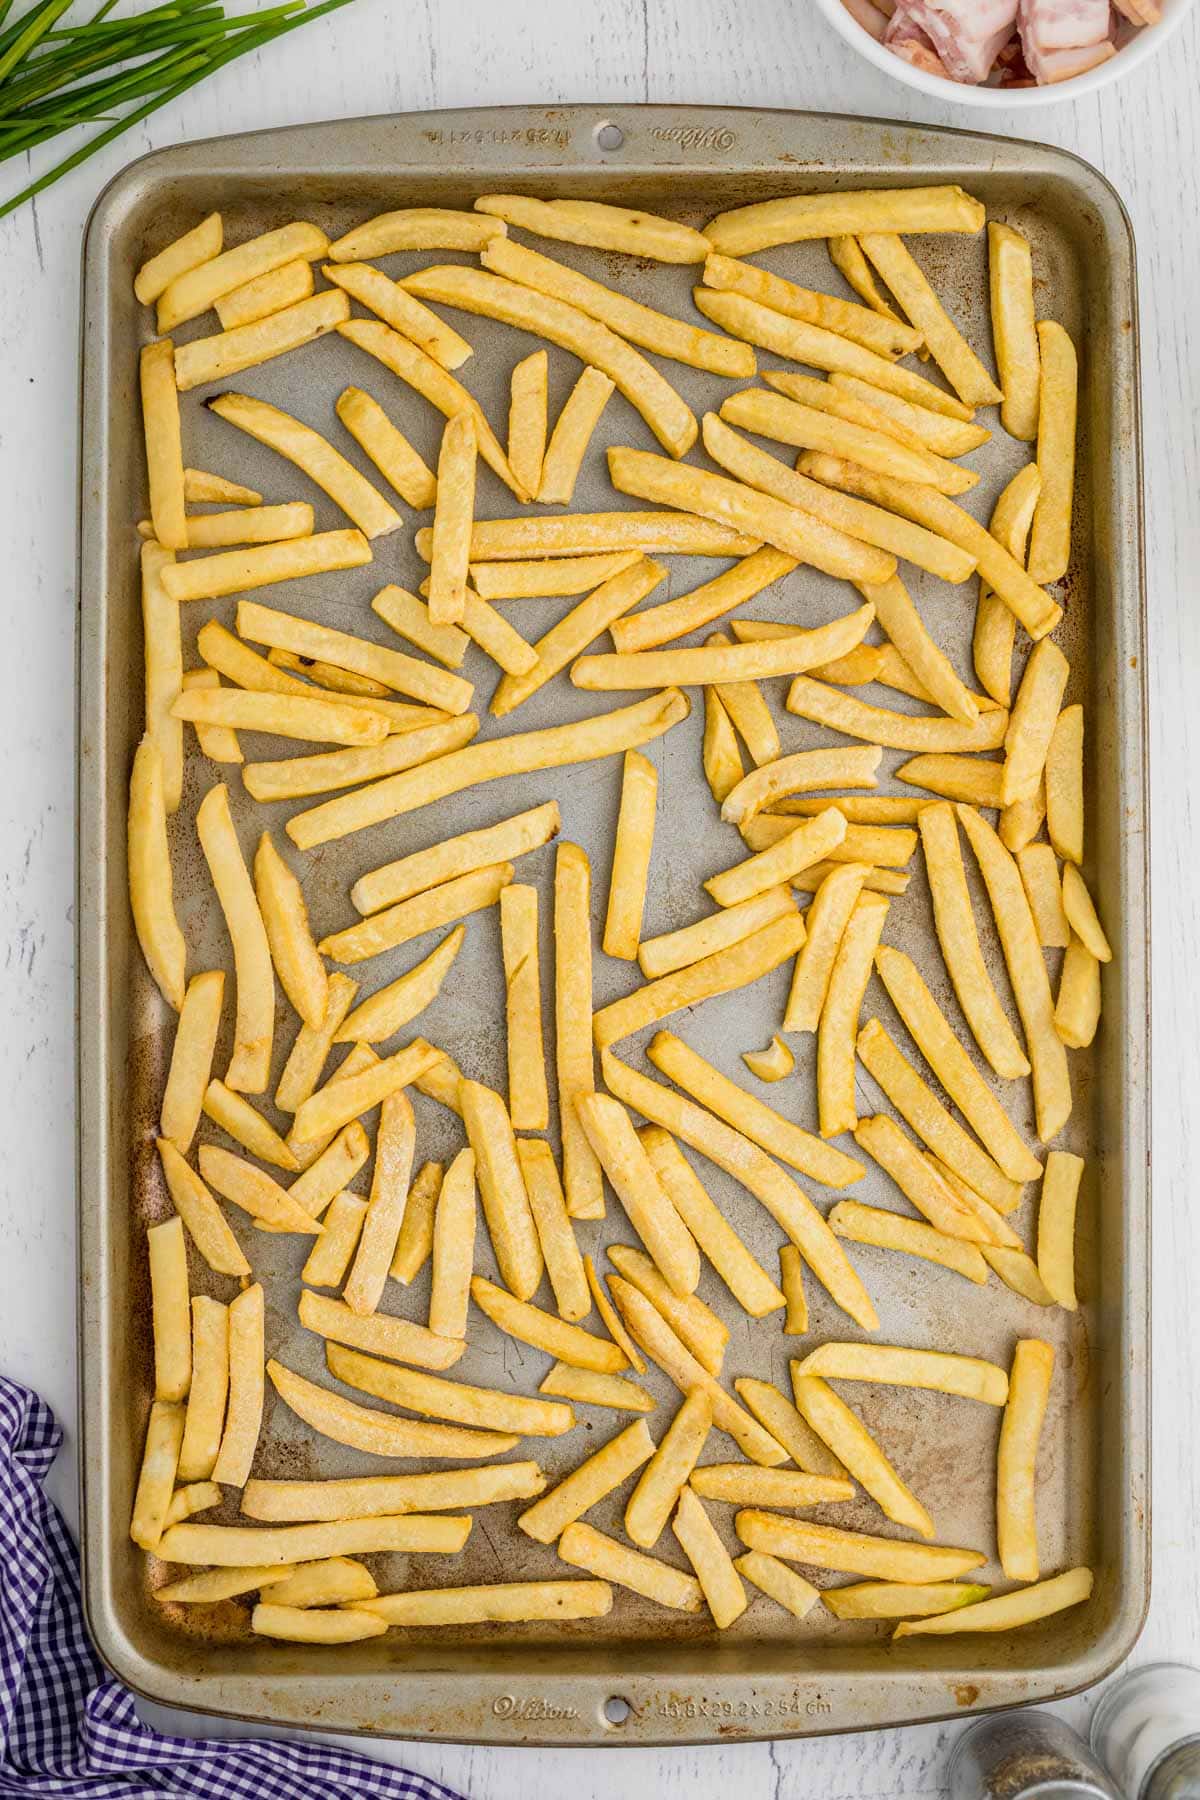
Step 1: Bake the fries
Preheat the oven to 425°F and spread frozen fries evenly on a baking sheet.
Bake until golden and extra crispy.
- Bake the fries a few minutes past the package directions so they hold up under the cheese. Don’t let them burn!
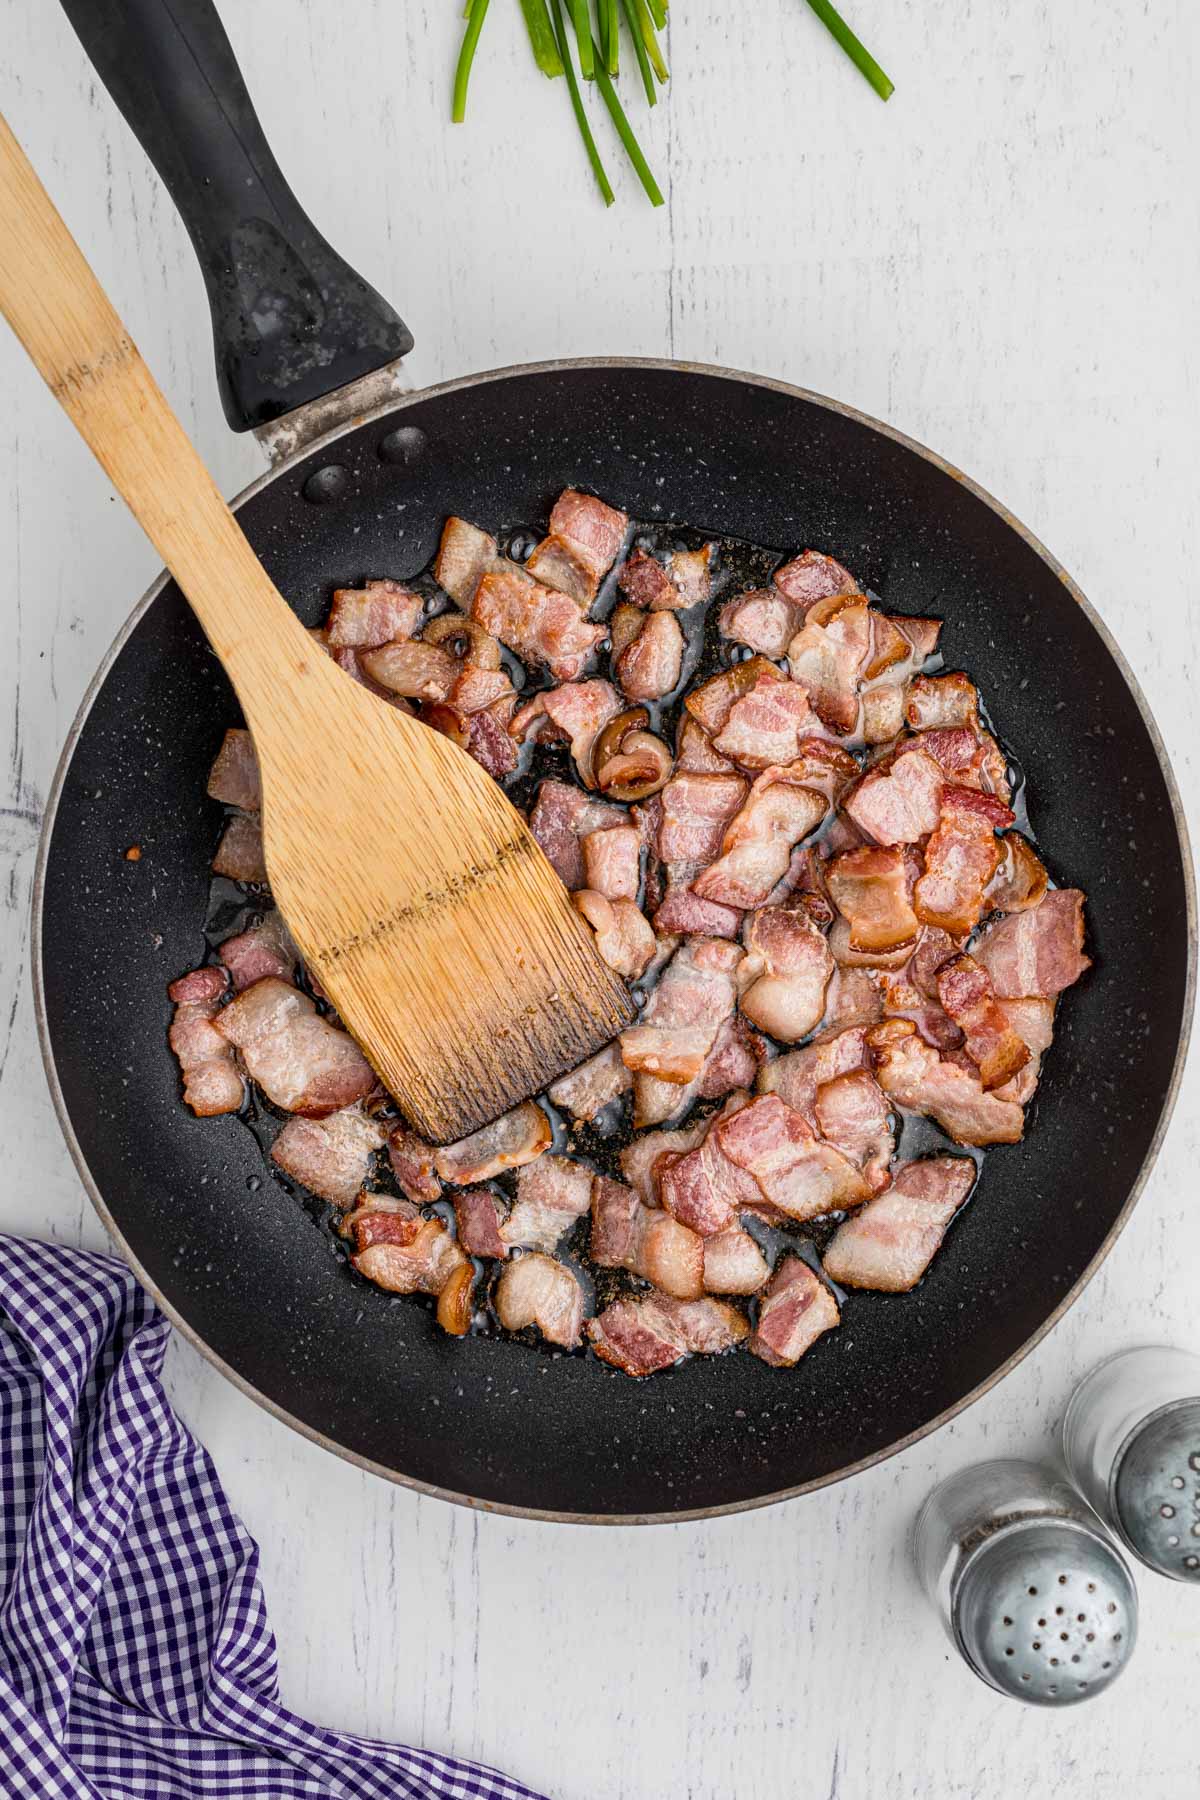
Step 2: Cook the bacon
Roughly chop the bacon and cook it in a skillet over medium heat until crispy.
Drain on paper towels and crumble or chop into smaller pieces.
- The bacon can cook at the same time as the fries to save time.
Step 3: Transfer and season
Transfer the baked fries to a cast iron skillet or leave them on the baking sheet.
Season with salt and pepper to taste, or your favorite seasoning blend.
Step 4: Load it up
Sprinkle the mozzarella and cheddar evenly over the fries and top with the crumbled bacon.
Return to the oven for about 5 minutes, just until the cheese is fully melted.
- Once done, the cheese should be fully melted with a few golden spots; don’t bake long enough for the cheese to dry out or get tough.
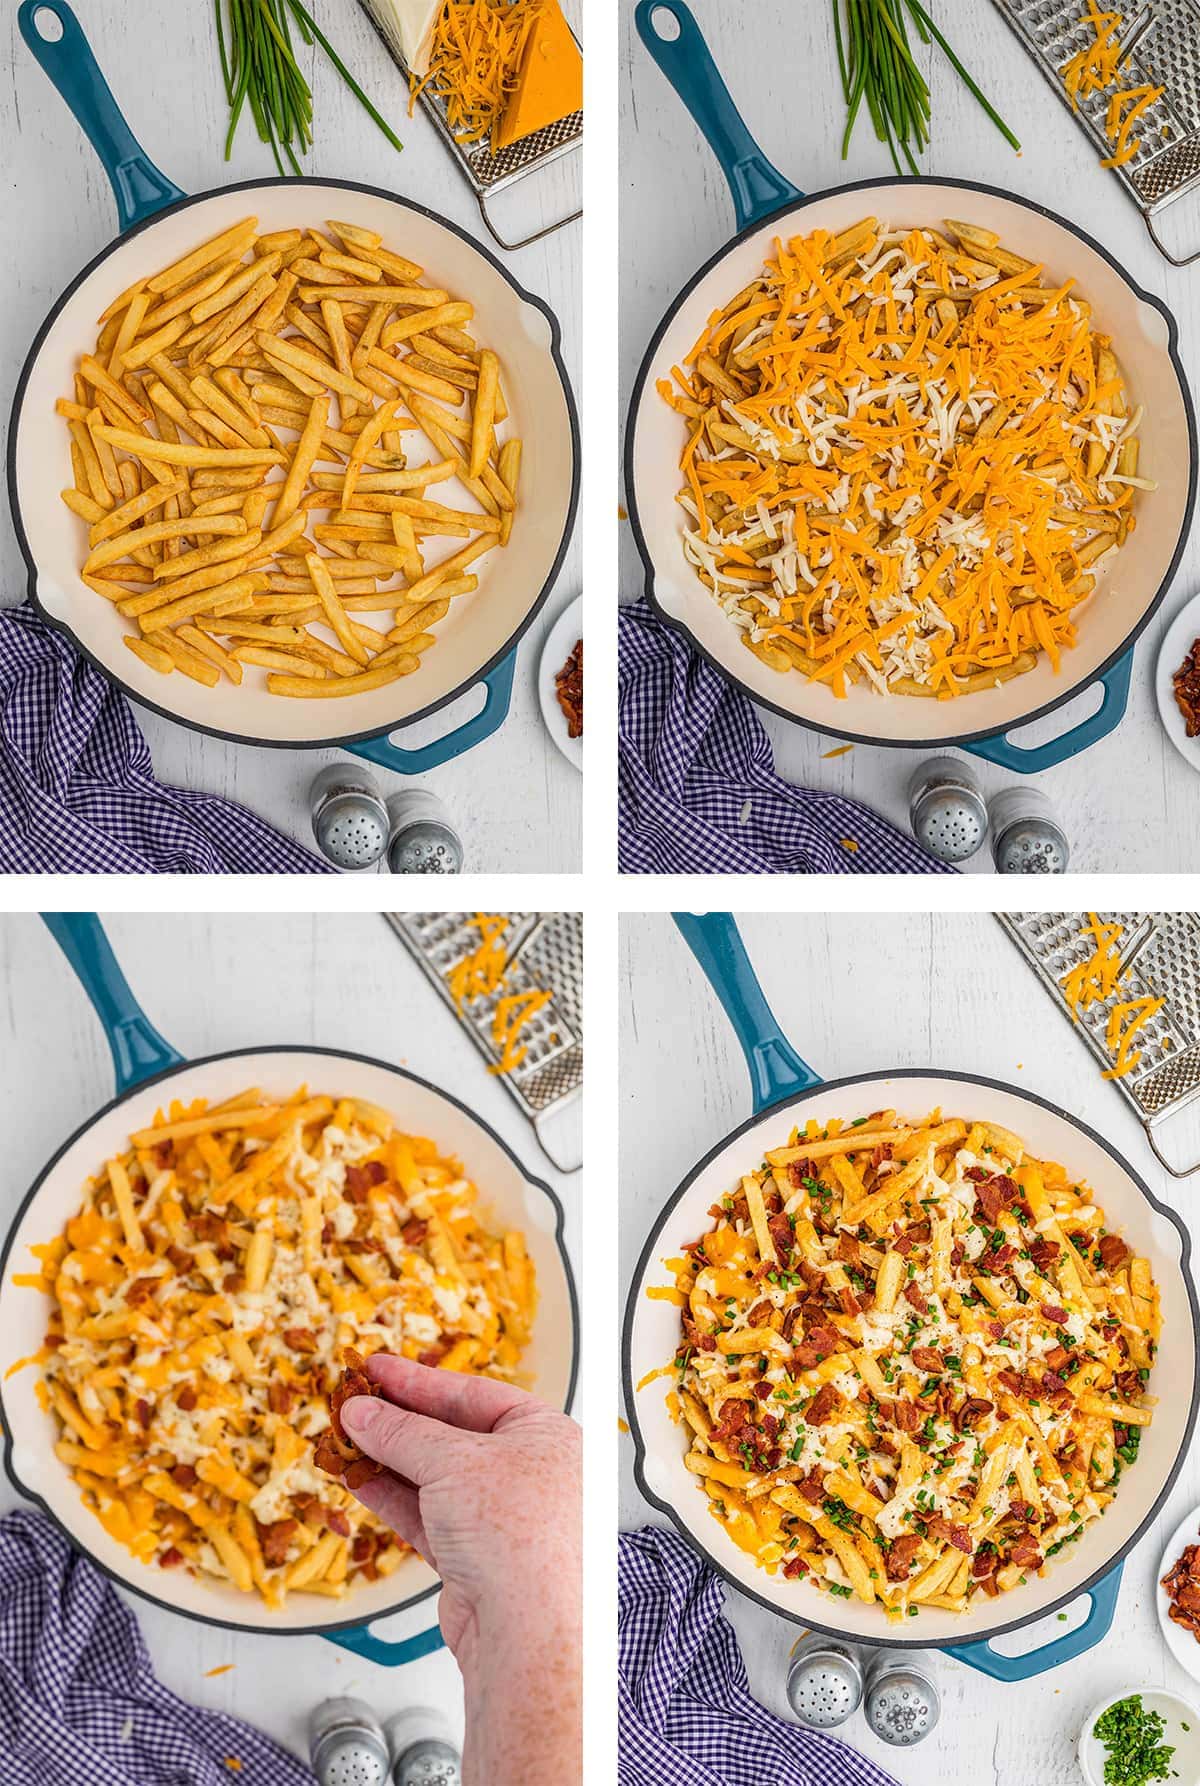
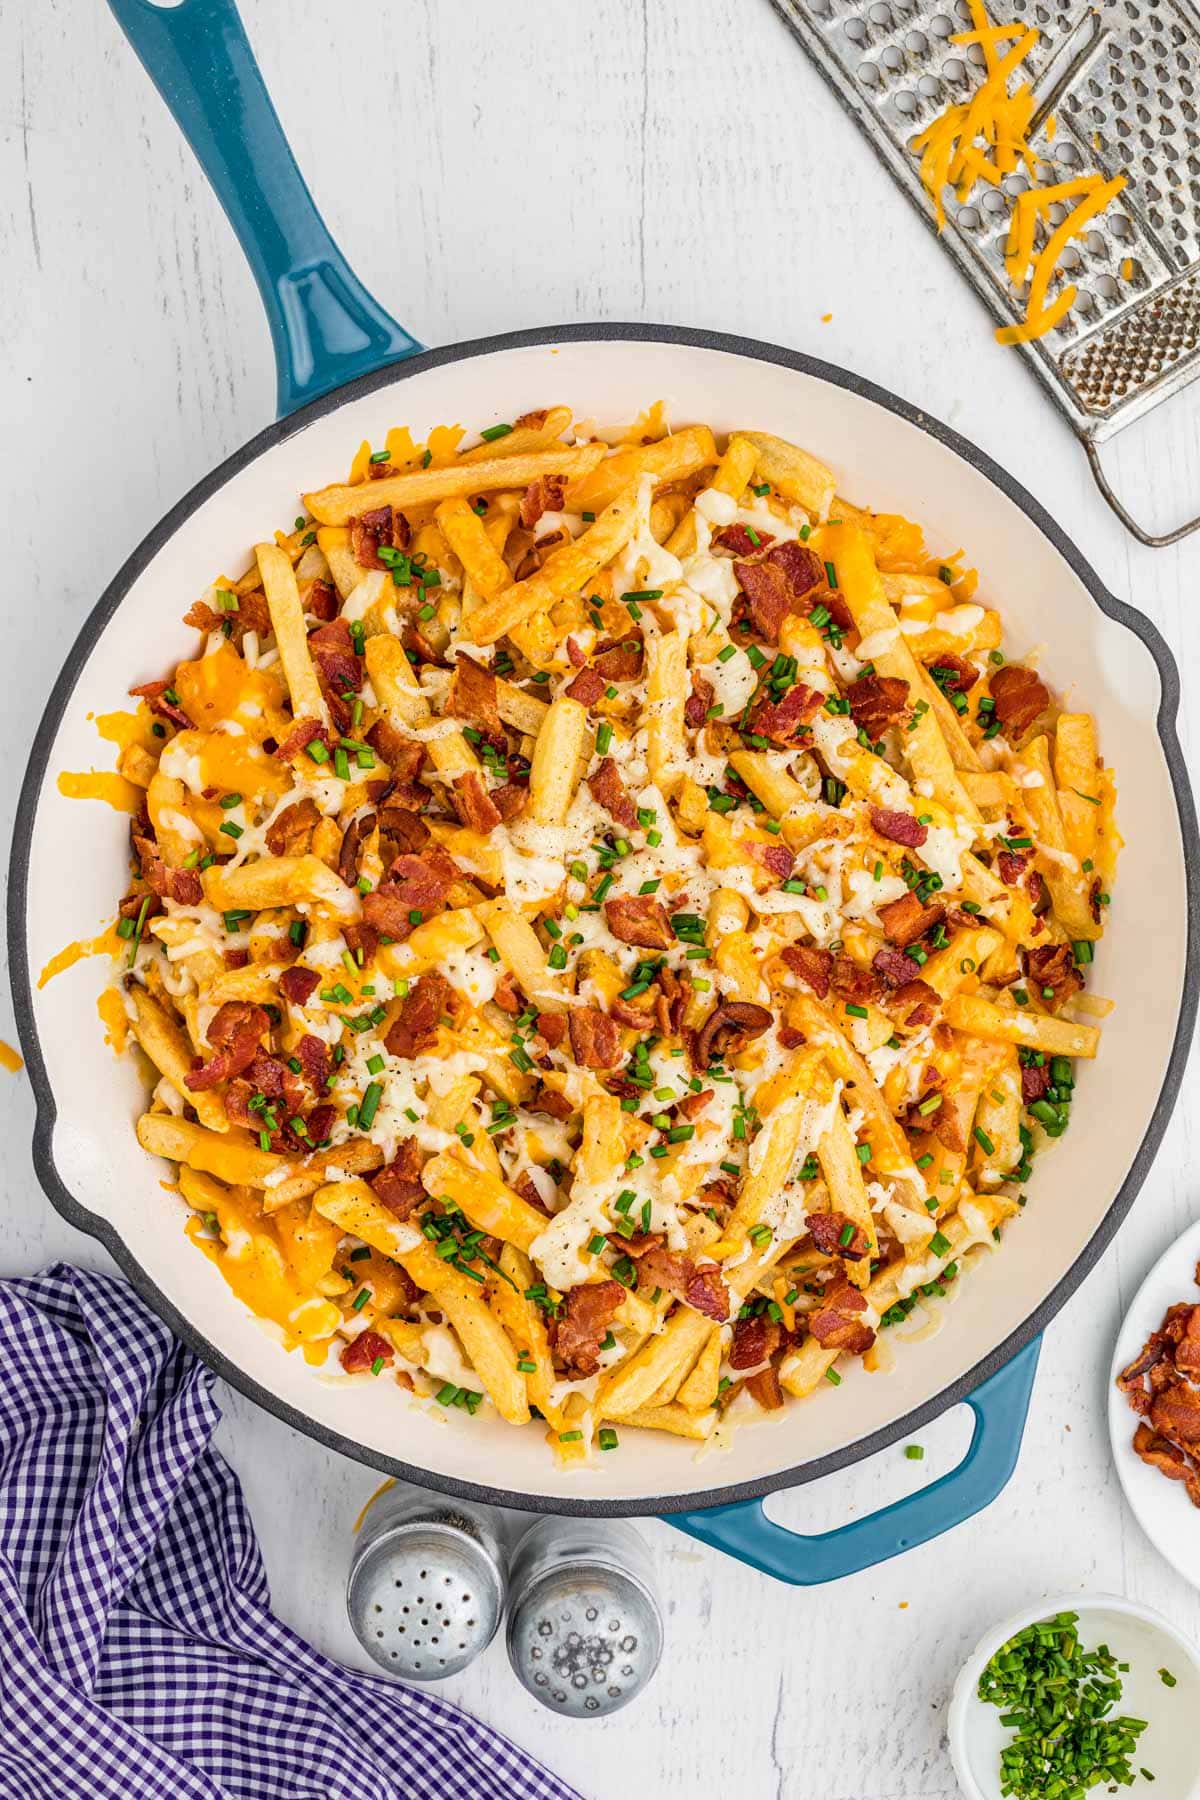
Step 5: Garnish and serve
Sprinkle chopped chives over the top. Serve immediately while hot and melty.
Variations and Customizations
- Swap the cheese blend. Pepper jack adds heat, Monterey Jack melts beautifully, or use a Mexican blend for extra flavor. Stick with cheeses that melt well.
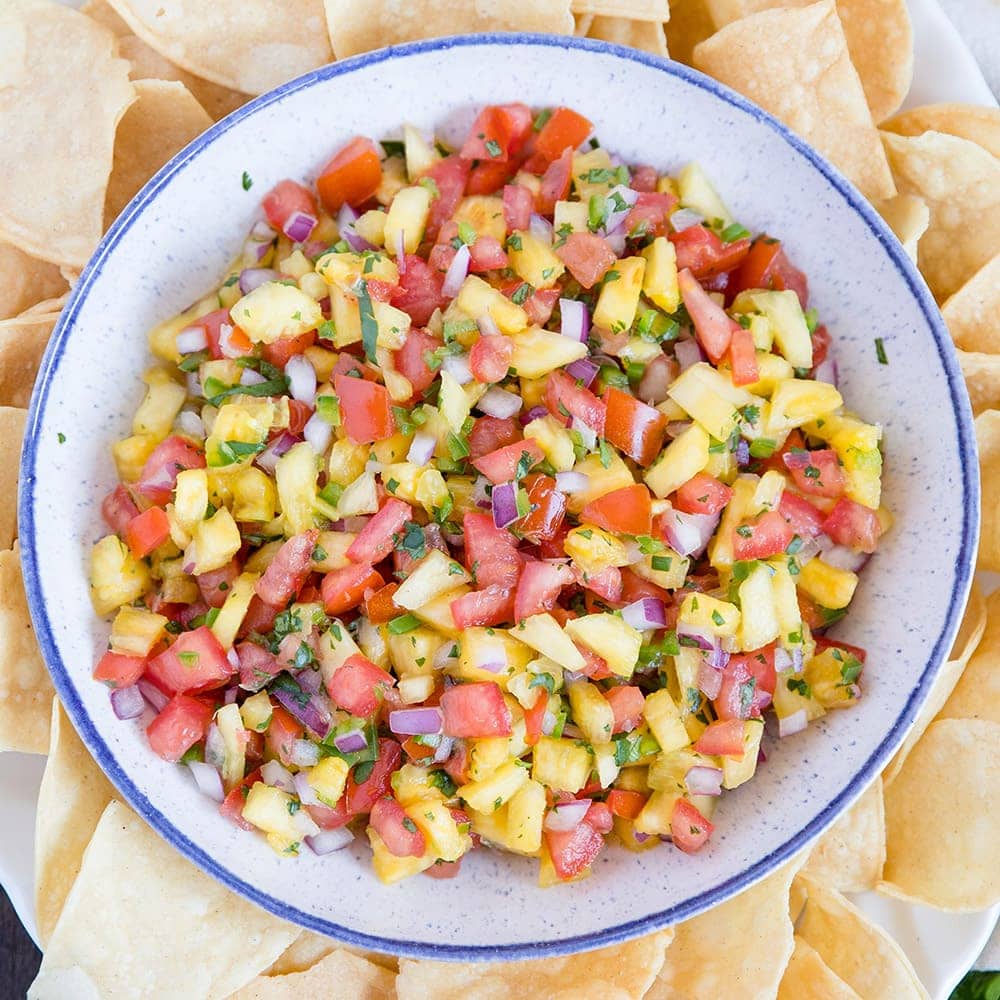
- Try a cheese sauce instead. Want a drizzle-style cheese pour instead of a melted blanket? My Nacho Cheese Sauce takes about 10 minutes and pours over the fries beautifully. Skip the second bake and pour it over hot fries right before serving.
- Switch up the protein. Cooked sausage, shredded chicken, or even chili work great in place of (or alongside) the bacon. My Loaded Chili Cheese Fries are a great example if chili is your move.
- Build a topping bar. Set out extras like sliced jalapeños, sour cream, diced tomato, sliced green onions, or sliced olives so everyone can finish their own portion. Great for parties.
Serving Suggestions
- Serve immediately, straight from the skillet or pan.
- Great as a shareable centerpiece appetizer or alongside other party finger foods.
- Set out small plates and napkins for easy grabbing.
Make it a spread: Buffalo Chicken Nachos, Mozzarella Sticks, Beer Battered Onion Rings, Cheesy Hot Corn Dip
Storage Tips
Storage and Reheating Tips
- Cheese fries are really best eaten immediately, since the fries lose their crisp texture once stored.
- Storage: Leftovers can be stored in an airtight container in the fridge for up to 3 days.
- Reheating: For best results, reheat in a 350°F oven until warmed through and the cheese is melted again. Skip the microwave; it makes the fries soggy.
- The air fryer is another good reheating option for crisping the fries back up (350°F for a few minutes).
Frequently Asked Questions
What’s the best cheese for loaded cheese fries?
I prefer a cheddar-mozzarella blend. Cheddar adds that sharp flavor, while mozzarella adds stretch. Use freshly grated cheese, as the pre-shredded kind has anti-caking agents that don’t melt smoothly. Other meltable options like Monterey Jack, pepper jack, or a Mexican blend all work well if you want to switch it up.
Can I use a cheese sauce instead of melted cheese?
Yes, this is a great variation. My Nacho Cheese Sauce is an easy option. Note that you’d skip the second bake and pour the warm sauce over the hot fries right before serving. The sauce can be drizzled or fully poured, depending on preference.
How do I keep the fries from getting soggy under the cheese?
Two key moves: bake the fries longer than the package suggests (extra 3-5 minutes for maximum crisp), and don’t over-bake during the cheese melting step (5 minutes is usually enough). Thicker-cut fries like steak fries or waffle fries hold up better than shoestring fries under heavier toppings.
More Cheesy Game Day Favorits
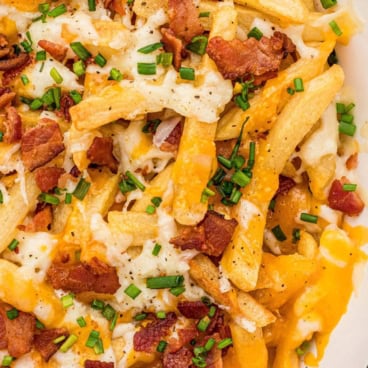
Loaded Cheese Fries
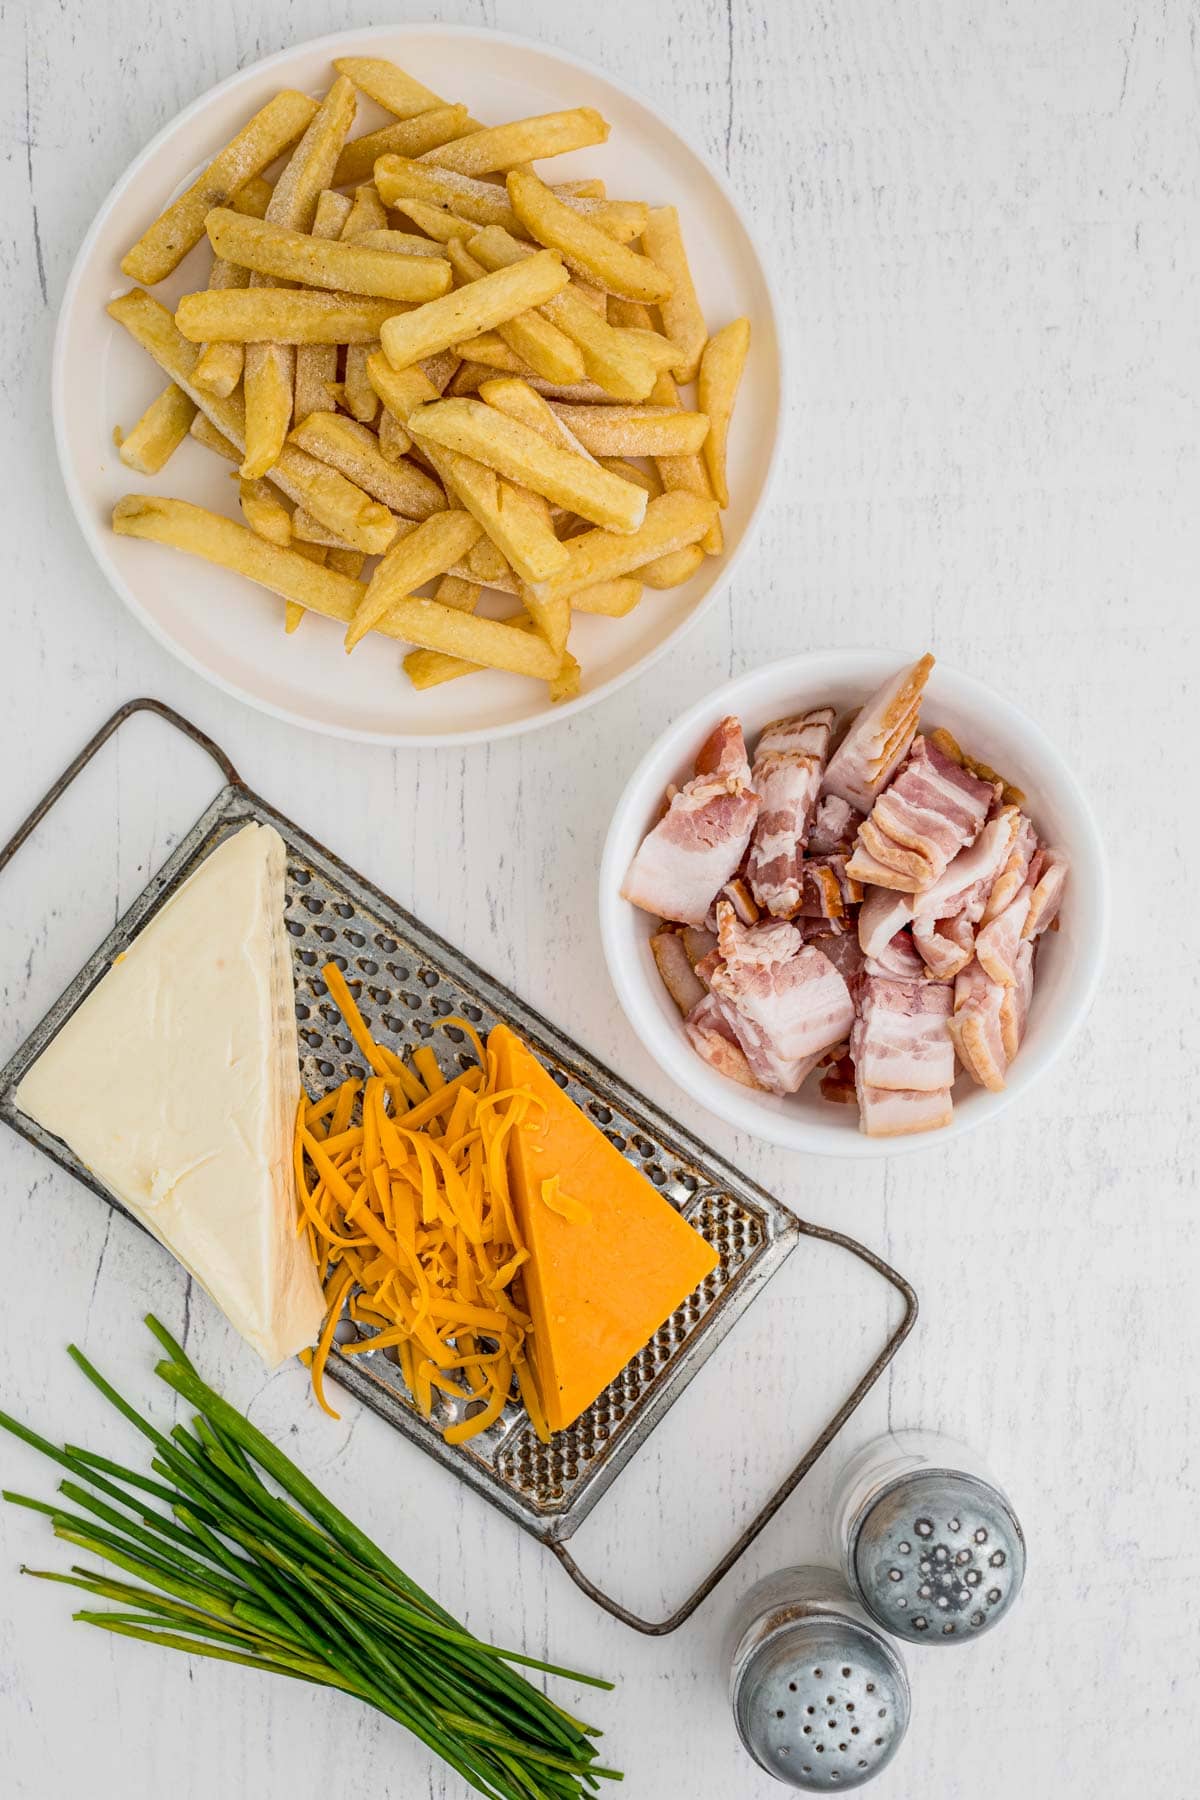
Ingredients
- 1 (26 ounce) package frozen french fries
- 4 slices bacon roughly chopped
- Salt and pepper to taste
- 1 cup freshly grated sharp cheddar cheese
- 1 cup freshly grated mozzarella cheese
- 2 tablespoons chopped chives
Instructions
- Preheat the oven to 425°F.
- Spread the fries evenly onto a baking sheet and bake for 22-25 minutes, or until extra crispy. (If your package instructions are different, follow those, adding a few extra minutes for maximum crisp.)
- While the fries cook, add the bacon to a skillet over medium heat and cook until crispy. Drain on paper towels and crumble or chop into smaller pieces.
- Transfer the baked fries to a large cast iron skillet (optional; you can also leave them on the baking sheet). Season with salt and pepper to taste, or your favorite seasoning.
- Sprinkle the mozzarella and cheddar evenly over the fries, then top with the bacon crumbles. Return to the oven for about 5 minutes, just until the cheese is fully melted.
- Sprinkle with chopped chives and serve immediately.
Notes
- Grate your own cheese. Pre-shredded cheese is coated with anti-caking agents that prevent smooth melting. Freshly grated cheddar and mozzarella will give you the best melt.
- For extra crispy fries. Bake the fries a few minutes longer than the package directs. They’ll hold up better under the cheese.
- Topping ideas. Add sliced jalapeños, sour cream, diced tomato, green onions, or olives to customize.
- Cheese sauce variation. For a drizzle-style version, skip the second bake and pour warm Nacho Cheese Sauce over the hot fries before serving.
- Storage. Best eaten immediately. Leftovers can be stored in an airtight container in the fridge for up to 3 days.
- Reheating. Reheat in a 350°F oven (or air fryer) until warmed through and the cheese is melted again. Skip the microwave.
Nutrition
Nutritional Disclaimer Kristin Maxwell of “Yellow Bliss Road” is not a dietician or nutritionist, and any nutritional information shared is an estimate. For accurate calorie counts and other nutritional values, we recommend running the ingredients through your preferred online nutritional calculator. Calories and other nutritional values can vary depending on which brands were used.


