This post may contain affiliate links. Please read our disclosure policy.

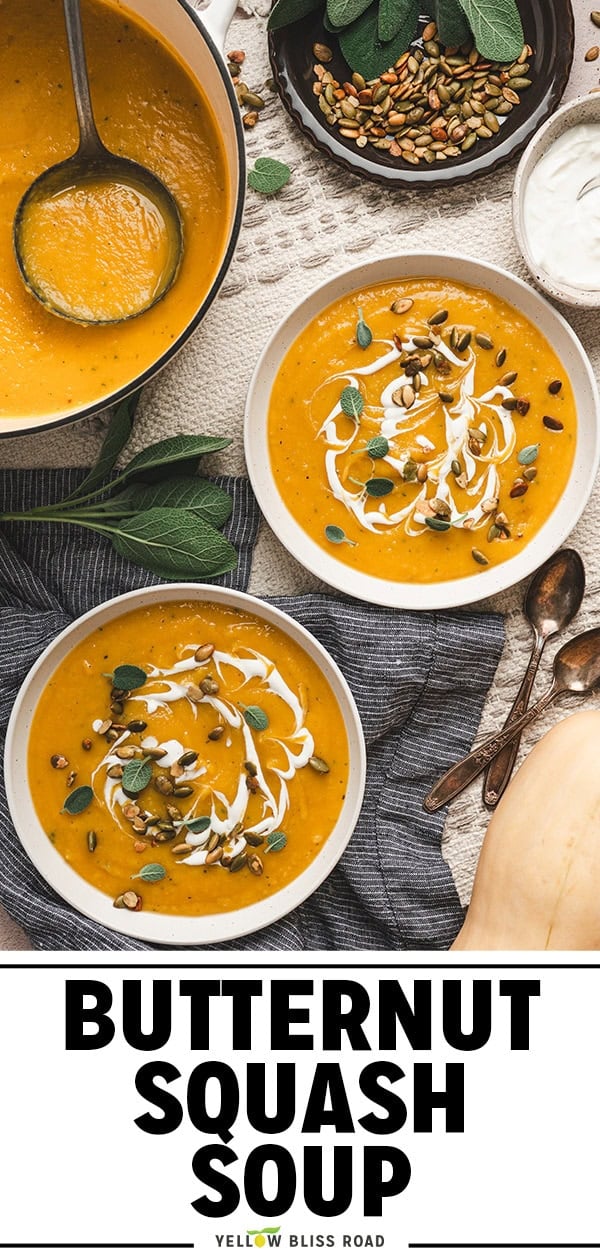
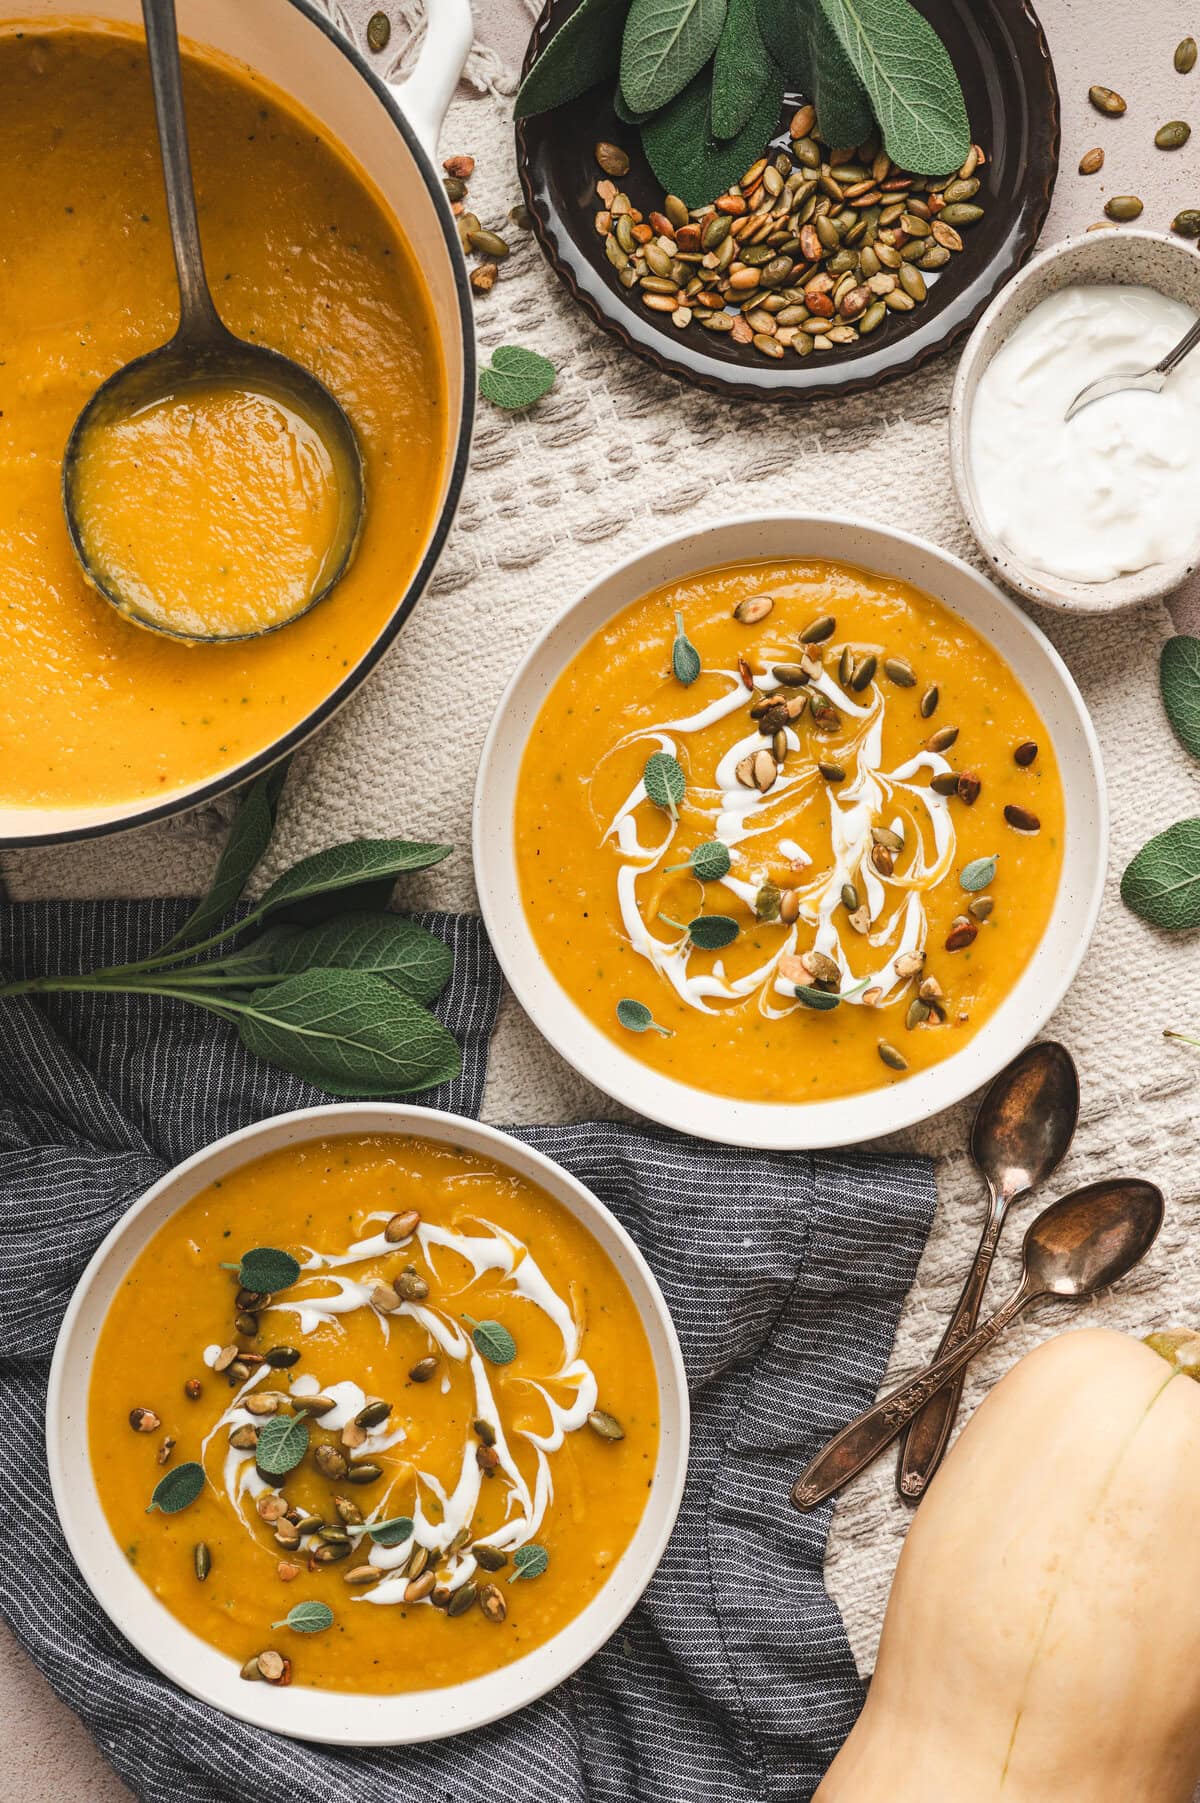
This roasted butternut squash soup is one you’ll want to curl up with after a chilly day. Roasting the squash with shallots and garlic makes it naturally sweet, fresh sage keeps it savory, and it blends up silky smooth without any cream. Serve it for lunch, dinner, or a cozy holiday starter.
More Cozy Soups for Chilly Nights: Broccoli Cheese Soup | Tuscan Vegetable Soup | Baked Potato Soup
Before You Get Started
Butternut squash soup is about as simple as soups get. Still, a few little things make the difference between a bowl that’s just okay and one you’ll make all season long.
- Give the squash room — Spread it out in a single layer. Crowded squash steams instead of browning, and those golden edges are where the flavor is.
- Peel off all the skin — Even small bits of peel stay stringy after blending. Keep going until all you see is bright orange squash.
- Taste after blending — Squash and stock both vary in saltiness. A good pinch of salt at the end turns a flat, sweet soup into a really good one.
RECIPE OVERVIEW
How to Make Roasted Butternut Squash Soup
See the recipe card below for full, detailed instructions
Don’t let a whole butternut squash scare you off. Once it’s peeled and cubed, the oven handles most of the cooking, and you’ll have a pot of velvety soup in about an hour.
1. Peel and Cube the Squash
Slice off both ends, then cut the squash where the skinny neck meets the round bottom. Now you’ve got two flat pieces that sit steady on the cutting board instead of rolling around.
Peel both pieces with a sharp vegetable peeler, scoop out the seeds, and cut everything into 2-inch cubes. Try to keep them about the same size so they all finish roasting at the same time. Any underdone pieces won’t blend smooth.
Microwave it if the peel is stubborn: Poke the squash a few times with a fork and microwave it for 2 to 3 minutes. The skin softens just enough to make peeling a whole lot easier.
2. Roast the Vegetables
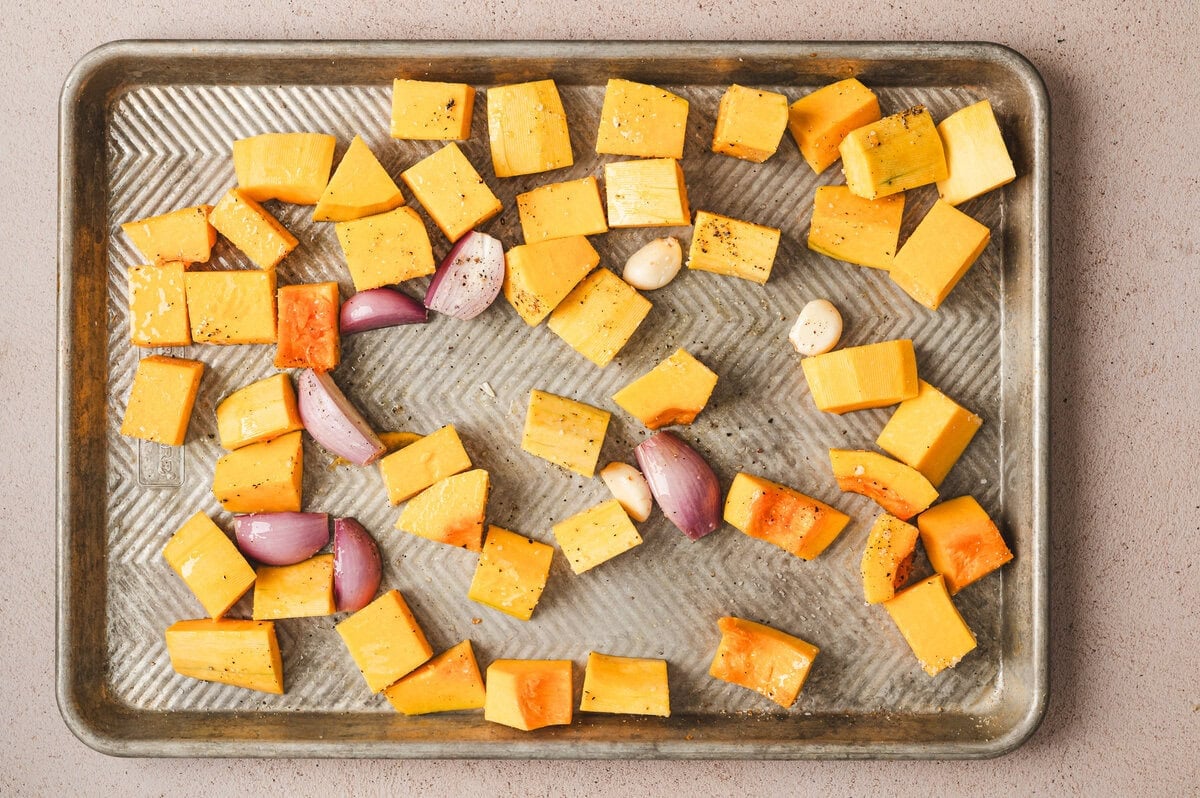
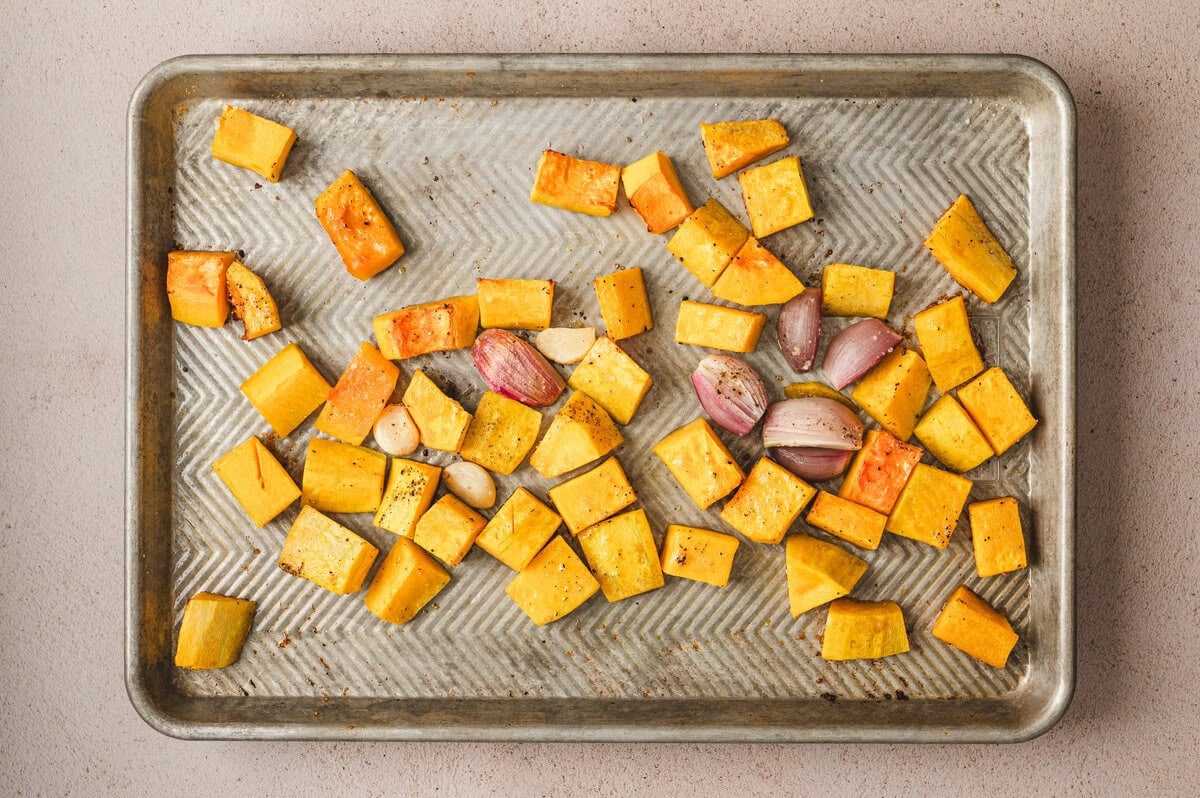
Preheat the oven to 400°F and lightly spray a large rimmed baking sheet. Add the squash, shallots, and garlic right onto the pan, drizzle with 1 tablespoon of olive oil, and sprinkle with the salt and pepper.
Toss everything together on the pan (one less bowl to wash), then spread it into an even layer.
Roast for 30 to 35 minutes. You’ll know it’s ready when a fork slides right into the squash and the edges are golden and caramelized. Don’t rush this part. Those browned edges give the soup its deep, slightly sweet flavor, and they’re the reason roasting beats boiling every time. Your kitchen is going to smell amazing, too.
Save the seeds for a crunchy topping. Rinse the seeds you scooped out, pat them dry, and toss them with a little oil and salt. Roast them on a corner of the pan for the last 10 to 15 minutes, and you’ve got a free topping that works just like pepitas.
Roast a little extra: Roasted squash makes a great side dish all on its own. Oven Roasted Vegetables use the same simple method with whatever veggies you have in the fridge.
3. Start the Soup Base
When the squash has about 5 minutes left, get the soup base going. Heat the remaining tablespoon of olive oil in a large Dutch oven over medium heat. Add the onion and cook for about 3 minutes, stirring now and then, until it starts to soften.
Stir in the sage. It only needs a minute, and you’ll smell it as soon as it hits the pan. Then pour in the vegetable stock. Vegetable stock keeps the flavor light so the squash is the star.
Chicken broth works too, and my Chicken Broth recipe is an easy one to make in a big batch and keep on hand.
4. Simmer and Blend
Add the roasted squash, shallots, and garlic to the pot. Scrape in any browned bits stuck to the pan too, since that’s extra flavor you don’t want to leave behind.
Let it simmer over low heat for about 10 minutes so everything comes together.
Now for the fun part. Take the pot off the heat and blend until it’s completely smooth.
If you’re using a regular blender, make sure to vent the blender lid. Fill it no more than halfway, remove the center cap, and cover the opening with a folded towel. Hot soup expands as it blends and can push the lid right off.
An immersion blender is the easiest option since you can blend right in the pot. Keep the blade under the surface so it doesn’t splatter, and keep going a little longer than you think you need to. The longer you blend, the silkier it gets.

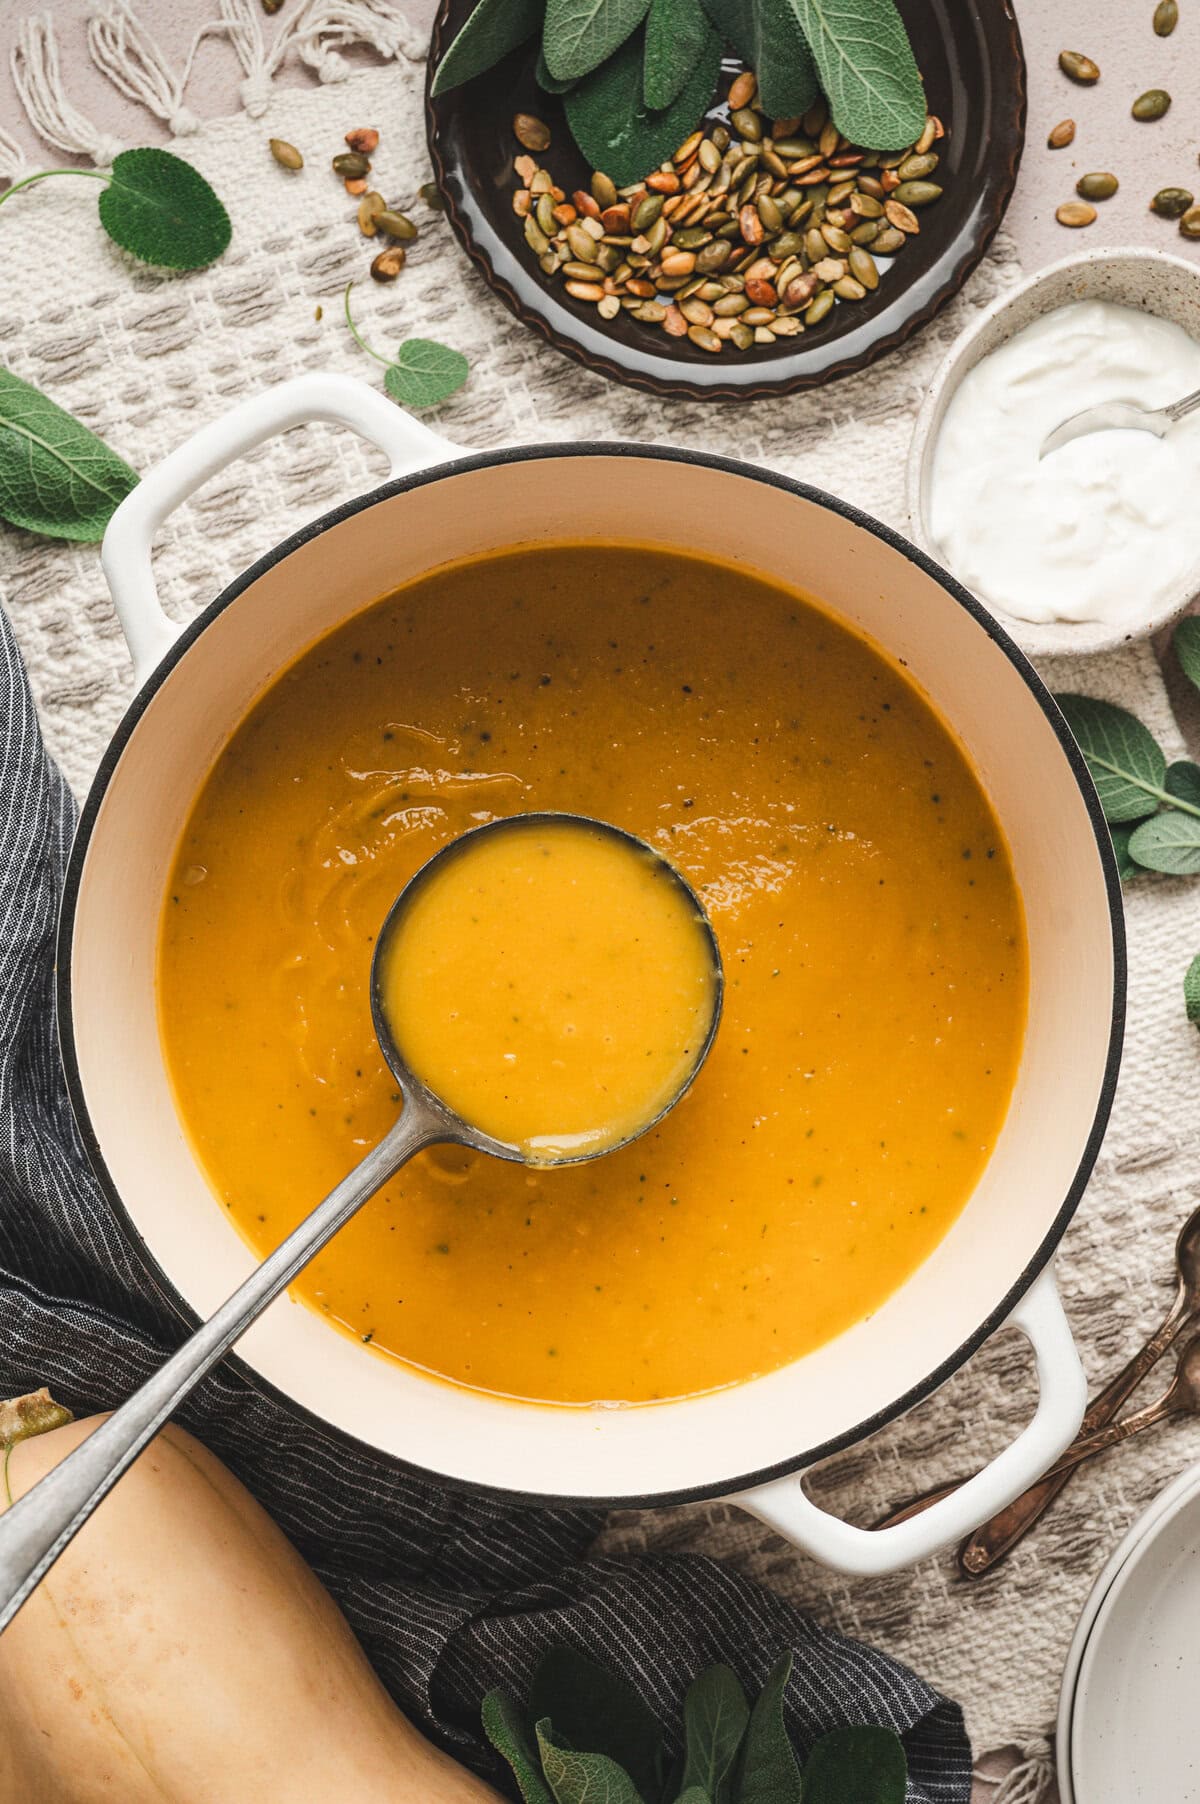
You’re looking for a thick, velvety soup that coats the back of a spoon. If it’s thicker than you like, stir in a little more stock or water, a splash at a time.
5. Season and Serve
Return the pot to medium heat (or pour the soup back into the pot if you used a blender) and warm it through. Give it a taste and add more salt and pepper until it tastes just right to you.
Balance the sweetness: If the soup still tastes a little flat or too sweet after salting, stir in a squeeze of fresh lemon juice or a small splash of apple cider vinegar. Start with a teaspoon and taste as you go.
Then comes the best part: toppings! A swirl of sour cream, a handful of crunchy pepitas, and a little fresh sage make every bowl look as good as it tastes. Stir a teaspoon of water into the sour cream first so it drizzles easily. Crumbled bacon is a great addition too if your family loves it.

Serving Suggestions
A big bowl of soup almost always needs something to dunk in it. Grilled cheese is the classic partner, and cutting it into strips makes dipping easy. Warm garlic bread or a crusty loaf of French bread works great too, and bread bowls make dinner feel a little more special. Everyone gets to eat the bowl!
For something fresh on the side, a crisp salad balances out the smooth, velvety soup. Here are a few easy recipes to serve alongside:
- Oven Grilled Cheese Sandwiches
- Cheesy Garlic Bread
- Homemade Bread Bowls
- Kale Salad
- Roasted Brussels Sprouts Salad
Since the soup is on the lighter side, it also makes a lovely starter before a big holiday dinner. Serve it in small cups or mugs so everyone still has room for the main event.
Storage Tips
Storing, Freezing, and Make Ahead
Storing: Keep leftovers in an airtight container in the fridge for 3 to 5 days. The soup thickens as it sits, so plan on adding a splash of stock or water when you reheat it.
Reheating: Warm it in a saucepan over low heat for 5 to 7 minutes, whisking often so it stays smooth. In the microwave, use a microwave-safe bowl and heat at 50 to 60% power for 2 to 4 minutes, stirring halfway through.
Freezing: Let the soup cool completely, then freeze it in freezer-safe containers or zip-top bags for 2 to 3 months. Leave a little room at the top since it expands as it freezes, and save the toppings for serving. Thaw it overnight in the fridge before reheating.
Making it ahead: You can roast the squash, shallots, and garlic up to a day ahead and keep them in the fridge. The next day, start the soup base and add the roasted vegetables. The whole soup also keeps well, so it’s an easy one to make a day before a holiday meal.
Frequently Asked Questions
Do I have to peel butternut squash for soup?
Yes, for a smooth soup you’ll want to peel it. The skin stays tough and won’t blend smooth, so you end up with stringy bits.
If you’d rather skip peeling, cut the squash in half lengthwise, scoop out the seeds, and roast the halves cut-side down until very soft, about 45 minutes to an hour. Then scoop the flesh away from the skin and add it to the pot. You’ll get less browning this way, so the soup will taste a little milder.
Why does my butternut squash soup taste bland?
It usually needs more salt. Squash is naturally sweet, and without enough salt the soup tastes flat and a little sugary. Add salt a pinch at a time, then try a squeeze of lemon juice to balance the sweetness.
Pale, under-roasted squash is the other common cause, so let it roast until the edges turn golden next time.
How do I make butternut squash soup creamier without cream?
Blend it longer than you think you need to. An extra minute or two with an immersion blender, or a run through a high-powered blender, makes the soup noticeably silkier.
If you’d like it richer, stir in a tablespoon or two of butter at the end, or swirl in a splash of heavy cream or canned coconut milk right before serving.
Can I use pre-cut or frozen butternut squash?
Pre-cut fresh squash works great and saves a lot of prep. Use about 2 pounds, since a 2.5-pound whole squash loses some weight once it’s peeled and seeded.
Frozen squash works in a pinch, but it releases water and won’t brown much, so the soup will taste milder. Roast it straight from the freezer, spread out well, and plan on a few extra minutes.
Why is my soup grainy or stringy?
Most of the time, the squash wasn’t completely soft or the soup wasn’t blended long enough. Make sure a fork slides easily into every piece before the pan comes out of the oven, then blend until there are no flecks left. Bits of leftover peel can also stay stringy, so peel all the way down to the bright orange flesh.
More Soups to Keep You Warm
- Instant Pot Tomato Soup
- Turkey Vegetable Soup
- Easy Pumpkin Chili
- Creamy Chicken and Wild Rice Soup
- Sausage, Kale and White Bean Soup

Roasted Butternut Squash Soup

Ingredients
- 1 butternut squash about 2½ pounds, peeled, seeded, and cut into 2-inch pieces
- 2 shallots peeled and halved lengthwise
- 3 garlic cloves peeled
- 2 tablespoons olive oil divided
- 1 teaspoon kosher salt plus more to taste
- ½ teaspoon black pepper plus more to taste
- ½ cup diced yellow onion
- 1 teaspoon chopped fresh sage plus more for garnish
- 3 cups vegetable stock
- Water or extra stock as needed for thinning
For garnish (optional):
- Sour cream
- Roasted pepitas
- Chopped fresh sage
Instructions
- Preheat the oven: Preheat the oven to 400°F. Lightly spray a large rimmed baking sheet with nonstick cooking spray.
- Roast the vegetables: Add the squash, shallots, and garlic to the baking sheet. Drizzle with 1 tablespoon olive oil, sprinkle with the salt and pepper, and toss to coat. Spread into a single layer and roast for 30 to 35 minutes, until the squash is fork-tender and browned in spots.
- Start the soup base: When the squash has about 5 minutes left, heat the remaining 1 tablespoon olive oil in a large Dutch oven over medium heat. Add the onion and cook for 3 minutes, stirring occasionally. Add the sage and cook for 1 minute, then pour in the vegetable stock.
- Simmer: Add the roasted vegetables to the pot and simmer over low heat for about 10 minutes.
- Blend: Remove from the heat and blend with an immersion blender until very smooth. If using a regular blender, fill it no more than halfway and vent the lid. Thin with a little water or stock if needed.
- Season: Return the soup to the pot over medium heat and warm through. Season to taste with salt and pepper.
- Serve: Ladle into bowls and top with a drizzle of sour cream, pepitas, and chopped fresh sage. Serve warm.
Notes
- Make ahead: Roast the vegetables up to 1 day ahead and refrigerate, or make the whole soup a day early and reheat.
- Storage: Store in an airtight container in the refrigerator for 3 to 5 days.
- Reheating: Warm on the stove over low heat for 5 to 7 minutes, whisking to keep it smooth. In the microwave, heat at 50 to 60% power for 2 to 4 minutes.
- Thickness: The soup thickens as it sits. Stir in a splash of stock or water when reheating.
- Freezing: Freeze in freezer-safe containers or zip-top bags for 2 to 3 months. Leave off the toppings until serving.
- For a richer soup: Stir in 1 to 2 tablespoons of butter or a splash of heavy cream at the end.
- Toppings: The sour cream is optional, so leave it off if you prefer no dairy. Crumbled cooked bacon is also a great topping.
- Serving: This soup is great with grilled cheese, fall salads, or toasted bread, or served in a bread bowl.
Nutrition
Nutritional Disclaimer Kristin Maxwell of “Yellow Bliss Road” is not a dietician or nutritionist, and any nutritional information shared is an estimate. For accurate calorie counts and other nutritional values, we recommend running the ingredients through your preferred online nutritional calculator. Calories and other nutritional values can vary depending on which brands were used.