This post may contain affiliate links. Please read our disclosure policy.
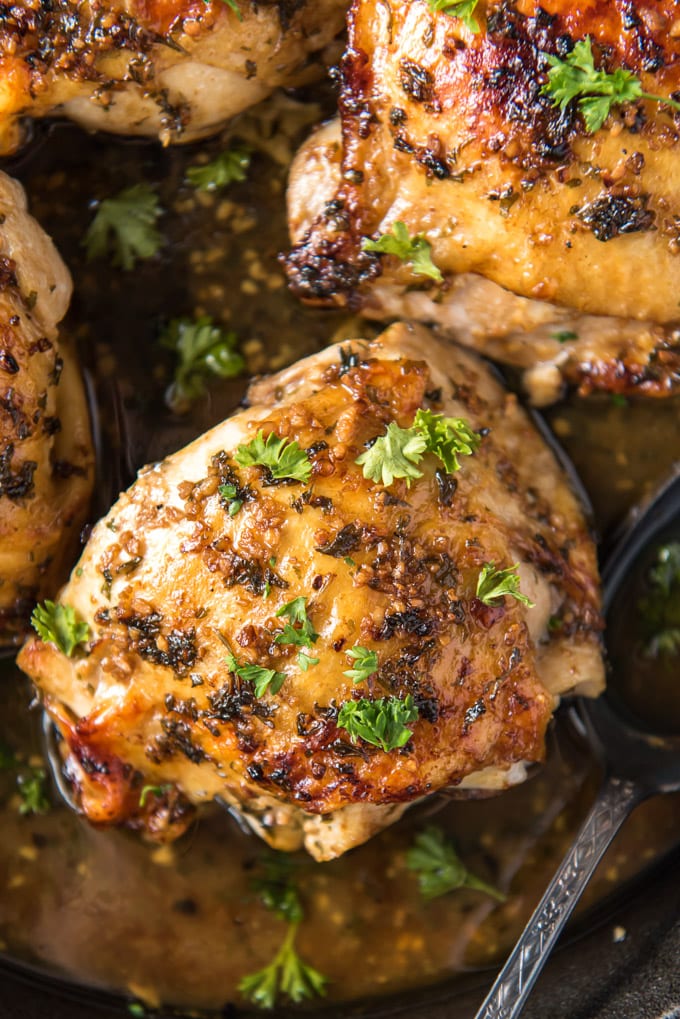
Crispy broiled chicken thighs are basted in a savory garlic butter and cooked under the broiler until the skin is golden and crackly. The high heat does the work in about twenty minutes, which makes this one of the fastest ways to get juicy, flavorful chicken on the table.
More easy chicken thigh dinners: Baked Chicken Thighs | Baked Boneless Chicken Thighs | BBQ Baked Chicken Thighs

Before You Get Started
A few things to get right before you turn on the broiler. These make the difference between juicy, crispy chicken and chicken that burns on the outside or steams instead of crisping.
- Set the right rack height. Position your oven rack so the chicken sits 4 to 5 inches from the broiler. Middle rack is right for most ovens. Too close and the skin burns before the meat cooks through.
- Pat the chicken completely dry. Wet skin steams instead of crisping. This is the single biggest factor in getting that crackly broiled finish.
- Use a broiler-safe pan. Skip glass and ceramic dishes that are only rated to 400°F. A cast iron skillet, sheet pan, or broiler pan handles the high heat without issue.
RECIPE WALK-THROUGH
How to Broil Chicken Thighs
See the recipe card below for full, detailed instructions
The full ingredients and measurements are in the recipe card below. Here’s a quick walkthrough so you know what to expect at each step.
Step 1: Preheat the broiler and prep the pan.
Turn the broiler on high and position the oven rack 4 to 5 inches from the heating element (usually the middle rack). Line a sheet pan or broiling pan with foil, or grab a cast iron skillet.
Most home ovens have a single broil setting, but if yours has both high and low, go with high. You’re turning the chicken a few times anyway, so it won’t burn at the middle rack.
Step 2: Make the garlic butter baste.
Melt the butter with the minced garlic in the microwave for about 30 seconds to infuse the butter with garlic flavor. Stir in the Worcestershire sauce and black pepper.
- Out of fresh garlic? One teaspoon of garlic powder works in a pinch.
- Want to switch up the flavor? The broiling method works with almost any baste or seasoning. Try BBQ sauce, teriyaki, lemon and garlic, or just plain salt and pepper. The technique stays the same. Prefer grilling instead? My Grilled Chicken Marinade works beautifully on thighs.
Step 3: Prep and baste the chicken.
Pat the chicken thighs completely dry with paper towels. Leave the skin on if you want crispy results (this is the whole point of broiling).
Arrange the thighs skin side up on the pan and brush generously with the garlic butter, reserving about half for basting later.
Use a clean brush each time you baste to keep raw chicken juices out of the reserved butter.
Step 4: Broil and flip.
Slide the pan under the broiler. Cook for about 20 minutes total for bone-in, skin-on thighs, flipping twice during cooking and basting with the reserved butter at each flip.
Boneless skinless thighs broil faster, usually 7 to 10 minutes total, so watch closely. End with the chicken skin side up so the skin gets one final blast of direct heat to crisp.
The chicken is done when the internal temperature hits 165°F at the thickest part on an instant-read thermometer. Dark meat stays juicy up to 175°F, so don’t stress if you go a little over.
Step 5: Rest before serving.
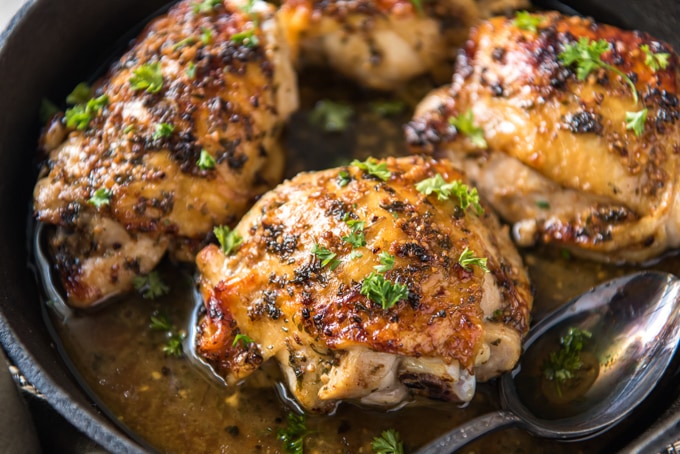
Let the chicken rest for 5 to 10 minutes, tented loosely with foil, so the juices redistribute. Garnish with fresh minced parsley if you like.
More ways to put chicken thighs on the dinner table.
See my collection of my favorite Boneless Chicken Thigh recipes.
What to Serve Alongside
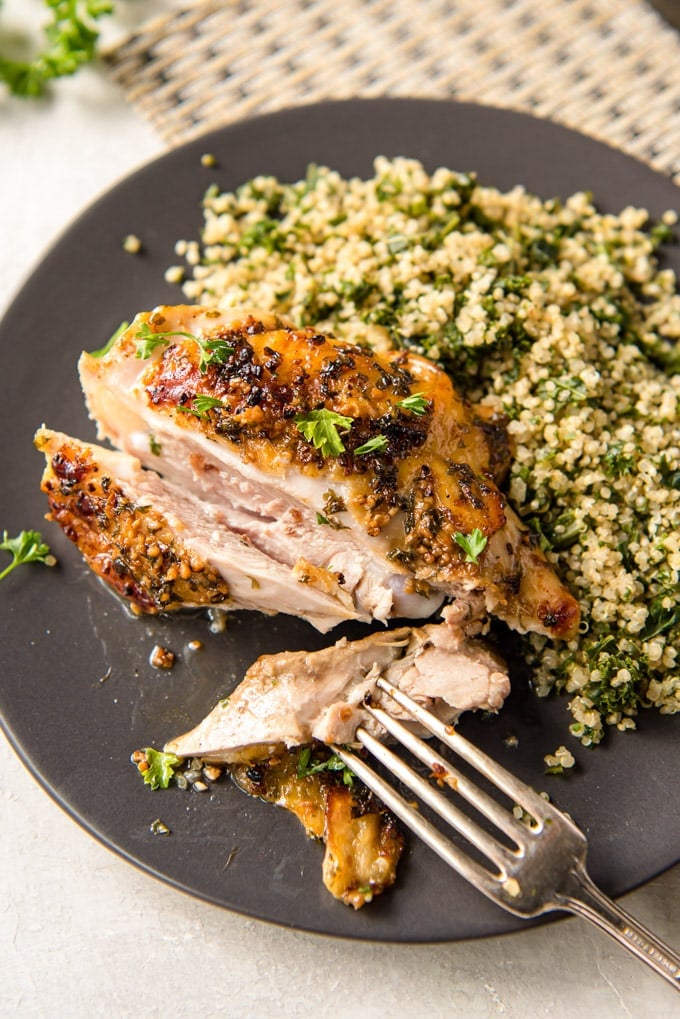
Broiled chicken thighs are flexible. They go with just about anything from a simple green salad to a big pan of roasted potatoes. A few favorites that round out the meal:
Storage Tips
Storage and Leftovers
Refrigerator: Store leftover broiled chicken thighs in an airtight container in the fridge for up to 4 to 5 days. Pulled off the bone, they’re great in salads, sandwiches, or weekly lunch prep.
Freezer: Freeze cooked thighs in a freezer bag for up to 3 months. Thaw overnight in the fridge before reheating.
Reheating: Reheat in a 350°F oven for 10 to 15 minutes to bring back some of the crispness on the skin. The microwave works in a pinch but the skin won’t crisp back up.
Frequently Asked Questions
Do you need to flip the chicken when broiling?
Yes, flip the thighs twice during cooking so both sides get exposed to the direct heat. This helps the meat cook through without the top scorching before the bottom catches up. End with the skin side up so the skin gets that final crisp.
Why isn’t my chicken skin getting crispy?
Three things usually cause this: the chicken wasn’t patted dry enough before broiling, the pan was overcrowded so the thighs steamed instead of crisped, or the rack was too far from the broiler.
Make sure the thighs have space between them, are dry, and that the top of the chicken is 4 to 5 inches from the heating element.
Can I use chicken breasts instead of thighs?
Yes, but pound them lightly so they’re an even thickness. Boneless breasts will broil faster than bone-in thighs, usually 10 to 12 minutes total depending on thickness.
Watch for the internal temp to hit 165°F and pull them right away to avoid drying out.
Can I use garlic powder instead of fresh garlic?
Yes. Sub 1 teaspoon of garlic powder for the 3 tablespoons of fresh minced garlic. The flavor is a bit different but still gives you that savory garlic backbone.
More Easy Chicken Thigh Recipes
- Pan Roasted Chicken Thighs
- Greek Yogurt Marinated Chicken Thighs
- Easy Oven Baked Chicken Drumsticks
- Baked Chicken Breasts
- Crispy Fried Chicken Thighs

Crispy Broiled Chicken Thighs

Ingredients
- 6 bone-in, skin-on chicken thighs about 2 pounds
- 1/2 cup butter
- 3 tablespoons minced garlic about 5 medium cloves
- 3 tablespoons Worcestershire sauce
- 1/4 teaspoon black pepper
- 1 tablespoon fresh minced parsley for garnish
Instructions
- Preheat the broiler on high. Position the oven rack so the chicken will be 4 to 5 inches from the heating element (middle rack on most ovens). Line a sheet pan or 9×13 broiling pan with foil, or use a cast iron skillet. Make sure your pan is broiler-safe.
- Melt the butter with the minced garlic in the microwave for about 30 seconds. Stir in the Worcestershire sauce and black pepper.
- Pat the chicken thighs completely dry with paper towels. Arrange skin side up on the prepared pan. Brush generously with the garlic butter mixture, reserving about half for basting.
- Broil for about 20 minutes, flipping the chicken twice during cooking and basting with the reserved butter at each flip. Use a clean brush each time to avoid contamination. End with the skin side up so the skin can crisp.
- Check that the internal temperature reads 165°F at the thickest part. Let the chicken rest for 5 to 10 minutes, tented loosely with foil. Garnish with fresh minced parsley and serve.
Notes
- Bone-in vs. boneless: Bone-in skin-on thighs broil in about 20 minutes. Boneless skinless thighs broil faster, usually 7 to 10 minutes total. Watch closely.
- Rack position: Position the chicken 4 to 5 inches from the broiler. Too close and the skin will burn before the meat cooks through.
- Broiler-safe pan: Skip glass and ceramic dishes rated only to 400°F. Cast iron, sheet pans, and broiler pans all work.
- Pat dry: Wet skin steams instead of crisping. This is the most important step for crackly broiled skin.
- Substitutions: Sub 1 teaspoon of garlic powder for the fresh minced garlic if needed. Chicken breasts work too, pounded lightly for even thickness.
- Storage: Refrigerate in an airtight container for up to 4 to 5 days, or freeze for up to 3 months. Reheat in a 350°F oven for 10 to 15 minutes to crisp the skin back up.
- Salt: Season with salt at the end to taste if needed. The Worcestershire adds enough salinity for most palates.
Nutrition
Nutritional Disclaimer Kristin Maxwell of “Yellow Bliss Road” is not a dietician or nutritionist, and any nutritional information shared is an estimate. For accurate calorie counts and other nutritional values, we recommend running the ingredients through your preferred online nutritional calculator. Calories and other nutritional values can vary depending on which brands were used.