
This post may contain affiliate links. Please read our disclosure policy.
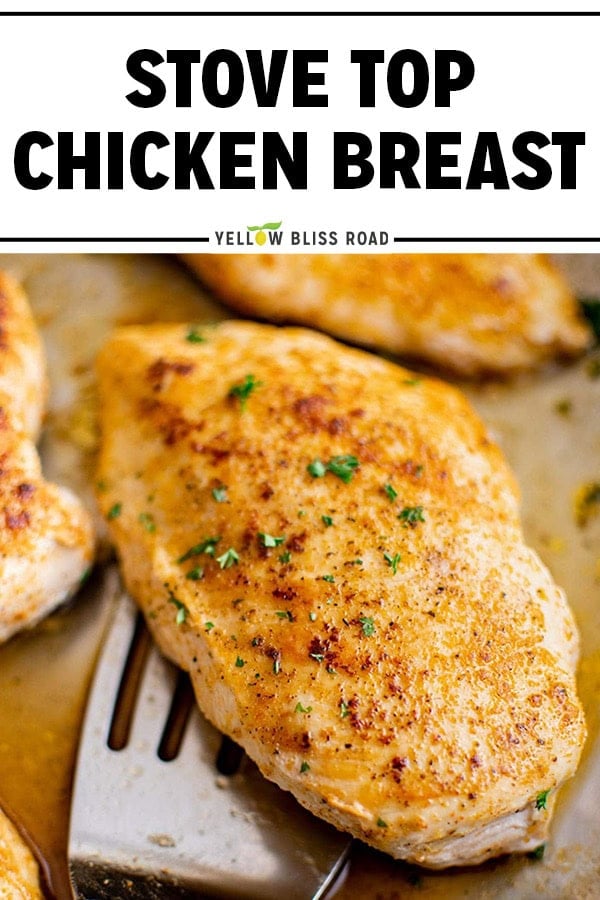
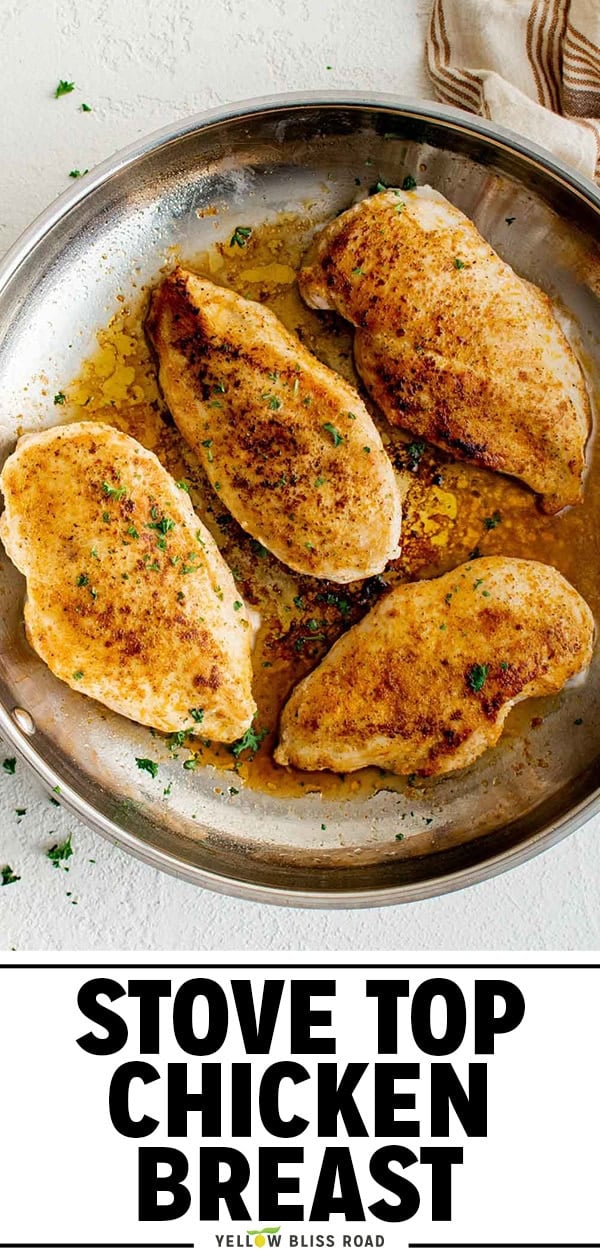
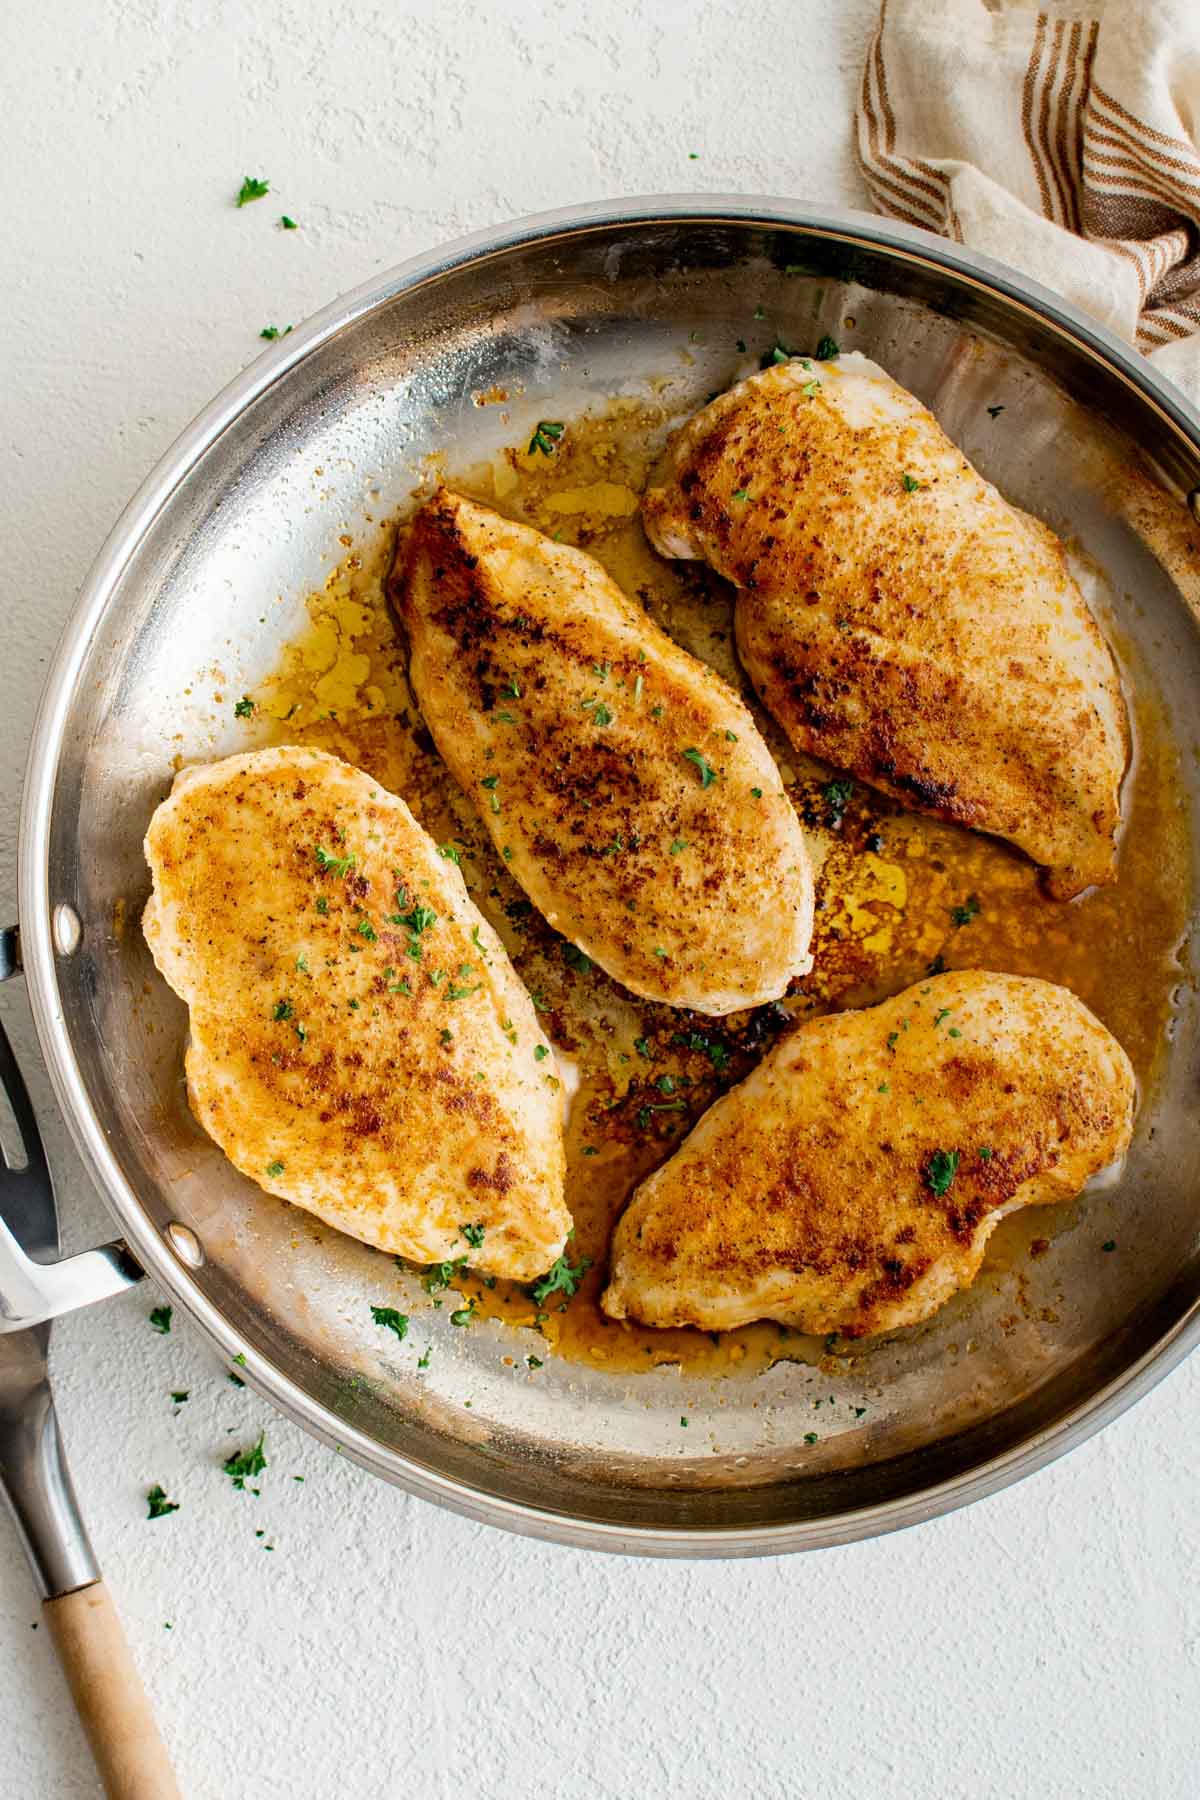
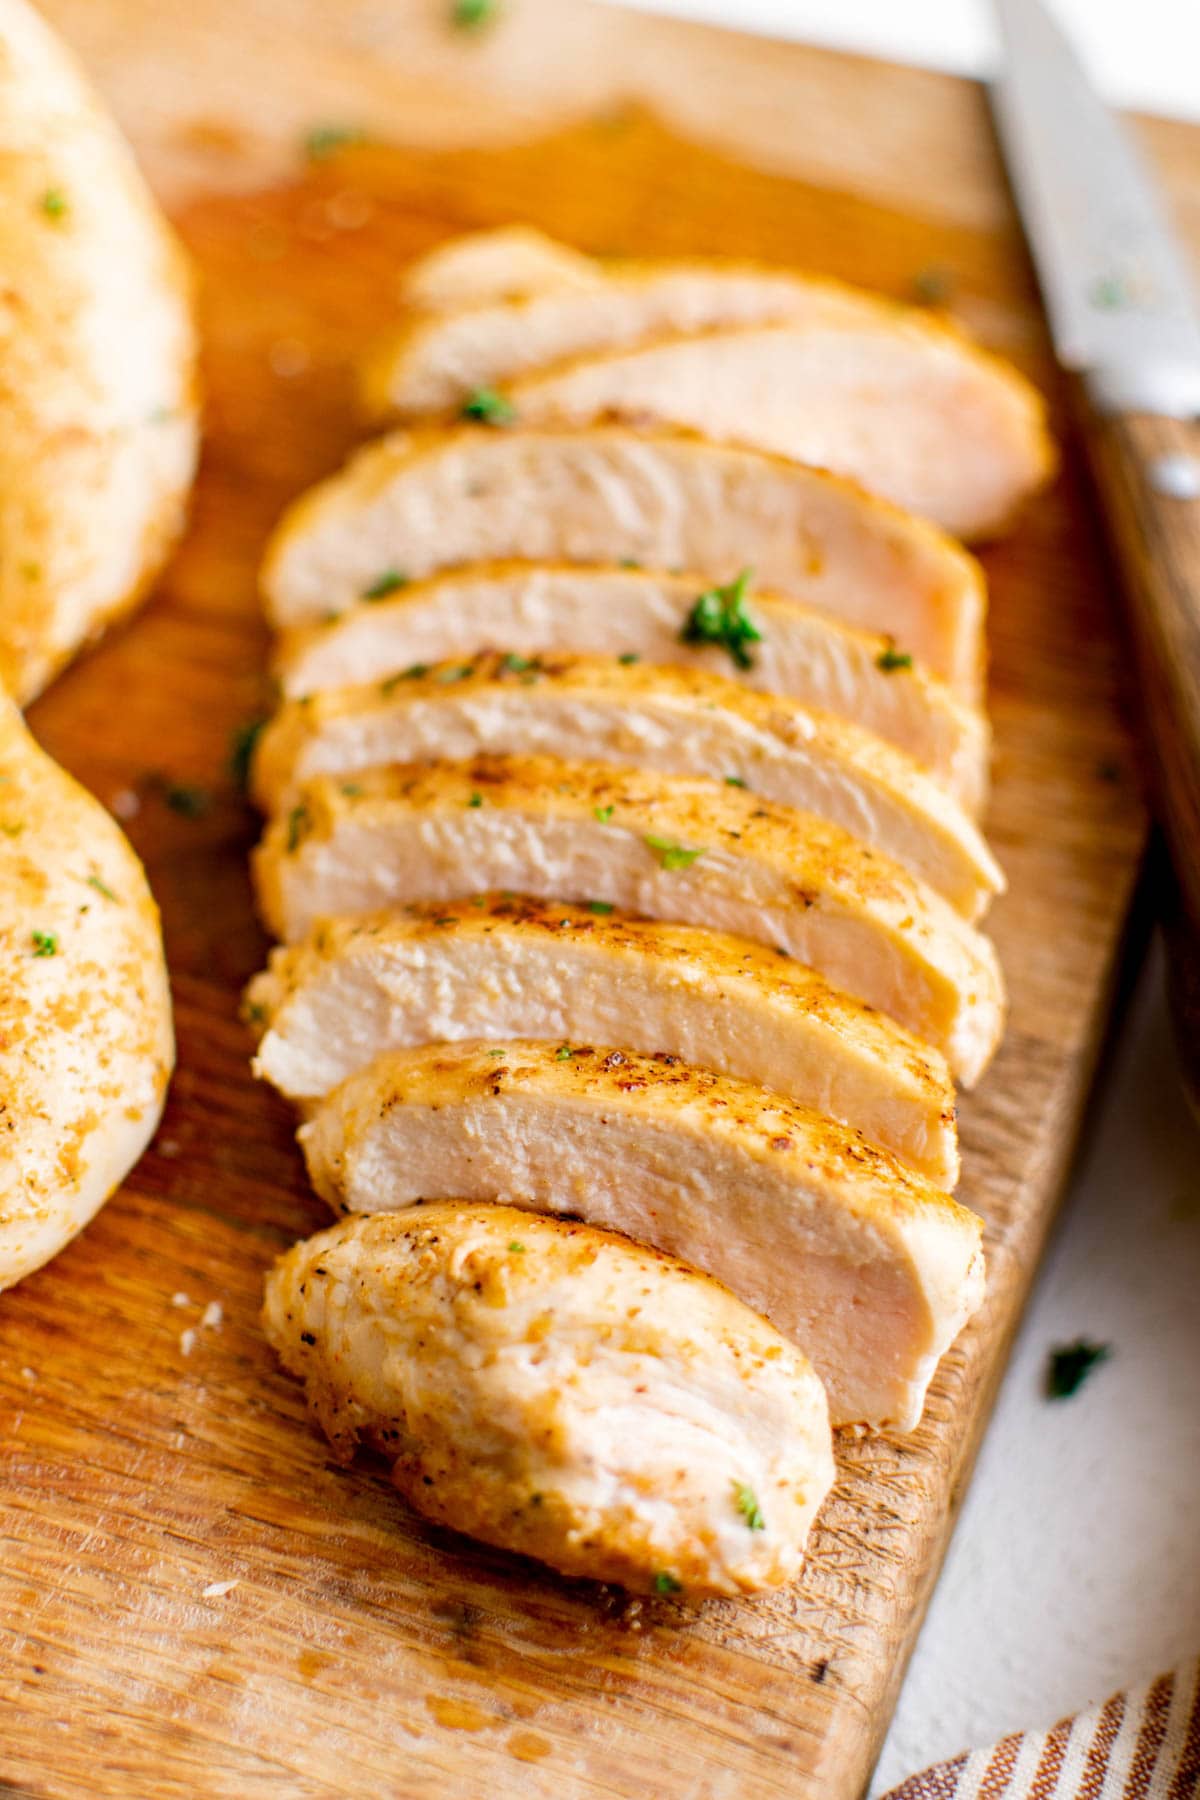
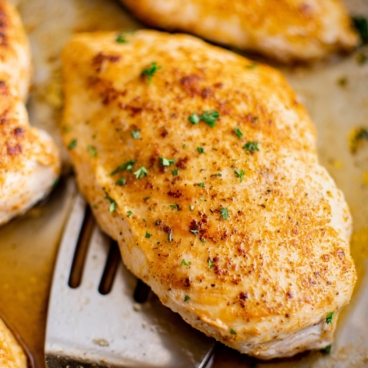
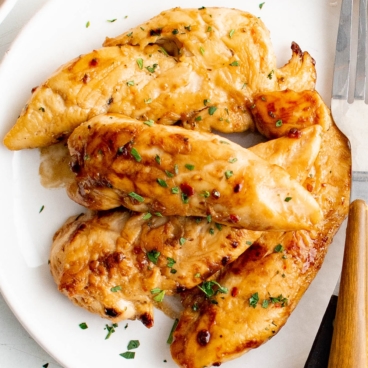
Stove Top Chicken Breast comes out tender, juicy, and golden seared in about 30 minutes, all in one skillet. The trick is a hard sear followed by a low, covered finish, so the chicken cooks all the way through without drying out. It is my go-to when I want a real dinner on the table fast.
More ways to cook chicken breast: Oven Baked Chicken Breasts | Air Fryer Chicken Breast | Citrus Grilled Chicken
Before You Get Started
Chicken breast is easy to cook and just as easy to overcook. These three things are what separate juicy from rubbery.
- Pull it off the heat at 155°F: Chicken keeps cooking as it rests and will climb to a safe 165°F on its own. Waiting until 165°F in the pan overshoots every time.
- Pound the chicken to an even thickness: Breasts are thick on one end and thin on the other, so one half dries out while the other finishes. A few taps with a meat mallet fixes it.
- Leave the chicken alone while it sears: Pressing, nudging, or flipping early keeps the crust from forming. Four untouched minutes is what builds the golden sear.
recipe walk-through
How to Cook Chicken Breasts on the Stove
See the recipe card below for full, detailed instructions
This method is simple, but it does ask for a little patience. The sear happens fast and the finish happens slow, and both matter. Plan on about 15 minutes of cooking plus a 10 minute rest, though thickness moves that number more than anything else.
1. Pound the chicken to even thickness
Place the chicken between two pieces of plastic wrap or inside a sealable bag, and gently pound the thicker end until the whole breast is close to the same thickness throughout.
You are evening it out, not flattening it into a cutlet.
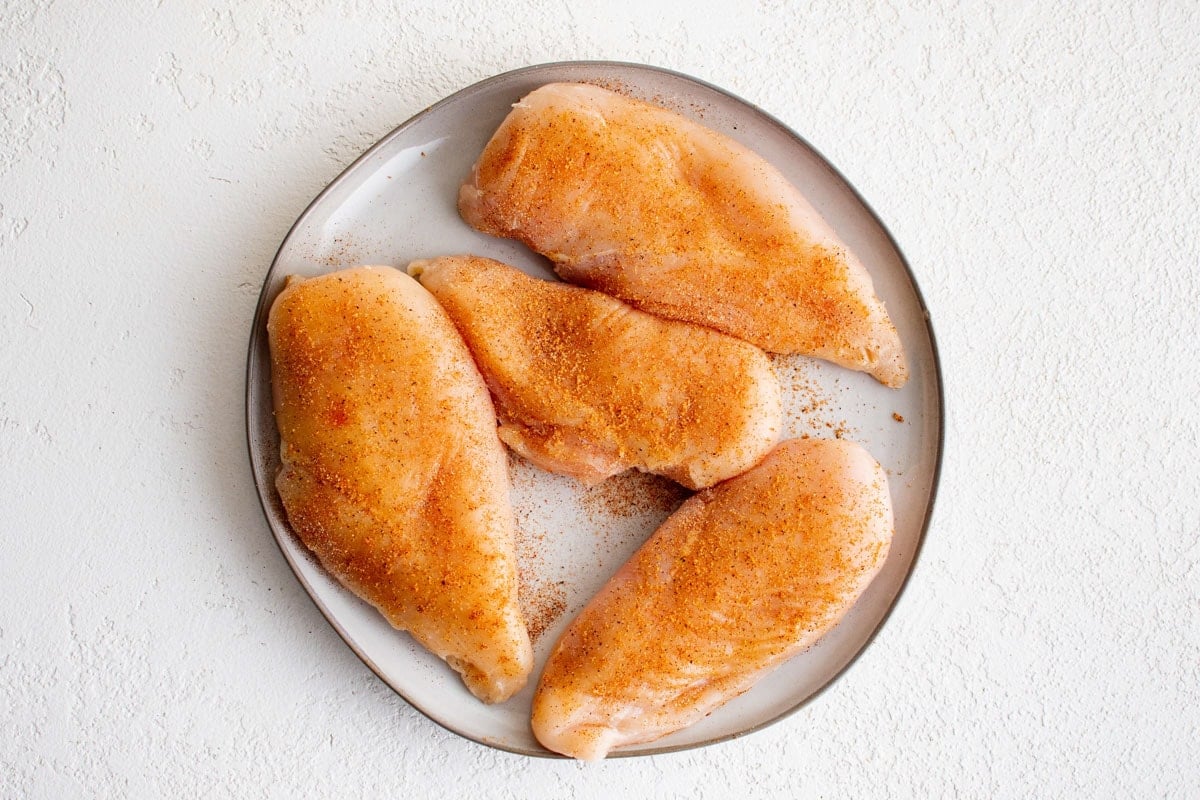
2. Season both sides
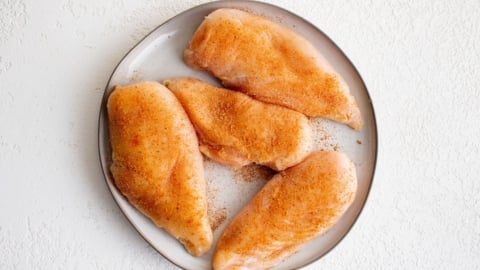
Whisk together the garlic powder, onion powder, paprika, salt, and pepper, then sprinkle it over both sides of the chicken and rub it in with your hands.
This is the same blend as my Chicken Seasoning, so a premixed batch works here too.
- Cut the salt if you are not using kosher. Table salt is finer and packs more into the same spoon, so start with half and adjust.
3. Sear without touching
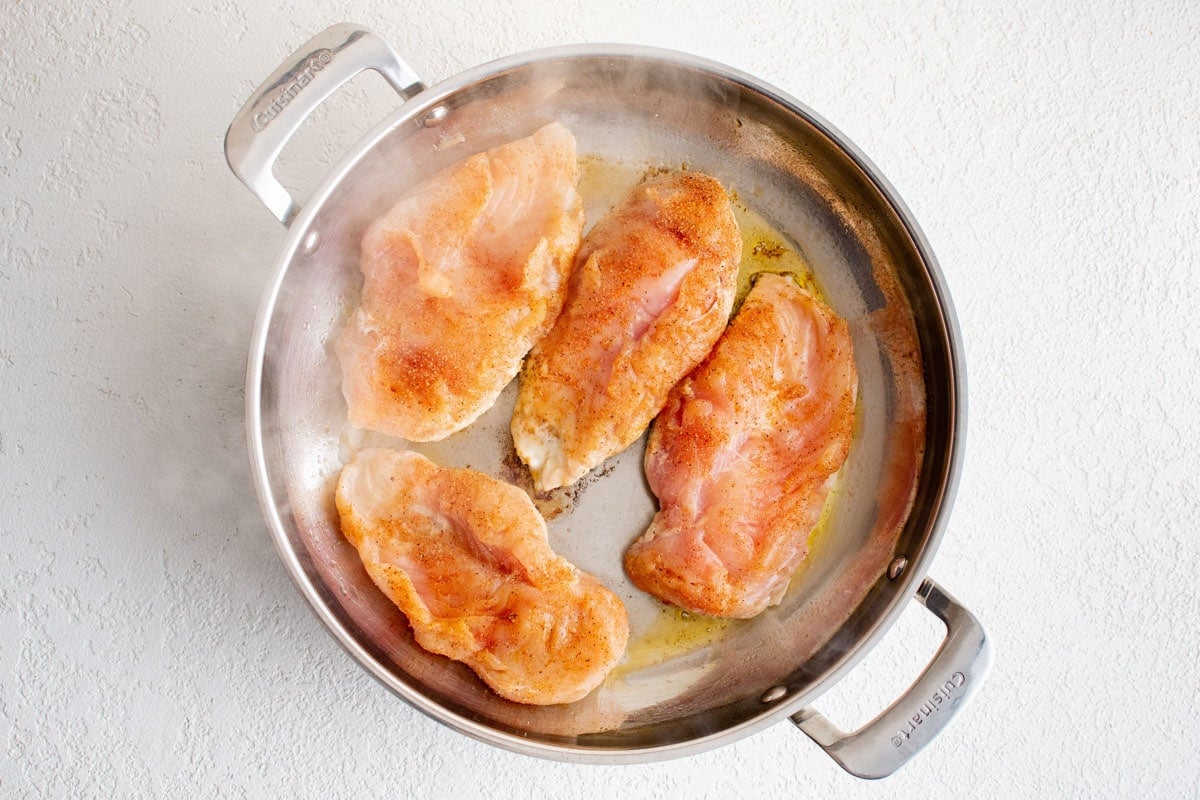
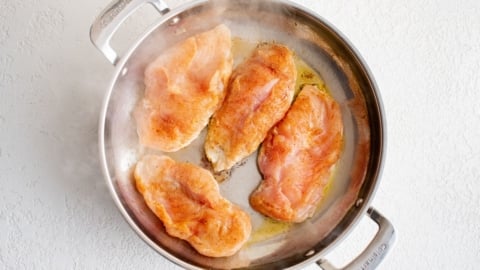
Heat the olive oil in a large skillet with a tight fitting lid over medium-high heat. Add the chicken and leave it alone, uncovered, for 4 minutes.
Whatever you do, do not touch them. You want to give them time to build a beautiful golden crust. Thin breasts, under ½ inch, only need about 3 minutes here.
4. Flip and add butter
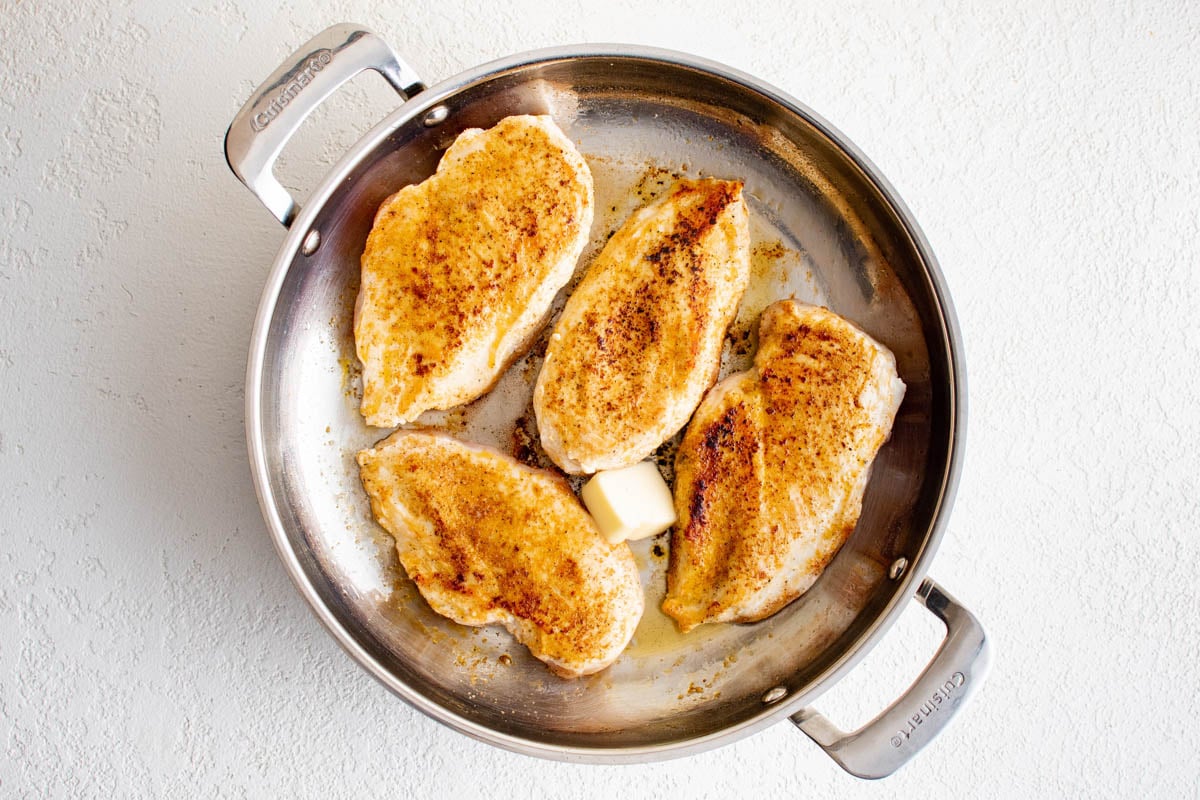
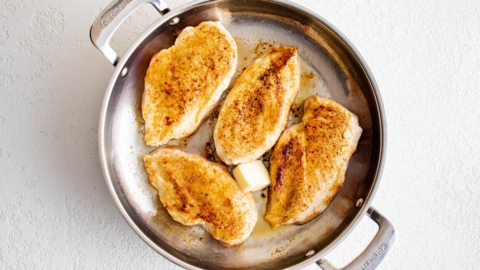
Flip each piece and cook 2 more minutes, then turn the heat to low and add the butter. Let it melt, swirl it around the pan, and spoon some over the chicken.
5. Cover and finish
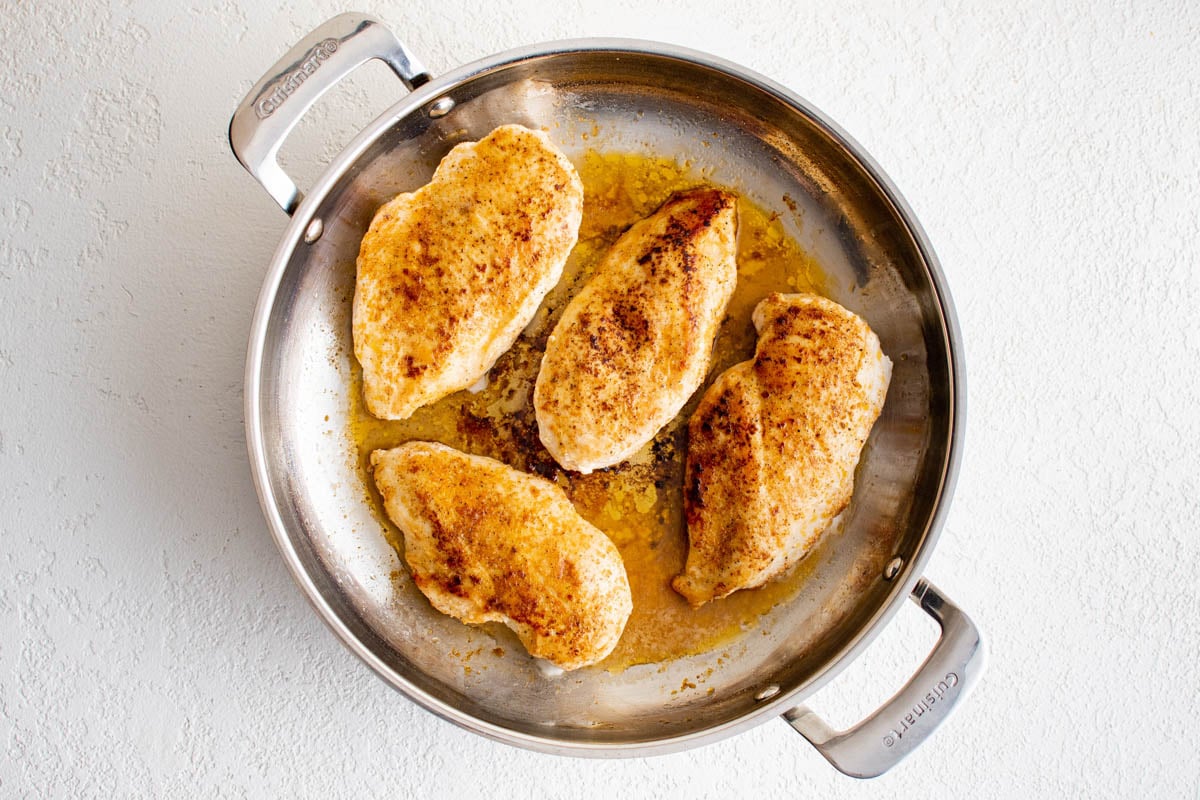
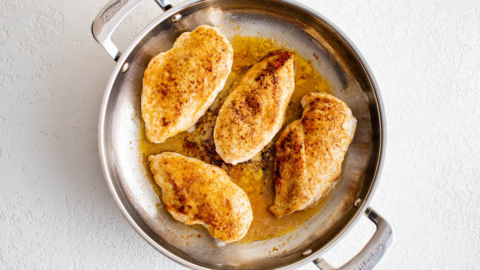
Now that both sides are seared, the chicken is essentially going to steam the rest of the way through. Cover the skillet and leave it on low so the meat cooks through without scorching.
This is the stage where thickness decides everything, so use your chicken to pick the time rather than the clock.
- Thin (½ inch or less) — 4 to 5 minutes
- Standard (¾ to 1 inch) — 8 to 10 minutes
- Thick (1 to 1½ inches) — 12 to 14 minutes
Anything thicker than 1½ inches should have been pounded down or sliced in half back in Step 1, otherwise the outside dries out long before the center is safe.
- Electric stoves hold their heat: The burner stays hot after you turn the dial down, so slide the pan to a cool burner for a minute before covering.
6. Rest off the heat
Turn off the burner and move the skillet off the heat entirely. Keep it covered and let the chicken rest 5 to 10 minutes. This is where it climbs the last several degrees to 165°F and where the juices settle back into the meat instead of running out onto the cutting board.
- Your stove is not my stove: Gas, electric, and induction all behave differently on low, so treat the clock as a guide and the thermometer as the answer.
7. Spoon on the pan juices
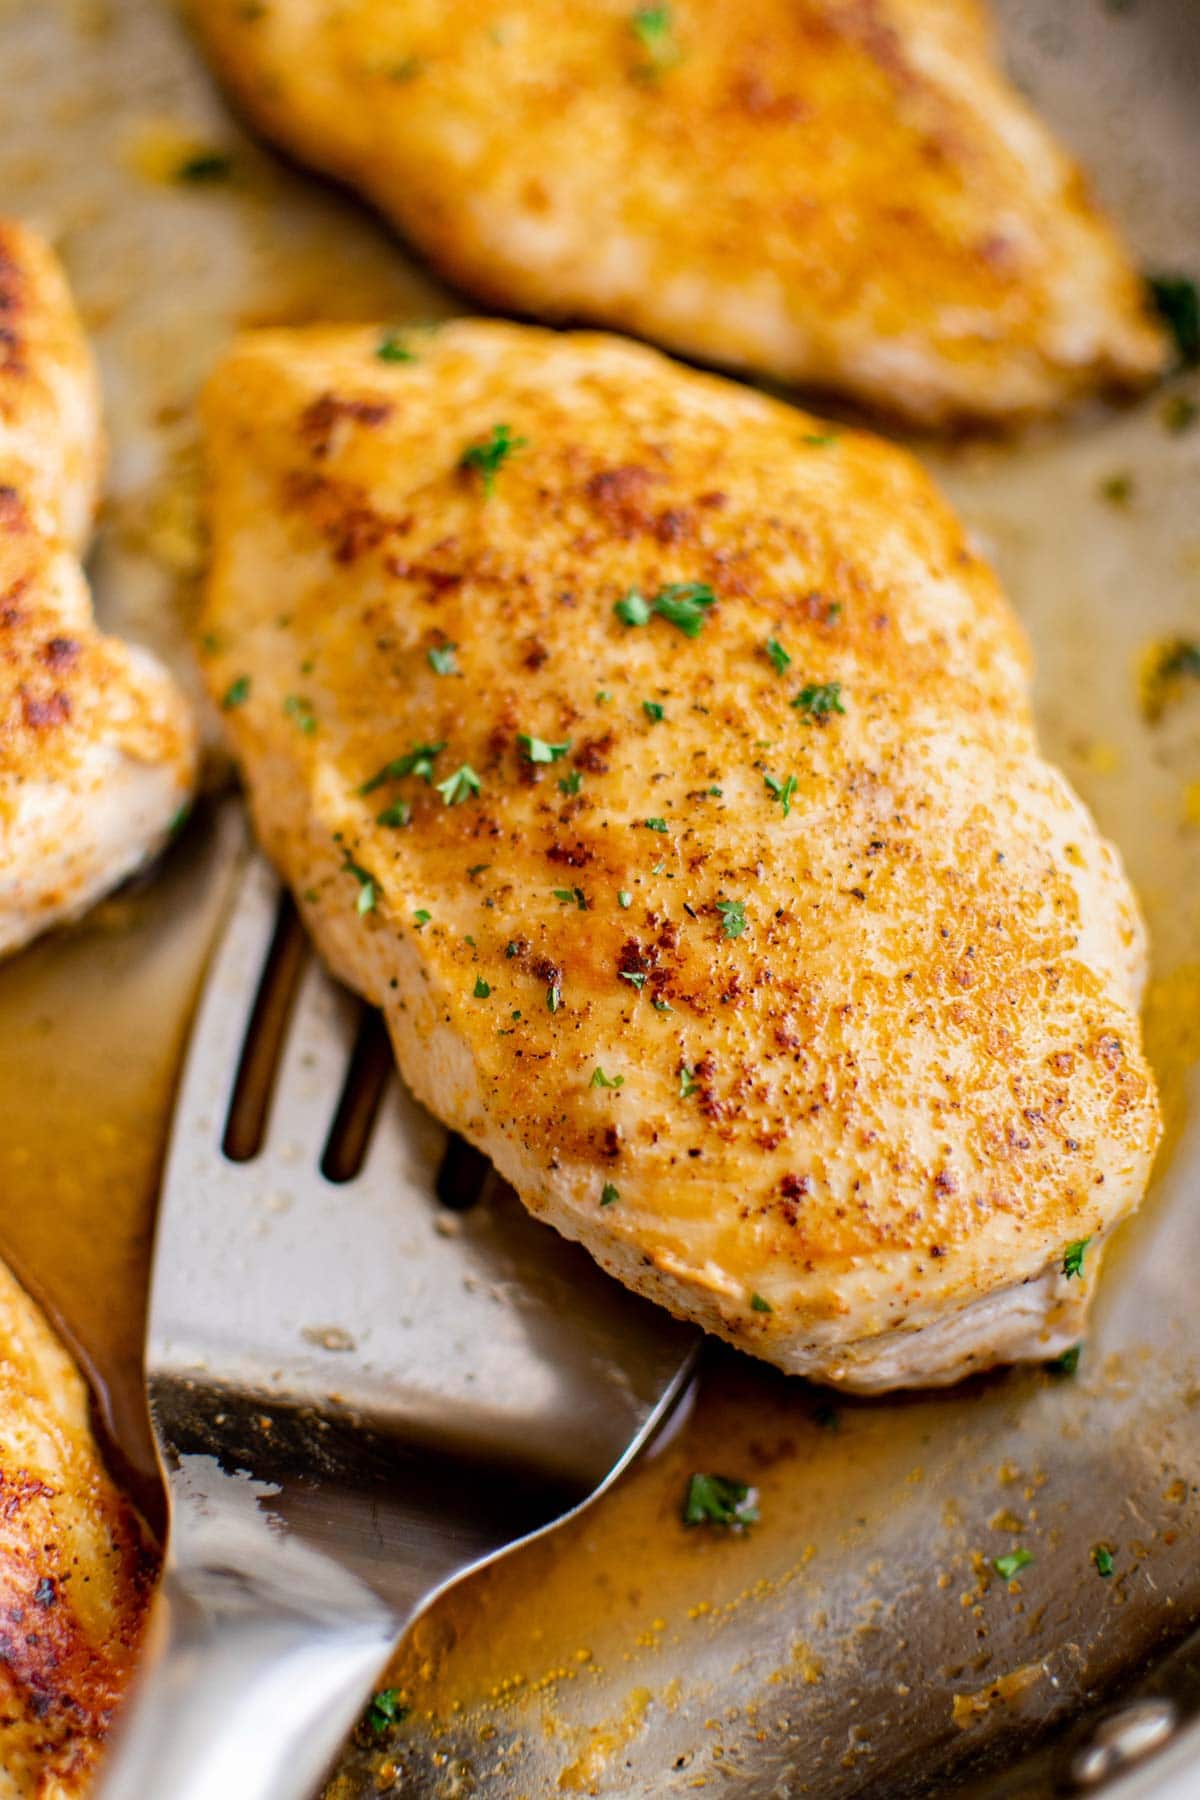
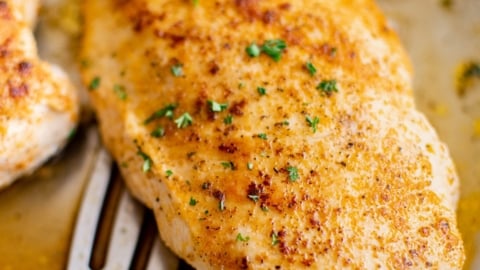
You should have gorgeous juices left in the pan, so spoon those right over the chicken.
For a fuller sauce, add another pat of butter, a little fresh garlic, and a splash of chicken stock, then simmer a couple of minutes. Scrape up all the brown bits while you do. That is where the flavor is.
What to Serve Alongside
This is a plain, well-seasoned chicken breast, which means it goes with just about anything you already had in mind. The easiest approach is to pick something that cooks while the chicken is resting, since you have a free 10 minutes and a free oven right at the end.
- Garlic Green Beans
- Oven Roasted Broccoli
- Oven Roasted Vegetables
- Seasoned Rice with Herbs and Garlic
- Fluffy Mashed Potatoes
- Arugula Salad (or simple Side Salad)
If you want a heartier plate, the mashed potatoes and green beans together turn this into a full Sunday dinner without much more work.
Cook Extra for the Week
Half the reason I make this is for the second meal. Cook a double batch on Sunday, slice or shred it once it has cooled, and you have protein ready for the whole week.
Put it to work
For salads and wraps, slice against the grain while the chicken is still slightly warm. For soups and pasta, let it cool fully first so it shreds cleanly instead of tearing.
Storage Tips
Storing and Reheating
Refrigerate: Let the chicken cool completely, then store in an airtight container for 3 to 4 days.
Freeze: Cool completely, then transfer to a freezer bag or freezer safe container for up to 3 months. Slicing before freezing makes it much easier to use later.
Reheat: Chicken overcooks fast on a second pass, so reheat gently in a covered skillet over low heat with a splash of broth. In the microwave, use 50 percent power and check every 30 seconds.
Frequently Asked Questions
How do you tell if chicken breast is done without a thermometer?
Cut into the thickest part. The meat should be opaque and white all the way through with no pink or translucent spots, and the juices should run clear rather than pink. If you are unsure, cut one breast open, since a checked breast is better than an undercooked one.
That said, a thermometer is genuinely the difference between good chicken and great chicken here, and an inexpensive instant-read one pays for itself the first week.
Can you cook chicken breast on the stove from frozen?
I would not recommend it with this method. The sear needs a dry surface to build a crust, and a frozen breast releases too much water to brown. It also cooks so unevenly that the outside overshoots long before the center is safe.
Thaw overnight in the fridge, or use the cold water method in a sealed bag for about an hour if you are short on time.
Is it better to use oil or butter for chicken breast in a pan?
Both, and the order matters. Olive oil goes in first because it handles the higher searing heat without burning, and the butter goes in after the flip, once the heat is coming down.
Butter added at the start will brown and turn bitter before the chicken is ready. If you want butter flavor throughout, use ghee or clarified butter for the sear instead.
Can you use chicken thighs instead?
You can, with two adjustments. Boneless thighs have more fat, so the pan will spatter more, and they need a few extra minutes covered on low depending on thickness. Thighs are also more forgiving on temperature, so if you tend to overshoot, they are the easier cut to start with.
More Chicken Breast Dinners
- Garlic Parmesan Baked Chicken
- Lemon Chicken and Broccoli Skillet
- Creamy Baked Chicken
- Oven Baked BBQ Chicken Breast
- Asparagus Stuffed Chicken Breast
Stovetop Chicken Breast Recipe

Ingredients
- 4 boneless skinless chicken breasts about 2 pounds
- 1 tablespoon olive oil
- 1 teaspoon kosher salt
- 1/2 teaspoon black pepper
- 1/2 teaspoon paprika
- 1/2 teaspoon garlic powder
- 1/2 teaspoon onion powder
- 1 tablespoon butter
Instructions
- Place the chicken between two pieces of plastic wrap and gently pound the thicker end until each breast is close to an even thickness throughout.
- In a small bowl, whisk together the salt, pepper, garlic powder, onion powder, and paprika. Sprinkle over both sides of the chicken and rub it in with your hands.

- Heat the olive oil in a large skillet with a tight fitting lid over medium-high heat. Add the chicken and leave it uncovered and untouched to sear for 4 minutes.
- Flip the chicken and add the butter, swirling it around the pan as it melts. Cook 2 minutes, then cover the skillet with a tight fitting lid.
- Turn the heat to low and cook covered for 8 to 10 minutes for standard breasts, or up to 14 minutes for thick ones.
- Remove the skillet from the heat when the chicken reaches 155°F at the thickest point. Keep covered and rest 5 to 10 minutes, until it reaches 165°F.
- Spoon the pan juices over the chicken and serve, garnished with parsley if desired.
Notes
- Pull at 155°F, not 165°F: Carryover cooking raises the temperature another 8 to 10 degrees while the chicken rests. Pulling at 165°F in the pan is the most common reason this comes out dry.
- Thickness drives cook time: A ½-inch breast may be done in 5 minutes covered, while a 1½-inch breast can take 14. Weight and quantity matter far less than thickness.
- Do not skip the rest. It finishes the cooking and lets the juices redistribute. Cutting in early loses both.
- Kosher salt is the assumption: If you are using fine table salt, start with half the amount and adjust to taste.
- Cast iron gives the best sear, but any heavy skillet with a tight fitting lid works. A thin pan will scorch on the low, covered stage.
- Electric stoves stay hot after you turn them down. Move the pan to a cool burner for a minute before covering.
- Resist the urge to move the chicken during the first 4 minutes. It needs that undisturbed time to build the crust.
- Leftovers keep 3 to 4 days refrigerated or 3 months frozen. Reheat gently in a covered skillet with a splash of broth.
Nutrition
Nutritional Disclaimer Kristin Maxwell of “Yellow Bliss Road” is not a dietician or nutritionist, and any nutritional information shared is an estimate. For accurate calorie counts and other nutritional values, we recommend running the ingredients through your preferred online nutritional calculator. Calories and other nutritional values can vary depending on which brands were used.

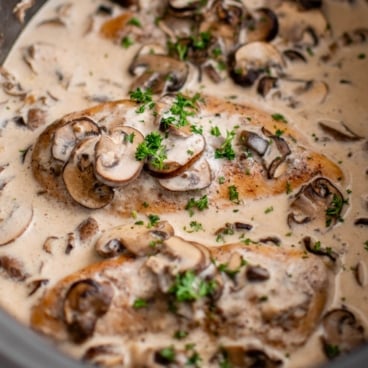

Just finished eating. This chicken was SO tender. Grilled some Italian bread then made a sandwich with this chicken, lettuce, tomato and some garlic mayo. 😋 Only thing that would have made it better is BACON!!!
So glad you enjoyed the recipe! Thanks for stopping by.
The chicken was so juicy. This will be my go to way to cook boneless chicken breast on the stove top. The dish came together seamlessly and the taste was delicious.
That’s awesome Tammi! So glad you enjoyed it. thanks for stopping by to share.