This post may contain affiliate links. Please read our disclosure policy.
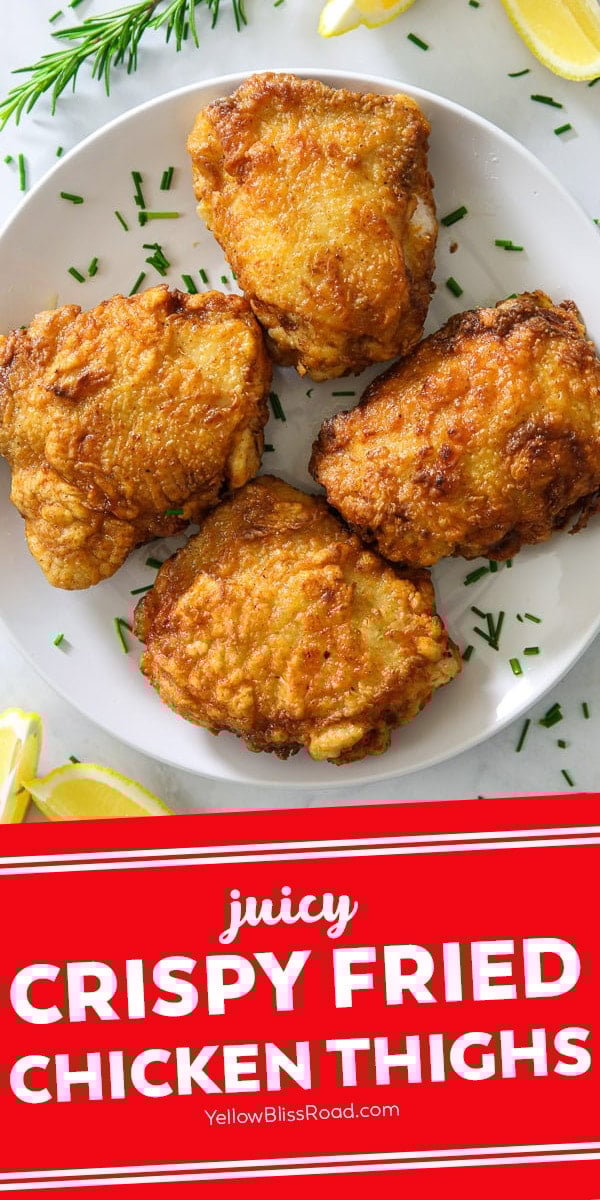
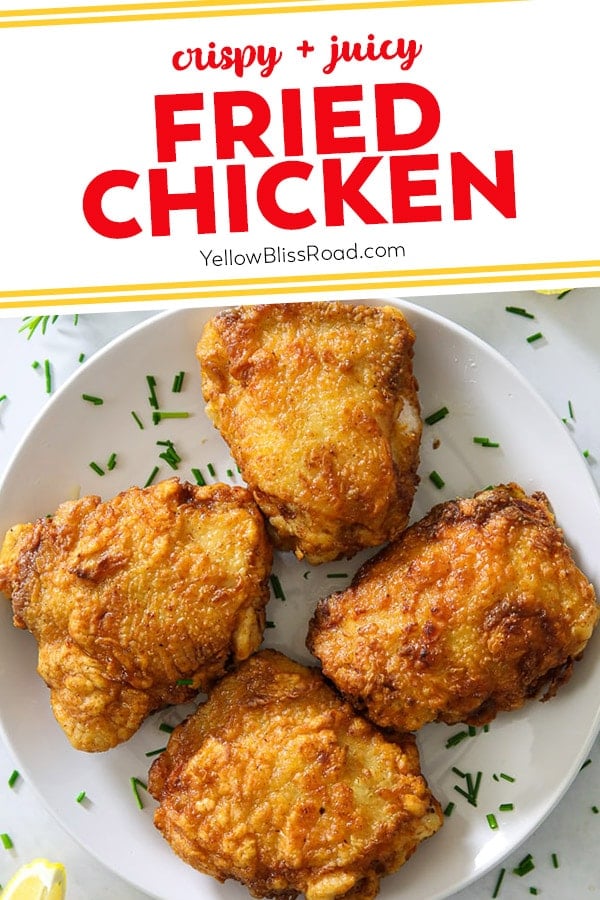

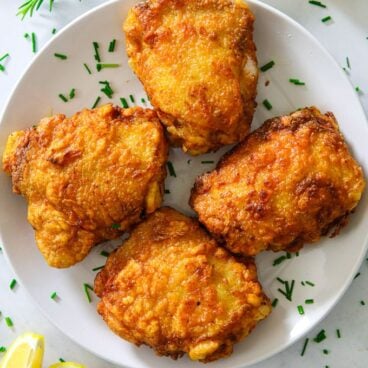
These crispy Fried Chicken Thighs have a golden, crunchy breading with a juicy flavorful center. This easy chicken recipe is sure to become a family favorite after your first bite!
This fried chicken recipe goes great with classic sides like Classic Macaroni Salad or Instant Pot Mashed Potatoes!

How to Make the Best Fried Chicken Thighs
Fried chicken might seem like an intimidating dish to make but you won’t believe how easy it comes together. Follow these 3 simple steps and you’ll get the most delicious juicy and crispy chicken thighs ever!
While we are using chicken thighs today, this recipe will work for chicken breasts, drumsticks and even wings. The amount of frying time will vary so I recommend using a meat thermometer to test doneness. Any cut of chicken should register 165 degrees F on a digital thermometer. Read my Meat Temperature Chart for more information.
Recipe Walk-Through
How to Fry Chicken Thighs
See the recipe card below for full, detailed instructions
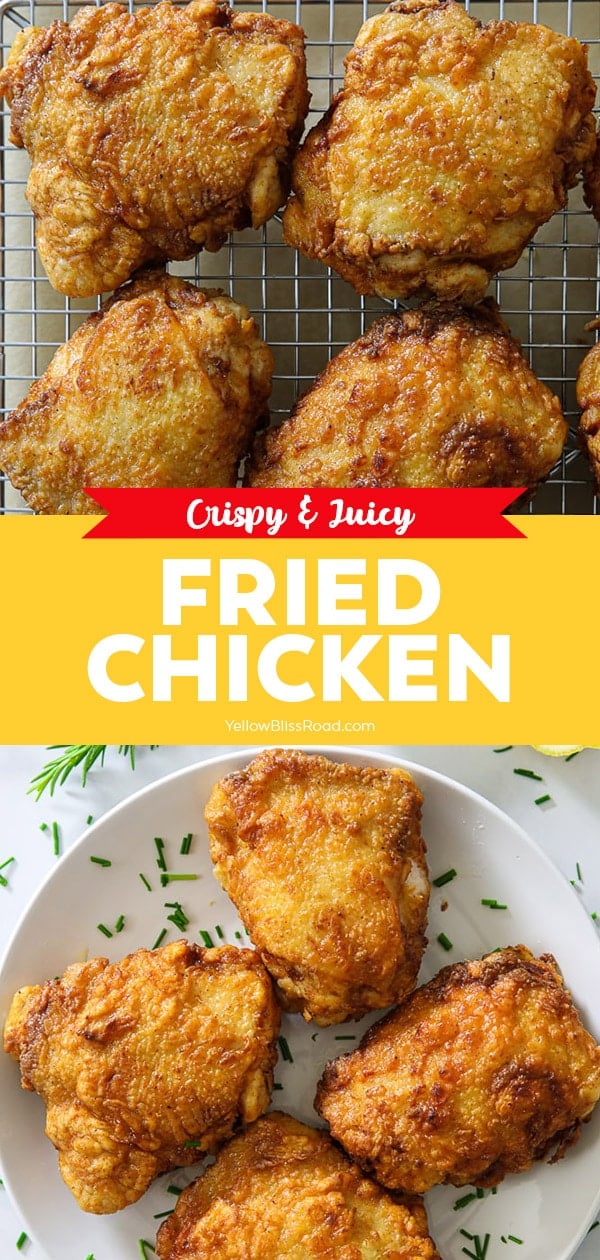
Pour a good amount of oil into a deep pot, preferably one with a heavy bottom like a cast iron or dutch oven. Bring it to medium heat and fry the chicken thighs until golden brown. Then finish them off in the oven as instructed in the recipe card below.

Buttermilk Marinade
This is where all the delicious flavor comes in. All you need to do here is pour the buttermilk with the spices in a bowl and let the chicken marinate for about 4 hours. Buttermilk also keeps your chicken moist, making it incredibly juicy with every bite.

The Breading
The “breading” is actually just a seasoned flour mixture that combined with the skin get nice and crispy when dipped into the hot oil and fried.
- When making the flour coating you want to make sure to use only dried spices here (so dried onion, dried garlic, cayenne, paprika, salt, and pepper). Avoid fresh spices because they will burn during frying.
- After your chicken has marinated, make sure to tap off the extra buttermilk and thoroughly coat them in the flour mixture (do this one at a time).
Serving Suggestions
Fried Chicken is a classic picnic staple or Sunday dinner favorite. When I make fried chicken thighs for dinner, I make it a hearty meal served with Make Ahead Mashed Potatoes, Garlic Green Beans and Homemade Biscuits.
These crispy fried chicken thighs are perfect for potlucks and picnics because they are delicious hot or cold. Serve with classic American sides like Frito Corn Salad, Fruit Salad, Red Potato Salad, Green Bean Salad and Cornbread Casserole.
Fried Chicken Tips
- Let it rest – One of the most common methods to keep the breading from falling off of fried chicken is by letting it rest on a baking sheet so that the breading sticks to the chicken better.
- Dust and pat – Make sure to dust off the extra buttermilk and flour when dredging the chicken. And lightly pat the chicken after you’ve dusted off the extra flour.
- Don’t overcrowd – When frying the chicken you want to make sure the pot is not overcrowded. Overcrowding will cause the temperature to drop and you won’t get that beautiful golden crunchy exterior. And having too many chicken thighs can cause you to accidentally knock off the breading when flipping the one next to it.
- Best oil for frying chicken – Whenever you’re frying any kind of meat, you want to make sure to use a high smoke point oil. My favorite is corn oil since it’s affordable and tasty. But you can also use vegetable oil, avocado oil, peanut oil, and safflower oil.
Storage Tips
The Best Way to Store and Reheat Fried Chicken
Fridge: Store leftover fried chicken in an airtight container or plastic bag. They will remain fresh for 3-4 days.
Freezer: Cool chicken completely and store in an airtight container or freezer bag. For best quality, use within 4 months of freezing. Thaw completely overnight in the fridge and follow the instructions below to reheat.
Reheat: The best way to reheat fried chicken is in the oven. Take the chicken out of the fridge and let it sit on the counter for 20 minutes before reheating. Place chicken pieces on a wire rack over a baking sheet and bake at 400℉ for about 15-20 minutes. The higher heat will help retain the crispiness.

More Delicious Chicken Recipes
- Baked Chicken Breasts
- Crispy Baked Chicken Thighs
- Grilled Chicken Marinade
- Crispy Baked Chicken Wings
- Boneless Chicken Wings
- Bacon Wrapped Chicken Thighs
- Barbecue Baked Chicken Drumsticks
- KFC Mashed Potato Bowls
Fried Chicken Thighs
Ingredients
For the buttermilk marinade
- 1 pint Buttermilk
- 1 teaspoon Salt
- 2 teaspoon Garlic powder
- 1 teaspoon Onion powder
- 1/2 teaspoon Black pepper
- 1/2 Cayenne pepper
- 1 teaspoon Paprika
- 3 pounds Bone-in, skin-on chicken thighs
For the flour breading
- 2 cups All-purpose flour
- 1/2 teaspoon Salt
- 1/4 teaspoon Black pepper
- 1 teaspoon Paprika
- Corn oil for frying
Instructions
Marinate
- Pat the chicken thighs dry with a paper towel.
- In a large bowl add the buttermilk, salt, garlic powder, onion powder, black pepper, cayenne pepper, and paprika. Whisk together until well combined.
- Place the chicken thighs into the buttermilk mixture and submerge them for about 30 minutes or up to 4 hours (the longer, the better).
Dredge
- Meanwhile, make the flour dredge by combining all-purpose flour, salt, pepper, and paprika in a large bowl.
- Dredge the chicken thighs into the flour mixture and gently shake off any excess. Place them on a baking sheet to rest for about 30 minutes. This will give an adequate amount of time for the flour coating to adhere to the chicken thighs.
Fry and Finish in the Oven
- Preheat your oven to 380℉. Place a wire rack over a baking sheet and set aside.
- Fill a large, heavy-bottomed pot with a few inches of corn oil and place over medium-high heat. Bring to 350℉ (use a deep-fry thermometer for accuracy)
- Fry chicken thighs for several minutes, until golden brown on both sides. Place them on the wire rack over the baking sheet.
- Place the baking sheet in the preheated oven for 40 minutes or until the chicken reaches an internal temperature of 165℉. I highly recommend checking for doneness with a meat thermometer.
- Let cool for 5-10 minutes before serving.
Nutrition
Nutritional Disclaimer Kristin Maxwell of “Yellow Bliss Road” is not a dietician or nutritionist, and any nutritional information shared is an estimate. For accurate calorie counts and other nutritional values, we recommend running the ingredients through your preferred online nutritional calculator. Calories and other nutritional values can vary depending on which brands were used.
If you fry your chicken thighs right there is no need to put them in the oven just saying
Feel free to share your recipe.
Well guess what?? Some people just ain’t born perfect like you. I know it’s such a shame and makes life so hard for you. I’m trying this tonight :). I love being imperfect.
I like to fry chicken ahead of time and serve it at room temperature. Will the chicken thighs stay crispy if I prepare them according to your recipe and just allow them to sit out on a platter for about an hour or so?
They will probably still be crispy, but not as crispy as if you served them fresh.
So I usually cook wings or drumsticks in my own mix and deep fry till cooked, but I’m cooking for a large group today so the oven taking over my duty sounds great, My question is approximately how long do u fry before oven, I know you say golden in color is that just for the crisp of the skin? And the oven does most of the cooking of the meat under the skin
Hi Betty, It’s tough to give an exact time because there are many variables. The skin should be golden brown and not too dark. It can take anywhere from 5-10 minutes to get them golden fried on both sides. Then finish them in the oven. My method takes a little time but it’s totally worth it!
You said in the directions to put a couple of inches of oil into the frying pan, so
I put 1 & 1/2 inches of oil in an 11 inch cast iron frying pan and ALL of the flour coating Washed off of every piece of chicken and burned in only 3 minutes on low!
Your recipe stinks!
Not only that, but it ruined $13 of chicken and a quart of oil wasted!!
First, it says a FEW inches, which is at least double what you used. Second, it says to use a heavy-bottomed POT, not a skillet. Third, it’s Christmas, learn how to read a recipe and don’t be a jerk.
Thanks for this recipe, made this twice now. Very good especially because I had never fried bone in skin on chicken before. Do you have suggestions for the fry and oven time when using drumsticks in place of the thighs?
Richard the oil should cover the chicken completely. Also she said a deep enough pan it should be deep enough for the chicken to float in the oil once it’s done. The oil should be very hot before droping the meat in. If your oil is burning in 3 minutes on low it’s not the right oil sounds like olive oil or butter.
Do i need to do the oven part or can i just fry them all the way through?
Hi Kayla! You can choose to fry them all the way through, but you run the risk of them burning. The two-step process helps to ensure that they are nice and golden and crispy and still cook all the way through.
Hi – you have ‘dried garlic’ and ‘dried onion’ .. do you mean garlic and onion powder or are you referring to something else?
Hi! It’s garlic powder and onion powder. I updated the recipe to clear up confusion.
Can you do this with drumsticks as well to make sure they’re fully cooked? Any modifications? Thank you in advance
With drumsticks the time if likely going to be the same or similar.
Holy Moley! This is the greatest chicken recipe EVER! I had some huge thighs that disappeared ever so fast! Thank you! In my generational recipe box!
You are so welcome Pat! Thanks for the awesome feedback.
Sounds Great I certainly want to give it a try!
Thanks for posting this wonderful recipe
You are so welcome! Thanks for stopping by Raymond!
I’m excited to try this. Approximately how many minutes do you fry on each side? Also when you put the chicken in the oven is it 350 or 375 degrees. The instructions say 380 and I don’t have that setting on my oven. Thanks in advance
Hi Christine, you’ll fry the thighs until they are golden brown and crispy. Depending on the heat of your oil this could take anywhere from 3-6 minutes per side. Just fry until it’s golden and not too dark – you probably won’t need as long on the second side.
Anxious to try these, but all I have is boneless thighs…How would the directions change, based on that?
Hi Amy, Fry them until the internal temp is 165. If the outside is getting too dark, finish them in the oven. The only that changes is the time.
I cook and clean for an elderly man and he asked me to fry some chicken. Ok….I grill chicken and I bake chicken but I am clueless about frying chicken. This recipe is AMAZING! I’ve even applied it to the Bear chops he asked me to cook and believe it or not I used it to fry fresh trout (added a little thyme). Thank you for sharing such a great recipe
That’s awesome, so glad you enjoyed the recipe!
Do I need to cover the chicken once put into oven to keep breading from burning? How long can the chicken set in the fridge after breaded before its considered “too long”? Thanks on advance
No you do not need to cover the chicken. If the breaded chicken is cooked it can be refrigerated for up to 3-4 days in an airtight container. Uncooked and breaded, no more than 12 hours, tightly covered.
Hi there – new to cooking. I melted some butter and put it in the milk = buttermilk? Also, what is the rationale behind frying just to brown and then putting in oven? Why not just keep frying? Is it just healthier, or is there a reason (not critiquing, just asking, Im clueless! lol)
making your buttermilk chicken tonite, up here in the Yukon Territory (Canada)
cheers!
Hi Tavis, Welcome to the world of cooking – feel free to ask as many questions as you have! Buttermilk is actually a thickened sour milk; there isn’t any butter in it. If you don’t have any, you can make it with milk and vinegar – How to Make Buttermilk
For the chicken, it takes awhile to cook thighs, and if you were to just keep frying them they could end up getting too dark before they are fully cooked. So you fry them until the outside is golden and crispy, and then finish them off in the oven. Enjoy!
Great recipe! Will definitely make again
That’s awesome Annabella! Thanks for stopping by.
I have fried chicken over 30+ years. Always hit and miss with doneness. This is an EXCELLENT recipe for ensuring crispy, cooked through chicken thighs. I followed the recipe as written! The thighs are delicious out of the oven and just as tasty when warmed up the next day. The recipe has been printed and placed in my recipe binder…a go to entrée. Thanks for an easy, yummy recipe
Fantastic feedback Cathy! Thank you so much for stopping by.
I didn’t have buttermilk so I used plain Dannon yogurt which was already in the fridge. I did everything else exactly. The chicken was tender, juicy and crisp. Perfection.
Love the feedback Liz! Thanks for stopping by.
Making it again within a weeks time!
Nice! Thanks for stopping by Nicole.
K
Thanks! It was great.
Thank you for stopping by Sylvia.
Pardon my ignorance but the chicken thighs are with the skins, right? Haven’t tried recipe yet.
Yes, bone-in and skin-on. Enjoy!