This post may contain affiliate links. Please read our disclosure policy.
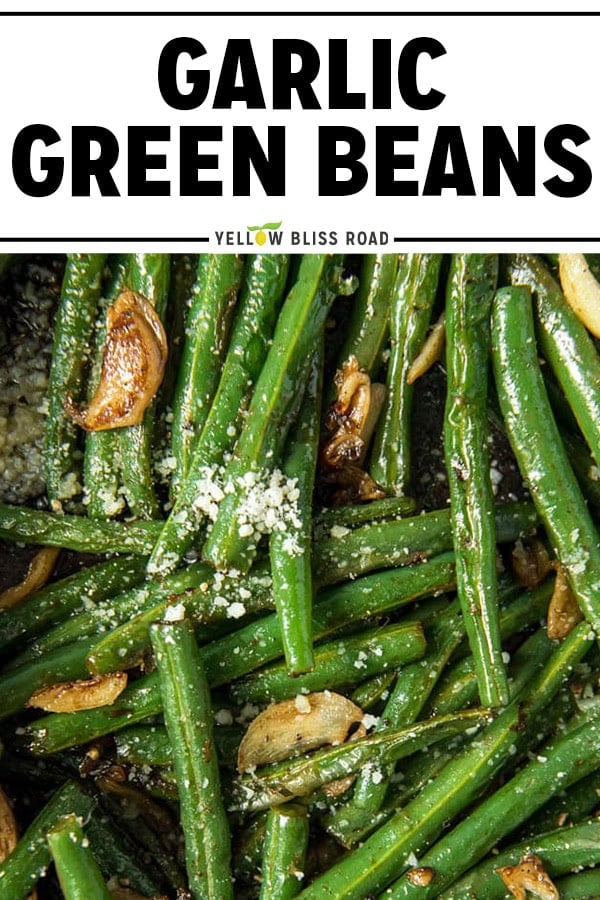
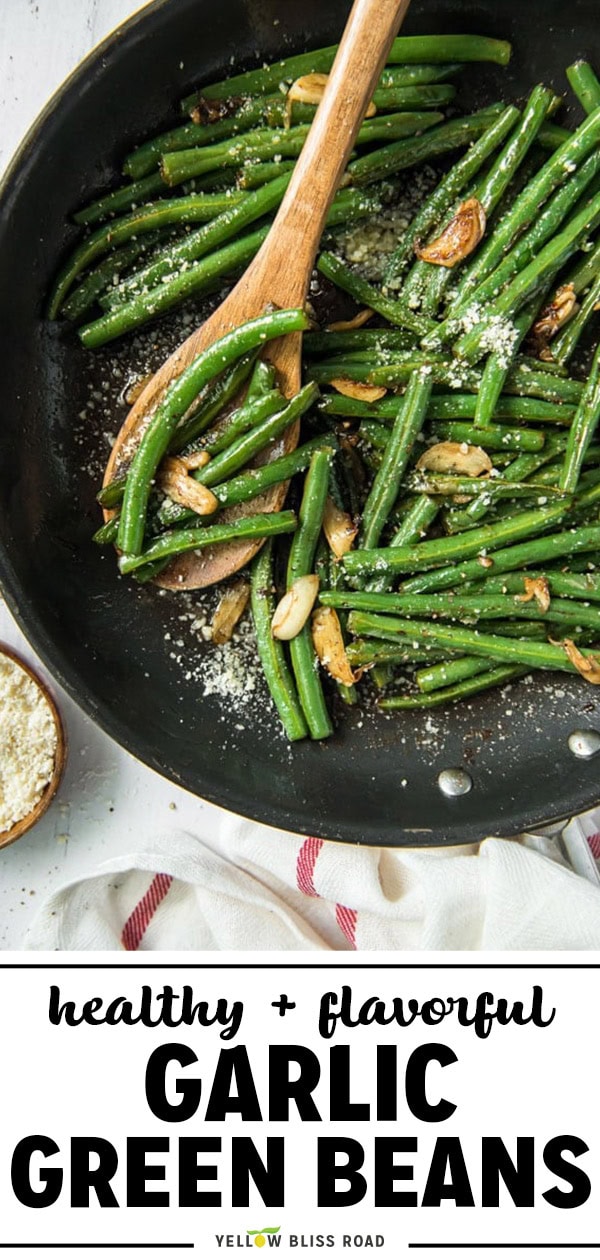
Garlic Butter Green Beans are crisp-tender, buttery, and on the table in about 20 minutes. The trick is sliced garlic instead of minced, which flavors the butter without ever burning. A squeeze of lemon at the end keeps everything bright.
More green bean recipes: Air Fryer Green Beans | Southern Green Beans | Bacon Wrapped Green Beans
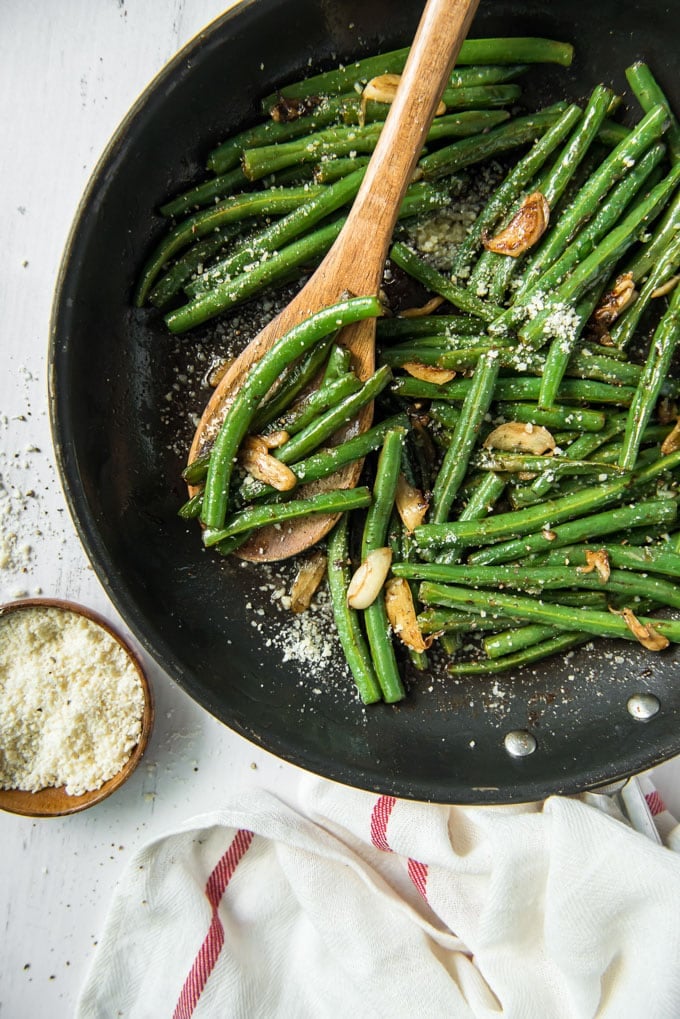
Before You Get Started
Green beans are forgiving right up until they aren’t. These three things are what separate bright, blistered beans from the sad olive-green kind.
- Slice the garlic, don’t mince it: Sliced garlic flavors the butter, then lifts out in one piece before it can scorch and turn bitter.
- Pat the beans completely dry: Wet beans steam instead of blister, and the garlic butter slides right off them.
- Pull them at crisp-tender: They should still snap when you bite one. A minute too long and they go soft and dull.
How to Trim Fresh Green Beans
You only need to remove the tough stem end, though most people trim both sides out of habit. Three ways to do it:
Bend and snap: Bend the end of the bean until you feel it snap. It’s satisfying, and it’s the slowest option by a mile.
Cut them one by one: Slice the ends off with a paring knife. Fine for a small handful, tedious for a pound.
Line them up and cut once: Gather the beans on a cutting board with the tips roughly even, then take off all the ends in one pass with a chef’s knife. Turn the bunch around and repeat. This is how you get through a pound in under two minutes.
recipe walk-through
How to Make Garlic Butter Green Beans
See the recipe card below for full, detailed instructions
This all happens in one skillet in about 10 minutes of active cooking. The only step that needs your attention is the last one.
1. Trim and dry the beans
Rinse the green beans in cool water and trim the ends. Then dry them thoroughly with a clean kitchen towel or paper towels.
This is the step people skip, and it’s the reason beans steam instead of blister.
2. Infuse the butter with garlic
Melt the butter in a large skillet over medium heat, then add the sliced garlic. Cook for 1 to 2 minutes, stirring often, until the slices are soft and just starting to turn golden. Pull them out with a slotted spoon and set them aside.
The butter now carries all that garlic flavor, and the garlic itself is safely out of the pan before it can burn.
3. Blister the green beans
Add the beans to the garlic butter and toss to coat. Cook over medium heat for 3 to 4 minutes, stirring often.
You want some browned, blistered spots on the skins. That’s flavor, not a mistake. Just don’t let them go dark or smell scorched.
Use the biggest skillet you have. Crowded beans steam each other and never blister.
4. Return the garlic and add water
Add the reserved garlic back to the skillet along with about half a cup of water. It will hiss and steam, which is exactly right. Keep cooking and stirring until the water has fully evaporated and the beans are crisp-tender.
You’ll know they’re ready when the pan goes quiet and dry and a bean still gives a little resistance when you bite it. This is the moment to pay attention, since another minute past this point takes them from crisp-tender to limp.
5. Season and finish
Off the heat, squeeze fresh lemon juice over the beans and season with salt and pepper. Taste and adjust. Green beans take more salt than most people expect, and the lemon is what keeps all that butter from feeling heavy.
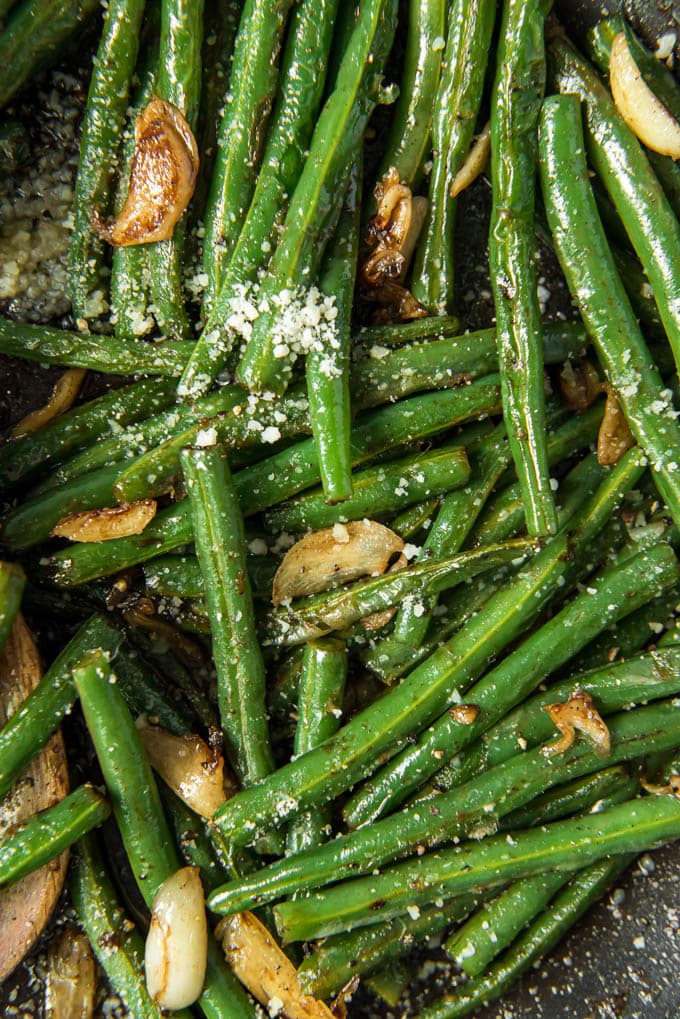
Grated Parmesan is the finish I use most often. Sprinkle it over while the beans are still hot so it melts into the butter. Toasted sliced almonds add crunch, and a pinch of red pepper flakes stirred in with the garlic gives it a little heat.
Great alongside: Crispy Baked Chicken Thighs | Italian Pork Chops | Swiss Steak
Planning a holiday menu? My Thanksgiving Side Dishes collection and Classic Easter Side Dishes collection have the rest of the table covered.
Storage Tips
Storage and Reheating
Refrigerator: Store leftovers in an airtight container in the fridge for up to 3 days.
Reheating: Warm them in a skillet over medium heat with a small pat of butter. The microwave turns them limp and dulls the color.
Freezing: Not recommended. Cooked green beans lose their texture completely once frozen and thawed.
Make ahead: You can trim and dry the beans a day in advance and keep them in a zip-top bag in the fridge. That takes the only tedious part off your plate on a busy night.
Frequently Asked Questions
Do you have to boil or blanch green beans before sautéing them?
No, and skipping it is one of the reasons this recipe stays fast. The splash of water added in step 4 steams the beans right in the skillet, so they cook through without a second pot to wash. Blanching first also tends to waterlog them, which makes it harder to get those blistered spots.
Can I use jarred minced garlic or garlic powder instead?
You can, but you’ll lose what makes this recipe work. Jarred minced garlic and garlic powder both burn quickly in hot butter and can’t be lifted back out, so you end up with scorched bits and a bitter edge. If jarred garlic is what you have, add it in step 4 along with the water instead of at the beginning.
How do you keep the garlic and seasoning from sliding off the beans?
Dry beans are the whole answer. Any surface moisture creates a barrier that butter and seasoning can’t cling to, so everything pools in the bottom of the pan. Dry them well before they hit the skillet, and salt them at the end while they’re hot and glossy so it sticks.
Can I use frozen or canned green beans?
Frozen will work in a pinch. Thaw them completely and pat them very dry, then skip the water in step 4 since they’ll release plenty on their own. They won’t blister the same way fresh beans do. My guide to cooking frozen vegetables has more on getting decent texture out of them. Canned green beans are already fully cooked and too soft for this method, so I’d skip those.
Can I double this for a crowd?
Yes, but use two skillets rather than one big batch. A pound of beans already fills a large skillet, and doubling up means they steam instead of blister. If you only have one pan, cook them in two rounds and combine at the end with the lemon and seasoning.
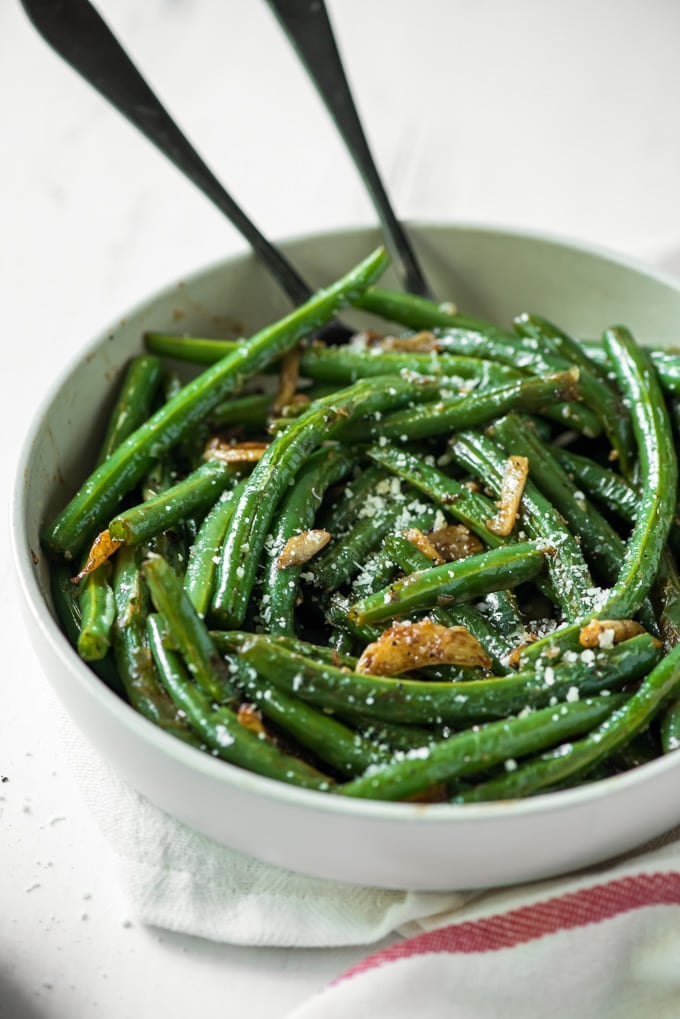
More Easy Vegetable Sides
- Green Bean Casserole (From Scratch!)
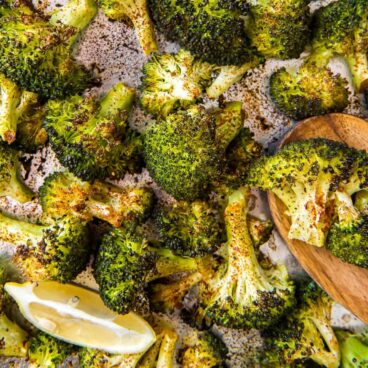
- Oven Roasted Broccoli
- Honey Roasted Carrots
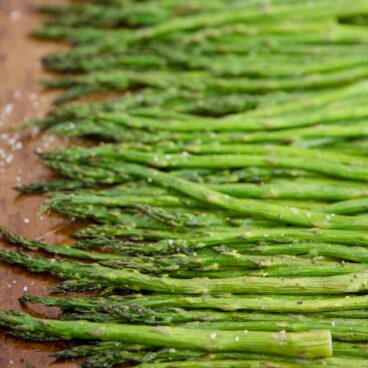
- Oven Roasted Asparagus
- Roasted Sweet Potatoes
Garlic Butter Green Beans

Ingredients
- 1 pound green beans
- 3 tablespoons butter
- 5 garlic cloves peeled and thinly sliced
- Juice of ½ to 1 lemon to taste
- Salt and pepper to taste
- Freshly grated Parmesan cheese optional
Instructions
- Rinse and trim the green beans, then pat them completely dry with a clean towel. Dry beans are essential for browning.
- Melt the butter in a large skillet over medium heat. Add the sliced garlic and cook, stirring often, for 1 to 2 minutes, until soft and just beginning to turn golden. Remove the garlic with a slotted spoon and set aside.
- Add the green beans and toss to coat in the garlic butter. Cook over medium heat, stirring often, for 3 to 4 minutes. Some blistering and browning is good, but don't let them scorch.
- Return the garlic to the skillet and add the water. Continue cooking and stirring until the water has fully evaporated and the beans are crisp-tender.
- Remove from the heat. Squeeze the lemon juice over the beans and season with salt and pepper to taste.
- Grate fresh Parmesan over the top if desired and serve immediately.
Notes
- Slice, don’t mince the garlic. Slices flavor the butter and lift out cleanly before they can burn. Minced garlic scorches fast and turns bitter.
- Dry beans are non-negotiable. Any moisture on the beans makes them steam instead of blister, and the butter won’t cling.
- Use a large skillet. Crowded beans steam each other. Cook in two batches if you’re doubling the recipe.
- Watch the last minute closely. Once the water evaporates, the window between crisp-tender and soft is short.
- Salt at the end. Green beans take more salt than most people expect, and it sticks better while they’re hot and buttery.
- Storage: Keep leftovers in an airtight container in the fridge for up to 3 days. Reheat in a skillet with a little butter rather than the microwave. Freezing is not recommended.
- Make ahead: Trim and dry the beans up to a day in advance and store them in a zip-top bag in the fridge.
Nutrition
Nutritional Disclaimer Kristin Maxwell of “Yellow Bliss Road” is not a dietician or nutritionist, and any nutritional information shared is an estimate. For accurate calorie counts and other nutritional values, we recommend running the ingredients through your preferred online nutritional calculator. Calories and other nutritional values can vary depending on which brands were used.