This post may contain affiliate links. Please read our disclosure policy.
A Baked Denver Omelet is the answer for hectic mornings! No need to spend the morning flipping individual omelets over a hot stove. This baked omelet is hearty and delicious, filled with ham, peppers, onions, and cheese, and can be ready on the table in no time.

Whether you are making breakfast for a large group or a small family, this is the absolute best baked omelet. It’s made with all of the same ingredients that you would expect in a regular skillet omelet – eggs, milk, cheese, filling, and seasoning – only it’s baked in the oven. While your Denver Omelet is baking you can prep the rest of your meal, like Easy Breakfast Potatoes, or Homemade Hash Browns, or just serve with a simple green salad or fruit.
If you love baked egg dishes, be sure to try my Ham and Cheese Quiche, this Spinach and Feta Quiche, or this amazing Sausage Egg Casserole.
Once you’ve tried this recipe, feel free to swap out or add additional fillings, cheese, and seasoning and see what you can come up with.
Why is it Called a Denver Omelet?
There is a lot of speculation here and really just best guesses. Some people think that the Denver omelet (or the “Western Omelet”) came from a sandwich called the Denver Sandwich which was filled with the same ingredients – green bell peppers, ham, onions, and cheese.
Other historians believe it originated from a dish made by Chinese immigrants who were working on the railroads out West. The thought is that a version of egg foo young was possibly eaten between two slices of bread so that it could be taken on the go.

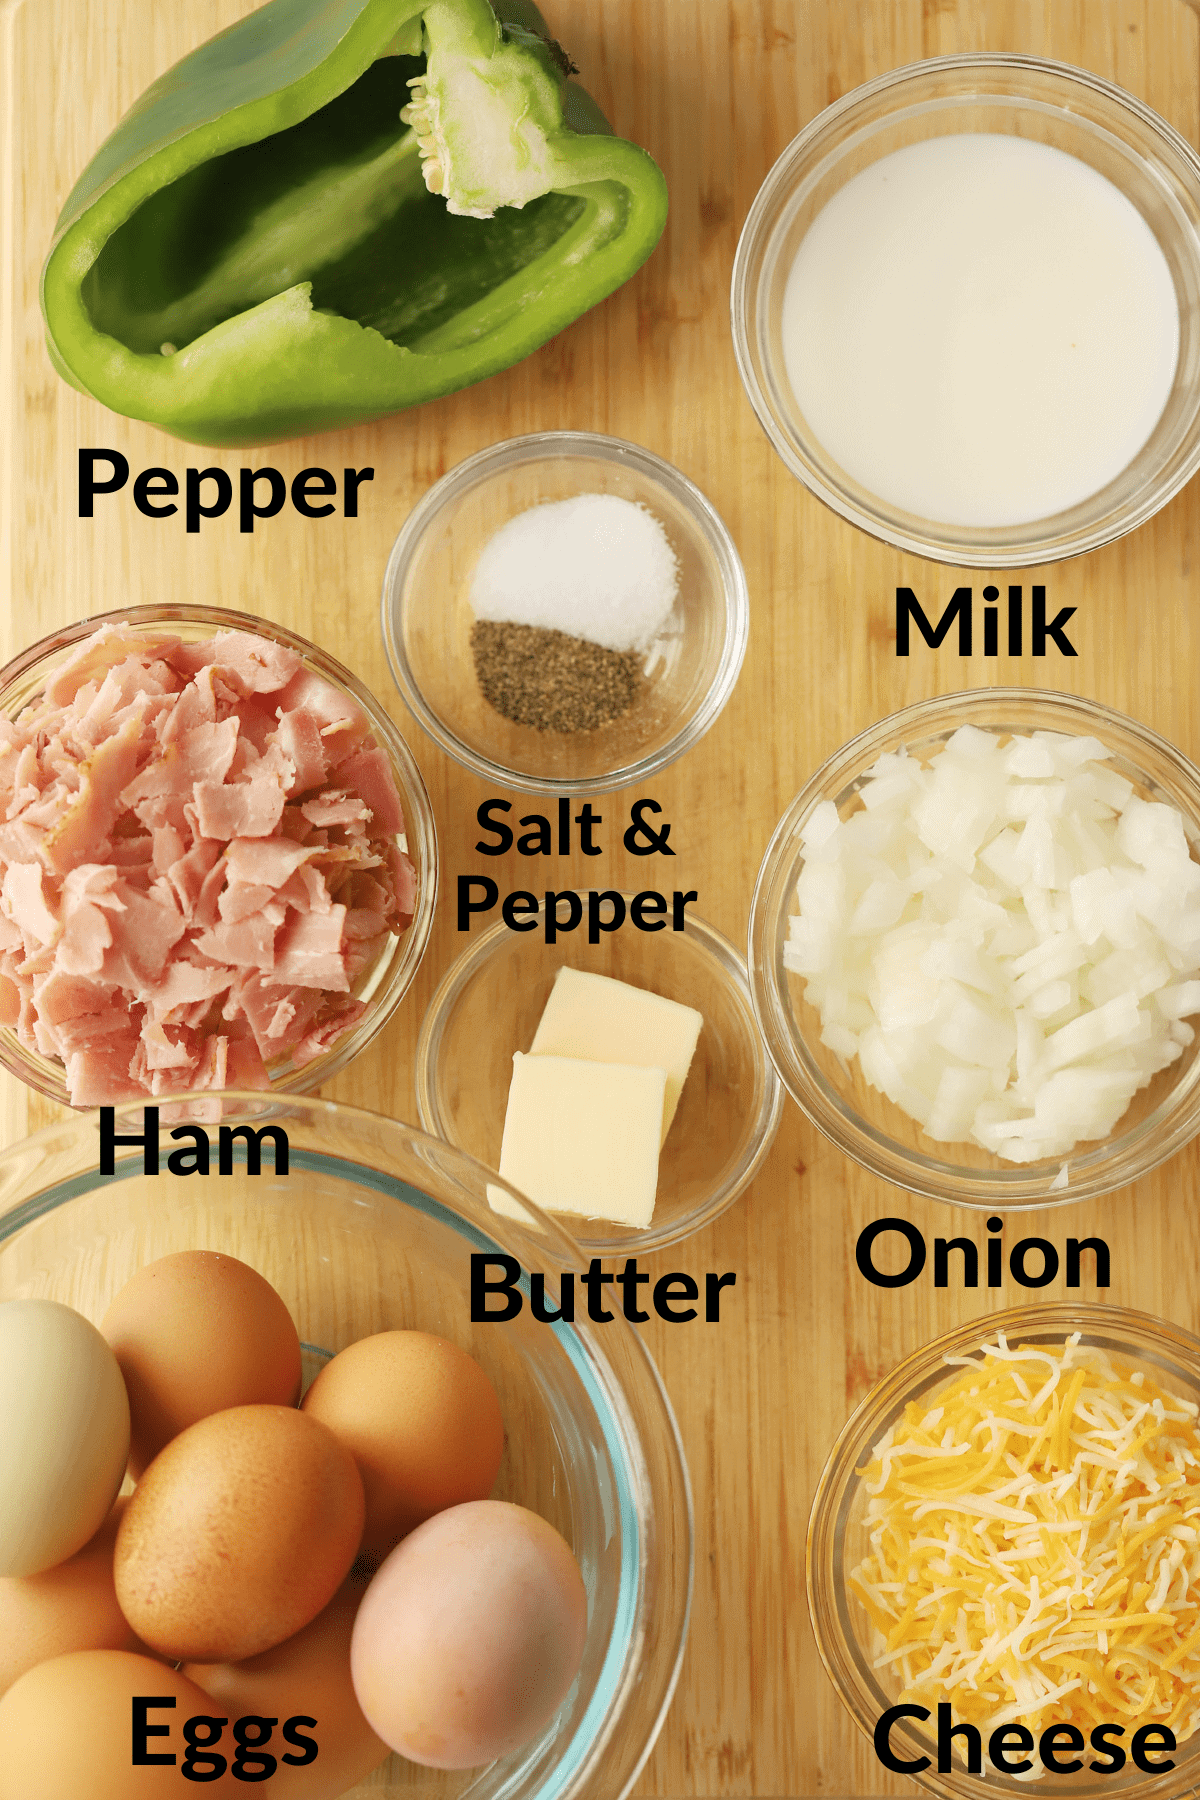
Baked Denver Omelet Ingredients
- Butter – you can use either salted or unsalted butter for this recipe. If you use salted, you may need to reduce the added salt slightly, depending on your taste.
- Onion – we recommend using white or yellow onions.
- Green Pepper – this is traditional, but you could use orange, yellow, or red peppers instead.
- Eggs – any type of large egg will work.
- Milk – we recommend using either whole or 2% milk, or even heavy cream.
- Salt and Pepper- go easy on the added salt. The recipe has ham and cheese and they already have quite a bit of salt.
- Ham – any type of cooked ham will work. This recipe is great for leftover ham from the holidays but deli ham works great too.
- Shredded Cheese – cheddar is traditionally found in a Denver omelet, but the next best thing would be Pepper Jack or mozzarella. A little goat cheese or feta would also taste amazing!
How to Make a Baked Omelet
- Saute veggies. It’s best to do this before adding them to the egg and milk mixture to ensure the onions and peppers are soft and cooked all the way through.
- Make the egg mixture. You can use a whisk to mix by hand or do a quick pulse in the blender with the eggs and milk before adding the remaining ingredients.
- Pour into baking dish. Be sure to spray your baking dish with non-stick cooking spray before adding the Denver omelet ingredients. It makes cleaning up a little easier.
- Bake. Bake for about 25-30 minutes. You’ll know it’s done when you can jiggle the pan just a little and the middle of the casserole is set and doesn’t wiggle. You could also test the internal temperature with an instant read digital thermometer – egg dishes should reach 160 degrees for food safety.
- Serve. Serve with a dollop of sour cream, diced tomatoes, salsa, green onions, and avocados if desired. Enjoy!

Can You Make a Baked Denver Omelet Ahead of Time?
Yes – there are even multiple ways to do this! If you want to do some of the prep beforehand and still want to serve it freshly baked, you can cook the peppers and onions ahead of time and store in an airtight container. The next day, remove from the fridge and prep the rest of the recipe as directed.
Otherwise, here are a couple more options:
- Refrigerate: you can cover the fully baked Denver Omelet with plastic or aluminum foil and store it in the fridge for up to 3 days. If there is only a small portion left, transfer to an airtight container.
- Freeze: we don’t recommend freezing this baked omelet, but it is possible. Make sure you wrap it tightly with plastic wrap, then a layer of aluminum foil, and store for up to 1 month.
- Reheating: if you need to thaw, simply transfer to the fridge overnight. You can either reheat in the microwave for 30 seconds at a time, or warm in a preheated 350 degree oven for about 10-15 minutes, or until warmed through.

Variations
As with any type of egg casserole, this Baked Denver Omelet is easy to customize. Here are a few ideas for simple ingredient substitutions, toppings, and more:
- Ingredient Substitutions: try using shredded mozzarella or Pepper Jack instead of cheddar, bacon instead of ham, and/or heavy cream in place of milk.
- Toppings: chives, green onions, guacamole, salsa, or even sausage gravy.
- Extra Seasoning: try with a pinch of cayenne, paprika, cumin, or red pepper flakes.
- Vegetarian: nix the ham and fill it with sautéed mushrooms and spinach instead.

Other Breakfast Recipe Favorites
- Roasted Red Potatoes
- Tater Tot Breakfast Casserole
- Breakfast Sliders
- Make-Ahead Freezer Breakfast Burritos
- Asparagus, Tomato & Goat Cheese Frittata

Baked Denver Omelet
Ingredients
- 2 tablespoons Butter
- ½ cup diced onion
- ½ cup green pepper
- 8 large eggs
- ¼ cup milk
- ½ cup cheddar cheese shredded
- 1 cup ham
- ½ teaspoon salt
- ⅛ teaspoon pepper
Instructions
- Preheat oven to 350 degrees F.
- In a medium-sized saute pan over medium heat, melt the butter then add the diced onions and bell peppers. Saute until translucent, about 5 minutes, then remove from the heat and set aside.
- In a large bowl, combine the eggs, milk, salt and pepper and beat with a whisk or fork to break up the eggs. Add in the diced ham and shredded cheese and stir to combine.
- Spray a 9" x 13" baking dish with non-stick cooking spray, then add the sautéed onions and peppers evenly over the bottom. Pour the egg mixture over the onion mixture and gently stir to combine.
- Bake in the preheated oven for 25-30 minutes, or until the edges are golden brown and the eggs in the middle of the baking dish are set.
- Remove from the oven and let cool for a few minutes before slicing. Serve with a dollop of sour cream, diced tomatoes and avocados if desired. Enjoy!
Nutrition
Nutritional Disclaimer Kristin Maxwell of "Yellow Bliss Road" is not a dietician or nutritionist, and any nutritional information shared is an estimate. For accurate calorie counts and other nutritional values, we recommend running the ingredients through your preferred online nutritional calculator. Calories and other nutritional values can vary depending on which brands were used.


