This post may contain affiliate links. Please read our disclosure policy.
These Cheesecake Cookies are so creamy and tender. It’s a delicious cookie recipe that’s not too sweet but totally addictive!
We love classic cookie recipes, like The Best Peanut Butter Blossoms and Oatmeal Raisin Cookies. These Cheesecake Cookies are the soon to be classic that everybody will be raving about.

Table of Contents
Cheesecake Cookie Recipe
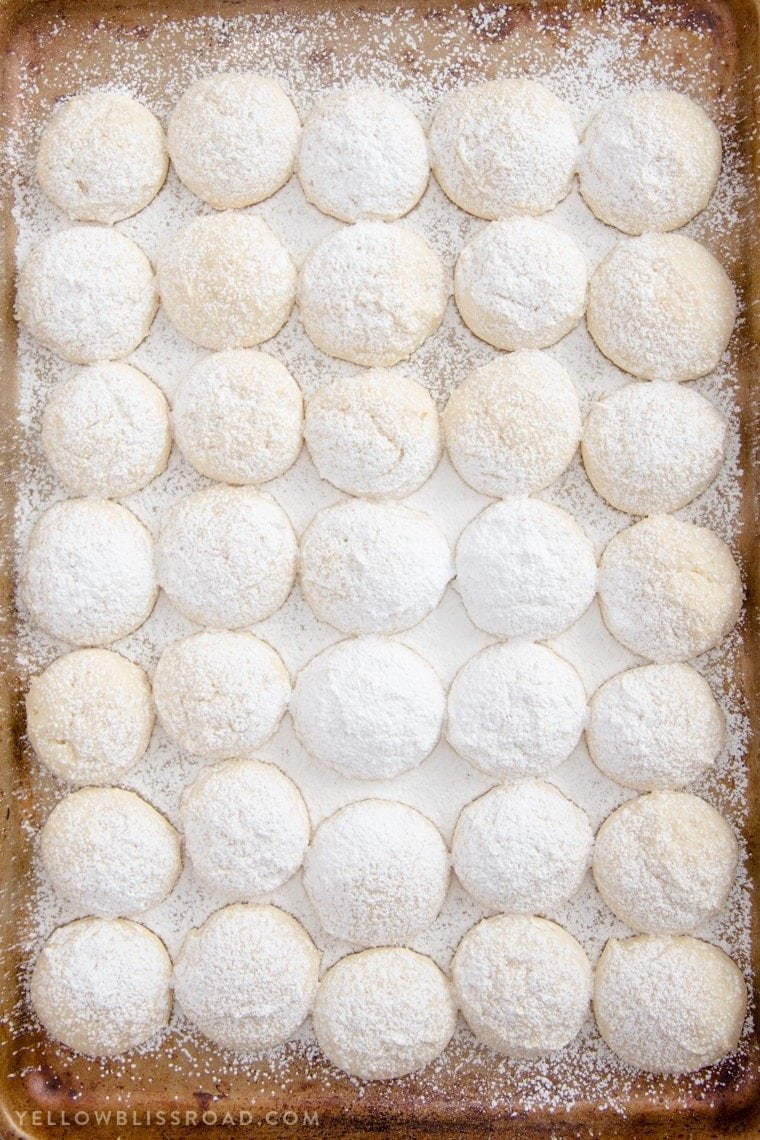
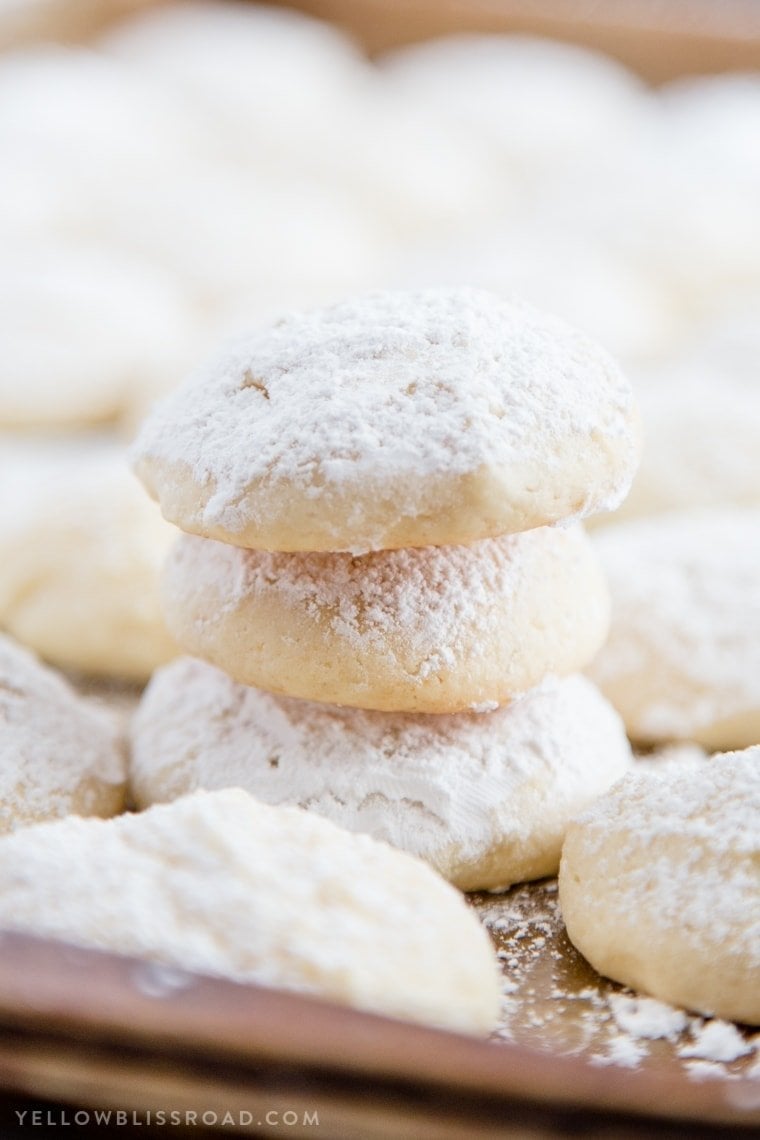
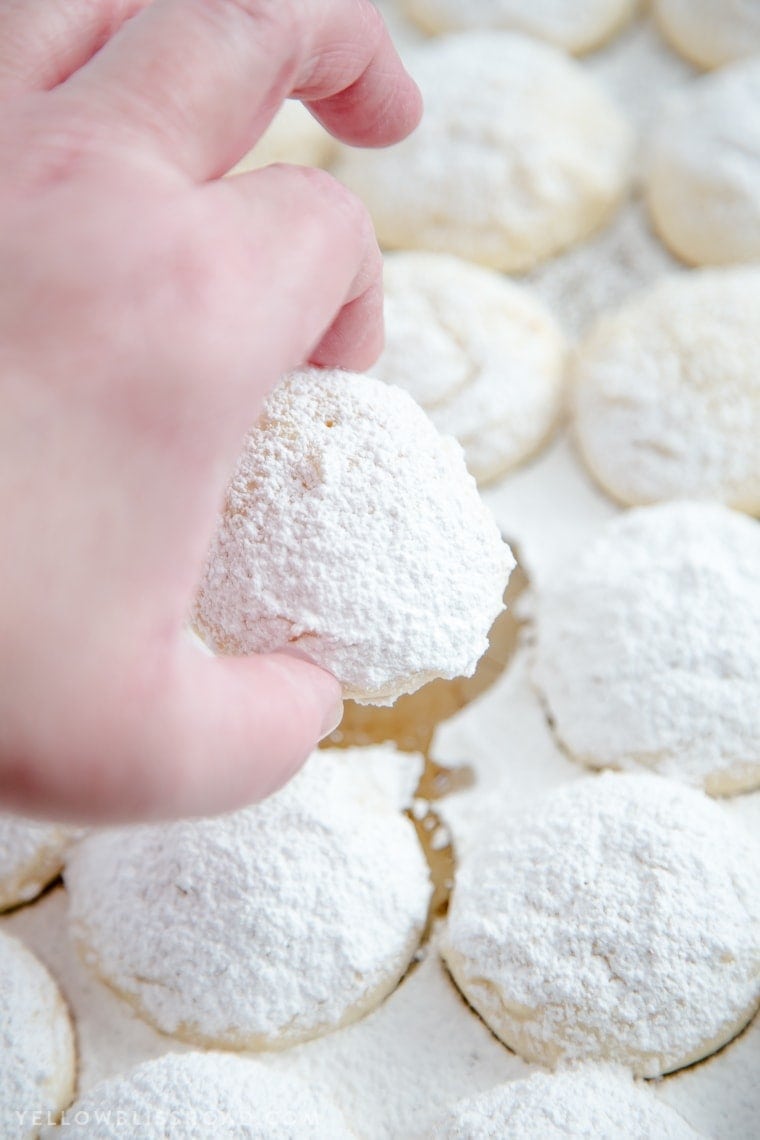
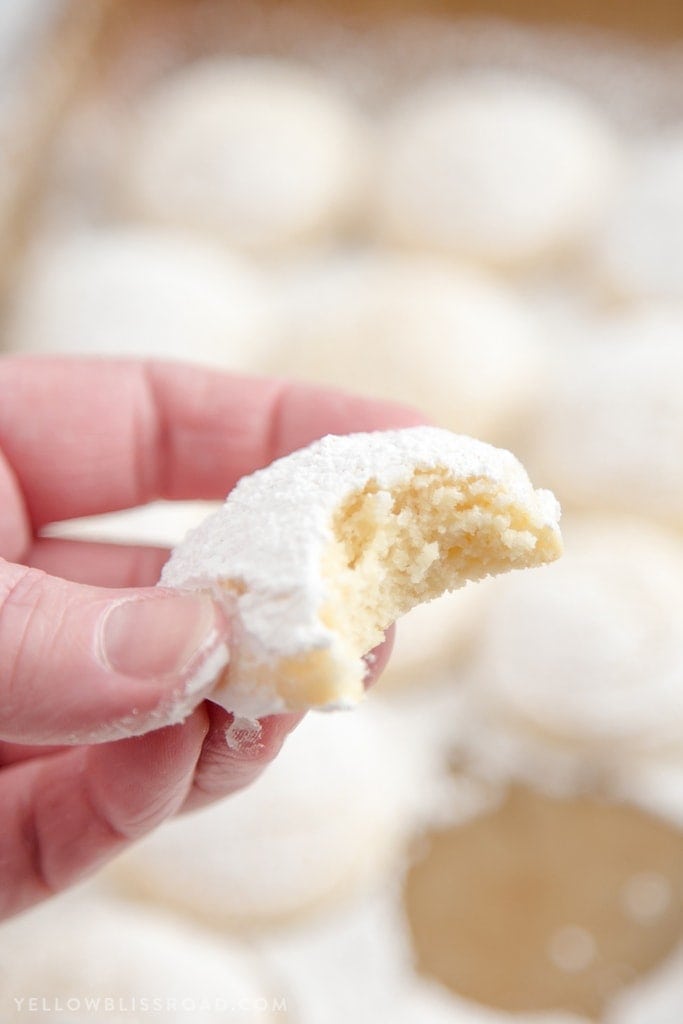
Cheesecake Cookies are one of my favorite cookie recipes. They are so good! Back when I created them in 2014, I dipped them in chocolate which made them even tastier. This updated version I decided to skip the chocolate and instead give them a nice coating of powdered sugar. These cookies have an ultra creamy texture that resembles a cheesecake, with the subtle flavor of one.
This particular recipe has been pinned over 1 MILLION times and has been the most popular cookie on my site since its creation. However some bakers have had trouble with the cookies, either thinking they were not sweet enough, that the batter was too sticky to work with or that they came out more like biscuits.
I finally set some time aside a few weeks ago to work on the recipe, testing it for those exact things. I didn’t do much to tweak the recipe, other than adding a little bit more sugar. I’m going to address each of those issues in this post.
How To Make Cheesecake Cookies
- Preheat your oven to 350 degrees and line 2 baking sheets with parchment paper or silicone baking mats. It’s important to preheat the oven so that the cookies will bake evenly.
- Beat room temperature cream cheese and butter together at high speed until the mixture is fluffy and smooth, then add sugar and beat until fully incorporated and fluffy. The mixture should be smooth and not at all gritty since the sugar will melt into the warm butter. Finally beat in eggs and vanilla.
- Mix the dry ingredients together in a separate bowl with a wire whisk. This helps to ensure that the ingredients are evenly incorporated once you add them to the butter mixture so there are no clumps of salt or baking power because EW.
- Be careful not to over-mix when adding the dry ingredients to the wet because this will release the gluten from the flour resulting in a dense cookie. We’re going for light and fluffy and oh so creamy.
- Drop by rounded tablespoons onto the prepared baking sheets about 2 inches apart. NOTE – THE BATTER WILL BE STICKY. You can put the batter in the fridge for 10-20 minutes to help it firm up a bit, but it will still be a little sticky and can be difficult to work with. I promise you though, the end result is so worth it!
- Bake for about 10-11 minutes. The cookies should be light in color, not browned, and just starting to brown on the bottom. *The actual length of baking time may vary as oven temperatures do tend to vary as well.
- Cool cookies on the baking sheet for a few minutes before transferring to a wire rack to cool completely.
Cheesecake Cookie Recipe Tips & FAQs
When making these cookies, you want to be sure and follow the directions exactly. I’ve also updated those instructions to hopefully make them more clear. Here are some tips based on questions and issues from readers.
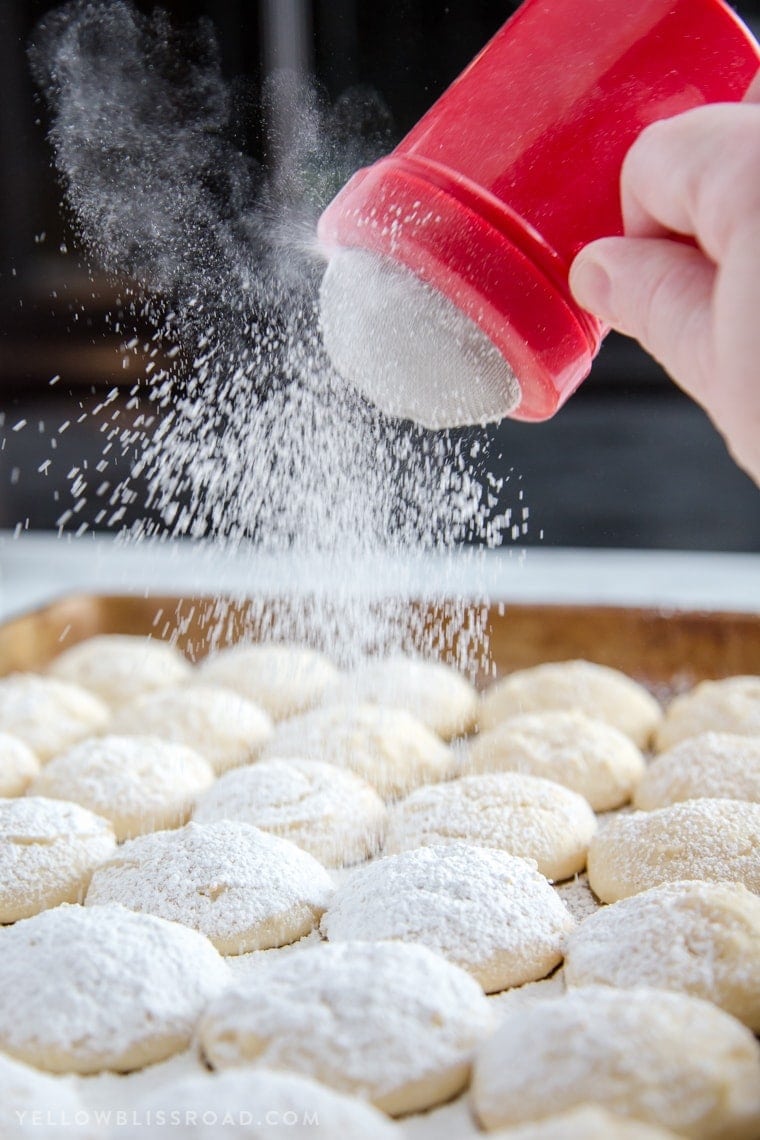
- “The flavor/sweetness is too subtle.” I personally felt that once the cookies were dipped in chocolate they were sweet enough. I’m assuming that people who didn’t think they were sweet enough were skipping this step. Plain cheesecake isn’t always super sweet, and I liked the cookies the way they were. However to sweeten them up, I added a quarter cup more sugar to the recipe below. They still came out great and had a nice, subtle sweetness that was amplified by the powdered sugar I sprinkled on top. I also cut the vanilla in half, but you could leave it out altogether if you want more of a cream-cheesey flavor. The vanilla just kind of smooths out the flavor profile.
- “They don’t taste like cheesecake.” This one is a tough one to answer because, well, this is not a cheesecake recipe. It’s a cookie recipe. The term “cheesecake” refers more to the creamy texture of the cookie. If you really want more of a tart/tangy flavor, one reader suggested adding lemon juice. Great idea! I’d say if you want to try this method, replace the vanilla with 1-2 teaspoons of lemon juice. This will give a more tangy bite which will more closely resemble the flavor of cheesecake.
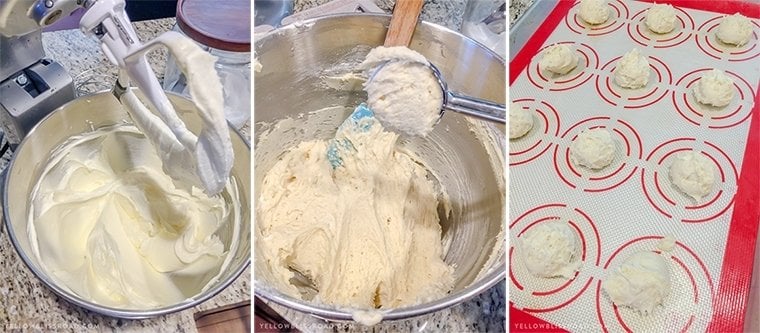
- “My batter was way too sticky.” I can see where people might have this concern about the batter being sticky. However, although it WAS sticky, I used my Medium Cookie Scoop and the dough released fairly easily for me after a few pumps of the trigger. A few times I had to help it along, but not to the point where they wouldn’t drop at all. These are super moist and tender cookies, so the batter IS going to be a little sticky. Just be prepared for that. The images below show what the batter should look like. And if you watch the video just before the printable recipe, you can see that this cookie recipe really does work!
- “Mine came out biscuit-like and crumbly.” – As stated in the original recipe, it is imperative to NOT over-bake these cookies. In fact, you want it to almost feel like you’ve under-baked them. They should not get brown on the top and should just start to lightly brown on the bottom. Overbaking will result in a crumbly, dry cookie, more resembling a biscuit. Each oven is different and may be actually baking at a different temperature than what you think. I recommend picking up an oven thermometer to test the temperature of your oven. I tested mine recently and realized that it’s about 10 degrees off, which in baking can cause issues. The other issue I think could cause a problem is the mixing. The cream cheese, butter and sugar should be mixed on high speed for a good 2-3 minutes. You can see in the first image how fluffy it is. That’s what you want. Then when you add the flour, its just stirred for enough time to incorporate it. Over-mixing the flour can also result in a dry or crumbly cookie.
Several people have asked about the silicone mats – I got them at Costco a couple of years ago and I doubt they are still available. However I did find something similar on Amazon HERE. (aff link)
Overall, these Cheesecake Cookies are still a favorite cookie recipe in our house. I hope you’ll give these awesome cookies a try – they really are super delicious!
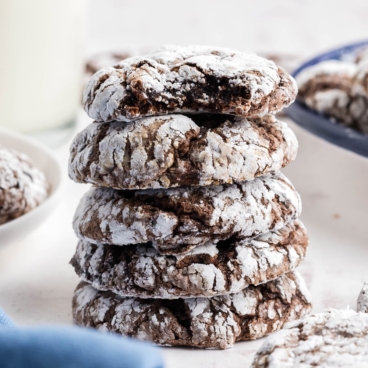
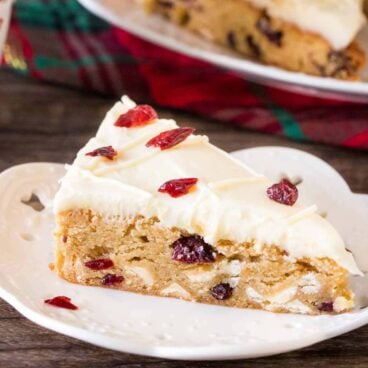
Looking to fill your chocolate fix? Try our Chocolate Cheesecake Cookies! And be sure to check out the Christmas Cheesecake Cookies version for the holidays!
For more delicious cookie recipes, try these:
- Fudgy Dark Chocolate Brownie Cookies
- Magic Bar Cookies
- Chocolate Chip M & M Cookies
- Oatmeal Raisin Cookies
- Oatmeal Peanut Butter Cookies
- Chocolate Chip Cookie Bars

Cheesecake Cookies
Ingredients
- 8 ounces full fat cream cheese room temperature
- 1/2 cup butter room temperature
- 1 1/4 cup granulated sugar
- 2 eggs
- 1 teaspoon vanilla extract
- 2 1/2 cups all-purpose flour
- 2 teaspoons baking powder
- 1/2 teaspoon salt
- Powdered Sugar
Instructions
- Preheat oven to 350 degrees F. Line 2 baking sheets with parchment paper or silicone mats.
- Beat cream cheese and butter together at high speed until fluffy and smooth; 1-2 minutes. Add sugar to the butter mixture and beat until fully incorporated and fluffy; 1-2 minutes. Beat in the eggs and vanilla; 1 minute.
- In a separate, medium-sized bowl, whisk together the flour, baking powder and salt. Gradually add the dry ingredients to the butter mixture and stir just until incorporated. Do not over-mix.
- Drop by rounded tablespoons onto the prepared baking sheets about 2 inches apart; batter will be sticky. *You can put the batter in the fridge for 10-20 minutes to help it firm up a bit.
- Bake at 350 degrees for 10-11 minutes. Cookies should be light in color, not browned, and just starting to brown on the bottom. *Length of baking time may vary from oven to oven.
- Cool cookies on the baking sheet for a few minutes before transferring to a wire rack to cool completely.
- If desired, sprinkle with powdered sugar or dip in chocolate once cooled.
Notes
- The vanilla smooths out the flavor, but for a more tart, cheesy flavor, add a teaspoon of lemon juice or no extracts at all.
- Do not overbake. This can cause the cookies to come out more dry and biscuit like.
- Nutritional values and calorie count is per cookie.
- These cookies do not need to be refrigerated. Store at room temperature in a sealed container.
- For more tips, be sure to read the FAQs in the post.
- For chocolate dipped cookies, melt some chocolate in the microwave (chocolate chips or wafers and dip the cooled cookies in the melted chocolate.
Nutrition


Awesome! So soft and just sweet enough.
I put the dough in the frig for just a few minutes and it is not so sticky. Thank you for the recipe I make these every week for my hubby he loves them. The only change is I put royal icing on the he hates the dust from powered sugar
Can’t wait to try these.
I have made these several times before but don’t think I left a comment. Well, these are heavenly. Their light and creamy taste make them addictive. I have been asked for the recipe several times and just today I took 40 to a meeting of 12 people and they were all gone! The only thing I changed was using shortening (with 1 tbs of water) instead of butter. Thanks Kristin;)
I am going to try this but I sure do hope I can keep them soft and not get hard like all the rest I have ever made lol
Oh wow, what did I do wrong? My mixtures was runny, like cake batter!
OH MY GOSH THESES COOKIES ARE SOOOOOO GOOD!!!!! The first time I made them, I followed the recipe exactly. The next time I added an extra 1/4 cup of sugar, and an extra 1/2 teaspoon of vanilla. It just made them a tad sweeter is all. I even froze the dough in individual cookies and they bake perfectly. They are pillows of heaven! ❤️
I love your “pillow of heaven” analogy! So glad you enjoyed them!!
Made them and LOVED them !!! However I love almond extract, so I used that instead.. My taste tester loved them as well.. I only had one.. Stupid,stupid diets !!!!
cut you make them a day or two before?
Yes.
These were insanely GOOD! They were so quick & easy too. I loved how they weren’t TOO sweet but just sweet enough. I ate them warm right out of the oven with a glass of cold milk. AMAZING recipe.
Sounds very good
I tried to make these and I was very disappointed. Won’t make again
Just made these cookies today for first time and they are SOOOO GOOD that I wanted to leave a comment! After they cooled down enough to be eaten, half of them were already gone and we kept wanting more. They are so moist and creamy and totally addictive. I think I’ll make another batch again tomorrow since I have extra cream cheese in the fridge. Thank you so much for this wonderful recipe!
I sprayed olive on spray on my ice cream scooper and it helped alot!
Great tip!
It was perfect. I added cranberries and lemon juice – everyone loves it, thank you.
My son loves these. They remind me of the soft cookies that you can get in the bakery that have the frosting on them. I’ve added lemon on some batches, and sour cream on others. Then I put some vanilla or lemon frosting on them with sprinkles. Better than store bought!
The shape was perfect on the mat but after 3 mins they melted ??????
Why????
They melted after removing from the oven? Or before you put them in?
Could you put some jelly in the center?
I haven’t tried it, but some have and say it’s delicious!
The BEST cookies ever. I just follow the recipe. It is PERFECT. It doesn’t need more sugar.
Hi Kristin, these cookies are amazing! I dusted half of them with powdered sugar and put a lemon glaze on the rest. Sooo good and they really do taste like cheesecake! The possibilities for these cookies are endless. I think next time I will add sprinkles for funfetti cheesecake cookies. I also think these would be great with chocolate chips and white chocolate chips and cranberries would be delicious too. Again, the possibilities are endless! If this recipe didn’t work out the first time, I definitely encourage to try again. You will not be disappointed. If you follow the recipe and tips, they should come out perfectly like they did for me. Also, I chilled my dough for a few hours which allows the flavours to develop and makes the dough easier to handle (I rolled my dough into balls after chilling.) Also, for people wondering if you can freeze the dough, yes you can! After chilling the dough in the fridge, I rolled into balls and placed on a parchment lined cookie sheet and put in the freezer. When the dough was frozen, I put the balls into Ziploc bags. When I baked the frozen cookie balls, I added a minute or two to the bake time. They come out perfectly. Thank you so much for this recipe, it is a new favourite and I will be baking it often! I look forward to trying your other recipes.