This post may contain affiliate links. Please read our disclosure policy.
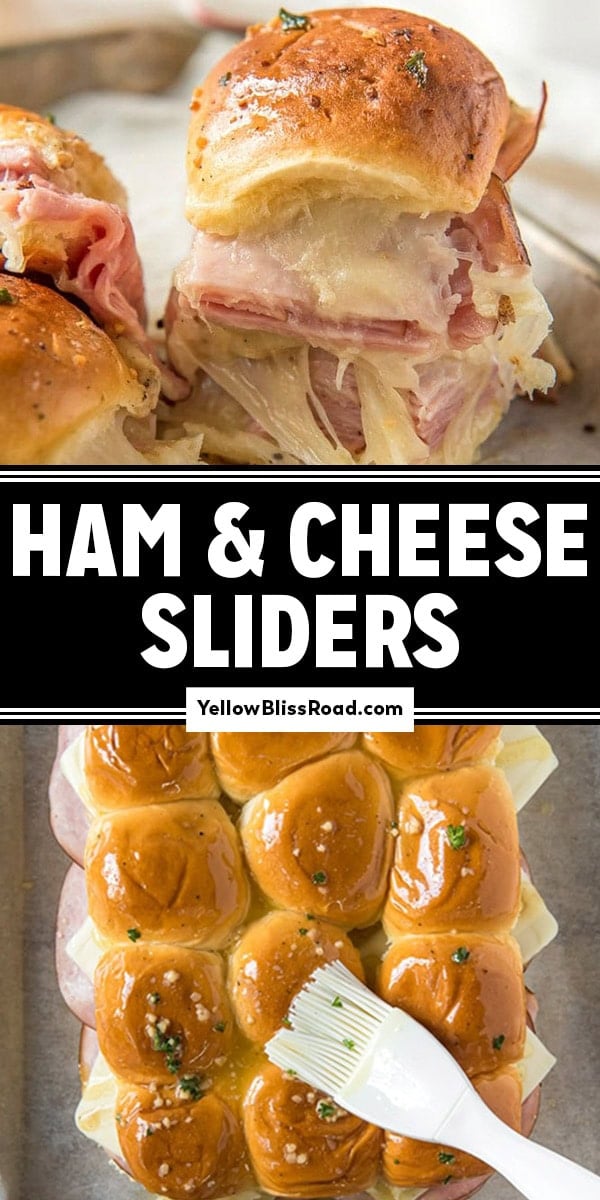
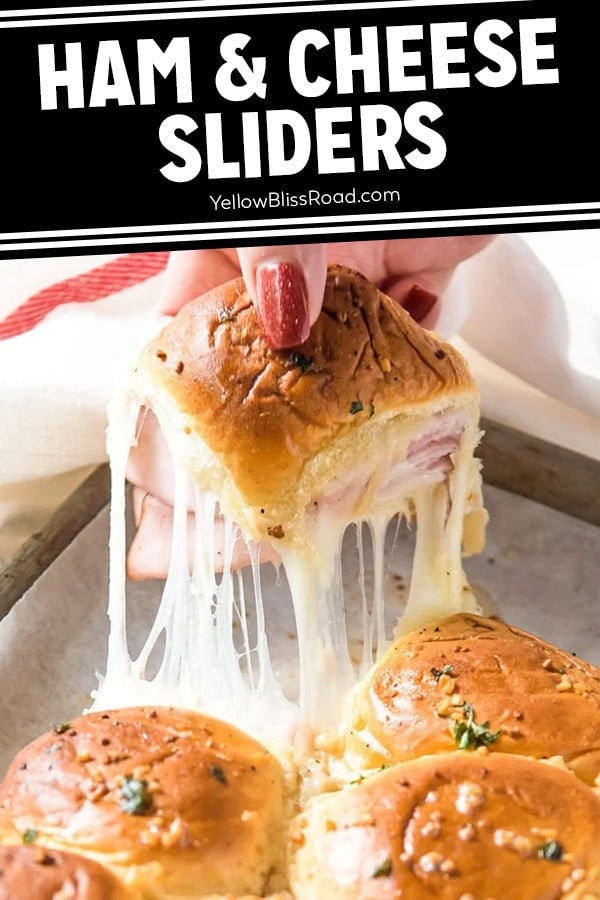
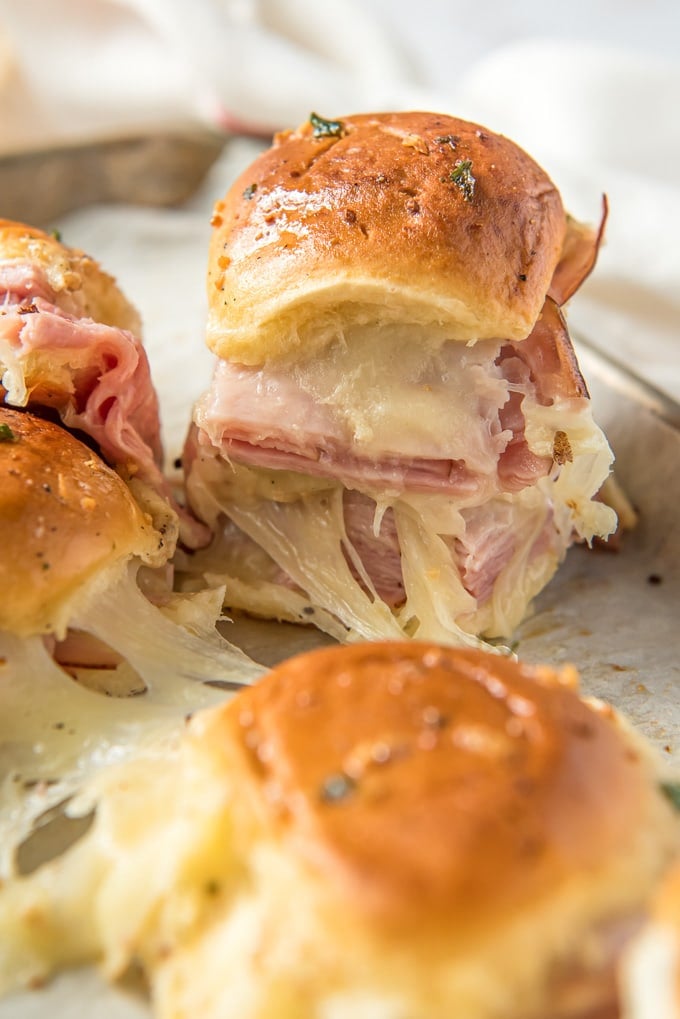
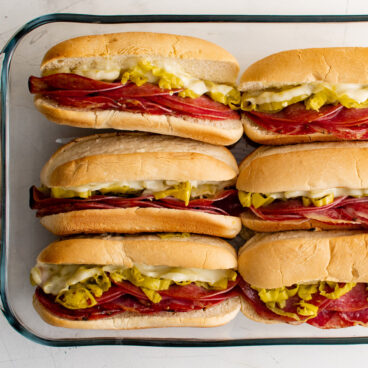
Ham and Cheese Sliders are an easy choice for dinner and the perfect party food. Take sweet Hawaiian rolls and stuff them with ham, two kinds of cheese, and brush with garlic butter.
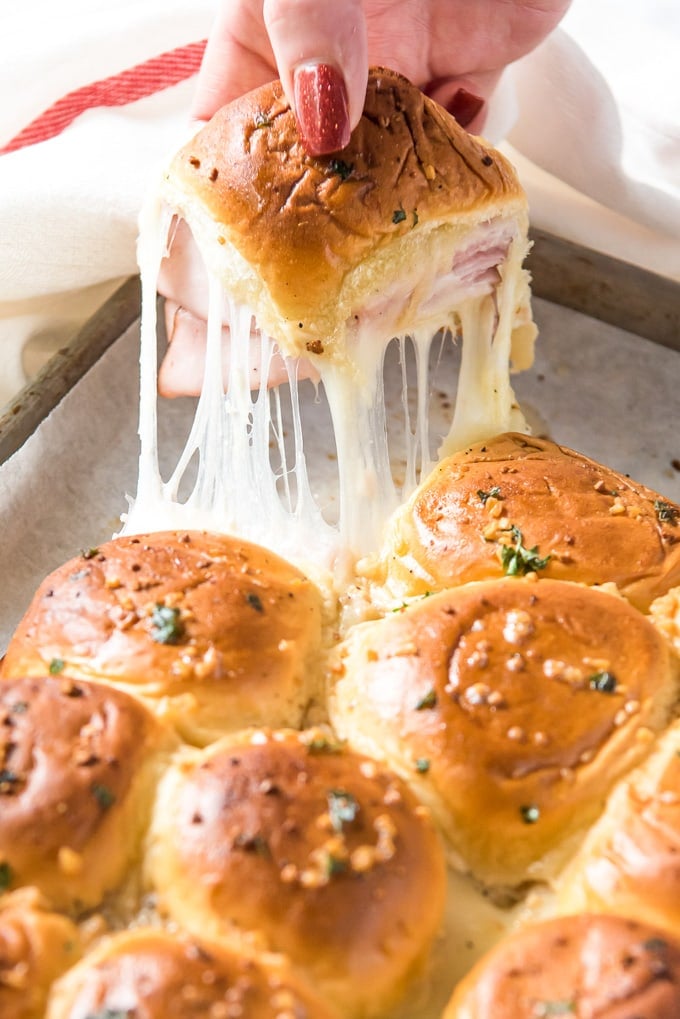
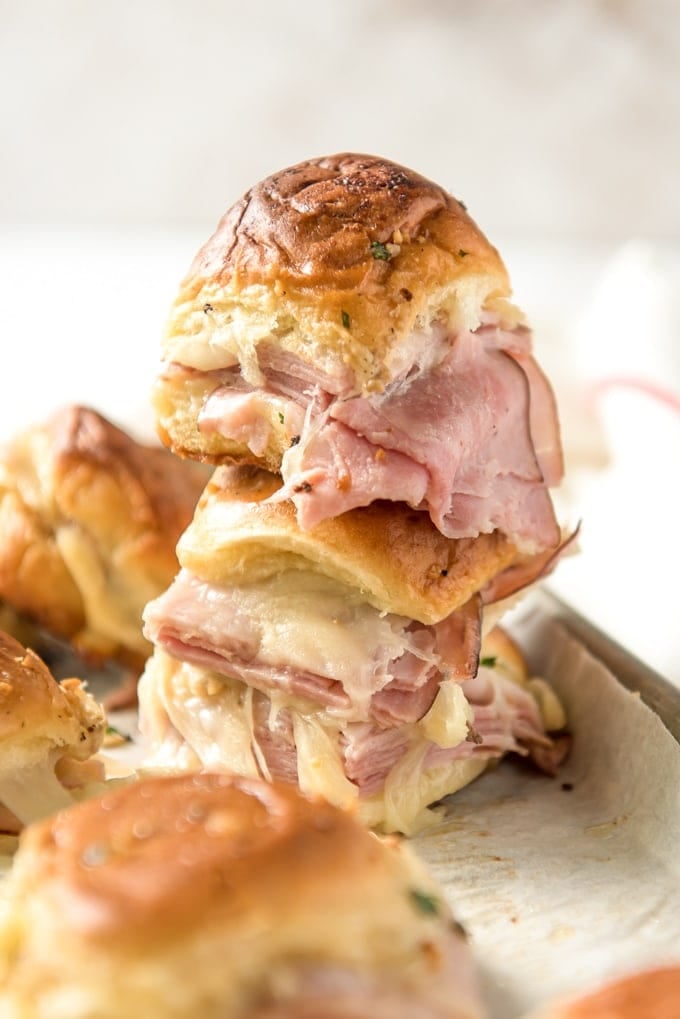
Baked until melty inside and golden outside, these easy ham sliders are perfect to feed a crowd for parties or for an easy weeknight dinner at home.
The classic combination of ham and cheese is simply irresistible. Try it in our Ham and Cheese Quiche, Ham and Cheese Croissant Breakfast Casserole, and One Pan Ham & Cheese Tortellini.
Pin this recipe for later!Why I Love This Recipe
Feed a crowd these ham sliders at parties and tailgating, an easy weeknight dinner, or homemade lunch. These hot ham and cheese sandwiches impress both adults and kids so you’ll probably want to make a double batch – they are sure to run out quick!
- Easy to Make – Just layer meat and cheese on rolls, brush with garlic butter and bake!
- An Elevated Favorite – A ham sandwich is about as simple and beloved as it gets! We’re make this classic even better by serving it hot and finished with a yummy garlic butter.
What you need
Ingredients for Ham and Cheese Sliders
A ham and cheese sandwich is a pretty classic offering in most households and diners. Served hot or cold, it’s definitely a favorite for kids and adults alike, myself included! These garlic butter hot ham and cheese sliders take that classic and put a unique spin with a buttery, garlicky topping.
Here are the ingredients you’ll need to gather for this slider recipe:
- Hawaiian Rolls – Hawaiian rolls are the vessel that makes these ham and cheese sliders so special. They add a hint of sweetness that compliments the savory garlic and ham so well. You could use regular dinner or slider rolls if you need a substitution.
- Ham – Use a honey ham or smoky ham, even leftover ham from the holidays will work!
- Cheese – I used Provolone and Mozzarella cheese because they get nice and gooey and have great flavor.
- Optional Spread – I like to just have the ham and cheese as the filling but you could add some tangy dijon mustard or creamy mayo spread onto the bread.
How To Make Ham and Cheese Sliders
See the recipe card below for full, detailed instructions
- Preheat your oven. Grease a large baking dish with nonstick cooking spray.
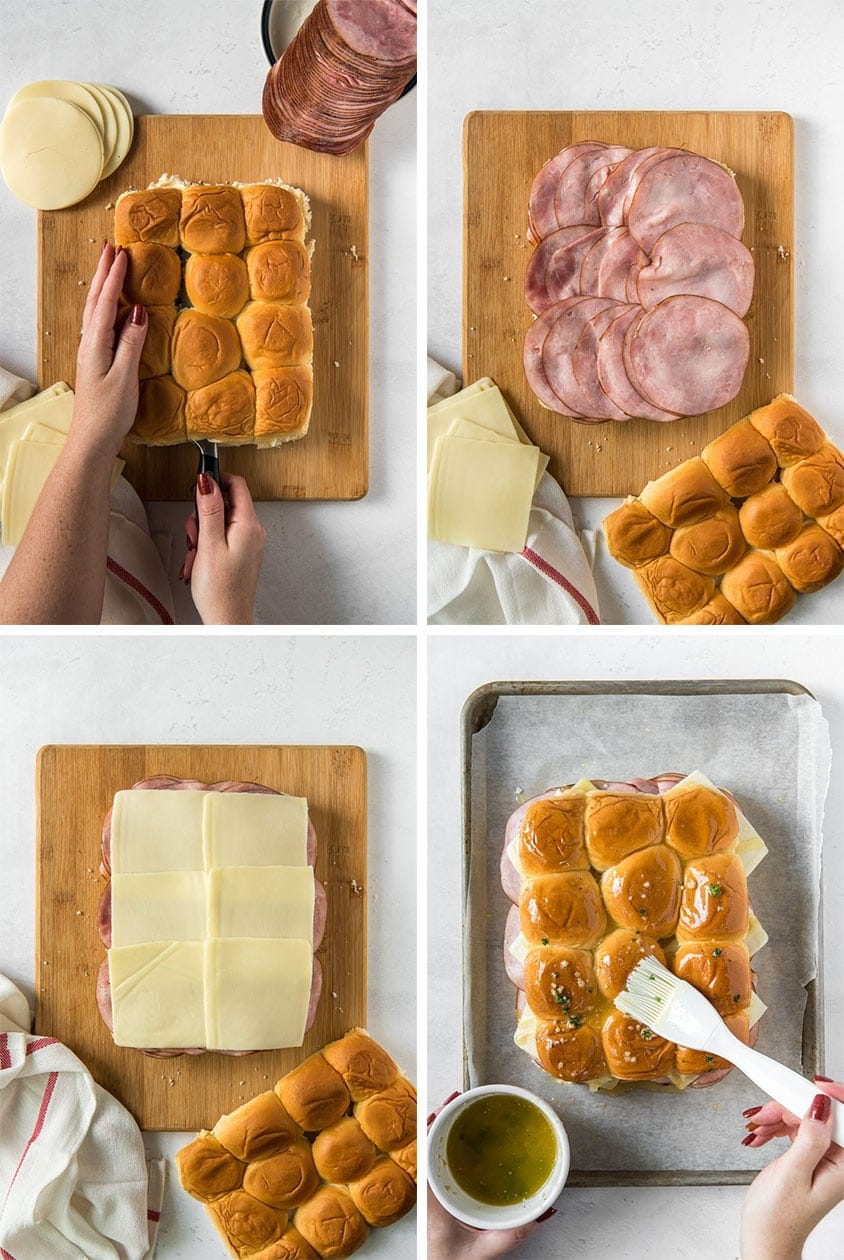
- Slice a loaf of King’s Hawaiian Rolls across the middle to form two slabs. Keep the rolls connected and place one hand firmly on top of the rolls to make it easier to cut. Remove the top half and load up the bottom half with the fillings. I love using Hawaiian bread for these sliders because they are a little sweet which pairs well with the ham, and they are so soft and fluffy but become a little crispy on the outside from the butter as they bake.
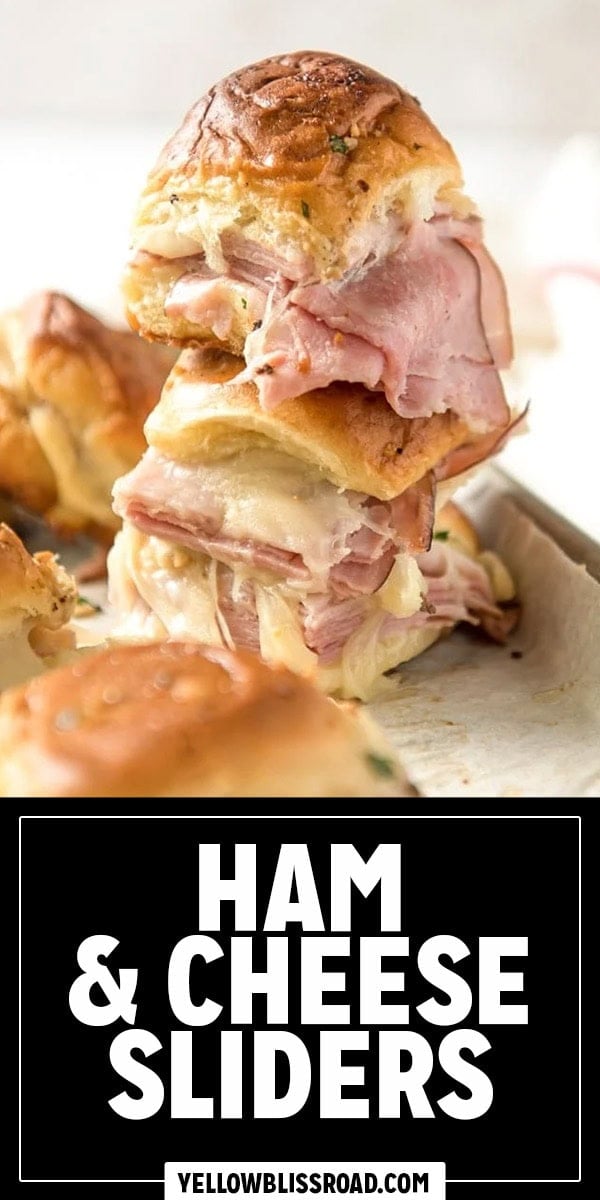
- Layer fillings on the bottom half of the Hawaiian bread. Provolone first, then lots of sliced ham, then mozzarella cheese. I prefer to purchase fresh from the deli at the grocery store but you could pick up the prepackaged slices, too.
- Replace the top half of the rolls and make the garlic butter with melted butter, minced garlic, fresh chopped parsley, and Worcestershire sauce. Brush that mixture over the tops of the rolls, letting it drip down the sides and into the cracks. This will give you those deliciously crispy edges as the sliders bake.
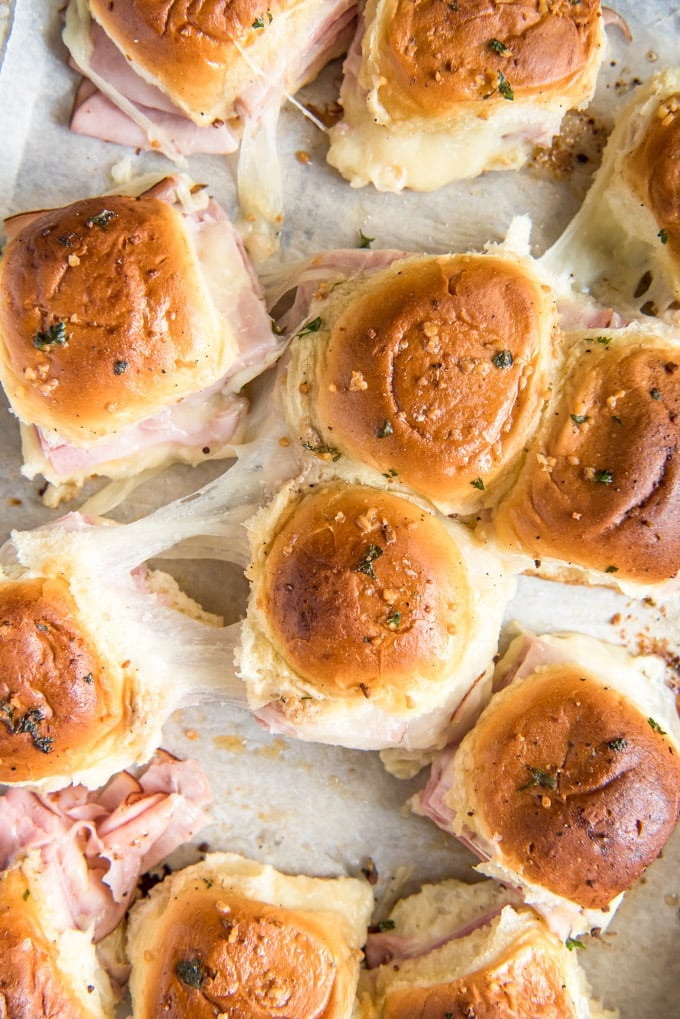
- Cover with foil. You do not want the foil touching the tops of the rolls or they could stick. To avoid this, stick a few toothpicks in the tops of the rolls to hold up the foil. Bake the sliders for about 15 minutes or until golden on top, warmed and the cheese is melted. Rest for at least 5 minutes before cutting. Cutting too soon could result in a melted cheese oozing off the sandwiches, making a mess.
- Use a large serrated bread knife to cut the sliders into individual sandwiches. Fancy them up with cute toothpicks in each sandwich for fun if you like or serve as is.
Serving Suggestions
Sliders are super simple to make and the perfect party food when I am not providing a big meal but need something a little more hearty to keep guests’ bellies full. We also will have them for dinner on a busy night when I just want to whip something up quick that I know everyone will eat.
Serve these sliders with anything you like, but for a complete meal, we’ll often add Fruit Salad and Baked Potato Wedges. Try them with this Honey Mustard Sauce for dipping – so good!
Variations
We love our ham sliders with the combination of mild mozzarella and sharp provolone, but you can customize them in a variety of ways to make them unique.
- Spicy: Make it spicy by adding some pickled jalapeños or banana peppers to the layers.
- Italian: Add sun-dried tomatoes to the layers and Italian seasoning to the garlic butter for an Italian version.
- Toppings: Sweeten up your sliders by adding a couple teaspoons of brown sugar to the butter topping. Or sprinkle on some everything bagel seasoning, poppy seeds, or onion flakes.
- Elevate with Bacon: Make it a club by adding bacon and sliced turkey.
- Cheese: Swap out the cheese for cheddar cheese, Swiss cheese, or American – whatever is your favorite.
How do you keep sliders from getting soggy?
This is a common problem, and nobody wants soggy sliders.
It’s all about how you bake them. Cover with foil and bake, then remove the foil for the last 10 minutes. This will allow the sauce to soak into the rolls just enough to add flavor, and removing the foil will allow the liquid to dissipate.
Storage Tips
Make Ahead, Storage, and Freezing
- Make Ahead – You can assemble the sliders a day ahead of time, just don’t add the garlic butter topping until ready to bake. Cover and store in the fridge for up to 24 hours and let sit out for 10-15 minutes before baking.
- Storage – If you have leftover sliders, store them in a sealed container in the fridge for up to 3-4 days. Reheat in the microwave if you like, or enjoy cold. Sometimes I’ll send one in my kids’ lunches – they love them!
- Freezing – Prepare sliders, except the garlic butter topping, and freeze in a resealable freezer bag or tightly covered container for up to 3 months. Bake straight from the freezer, adding 10 minutes to the bake time and topping with the garlic butter after about 7-10 minutes.
Recipe Tips
- Use Leftovers – If you have leftover ham from your Christmas or Easter Ham, use it on these sliders!
- Hawaiian Rolls – I highly recommend Kings Hawaiian Rolls when making sliders. They are fluffy and slightly sweet and simply THE BEST option!
More Sliders
I find that when sliders are served as a main course with a few sides, most people will eat 2-3. As one of many easy appetizers served with other dips and finger foods, plan for 1-2 per person. Or serve a bunch of different sliders for variety.
- Slow Cooker BBQ Pulled Pork Sliders
- Grilled Hamburger Sliders
- Roast Beef Sliders
- Reuben Sandwich Sliders
- Breakfast Sliders
- Turkey Sliders
- Buffalo Chicken Sliders
- Monte Cristo Sliders

Garlic Butter Ham and Cheese Sliders
Ingredients
- 12 count Package Hawaiian Rolls or slider buns
- 1 pound Sliced deli ham or more, depending on thickness and desired amount
- 6 slices Mozzarella cheese or 1 cup shredded
- 6 slices Provolone Cheese
- 1/2 cup Butter melted
- 1 teaspoon Worcestershire sauce
- 2 Garlic cloves finely minced or grated
- 1 teaspoon Fresh minced parsley
- Salt and pepper to taste
Instructions
- Preheat oven to 350℉. Spray an 11-inch rectangular baking dish with nonstick cooking spray.
- Using a large serrated knife, slice the rolls in half so you have a “slab” of tops and a “slab” of bottoms; don’t pull the rolls apart and slice individually because you want to keep them connected. Hold the top with one hand to keep them steady.
- Layer the sliders as follows: Provolone slices, sliced ham, Mozzarella cheese.
- Replace the top half of the rolls over the cheese.
- In a small bowl, combine melted butter, Worcestershire sauce, garlic, fresh parsley and a pinch of salt and pepper. Pour or brush the mixture onto the tops of the rolls.
- Cover loosely with nonstick foil (careful not to let it touch the tops of the bread to avoid sticking – use toothpicks if necessary to “lift” the foil).
- Bake in the preheated oven for 15 minutes. Remove foil and continue to bake for another 10 minutes or until tops are nice and golden brown. Be careful not to let them get too dark.
- Cool slightly, then cut the sliders apart with with a sharp knife.
Notes
Nutrition
Nutritional Disclaimer Kristin Maxwell of “Yellow Bliss Road” is not a dietician or nutritionist, and any nutritional information shared is an estimate. For accurate calorie counts and other nutritional values, we recommend running the ingredients through your preferred online nutritional calculator. Calories and other nutritional values can vary depending on which brands were used.

Super yummy. Made some with ham and some with turkey. I agree with other reviewers….it’s a whole lot of butter. 😂 We poured it over the top and it fully saturated plus a bunch was gathered on the pan. Def a repeat — good for a crowd.
Awesome feedback Amanda! Thanks for stopping by.
Would these be good cold?
Yes they are good cold.
These are amazing!! Soft and flavorful. I love the garlic butter idea! My whole family loved them.
Thank you Jen! Awesome feedback, thanks for stopping by.
I’ve made these sandwiches numerous times and they are very delicious and satisfying. Taking a panful to my family reunion next week! Thanks for sharing.
You are so welcome Barbara! Thank you for stopping by.
Very tasty and easy to make, but there was way, way, Way too much butter topping. I used about two-three tablespoons of it. I even had the special pack of 16 rolls, which I thought would make a difference with the butter mixture, but it was still waaay to much butter for the sliders. I added some leftover cranberry sauce from Thanksgiving and it was deliciois!
Absolutely perfect for gatherings, showers and just a little snack!
Thank you Betty!
These were very tasty. I sprinkled the final product before baking with Everything Bagel Seasoning and was awesome.
Nice! Thank you for your feedback Kelly.
Flavor was good but there was way too much butter. Bottom was soggy and honestly it kinda of ruined the sandwhich. Would half the butter or more.
How do you make the topping? The mixture you put on top of the buns?
Thanks!
Brenda
Hi Brenda, All of the information you need is in step 5 of the recipe. Enjoy!
I just love to watch your videos, you are amazing!!!!
These sliders are so Awesome, I will keep this in my
favorite recipes and won’t change a thing. All your
recipes are really Great, Love your website!!!! 🙂 🙂
Hi Melinda, thank you so much for the awesome comment. Thanks for dropping by.
I made these this evening and my boyfriend and I cannot stop obsessing over them! 10/10!
That’s awesome Natalie! Love your feedback, thanks for stopping by.
My family LOVED these! Next time they want me to try with turkey
Hi Andrea, Turkey sliders sound delicious. Thanks for stopping by.
It was very good, I would make it with banana peppers next time.
Thank you Joey! Love the feedback.
Delicious! But the time at the top of the recipe is wrong. It says cook time 15 minutes, but it’s actually 15 with foil, then 10 uncovered for a total of 25.
I’m in Australia, is there a substitute for the King’s Hawaiian rolls? Can’t find them here.
Hi Tim, Any kind of slider sized roll or dinner rolls will work.
So damn good… crowd pleaser. Added a lite Dijon mustard spread, perfect accent.
Nice! Love the feedback Phil.
Made these today…originally intended for a tailgate but ended up being dinner. I used sliced pepper jack cheese and shredded mozzarella to give it a little extra pep. I feel like 1/2 cup butter was WAY too much though. The bottoms ended up soggy and they never quite crisped up the way I expected. I think roughly half of that (so 1/4 cup, half a stick) is more than plenty for us. Beyond that, they’re DELICIOUS!
Thanks for your feedback, Teri. Pepper Jack is a great idea.
Hi! I am having a hard time understanding the nutritional facts. Do i need to convert kcal to normal calories? Or is kcal just normal calories. Because I tried converting and it came out to be 34,000 calories for one slider which is crazy ahahah. Thank you! These look so good!
kcal is regular calories, no conversion needed. 🙂
This is a must try!!! Easy and nearly impossible to mess up!!!
My oven fluctuates so I had to pay more attention to my temperature. Absolutely delicious!!! The entire family enjoyed them.
That’s awesome Kayla! Thanks for the positive feedback
My family all loves these!!!! Super easy, quick and even picky eaters will enjoy them!
Nice! Thanks for stopping by Annie.
These sliders are awesome. I made them tonight and the only thing I did differently was substituting an Italian herbed mozzarella for plain mozzarella. All came from the deli and I can’t imagine improving on them. Whether for dinner, game day or entertaining they are 5 stars !
Nice! sounds like a WIN WIN! Thank you so much Janet for taking the time to share.