This post may contain affiliate links. Please read our disclosure policy.
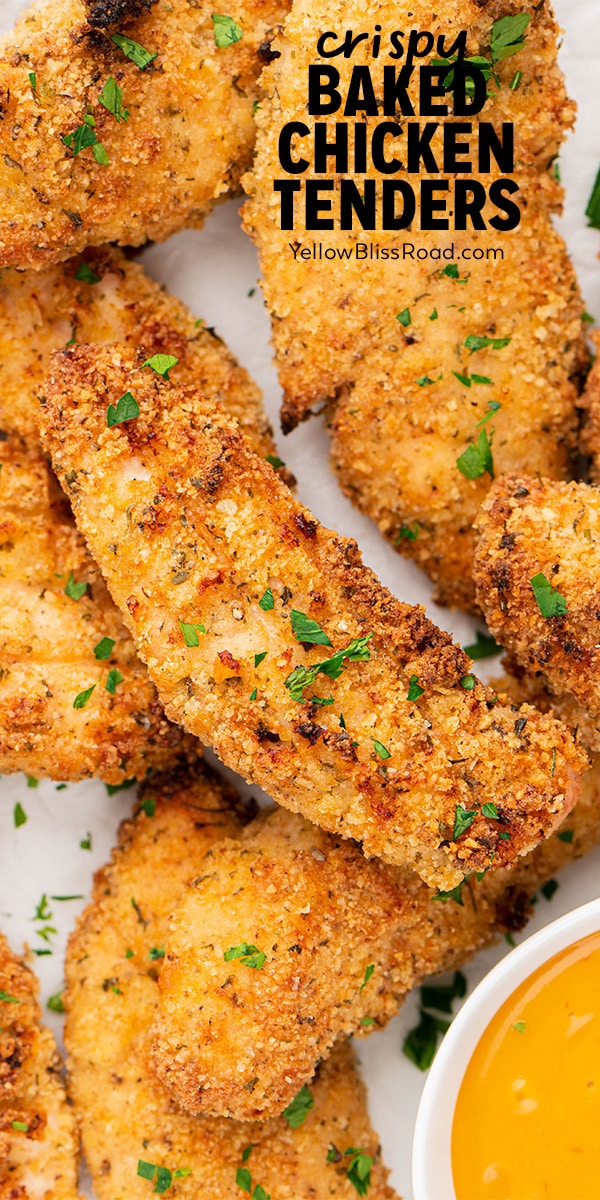

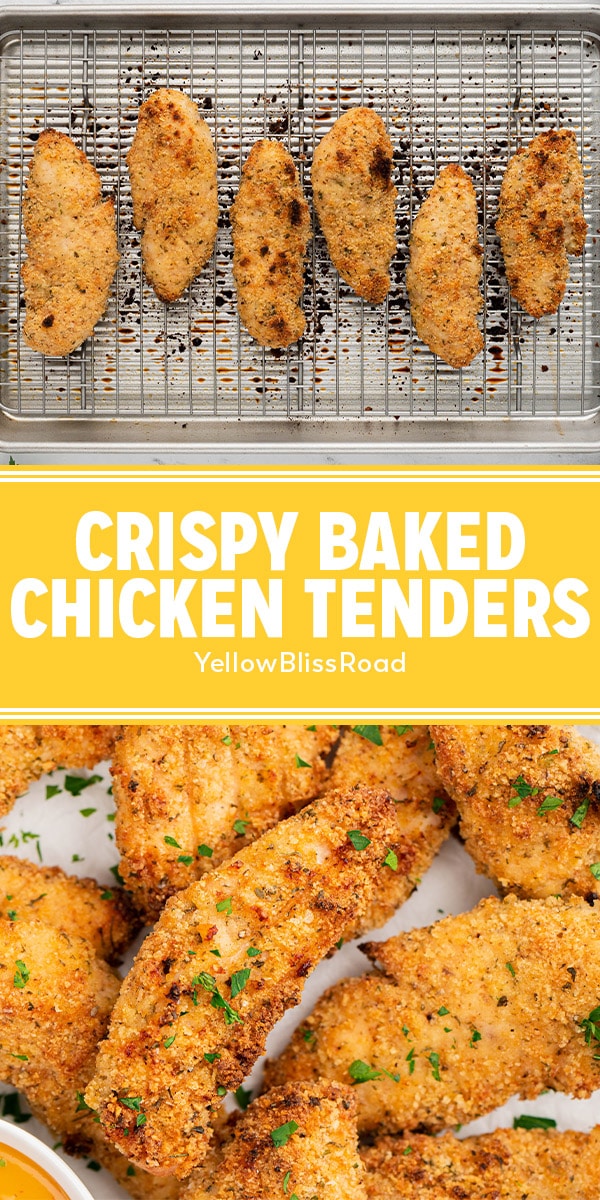
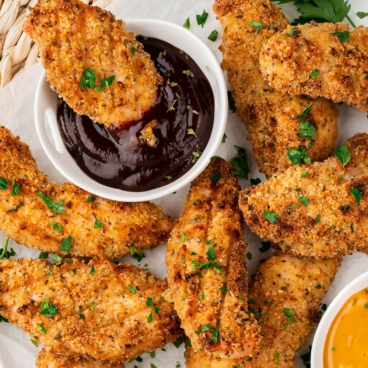
Baked Chicken Tenders are super simple to make with just a few ingredients. With a buttery panko breading and about 20 minutes in the oven, these crispy chicken fingers are way better than sitting in the drive thru line!
Present them as a snack or a meal that kids and adults will both enjoy, with some ketchup, Carolina Gold BBQ Sauce or Homemade Ranch Dressing for dipping.
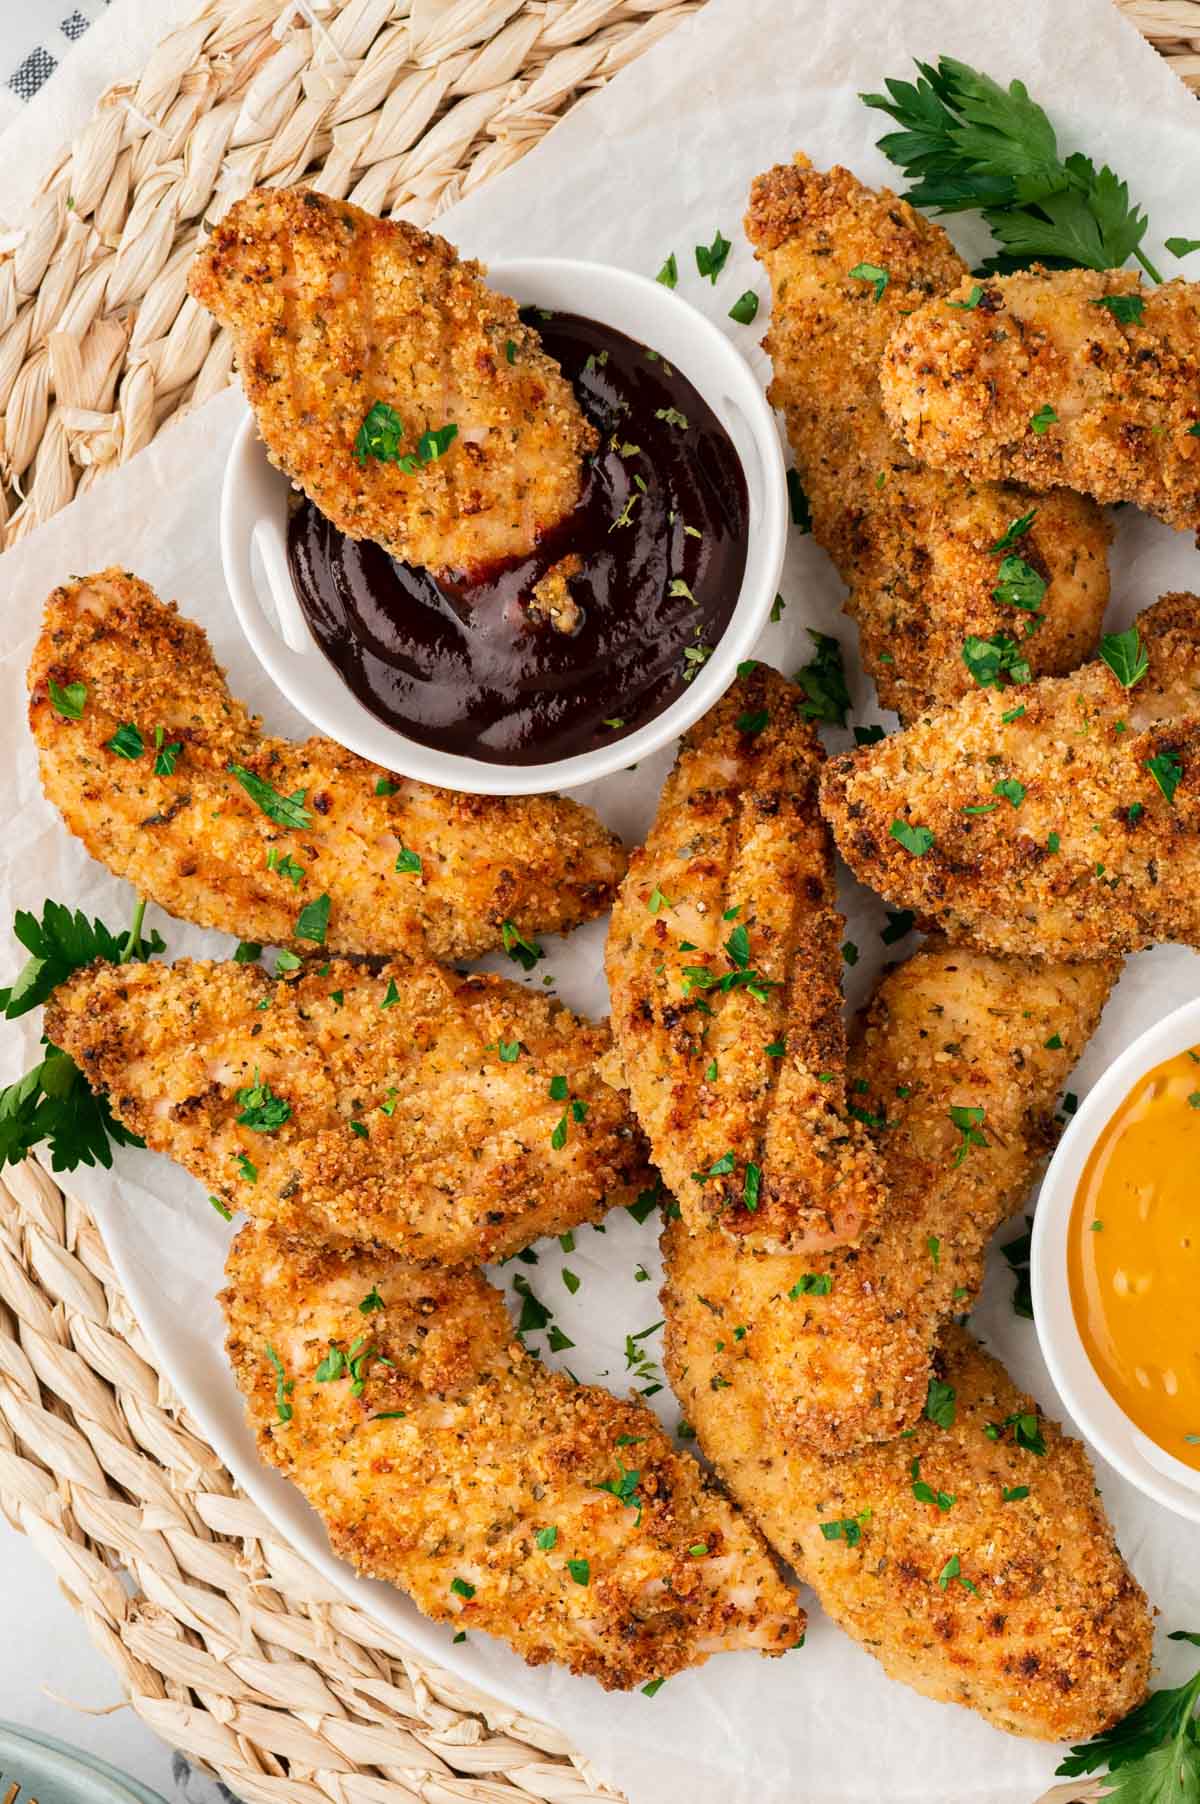
Why We Love This Recipe
Chicken fingers (or strips or tenders) are on just about every kid’s menu and available at most drive-thru fast food joints, but they are usually fried, greasy, and definitely not healthy. Ditch those greasy strips for my simple baked chicken tenders with a crispy, golden panko breading.
These crispy baked tenders are:
- Simple to prepare – Coat in butter and panko for the crispiest, crunchiest breading.
- Crispy, crunchy exterior – Using a combination of butter and Panko makes the breading extra crispy.
- A snack you can feel good about – Not only are they delicious, but they are so much better than those greasy, fried strips you get at the drive-thru or in a restaurant. Leftover chicken tenders can even be enjoyed cold, on a salad or in a wrap, and they’re great for school lunches!
- Customizable – Easily adjust the recipe to use chicken breast cutlets instead of tenders, then bake until crispy. Or add different flavors (see the variations section below for ideas).
Ingredients For Baked Chicken Tenders
Instead of the typical egg and flour method for breading, I opted for garlic butter and bread crumbs so you get a crispy texture and buttery flavor.
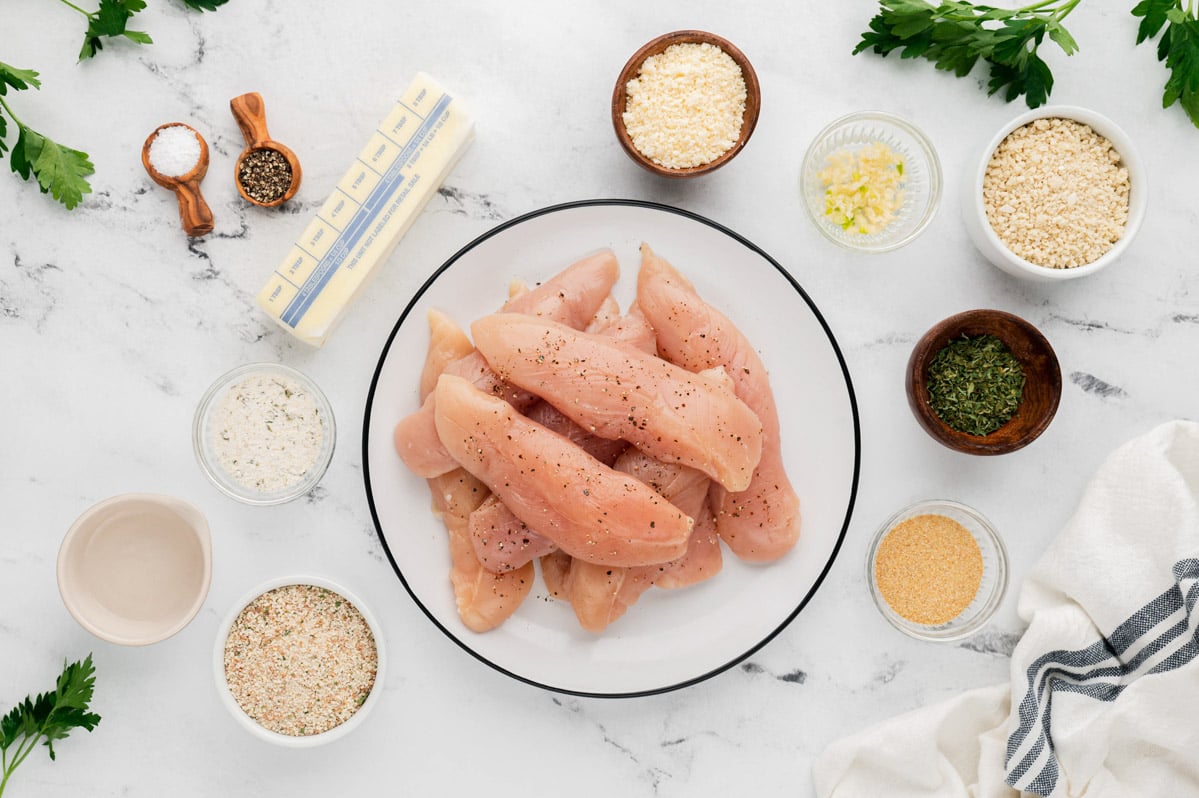
- Chicken Tenders – Fresh is the best option, but you can also use frozen chicken tenders (just defrost them first). If you can’t find or don’t have tenders, you can slice chicken breasts into 1-inch thick strips.
- Garlic butter – Fresh garlic mixed with melted butter is for dipping the tenders in before coating with Panko. Using butter helps keep the tenders nice and juicy, while the garlic adds flavor.
- White Vinegar – Tenderizes the meat and adds a slight tanginess to help balance the flavors. Apple cider vinegar or white wine vinegar can also be used. Or for a different flavor, use fresh lemon juice.
- Panko Breadcrumbs and Italian Seasoned Bread Crumbs – After rigorous recipe testing, I opted to use both types of breadcrumbs. The Panko gives the exterior that crispy crunch you want, while the regular breadcrumbs are finer and provide more surface area coverage.
- Seasonings – Parmesan Cheese (fresh if you can!), Ranch Seasoning, Garlic Powder, Salt and Pepper, Dried Parsley.
How To Make Baked Chicken Tenders
See the recipe card below for full, detailed instructions
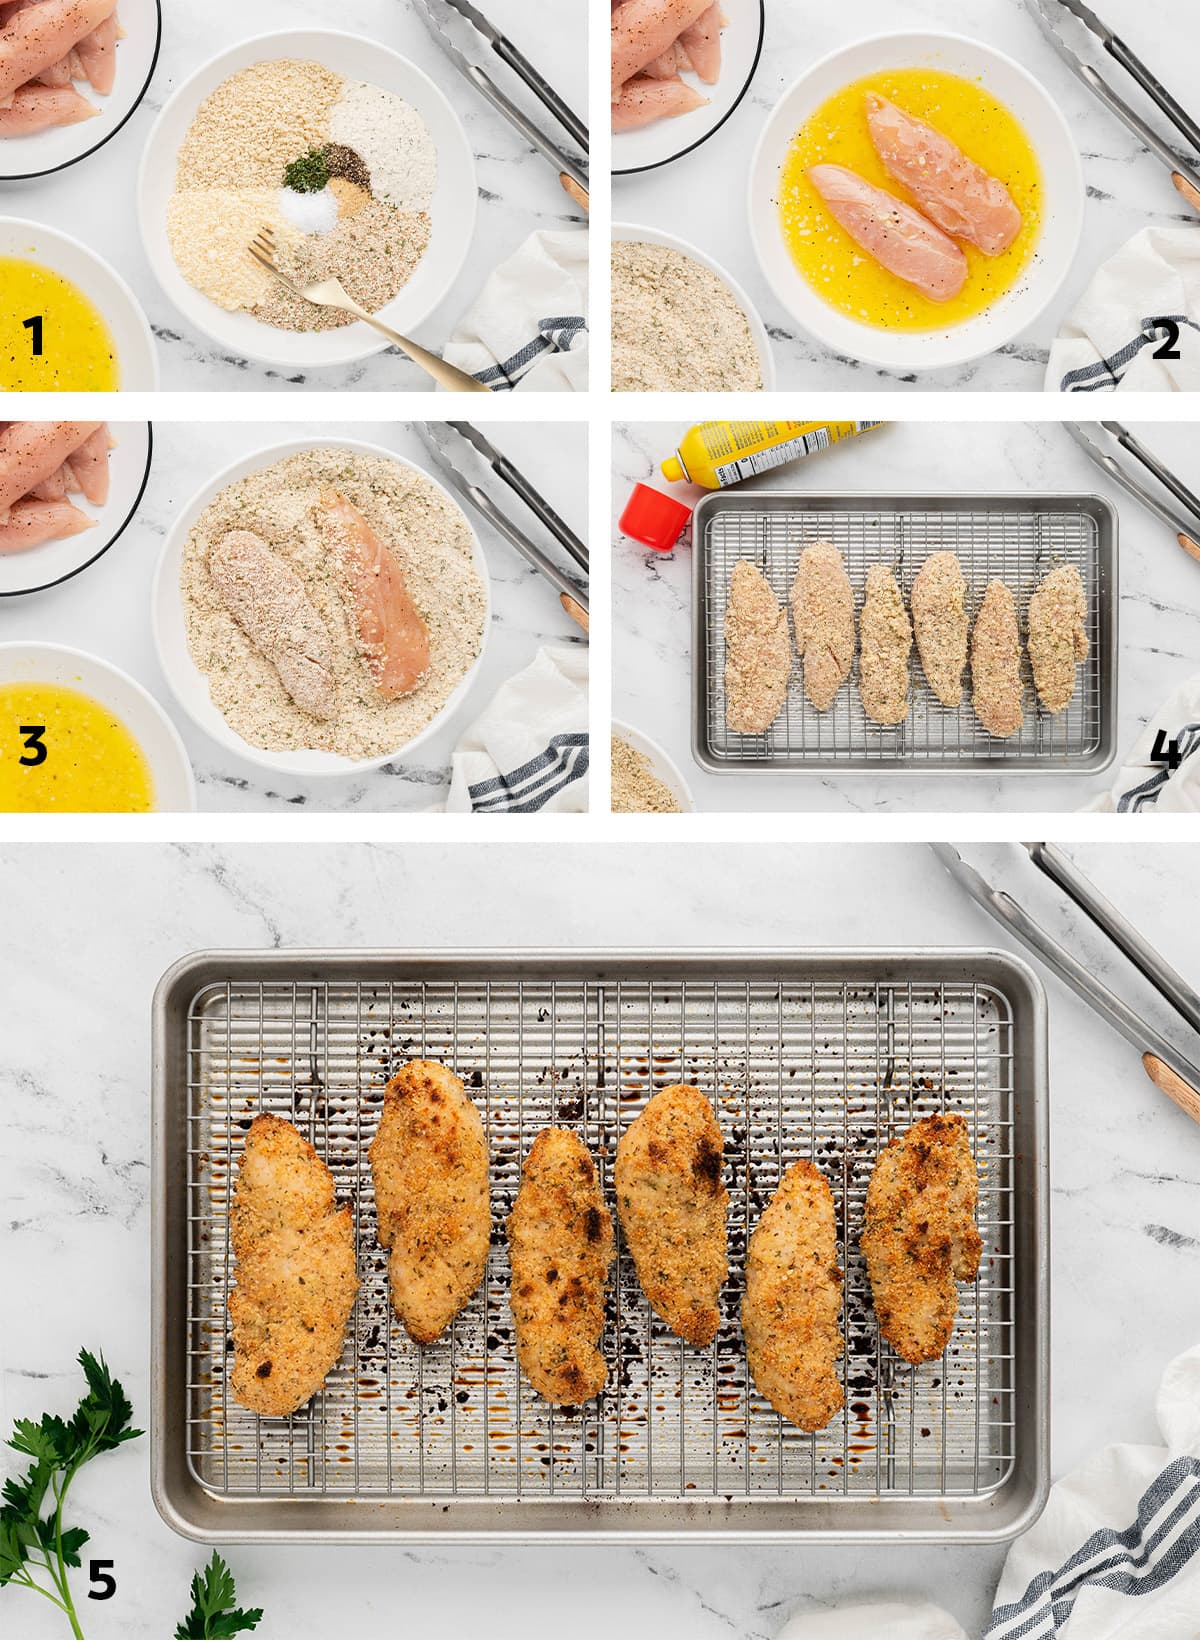
- Use sharp kitchen shears to remove the white tendon from the chicken tenderloins, then pat dry with paper towels. You technically don’t have to remove this, but it can be difficult to chew so it’s highly recommended (and pretty easy). Use kitchen shears or scissors to easily cut it out, pushing the tenderloin down firmly with your other hand.
- Preheat your oven to 425°F and top a rimmed baking sheet with an oven safe cooling/baking rack, spray lightly with non stick cooking spray. Lifting the chicken on the rack helps achieve the crispy breading. If you don’t have a rack, you can use foil, but keep in mind your breading might not get as crispy.
- Place the melted butter and garlic in one shallow dish, then in another dish combine the breadcrumbs and seasonings.
- Coat the chicken pieces in the butter mixture, then dip into the breadcrumbs, pressing them firmly onto each side. Place breaded chicken onto the wire rack at least 2-inches apart.
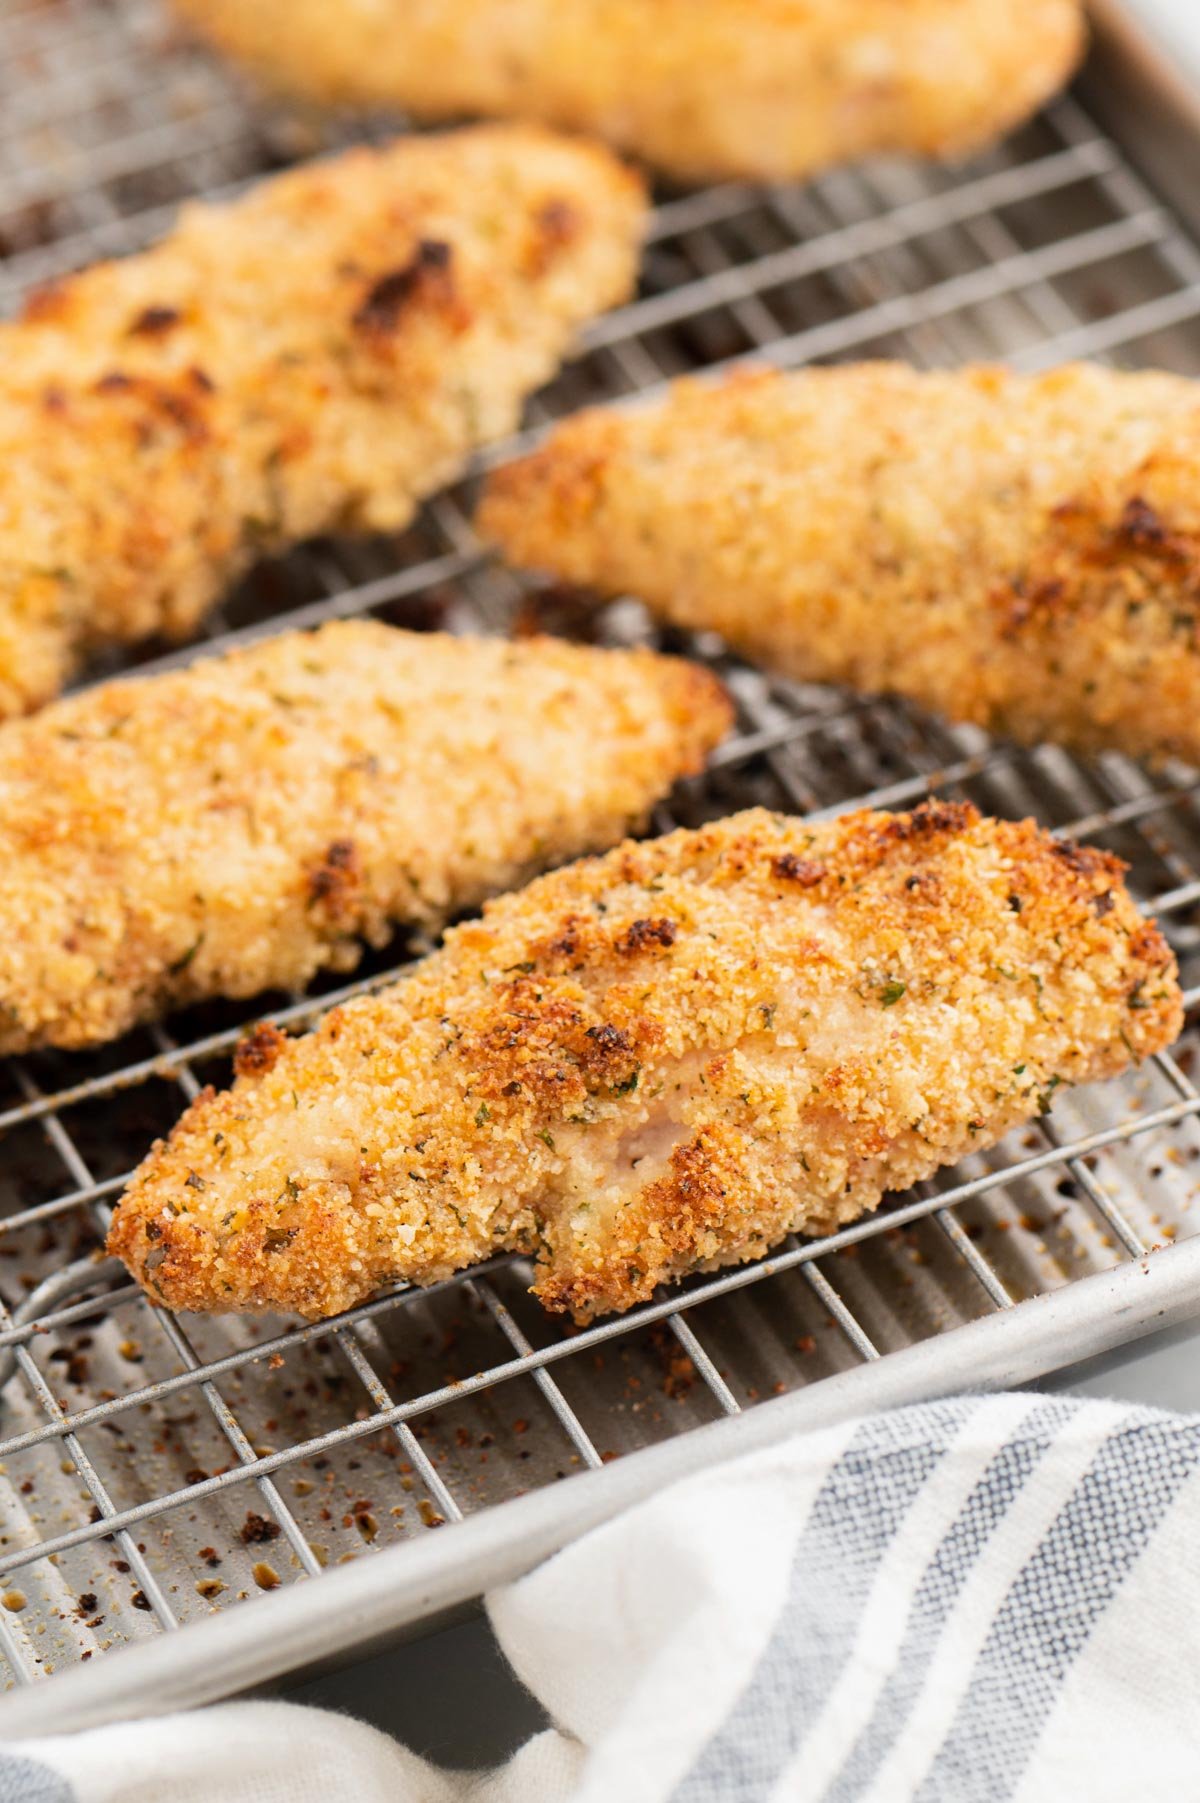
- Bake for 18-25 minutes. I like to spray both sides first with a little bit of cooking spray to give a nice golden finish – not necessary but definitely makes them look prettier. The chicken is done when it reaches 165°F on an instant read meat thermometer. The cook time will vary depending on the size and thickness.
How Long Should You Cook Chicken Tenders For?
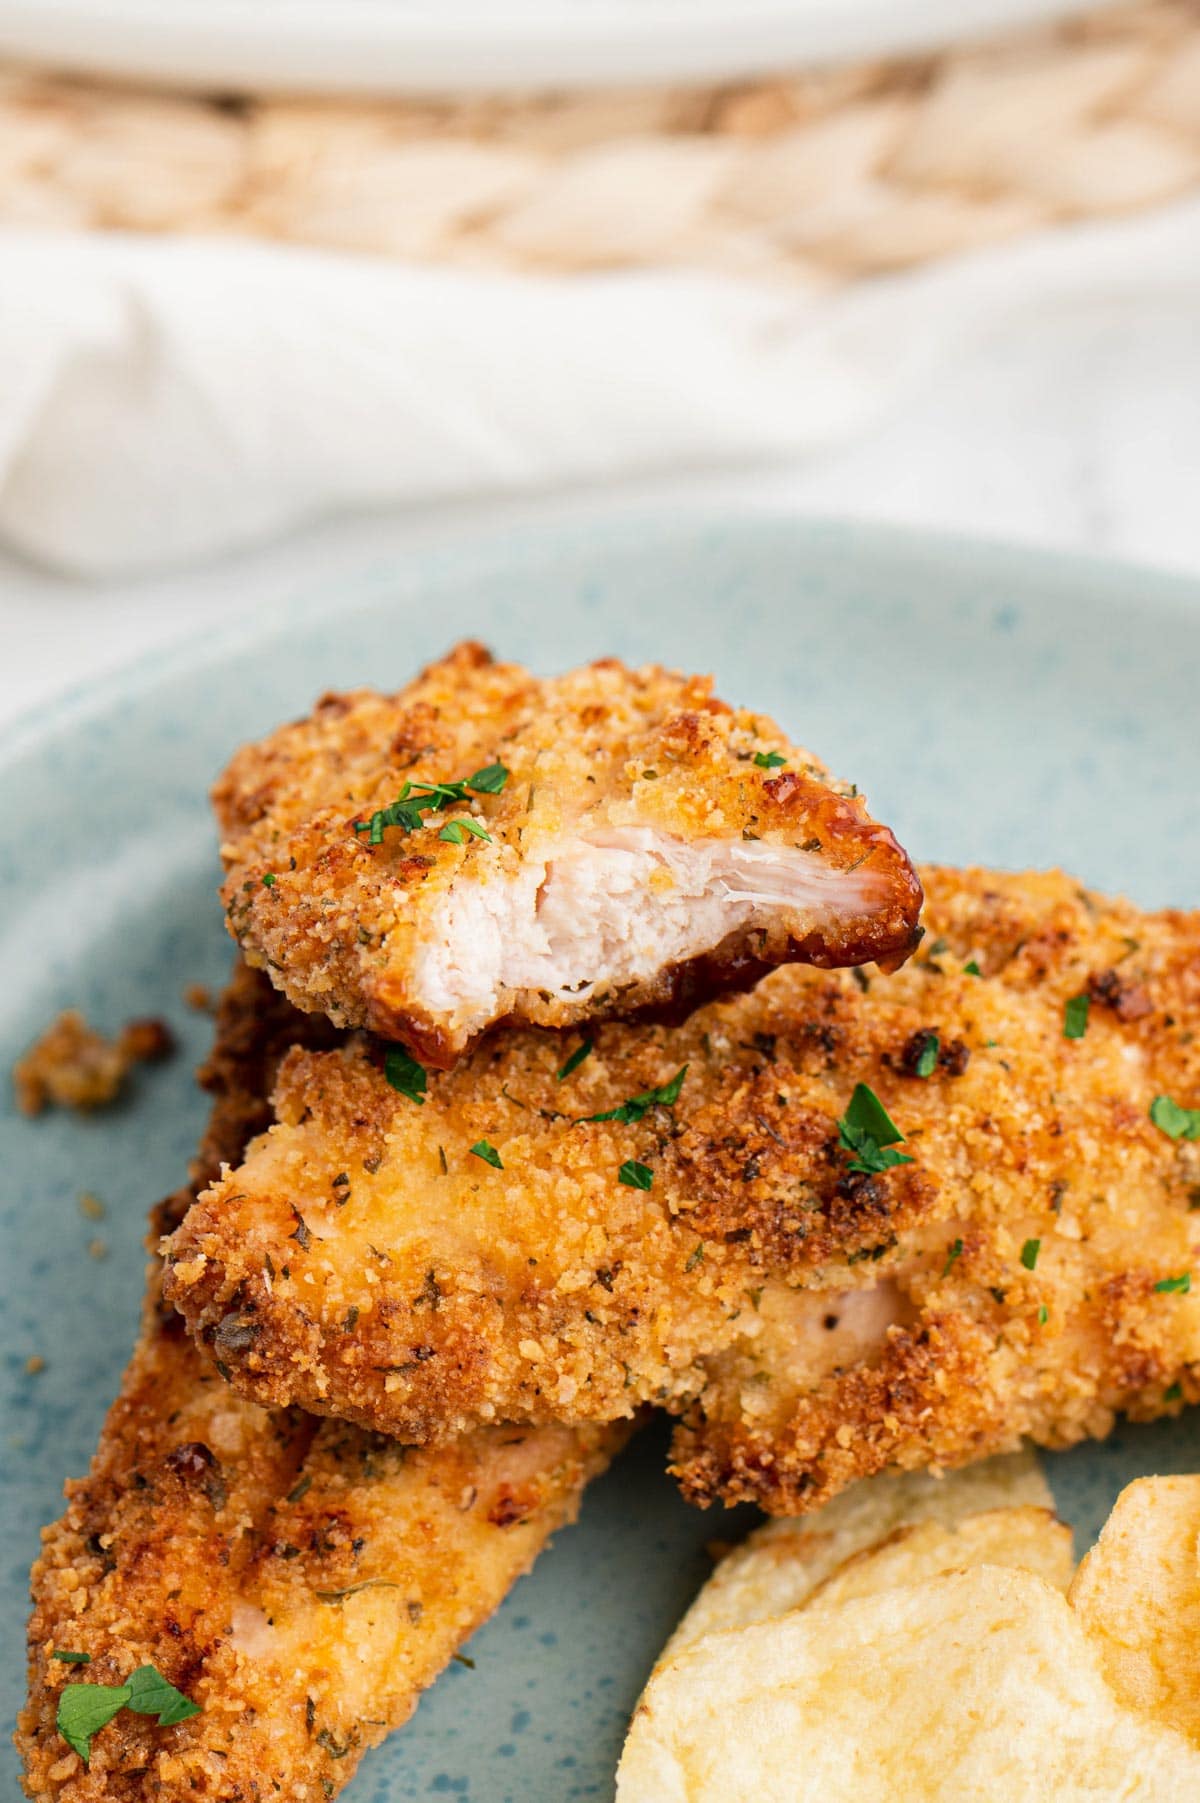
It takes about 20 minutes to bake the breaded chicken tenders at 425℉. It’s important to make sure they reach an internal temperature of 165℉. Depending on the size and thickness of the chicken pieces, it can take anywhere from 18-25 minutes.
Can I Make These in an Air Fryer?
Sure! First preheat your Air Fryer to 400℉, then place the breaded tenders in the basket and air fry for about 10-14 minutes. Turn them over after 6-7 minutes so they’ll cook evenly. Keep in mind that every air fryer is different so check your manufacturer’s instructions and keep your meat thermometer handy.
Serving Suggestions
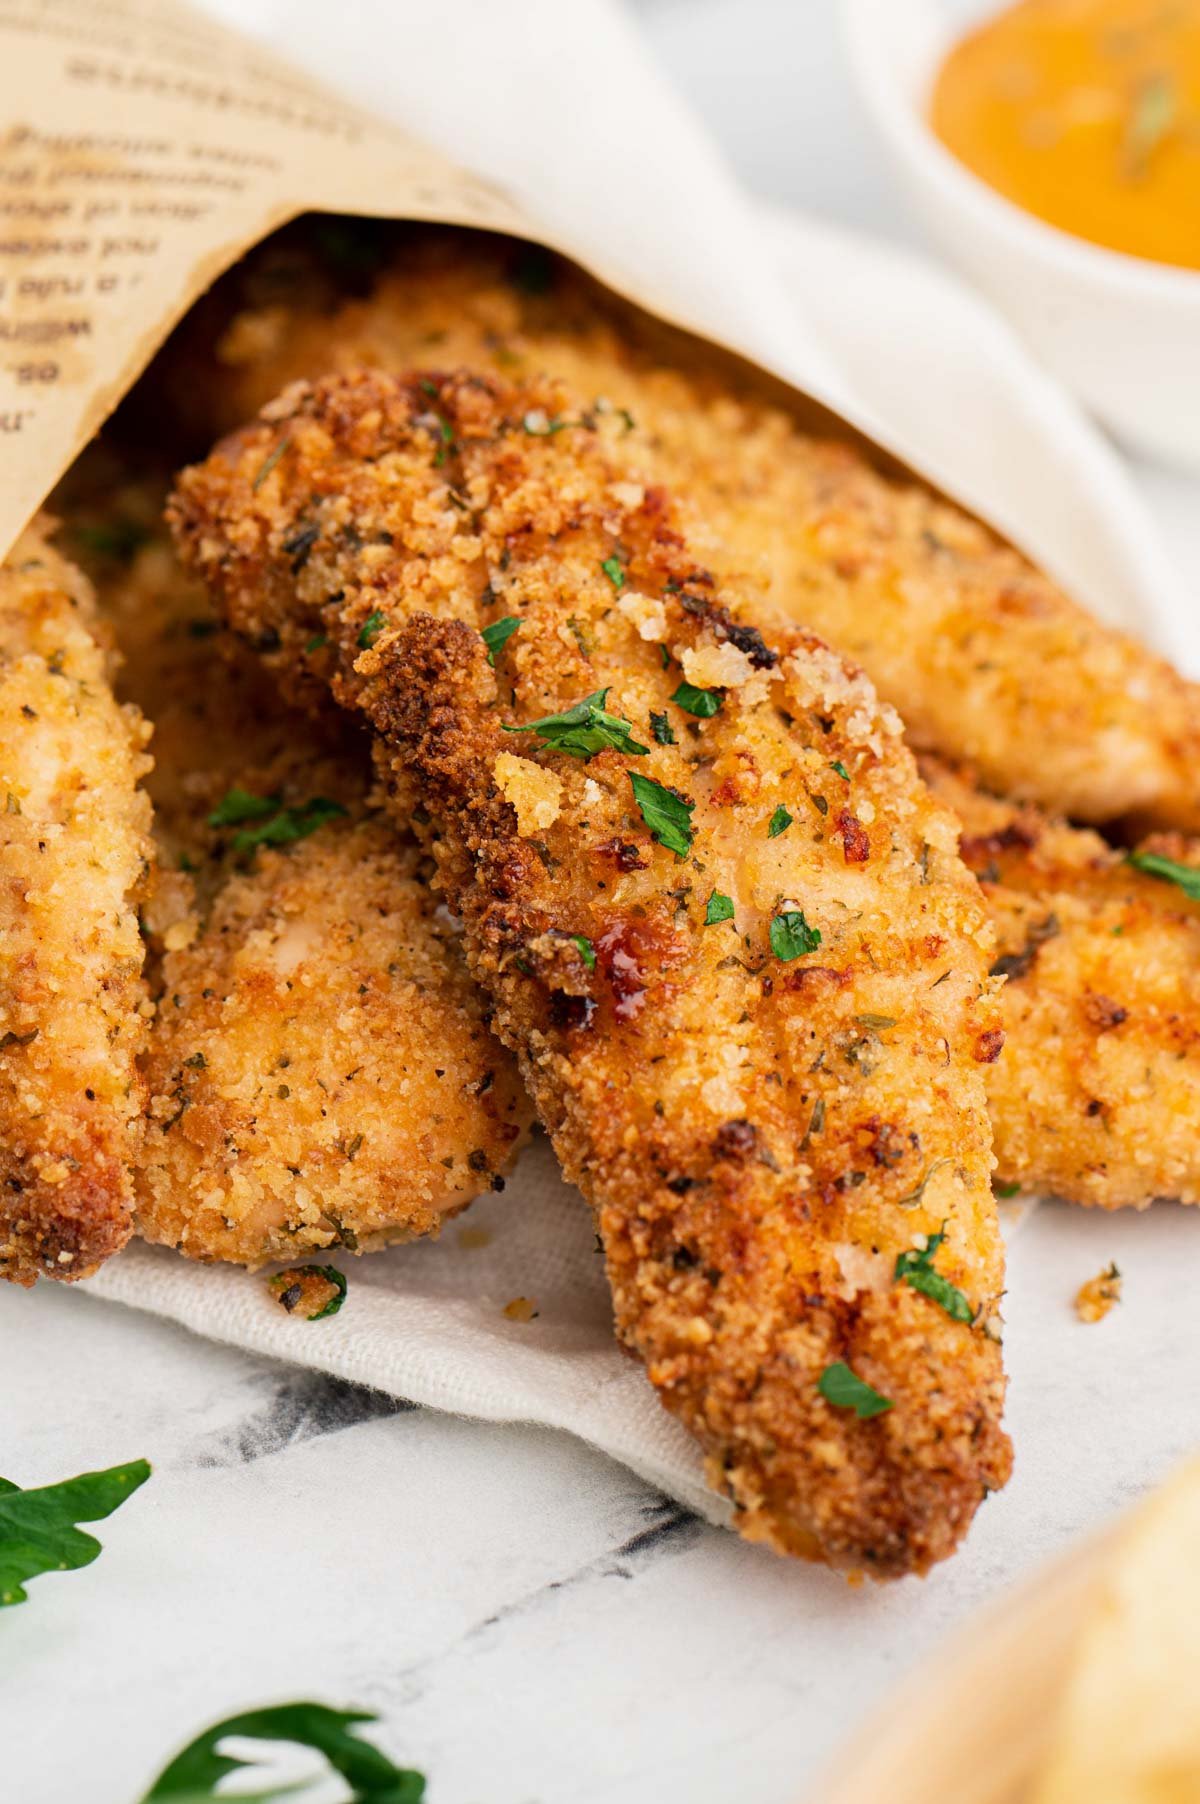
You can easily make these chicken strips part of your appetizer party spread, or make them part of a delicious meal. Sprinkle some fresh parsley on top for a pretty presentation.
Serve with a variety of dipping sauces, like:
- Panera Green Goddess Dressing
- Homemade BBQ Sauce
- Honey Mustard Sauce
- Sweet and Sour Sauce
Variations
In most of these variations, I’d recommend using plain breadcrumbs instead of Italian seasoned, along with the Panko.
- Spicy Tenders: Add some cayenne pepper or chili powder to the bread crumb mixture.
- Buffalo Chicken: Add chili powder to the bread crumbs and serve with buffalo sauce for dipping, or better yet, toss in buffalo sauce and serve with ranch!
- Italian: Omit the Ranch, double the amount of Parmesan, and add 2 teaspoons of Italian seasoning to the breadcrumbs.
- Chicken Parmesan: These are great for making shortcut Chicken Parmesan too! Just bake fully, then top with a couple spoonfuls of marinara sauce and thin slices of Mozzarella. Broil for 1-2 minutes or until the cheese is melted. Serve with spaghetti and more marinara.
Storage and Reheating
Leftovers are great for salads, wraps, tacos – even school lunches!
Storage: Place leftovers in an airtight container or resealable plastic bag for up to 2-3 days.
Freezing: Once the tenders are completely cooled, arrange in a single layer on a baking sheet and freeze for 1-2 hours. Transfer to a resealable freezer bag and store in the freezer for up to 3 months.
Reheating: Refrigerated or frozen, reheat on a baking sheet with a wire rack in a 425℉ oven until heated through. If needed, broil to crisp up. You can also reheat them in an air fryer.
- Regular Bread Crumbs vs Panko: You could opt to use one or the other, but using only regular breadcrumbs will produce a softer tender, more prone to becoming soggy and Panko tends to not cover the chicken as well.
- Why are my chicken strips soggy? Make sure to pat the chicken dry before coating with the butter and bread crumbs, and make sure to let the excess butter drip off before adding the breadcrumbs.
- Line your baking sheet with foil or parchment paper for easy clean up.
- If you can, grate the Parmesan fresh from a block. The pre-grated from a can will work in a pinch.
- If needed, you can broil your tenders until you are happy with the texture, just watch closely so they don’t burn.
More Chicken Recipes
- Grilled Cilantro Lime Chicken
- Crispy Fried Chicken Tenders
- Greek Yogurt Marinated Chicken Thighs
- Grilled Chicken Sandwich
Baked Chicken Tenders

Ingredients
- 2 pounds chicken tenders
- 1 cup salted butter
- 2 large garlic cloves minced
- 2 teaspoons white vinegar
- 2 cup panko bread crumbs
- 4 cups Italian seasoned bread crumbs
- 1/2 cup grated parmesan cheese
- 1/2 cup dry ranch seasoning mix
- 2 teaspoons garlic powder
- 1 teaspoon salt
- 1 teaspoon black pepper
- 2 teaspoons dried parsley
Instructions
- Use sharp kitchen shears to remove the white tendon from the chicken tenderloins, pat dry with paper towel and set aside to come to room temperature. Preheat oven to 425℉. Top a rimmed baking sheet with an oven safe cooling/baking rack, spray lightly with non stick cooking spray.
- Place butter and fresh garlic in a shallow dish (such as a pie dish) and microwave until butter is melted, about 30 seconds, add vinegar. In a second shallow dish, mix all dry ingredients with a fork.
- Dip the chicken tenders in the melted butter briefly, wipe off excess butter. Immediately place in the bread crumb mixture and press bread crumbs on firmly. Place on prepared baking sheet. Spray both sides of each chicken tender lightly with the cooking spray.
- Bake for 18-25 minutes, or until tenders are golden brown and an instant read thermometer reads 165℉, flipping tenders over for the last 5 minutes of cooking. Serve immediately.
Notes
- Note that nutritional values are estimates and provided only as a guide. Actual numbers will vary based on ingredients used.
- Storage: Place leftovers in an airtight container or resealable plastic bag for up to 2-3 days.
- Freezing: Once the tenders are completely cooled, arrange in a single layer on a baking sheet and freeze for 1-2 hours. Transfer to a resealable freezer bag and store in the freezer for up to 3 months.
- Reheating: Refrigerated or frozen, reheat on a baking sheet with a wire rack in a 425℉ oven until heated through. If needed, broil to crisp up. You can also reheat them in an air fryer.
- One pound of chicken tenderloins will equal approximately 8-10 pieces. Plan on 1-2 pieces per person as an appetizer, 3-4 as a meal.
Nutrition
Nutritional Disclaimer Kristin Maxwell of “Yellow Bliss Road” is not a dietician or nutritionist, and any nutritional information shared is an estimate. For accurate calorie counts and other nutritional values, we recommend running the ingredients through your preferred online nutritional calculator. Calories and other nutritional values can vary depending on which brands were used.