This post may contain affiliate links. Please read our disclosure policy.
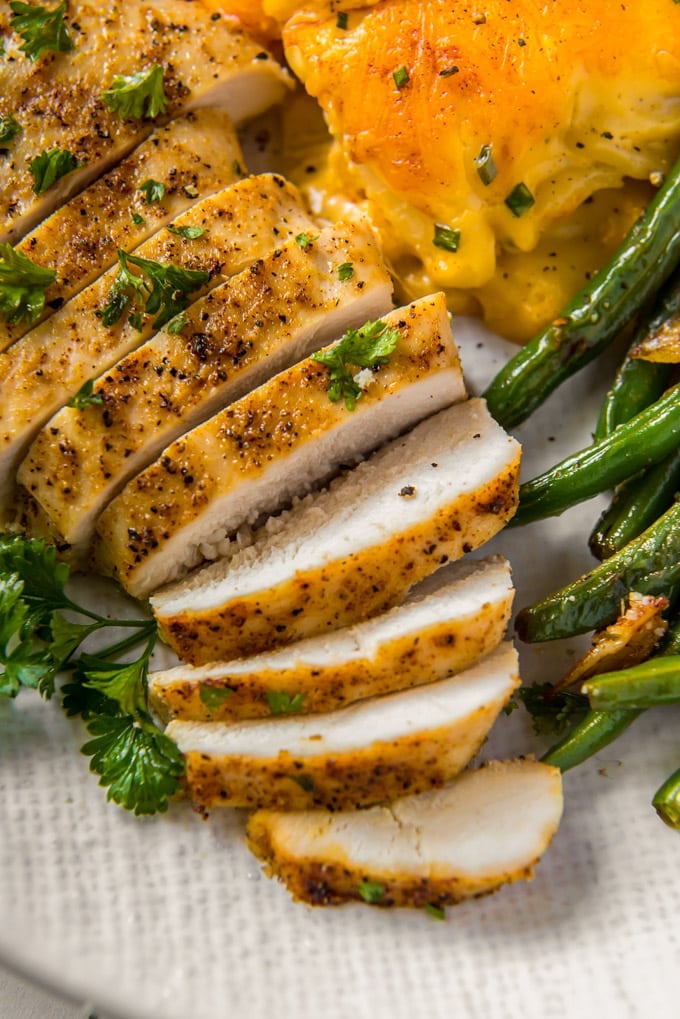
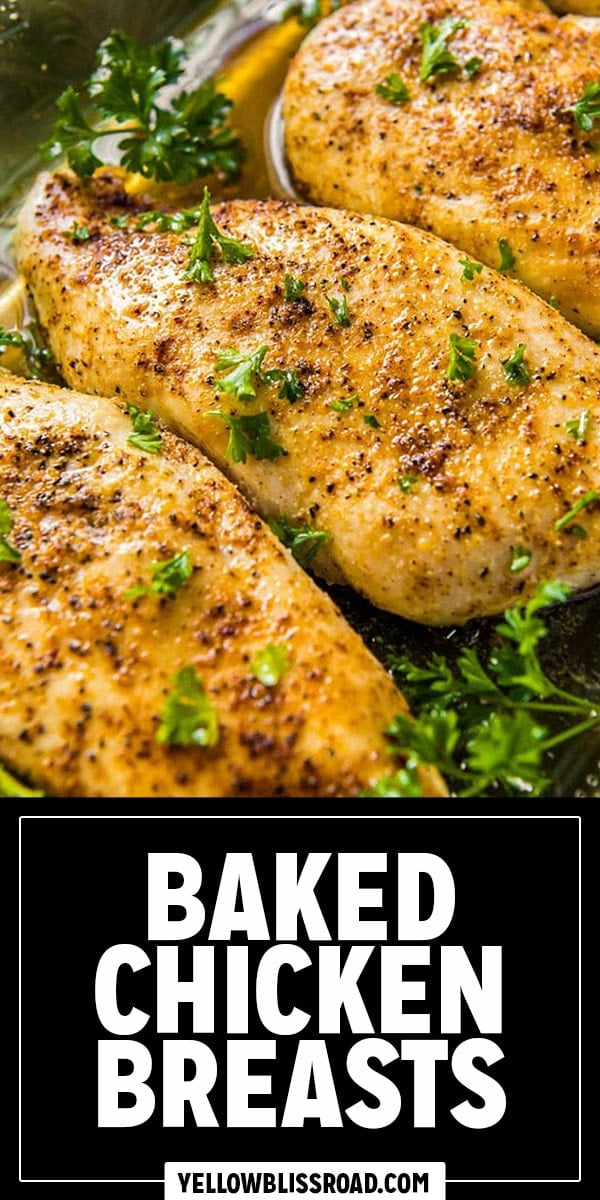
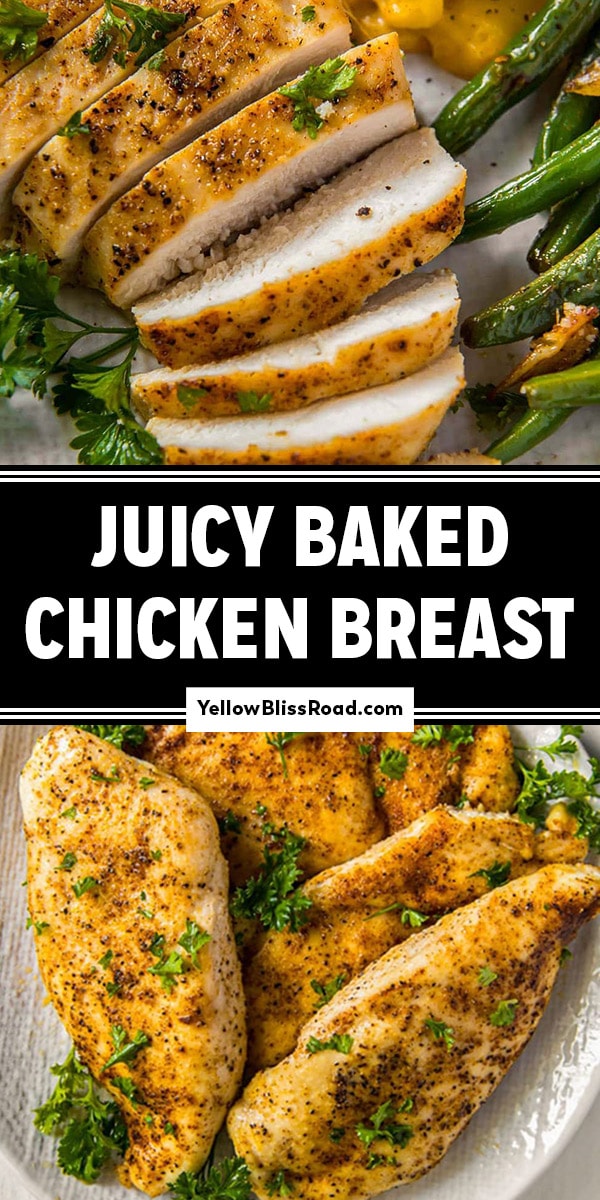
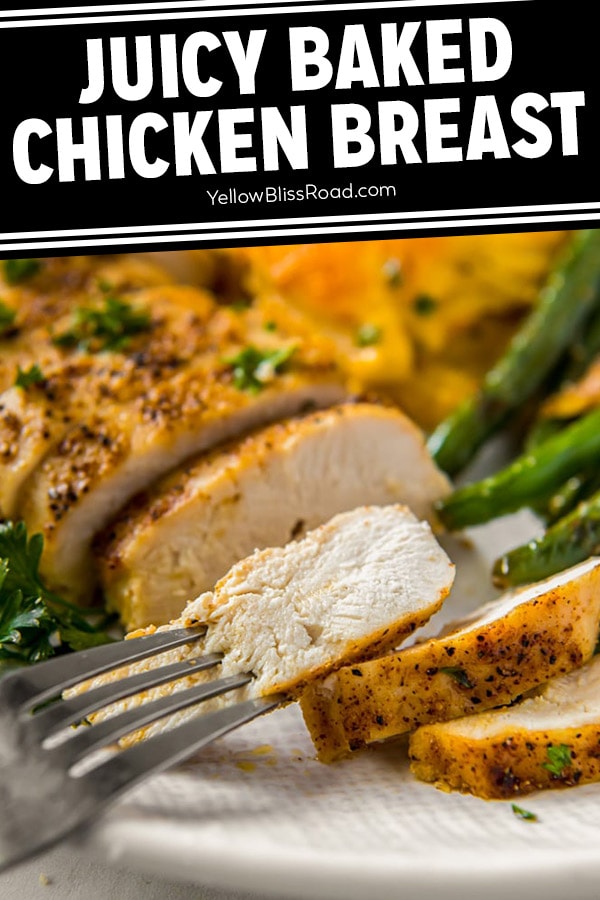
This simple method teaches how to make perfectly tender, juicy, and great-tasting baked chicken breasts. A perfectly seasoned chicken dinner is just 3 quick steps away!
Ready in less than 30 minutes, these perfectly seasoned chicken breasts will have dinner on the table fast. Serve with your favorite easy side dishes, like Instant Pot Baked Potatoes, Spaghetti Mac and Cheese or Seasoned Rice and a simple green veggie.
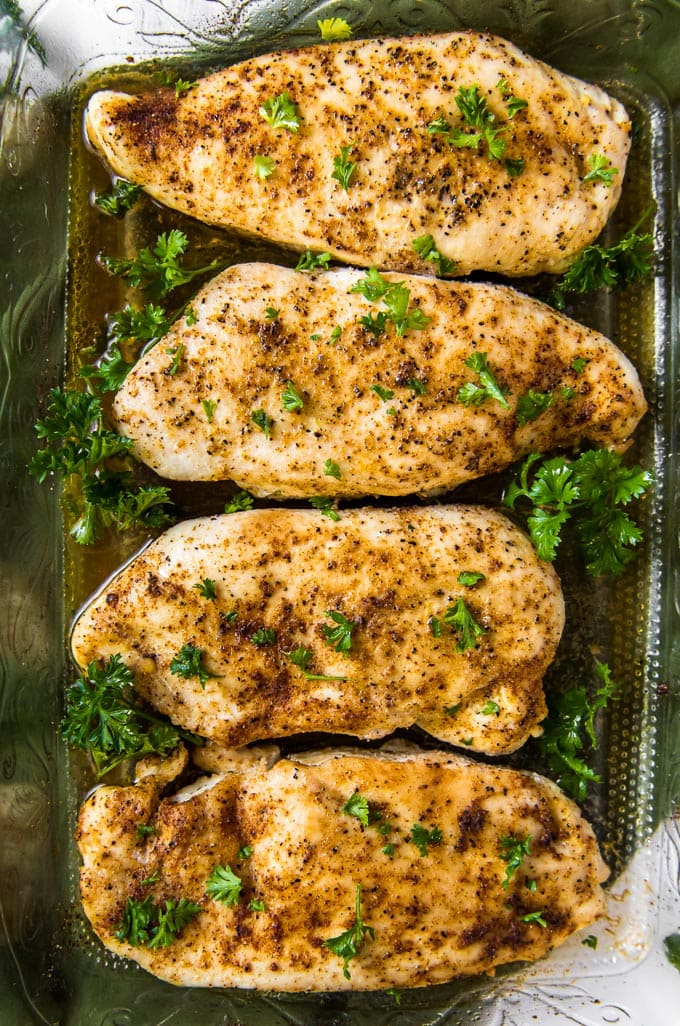
Table of Contents
- Baked Chicken Breast Recipe Highlights
- Ingredients for Baked Chicken
- How to Bake Chicken Breasts
- How Long Does it Take to Bake Chicken Breasts?
- Know the Proper Internal Temperature for Chicken
- FAQs
- Serving Suggestions
- How to Store Leftovers
- Expert Tips
- More Chicken Recipes You’ll Love
- Baked Chicken Breasts Recipe
Baked Chicken Breast Recipe Highlights
- Simple and Delicious Seasoning: My easy chicken seasoning is the best for chicken, pork or even fish!
- Fast and Easy: With this recipe, you can have an easy baked chicken breast dinner in less than 30 minutes!
- Simple and full of flavor: No need to add complicated sides, just serve with some Garlic Bread and your favorite vegetables or salad for a fast dinner your family will absolutely love.
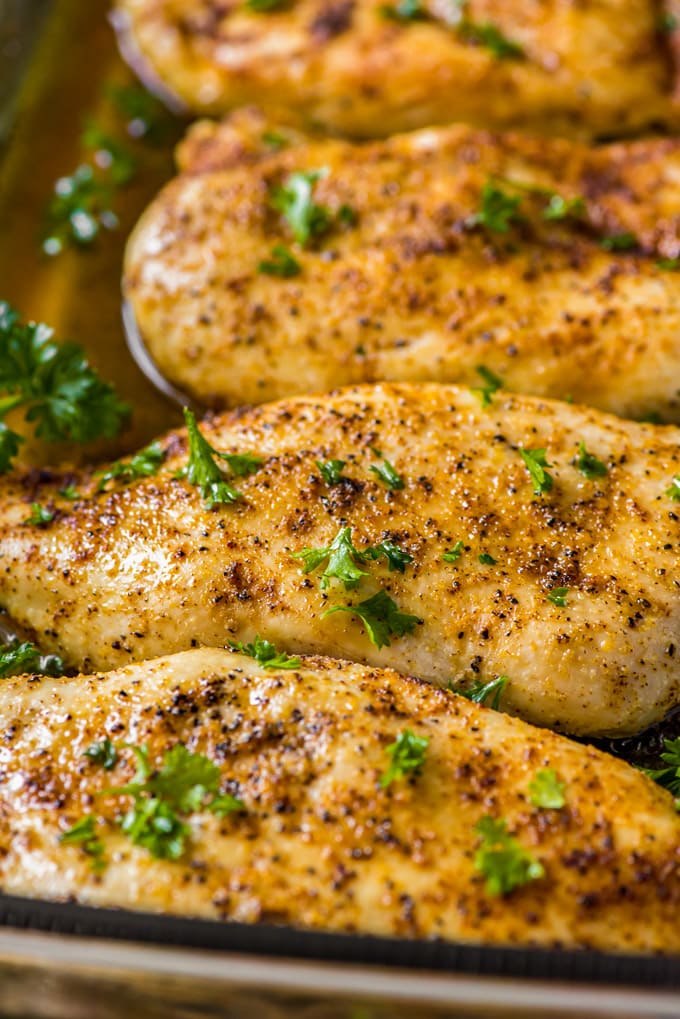
- Tender and Juicy: White meat often gets a bad rap for being dry and flavorless. But this baked chicken recipe is so tender, juicy and has so much flavor you can hardly tell the difference. Plus it’s a much healthier protein than dark meat.
- Tested and True Method: This has been my go-to method for years for this quick and easy chicken dinner.
- Makes Great Leftovers! I always cook a couple of extra for adding soup, casseroles, chicken salads or my favorite Chicken Caesar Wraps. Keep it in a sealed bag in the fridge for a few days, or pop it in the freezer if you’re not using it right away for juicy chicken breast any time. So great for meal prep!
How to Bake Chicken Breasts
See recipe card below for ingredient quantities and full instructions.
- Pound chicken to an even thickness. Pat the chicken dry with paper towels. Place chicken between two pieces of parchment paper or in a sealed plastic bag and lightly pound with a meat mallet. This will tenderize the meat and also help the chicken to cook faster and more evenly.
- Rub all over with olive oil. You could also use melted butter, or a variety of different types of oil, like avocado or corn oil.
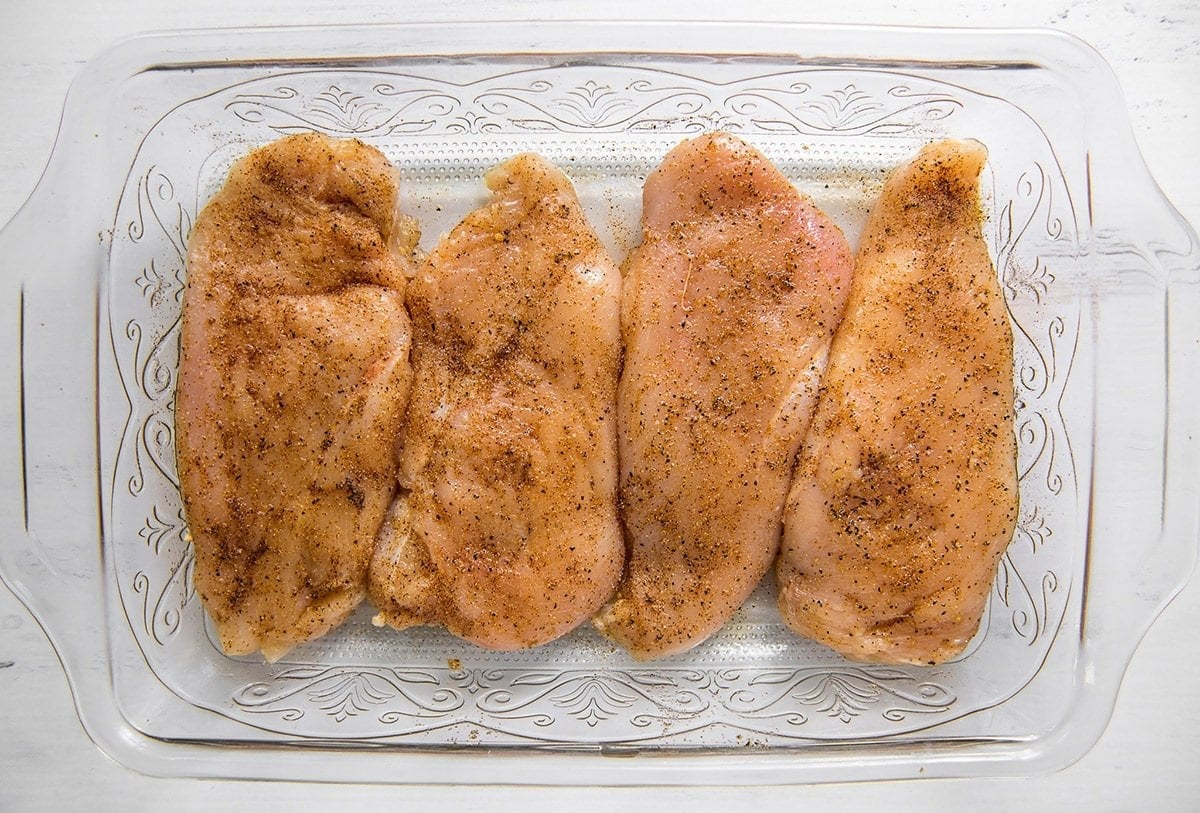
- Season the chicken well. Rub salt, pepper, garlic powder, paprika and onion powder all over the chicken. I like to add a sprinkling of salt over the top just to make sure it’s properly seasoned. Sometimes I’ll use chili powder instead of paprika.
- Place the chicken side by side in a glass baking dish. Arrange each piece of chicken in the opposite direction and you should be able to fit 4 pieces in a 13×9-inch dish. For best results, they can be close together but not on top of each other. They will shrink slightly as they cook.
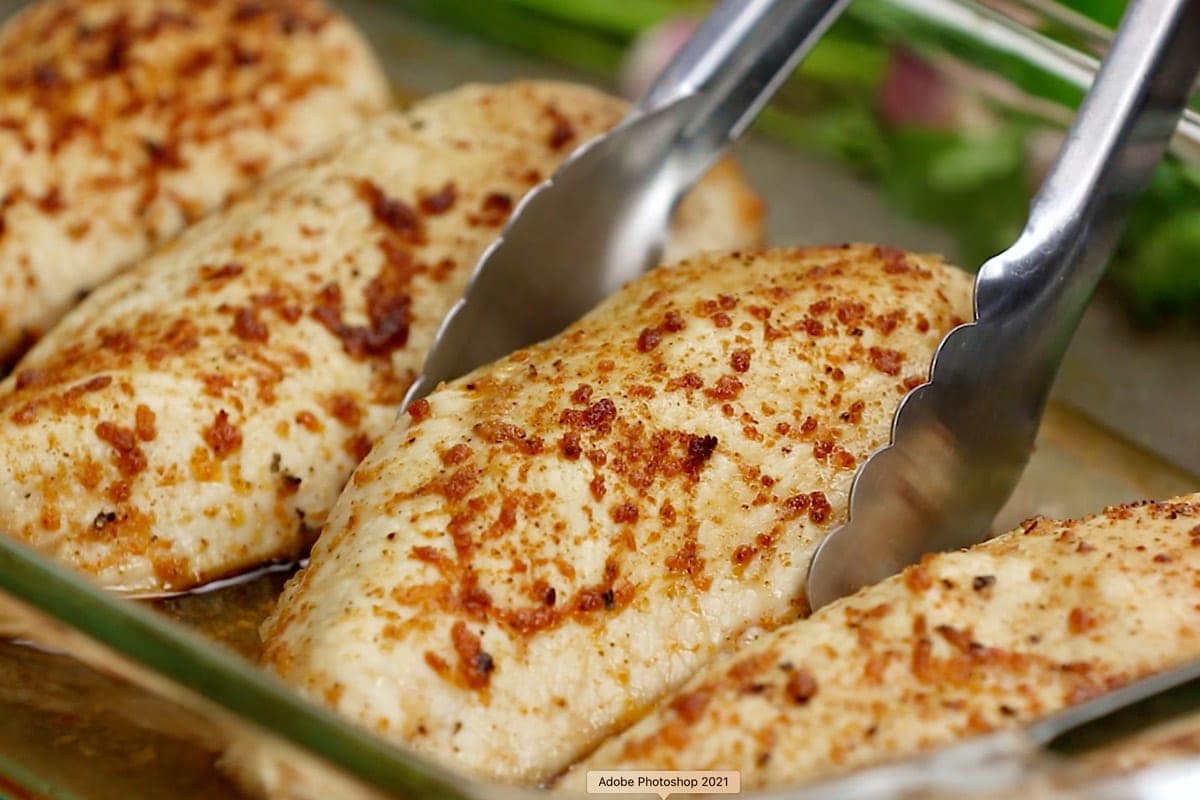
- Roast in the oven at 450℉ for about 15-20 minutes. It doesn’t sound like a long time, but at the higher temperature the chicken will cook fast.
- Cook chicken to 165℉. Once the chicken reaches the optimal temperature, remove the pan from the oven and tent with foil to allow the chicken time to rest. Check out my free downloadable Meat Temperature Chart for more information on proper temperatures.
Pro Tip: Patting the chicken dry with paper towels will help the seasonings to stick. Don’t skip this step.
How Long Does it Take to Bake Chicken Breasts?
Boneless skinless chicken breasts are very lean, so it’s easy to overcook them. I always set my oven to 450℉, but maybe you want to cook something else at the same time and need the oven at a lower temperature. You can still get good results using this guide.
Here’s how long to bake chicken breasts at each temperature:
- 350℉: 30-35 minutes
- 375℉: 25-30 minutes
- 400℉: 22-25 minutes
- 425℉: 18-22 minutes
- 450℉: 15-18 minutes
Keep in mind that the exact time needed will depend on the size and thickness of the meat. It’s super handy to keep a digital instant-read thermometer in your kitchen to get the temp just right.
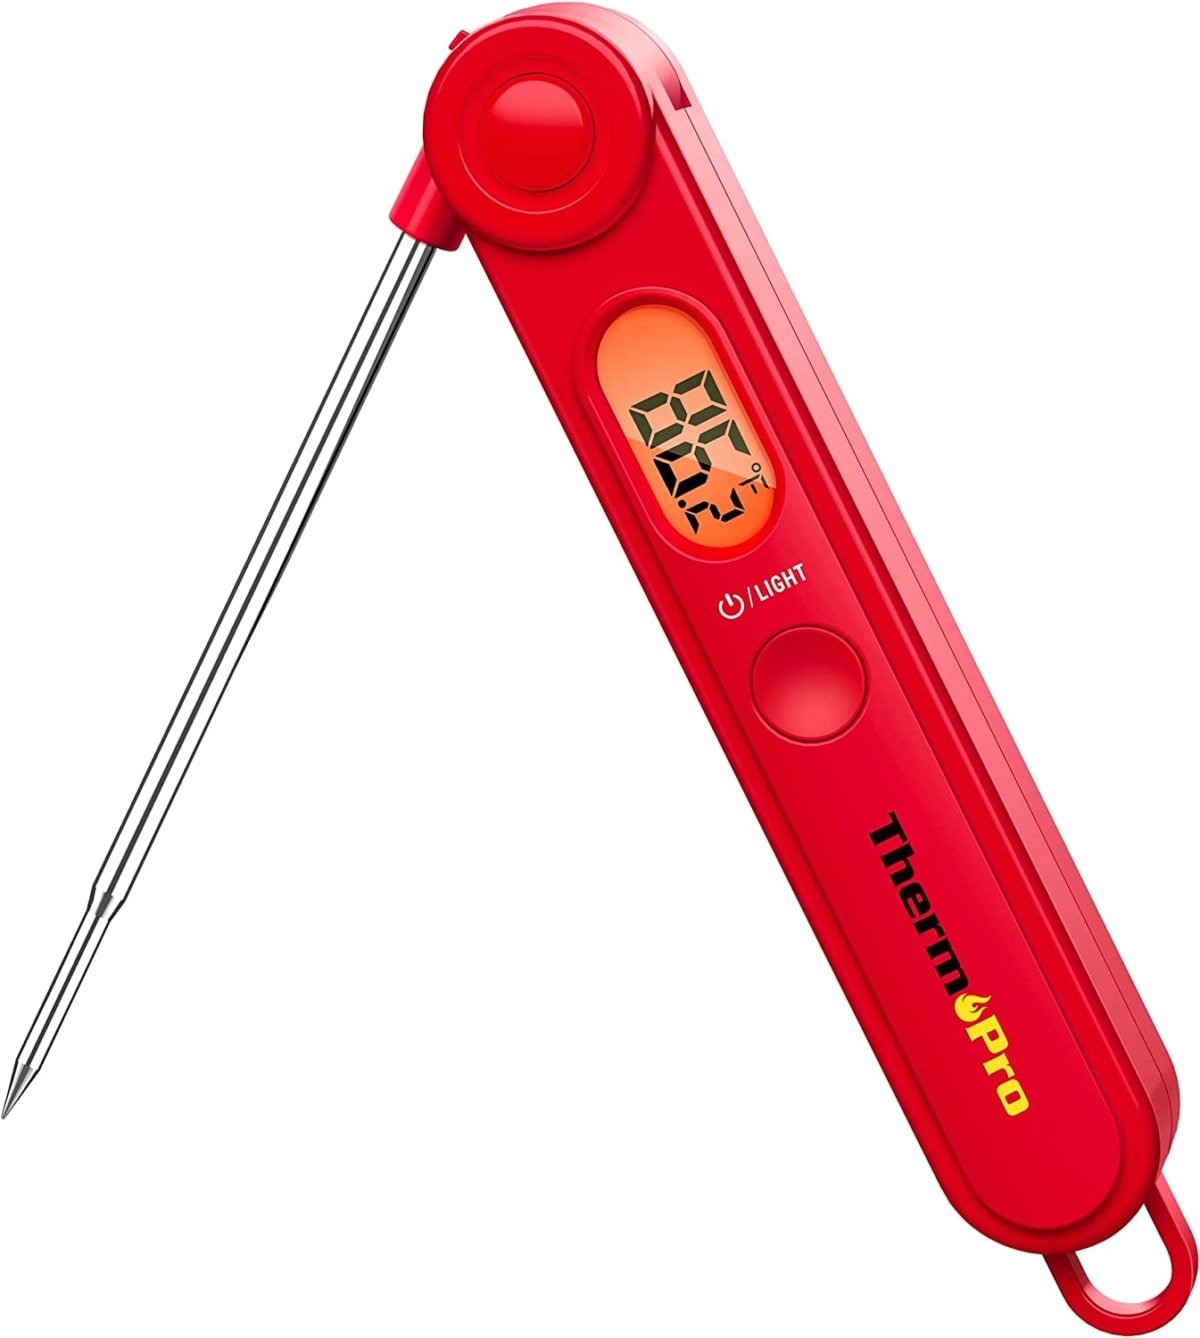
Thermopro Digital Instant Read Meat Thermometer
I highly recommend investing in a meat thermometer for your kitchen. It’s very affordable and often on sale! This is the one I’ve used for years and it has a hundred thousand positive reviews.
Know the Proper Internal Temperature for Chicken
No matter what part of the bird, all chicken should be cooked to 165℉. Use a digital meat thermometer and stick the pointy end into the center of the thickest part of the meat, or for bone-in chicken, the thickest part near the bone. Once the internal temperature registers at least 160-165℉ you know it’s time to tent and rest.
The time it takes to reach the proper temperature can vary by size. These times are based on 450℉ in my recipe:
- 6-ounce breasts: 13-16 minutes.
- 8-ounce breasts: 16-19 minutes.
- 12-ounce breasts: 22-26 minutes.
FAQs
I have tested boneless skinless chicken breasts at a variety of oven temperatures and have found that the higher temperatures seal in the juices and produce the juiciest baked chicken. In my opinion, 450℉ is the best temperature to bake chicken at, but going as low as 425℉ would work fine.
It really depends on the recipe. Typically, I cook chicken uncovered to give it a chance to brown evenly. But for a recipe like Chicken and Rice Bake, covering the pan with foil is crucial to seal in the moistrure.
The seasoning blend I use for this chicken recipe is simple and easy, using spices that are usually readily available. It is my favorite blend and I use it with a variety of recipes. It works great with boneless or bone-in breasts, chicken thighs and drumsticks, and in the oven, on the stovetop or even on the grill! Just rub the seasoning into the chicken and cook accordingly.
Boneless, skinless chicken thighs can be cooked at the same temperature as this recipe but may need an extra 5-10 minutes depending on size. Bone-in chicken will always take much longer; at least an extra 20 minutes. Chicken tenders work wonderfully as well and should just take about 10 minutes.
You can prep the chicken up to 24 hours in advance and keep it tightly covered in the refrigerator. Remove from the fridge while the oven preheats and bake as directed.
Absolutely! It’s easy to double as long as you have the oven space. Double the amount of chicken and seasoning but cook for the same amount of time.
Serving Suggestions
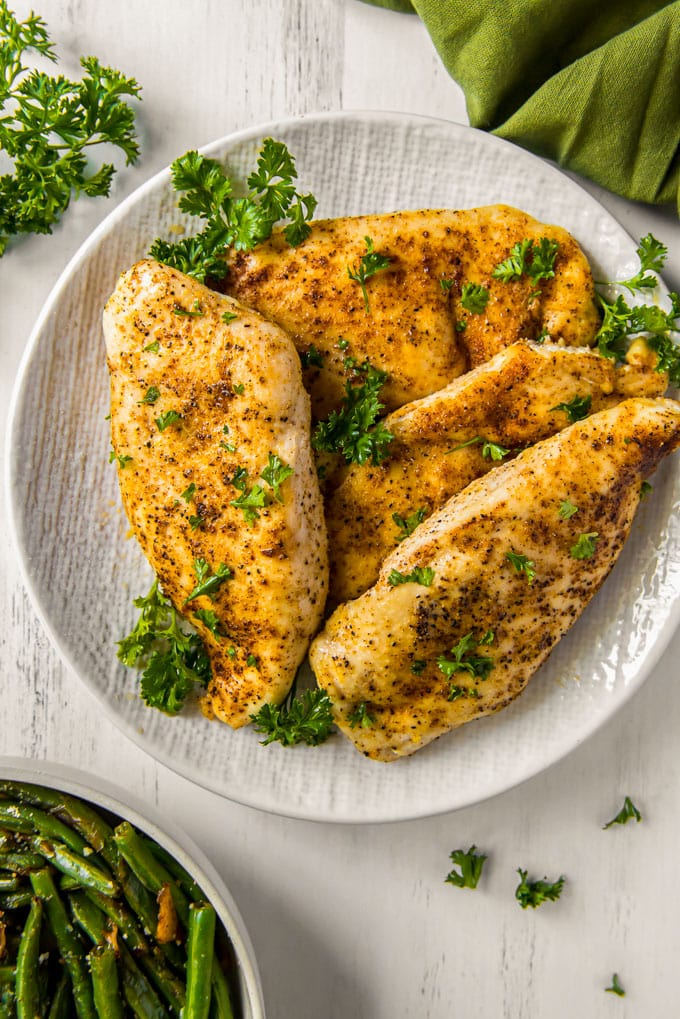
The beauty of this recipe is that it is incredibly versatile. You could serve it with just about anything from pasta to salad and have a delicious meal. My go-to meal is serving with roasted red potatoes and salad. But here are some favorite sides to serve with chicken:
How to Store Leftovers
Refrigerator: Store leftover cooked chicken up to 4 days in the fridge in an airtight container. Perfect for meal prepping for the week and for using in a variety of recipes from salads to soups.
Freezer: Cool completely and store cooked chicken in a freezer safe container for up to 6 months. I recommend wrapping each breast in parchment paper before freezing for easy portioning.
Expert Tips
White meat can be tough to get just right. It’s all too easy to overcook and end up with dry, rubbery chicken. I’ve got lots of expert tips to share when it comes to my favorite chicken breast recipes.
- Add healthy fat with olive oil. Rubbing the chicken with a little olive oil before baking helps add moisture to the chicken and also helps the seasonings stick to the breast.
- Keep the seasoning simple. I use a very simple seasoning of salt and pepper, garlic powder, onion powder and chili powder or paprika. Oregano, thyme, Italian seasoning or even taco seasoning are also great to use. Pick the spices, herbs and flavors you enjoy.
- Chicken breasts do best at a high temperature (roasting) around 425-450℉. This allows the meat to cook quickly and retain a lot of moisture. Lower temps result in a longer cooking time and a higher chance of dry chicken, which is not something anyone wants!
- Make sure to let the chicken rest. When cooked at a high temperature the juices in the chicken quickly rush to the center, so when you cut into it right away, all those juices come pouring out and boom – dry chicken. Resting allows the juices to redistribute through the breast and gives you a tender, juicy piece of meat every time.
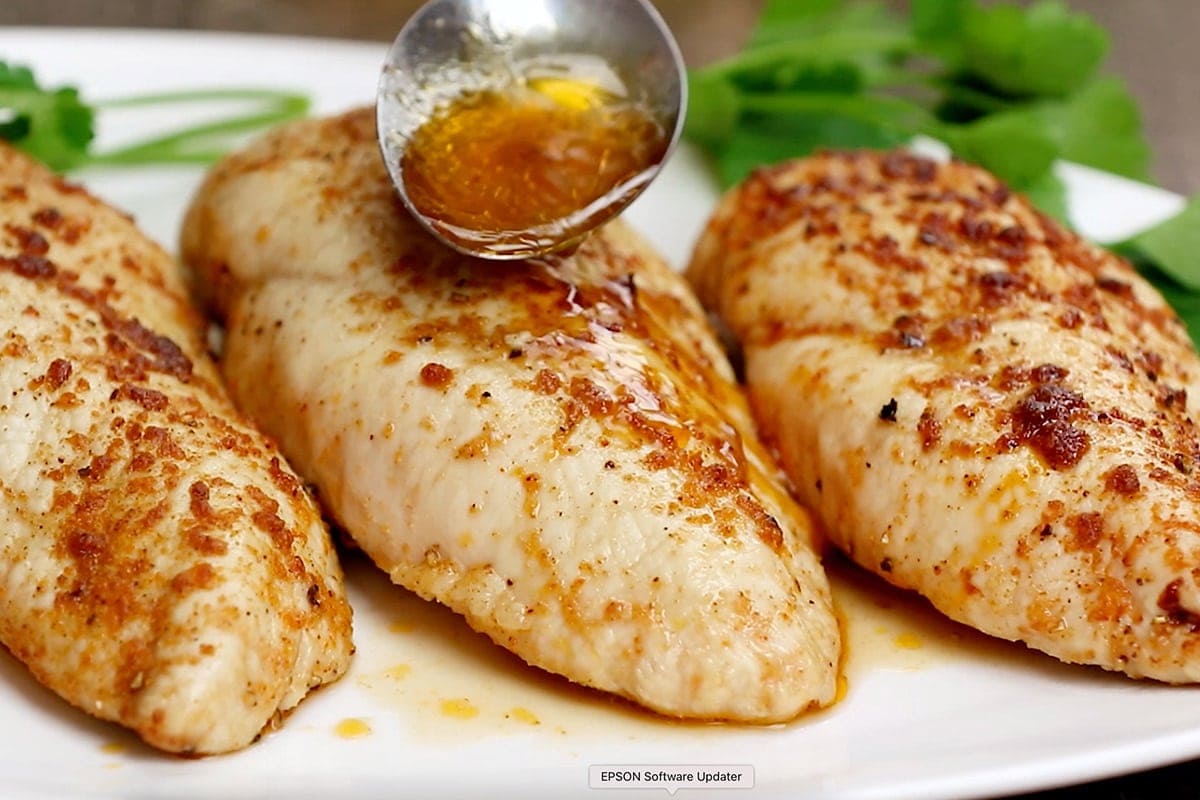
- Serve with the juices. Adding a drizzle of the juices from the pan with add extra flavor and moisture to the meat.
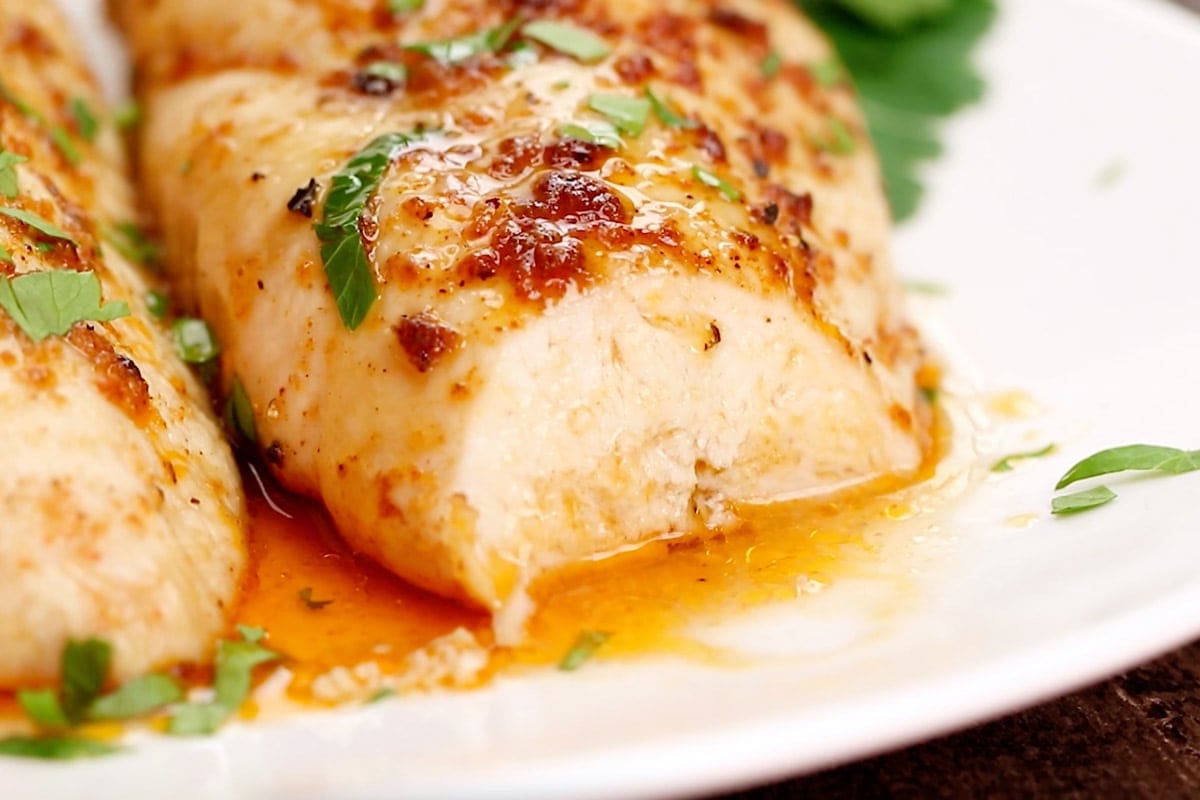
- Slice against the grain. This will result in the most tender, easy to chew chicken.
- Use a deep baking dish. I use this baking dish (or one similar) for making my baking chicken. You could also use a foil or parchment lined rimmed baking sheet, but a high sided baking dish seems to do better at keeping the meat juicy.
- Add a topping. Try topping with some Homemade Garlic Butter to mix with the juices for extra flavor.
More Chicken Recipes You’ll Love
If your family loves this baked chicken breast recipe as much as mine does, try some of our other favorite chicken dinners, like Creamy Baked Chicken, Easy Oven Baked Chicken Drumsticks and Juicy Baked Lemon Pepper Chicken.
Or try one of these chicken recipes next:
- Roasted Lemon Chicken Drumsticks
- Bacon Wrapped Chicken Thighs
- Mexican Chicken Casserole
- Chicken Thigh Marinade
- Crispy Baked Chicken Wings
- Easy Baked Barbecue Chicken
Baked Chicken Breasts
Ingredients
- 2 pounds Boneless, skinless chicken breasts about 4 medium size breasts
- 2 tablespoons Extra virgin olive oil
- 1 teaspoon Kosher salt
- 1/2 teaspoon Black pepper
- 1/2 teaspoon Garlic powder
- 1/2 teaspoon Onion powder
- 1/2 teaspoon Smoked paprika
Instructions
- Preheat oven to 450℉. Pound chicken breasts lightly so they are even in thickness.
- Pour olive oil in a 13" x 9" baking dish. Lightly coat the chicken with the oil, then place chicken breasts side by side in the dish. *Make sure to use a baking dish that can withstand high temperatures.
- In a small bowl, whisk together salt, pepper, garlic powder, onion powder and chili powder (or paprika). Sprinkle the seasoning mixture over both sides of the chicken and rub it in with your hands.
- Bake in a preheated oven for 15-20 minutes, until juices are clear or a meat thermometer reads 160-170℉. *Note – depending on the size of your chicken breasts, it could take longer. Mine were pounded to less than an inch thick.
- Cover with foil and allow to rest for 5-10 minutes while the juices settle before slicing and serving.
Hi! Was just wondering would this work just as well with chicken breast that have the bone in and skin on? Or do you recommend only using the boneless?
This recipe is specifically for boneless chicken. However you could use bone-in, you would need to at least double the time.
This looks awesome – and because I’m looking for a recipe I can serve on Passover, it is perfect!
I would like to prepare it Friday and serve Saturday evening – how should I reheat it so that it isn’t dry? I will be doing soup/salad before the meal, and will need to keep it warm without drying it out.
Thank you for this, I know I will adopt this as my new go-to chicken breast recipe!
Reheating chicken can be tricky. You could heat it in a slow cooker, or cover it with foil and heat in the oven.
Thanks, Kristin – maybe I’ll make it prior to everyone arriving and keep it warm while we start the meal. I just want to make sure it’s cooked throughout. Either way, I look forward to reporting back!
I have never commented on any recipe on any site BUT this recipe blows my mind every time I make it!! So I feel inclined to share my love. It is now my go-to baked chicken recipe. I have it 1-3 or more days a week. So versatile and always a hit no matter what I decide to do with it. whether I chop it up for a salad topper, toss it in soup, throw it in tacos shells or leave it to stand alone as the solo star. Follow this to a T and you will have the juiciest most well prepared baked chicken possible. Thank you soooo much Kristin!!
That is so great!! Thanks for sharing your success Stephanie!!!
Thank you so much for sharing this recipe. We all loved it so much! I think this is my new favorite chicken dish. Thank you again!
This recipe is hands down my favorite go to recipe. We have been know to eat it three times a week. My three year old loves it so that wins big points in my house. I share this recipe with all the busy moms I know. It’s a winner for sure! Thanks for sharing!
Thanks so much for the feedback Michelle!
Tried it last night and it was soooooo YUMMY! I didn’t have onion powder but I added a little more chili powder. Chicken was moist and flavorful 🙂 Thanks for the recipe!
Thanks for this easy and delicious recipe that we will make again and again.
My five year old said this was the best chicken ever! It was super easy and my whole family loved it. I made extra as well, and may use the rest for chicken salad! The chicken breasts I bought were pretty thick, so I cut them in half lengthwise to make 2 thin pieces out of one thick one. I still did pound them a bit so that the entire piece was the same thickness. Thank you for this recipe! Delicious!
Thanks Kristin for the recipe 🙂
I tried the recipe last night. Needed a recipe to be made in a short time. It tasted really good and juicy not over cooked. very very good. Thanks again. 🙂
Based on all of the great comments, I’m anxious to try this recipe this evening. I’ve always had problems with baked chicken breasts being extremely dry, so I’m looking forward to having juicy, tender chicken breasts this time. Thanks for the recipe, and thanks to everyone else for the comments!
I just made this, and love the taste. I want to use it in a salad. Do you have any salad dressing suggestions that would go with it?
I’m a Ranch girl myself, and that’s what I would use. I think it would also pair well with a lemon based dressing.
I made this tonight (only thing I did differently was to pour the oil and the spices into a bag and add the chicken in to the bag to coat and then placed them into the baking dish). I am echoing all of the rave reviews! The flavor is amazing and the chicken was tender and perfectly cooked. I even used the juices to spoon over some steamed cauliflower and that made the cauliflower taste awesome as well. Because everyone can have differently sized chicken, I inserted a meat probe thermometer and set it for 160 degrees. It took longer than 20 minutes for me but that is most likely due to the generous portion sized chicken breasts I used. I will most definitely be using this recipe and technique in the future.
Thank you so much for posting this recipe! I have always struggled with dry chicken, but this recipe was amazing! The only thing that I changed was that I iinjected Worcester, & seasoning into the chicken. This was because I prepared the chicken before I found your recipe. Thanks again!
I made this for supper last night. Everyone loved it. Thanks for a great recipe.
Can I use frozen breast?
You can bake chicken breasts frozen, but the timing and thickness would be way off from this recipe, since you couldn’t pound them out. They just don’t come out as juicy. But you could use the same seasonings.
I will definitely try this, thank you! I have questions that probably seem silly to experienced cooks, but here goes: 1. What do you use to pound the chicken breasts and can you explain if you cover them with something while pounding? 2. The breasts in the photo look thin cut-if I buy the fat/plump kind how long do I cook them? Thanks again!
Not silly Claire! No those aren’t thin cut – they are thin because I pounded them out! 😉 I just put the breasts in a sealed ziploc bag (usually two at a time depending on their size), then pound them with a meat mallet. But I’ve also used a flat bottomed skillet and it works just as well.
This recipe was perfect for my chicken salad. There’s nothing worse than dried out chicken breast. Thanks for posting. have made this my go to recipe for baked chicken breast. Mmmmmmmm…..
Hi! Fantastic recipe! So delicious and incredibly moist! Just wondering, are you using 4 full chicken breast, so a total of 8 halves? I always get my chicken breast halved when I buy it from the butcher so I just wanted to check on the proportions. Thanks!
It’s four individual breasts.
I am trying this tonight!! Thank you!!
My picky eaters (3,5 and 7) all love this! Thank you for this recipe! The flavor is delicious 🙂