

Latest Recipes

Mexican Recipes
Beef Enchiladas

Mexican Recipes
Mexican Pinwheels
Potato Recipes
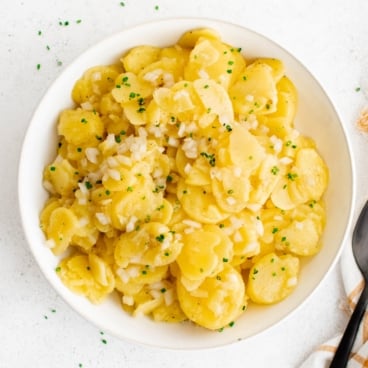
Authentic German Potato Salad (Swabia Style)

Mexican Recipes
One Pot Mexican Chicken and Rice
A Taste of Spring
Out with the cold and in with the warmth of Spring! With it comes longer days, warmer evenings, and tons of garden fresh produce. Welcome the season with some of our favorite spring recipes.
Fantastic Dinners

Refreshing Spring Salads
Recipes
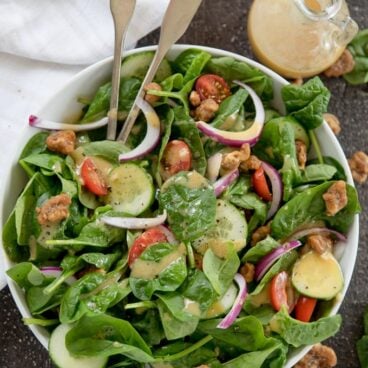
Simple Spinach Salad

Salad Recipes
Creamy German Cucumber Salad – Gurkensalat

Salad Recipes
7 Layer Salad
Fresh Veggies

Side Dishes
Honey Roasted Carrots
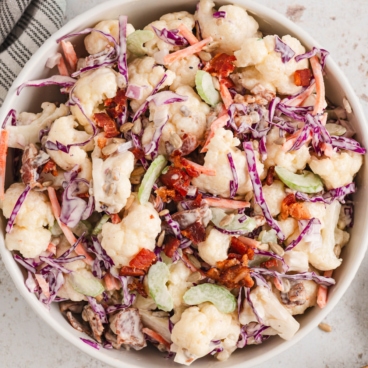
Vegetable Salads
Cauliflower Salad
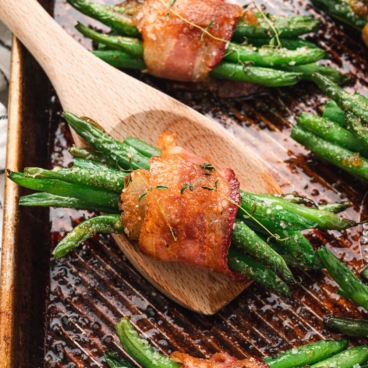
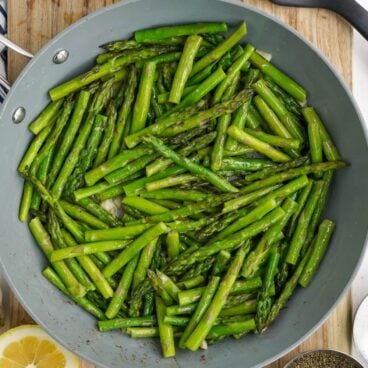
Vegetables
Bacon Wrapped Green Beans
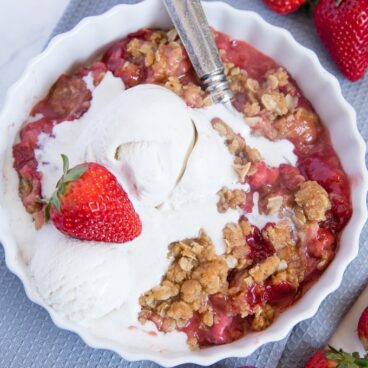
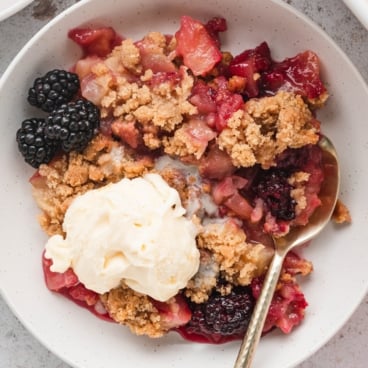
Must Make Desserts


Fiesta Favorites

Mexican Recipes
How to Make Authentic Mexican Rice
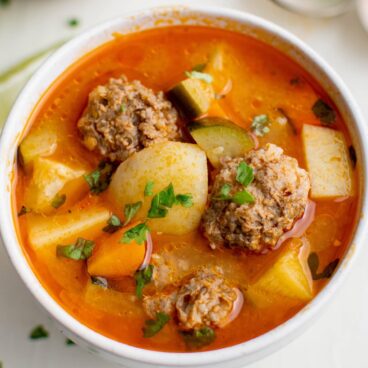
Recipes
Albondigas Soup Recipe
Mexican Recipes
Beef Enchiladas

Mexican Recipes
Charro Beans (Slow Cooker Mexican Beans)
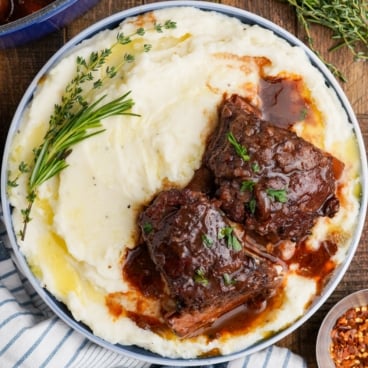
Sunday Dinner


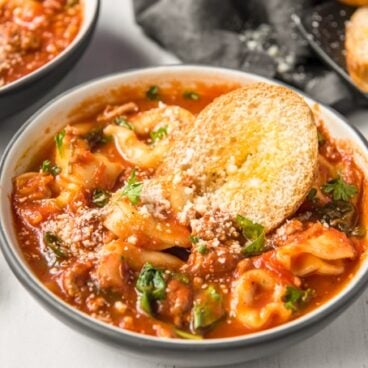
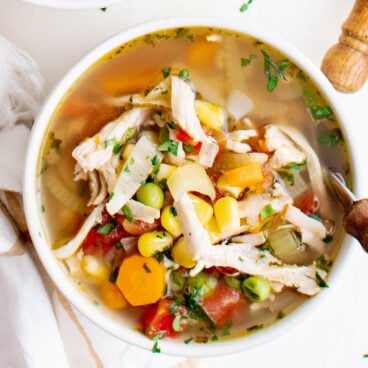
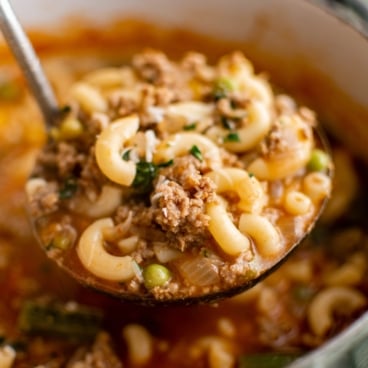
Sensational Soups
Hi, I'm Kristin!
Welcome to Yellow Bliss Road, where we make cooking blissfully simple, with easy, family-friendly and approachable recipes for any home cook. Find delicious dinner ideas, flavorful appetizers and snacks and delightful desserts for any occasion.

Chicken Recipes

Recipes
Fried Chicken Thighs
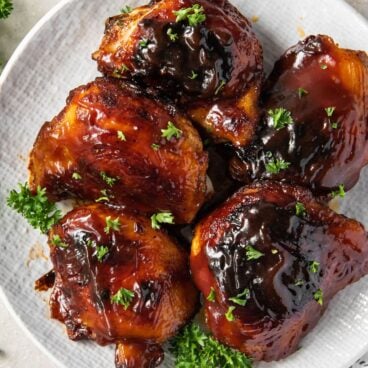
Chicken Recipes
Crispy & Juicy BBQ Baked Chicken Thighs
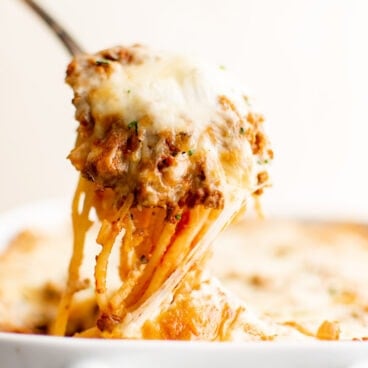
Casseroles
Chicken and Rice Bake

Perfect Pastas

Dinner Recipes
Easy Alfredo Chicken Lasagna

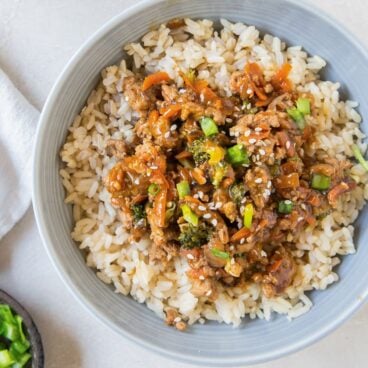
One Pot/One Pan Recipes
One Pot Cheesy Smoked Sausage Pasta Skillet

Favorite Dinner Recipes

Recipes
Easy Ham and Cheese Sliders
Recipes
Fried Chicken Thighs

Recipes
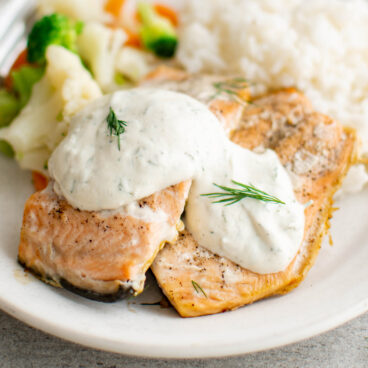
Oven Baked Chicken Breasts
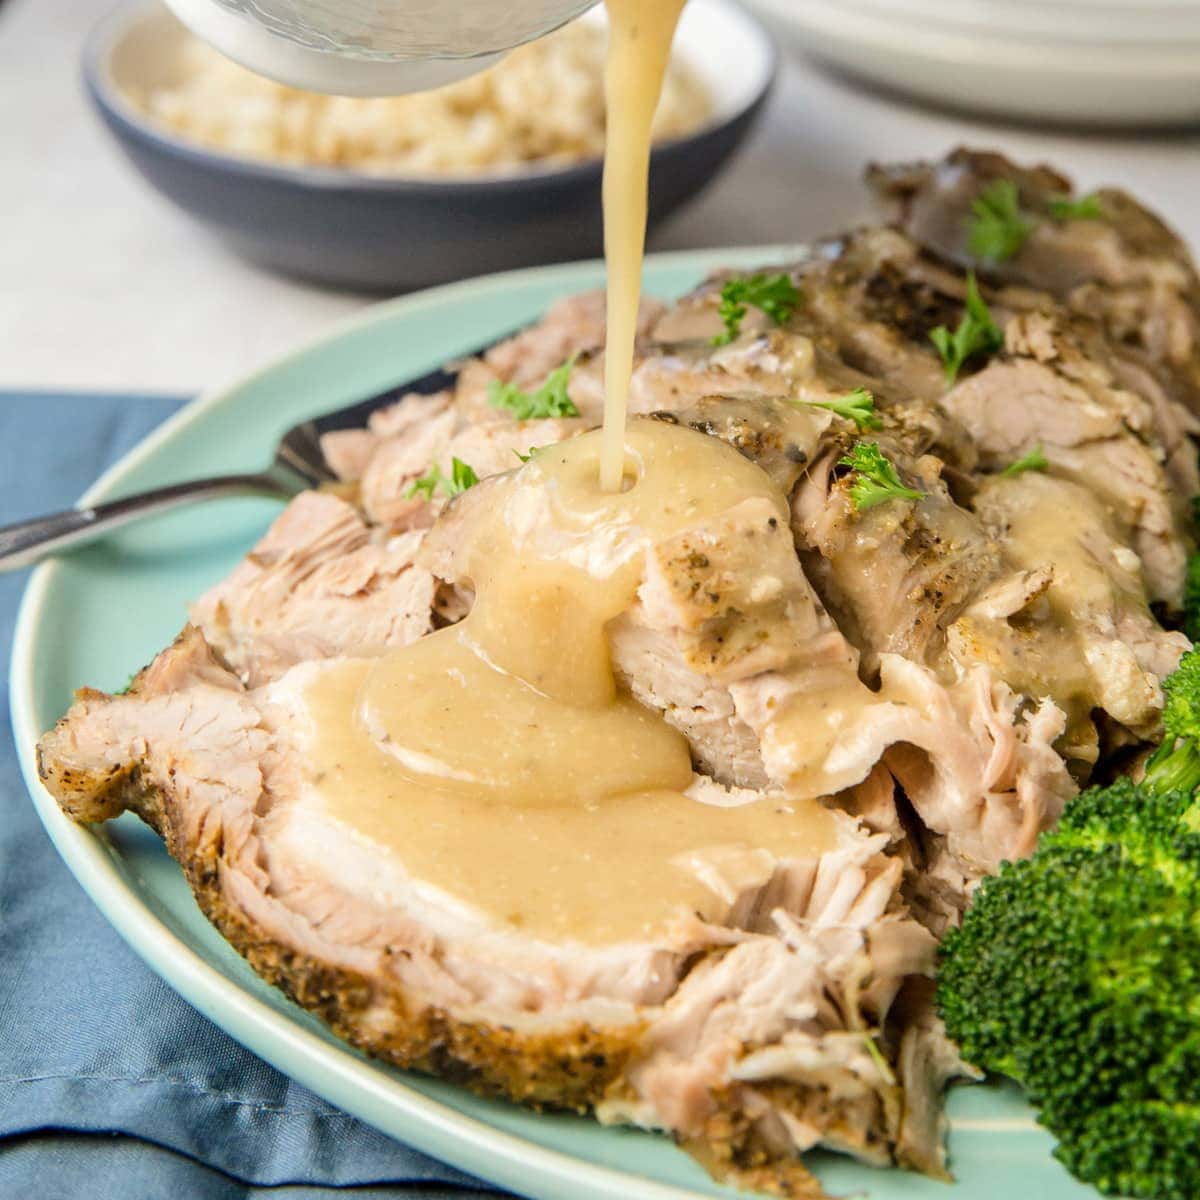
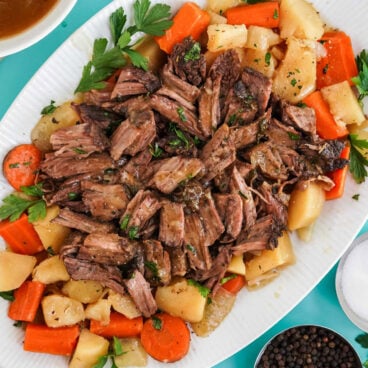
Recipes
Easy Crock Pot Pork Roast

Recipes
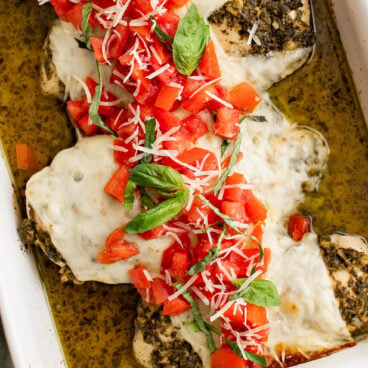
Creamy Chicken Pesto Pasta
Casseroles
Chicken and Rice Bake
Top 10 Most Popular Recipes
Check out our reader’s favorite recipes on Yellow Bliss Road!
Mexican Recipes
How to Make Authentic Mexican Rice

Recipes
Air Fryer Tortilla Chips
Recipes
Starbucks Copycat Lemon Loaf

Side Dishes
Sweet Potato Casserole Recipe

Recipes
Fried Chicken Thighs

Dip Recipes
Easy Jalapeño Popper Dip
Recipes
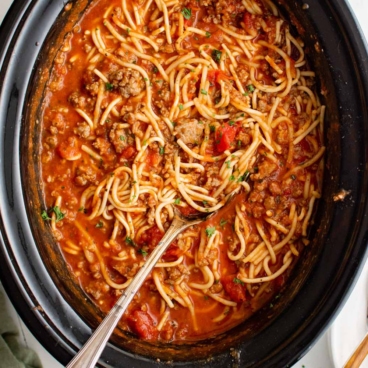
Easy Hamburger Soup Recipe
Dinner Recipes